
Easy Install
Introduction
Introduction to Easy Install
An introduction to Easy Install
Deploying VMware vSAN is not a difficult task.
The vSAN Cluster Wizard is one of the workflows included in configuring a vSAN as a part of a vSphere Cluster. To use this wizard, some tasks had to accomplished beforehand as prerequisites of vSAN. These tasks were accomplished by vCenter.
- A Datacenter had to be created
- A Cluster had to be created
- Hosts had to be added to the cluster
- A VMkernel port had to be added to each host for vSAN communications
- A VMkernel port had to be added to each host for vMotion communications
- vSAN could then be enabled.
To accomplish these tasks, vCenter had to already be installed somewhere.
In environments where vCenter (Windows or VCSA) already existed, it was not difficult. In "greenfield" deployments it was a bit more challenging.
There were a couple methods for “bootstrapping” a VCSA to accomplish this task of getting vCenter running on top of the vSAN datastore it was managing
Pre-Easy Install
Before Easy Install, there were a couple mechanisms to bootstrap the VCSA onto a vSAN installation.
Method 1 - Using a Temporary Datastore
Virtualization administrators familiar with Storage vMotion are aware that a virtual machine, or VCSA appliance in this case, can be Storage vMotioned to the vsanDatastore after being installed on a traditional VMFS volume. This process is traditionally called using a “Transfer datastore” or a “swing datastore.”
The steps to use this method include:
- Create a local VMFS datastore on the first host
- Deploy the VCSA to the temporary datastore
- Create a vSAN Cluster, including the first host
- Add two or more additional ESXi hosts to the vSAN Cluster
- Ensure vSAN networking is in place for all hosts and they are communicating properly
- Storage vMotion the VCSA to the vSAN Datastore
- Destroy the local VMFS datastore on the first host, ensuring no partitions remain on the device (vSAN doesn’t work with VMFS partitions)
- Add a disk group on the first host
This process isn’t complicated, but is a bit transient. The transfer or swing datastore only serves the purpose of allowing the VCSA to be configured and then ultimately moved to the vSAN datastore.
William Lam posted this method on virtuallyghetto.com in 2013.
http://www.virtuallyghetto.com/2013/09/how-to-bootstrap-vcenter-server-onto.html
Method 2 -Manually Creating the vSAN Datastore
This method is a bit more complicated. An alternative to using a temporary datastore, is manually setting up a vSAN datastore on the first host as a target for the deployment of the VCSA.
The process is as follows:
- Install ESXi 6.x on physical hosts.
-
Because the vSAN default policy requires includes a Failure Tolerance Method of Mirroring and a Number of Failures to Tolerate of 1, the only way to deploy to a vSAN cluster with a single node, is to modify the default Storage Policy to allow for forced provisioning.
The following command will need to be run on the first host:
For virtual disks: esxcli vsan policy setdefault –c vdisk –p “((\”hostFailuresToTolerate\” i1)(\”forceProvisioning\” i1))”
For the VM namespace: esxcli vsan policy setdefault –c vmnamespace –p “((\”hostFailuresToTolerate\” i1)(\”forceProvisioning\” i1))” - Now a vSAN cluster must be created. This is done from the ESXi console using the command: esxcli vsan cluster new
-
At least a single disk group must be created using the following command: esxcli vsan storage add -s SSD-DISK-ID -d HDD-DISK-ID
Device ID’s can be listed using: esxcli storage core device list
A disk group can be created with multiple capacity devices like this: esxcli vsan storage add –s SSD-DISK-ID –d HDD-DISK1-ID –d HDD-DISK2-ID –d HDD-DISK3-ID - The VCSA installer can be used to deploy the VCSA to the first host with the manually created vsanDatastore.
- Once the VCSA has been deployed, a Datacenter has to be created, a Cluster (with vSAN enabled) and the first host added.
- Additional hosts can then be added, as well as vSAN networking
As can be easily seen, the manual method it a bit more complex.
William Lam posted this method on virtuallyghetto.com in 2013:
http://www.virtuallyghetto.com/2013/09/how-to-bootstrap-vcenter-server-onto_9.html
Easy Install
Easy Install takes the effort out of installing the VCSA on a standalone host and enabling vSAN for a larger deployment.
Using the VCSA Installer for vSAN 6.6
With the introduction of vSAN 6.6, installation of the VCSA to a brand new, “greenfield” vSAN cluster is very simple using the Easy Install method.
The Easy Install method is only available when connecting the VCSA installer to an ESXi host that has vSAN 6.6 preinstalled. Hosts that have previous builds of ESXi will not be presented the option of creating a vSAN datastore.
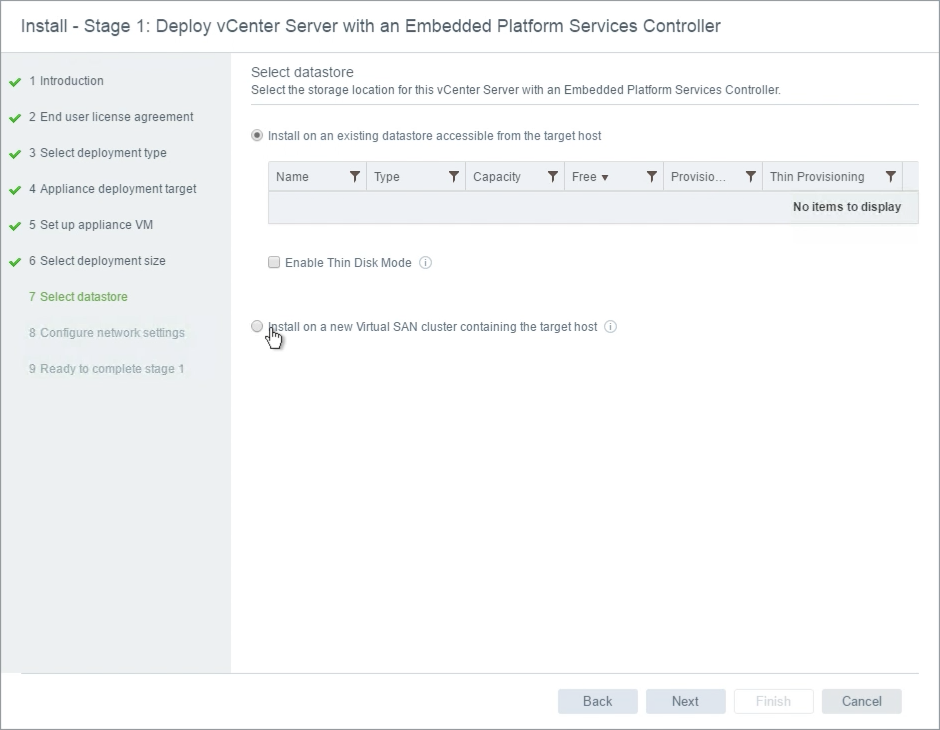
When presented with the “Select datastore” wizard, “Install on a new vSAN cluster containing the target host” is an alternate option to installing on an existing datastore.
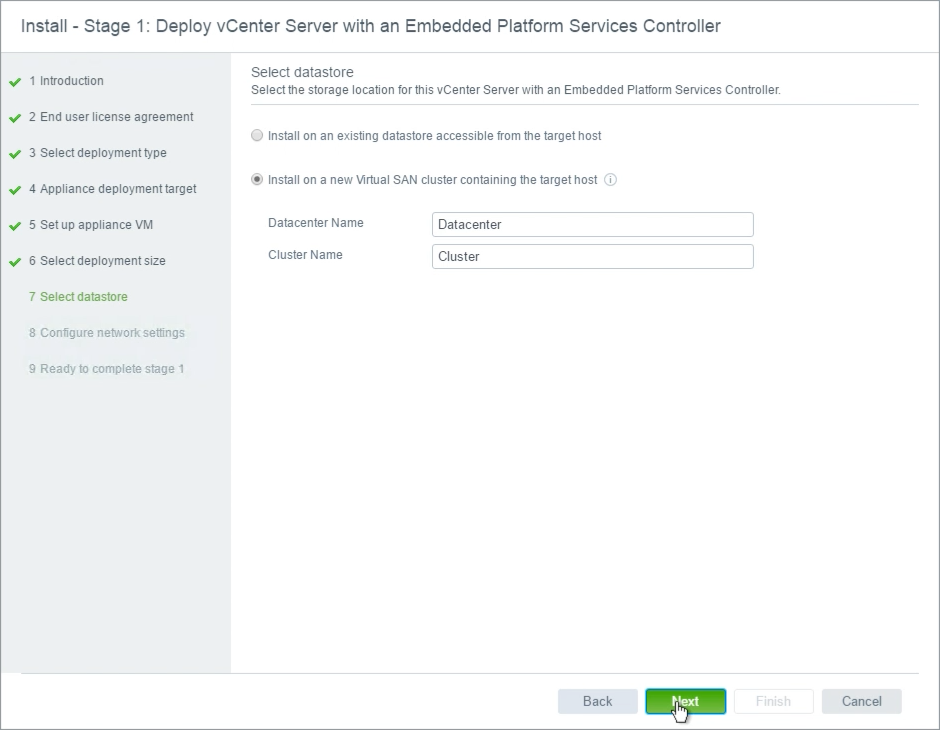
As part of the vSAN datastore wizard, a Datacenter name and vSAN Cluster name must be specified. These are basic building blocks of a vCenter and a vSAN cluster.
To create a vSAN datastore, at least one disk group must be created on the target host. The VCSA installer will present all available devices presented to be used by vSAN. Devices that have existing partitions will not be visible.
Notice that some devices are marked as Cache tier and some are marked as Capacity tier. In the illustration above, the host controller is using passthrough, or JBOD, and the device type is properly represented in the wizard.
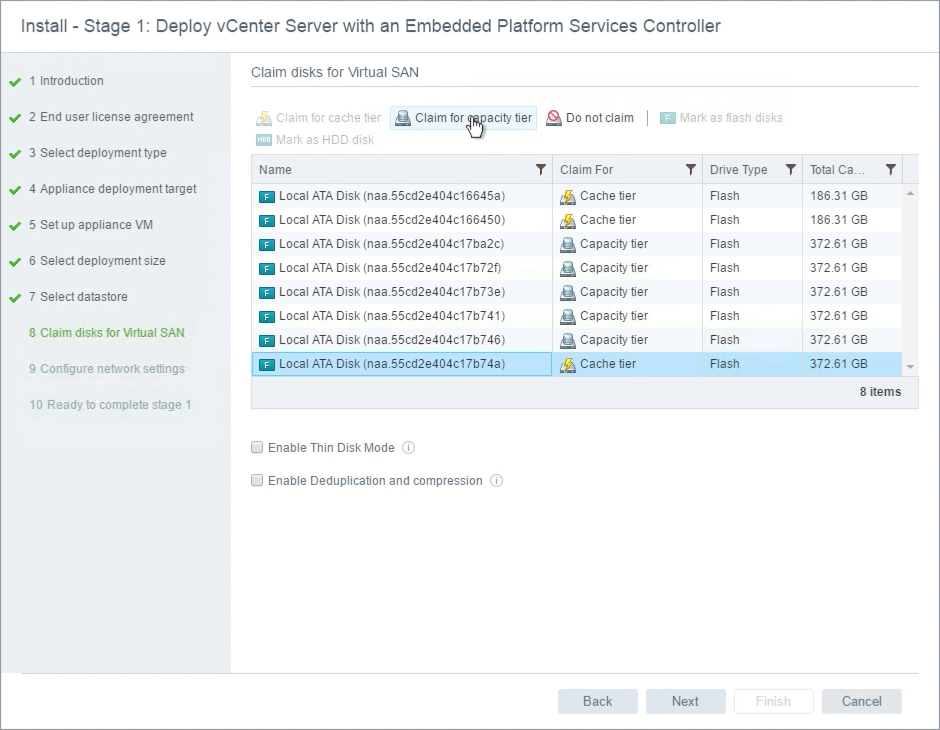
In the illustration above, all devices are flash. vSAN cannot distinguish which tier these flash devices should be claimed for. The last device is selected and “Claim for capacity tier” is selected at the top to ensure the device will be used for capacity, rather than cache. In All-Flash configurations, Cache tier devices are typically smaller than Capacity tier devices. Using this rule of thumb, the smaller devices were selected for the Cache tier.
In cases where passthrough is used, and a combination of flash and traditional spinning drives are presented, they should automatically be selected for either Cache tier (flash) or Capacity tier (hdd).
In the event a Storage Controller is used that is presenting devices as RAID0, it is possible that the type of device is not properly indicated. Flash devices that are represented as HDD, can be Marked as Flash Disk, to properly present these devices to the ESXi host and the vSAN configuration.
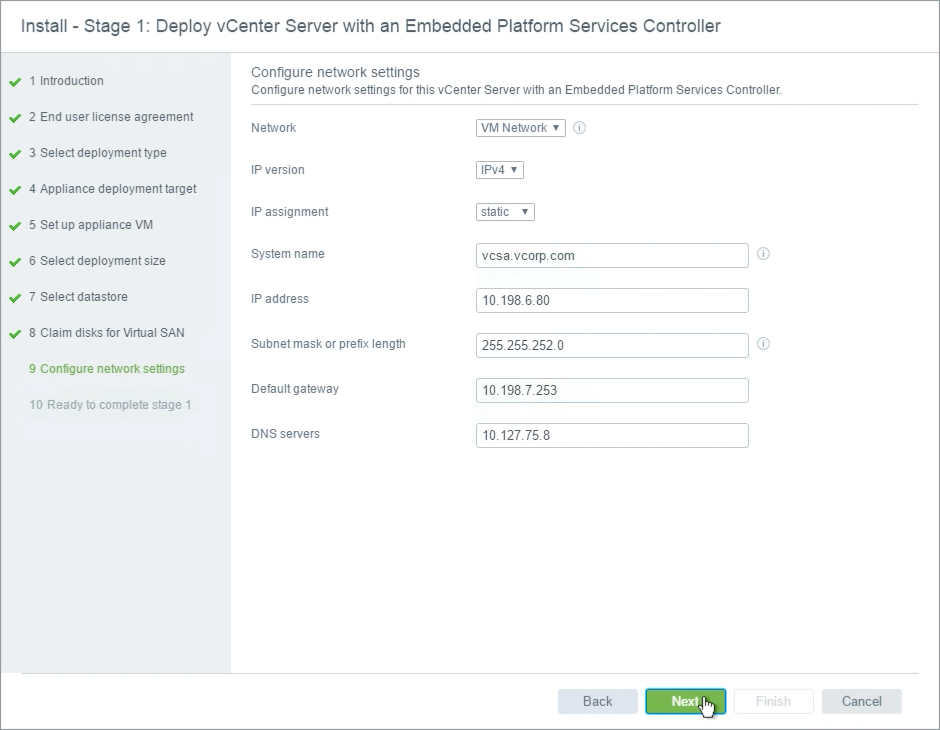
Network settings for the VCSA do not change in the installer.
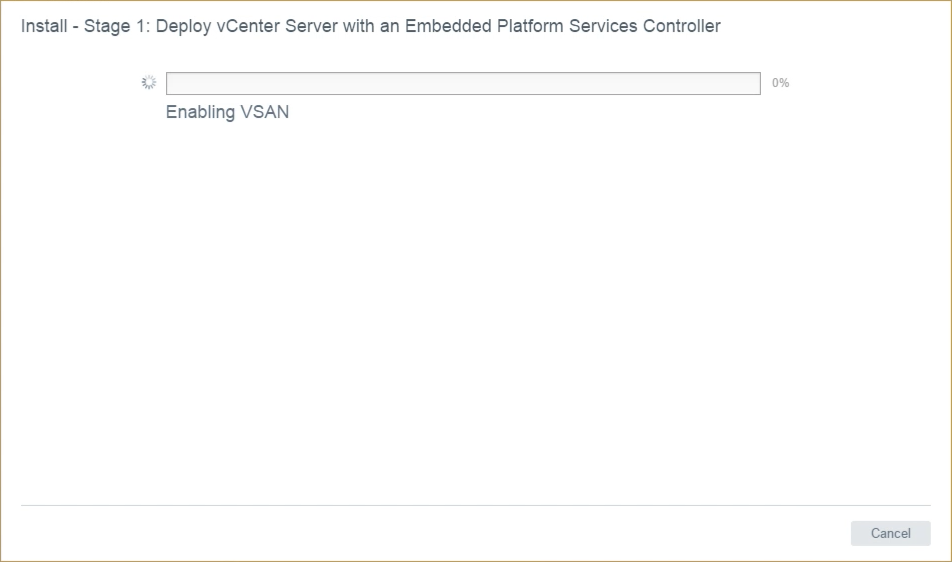
The installation indicates that vSAN is being enabled.
This was previously created manually using Method 2.
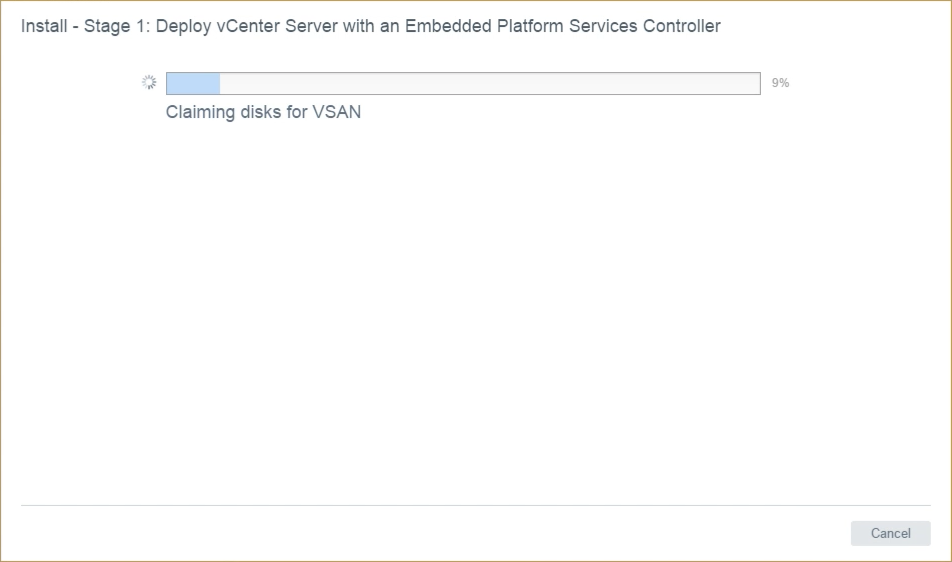
Disks are being automatically claimed for vSAN.
The disk claiming process presented in the VCSA installer behaves just as the Claim Disks for vSAN action button does in the vSAN Disk Management section of the vSAN UI. In hosts that have only a single Cache device, up to seven (7) capacity devices may be configured in the same disk group. In the case of this host illustrated, there are two (2) Cache devices and six (6) Capacity devices. Because there are two (2) Cache devices, the Claim Disks for vSAN function will distribute the Capacity devices evenly across the Cache devices. This results in two (2) Disk Groups being created.
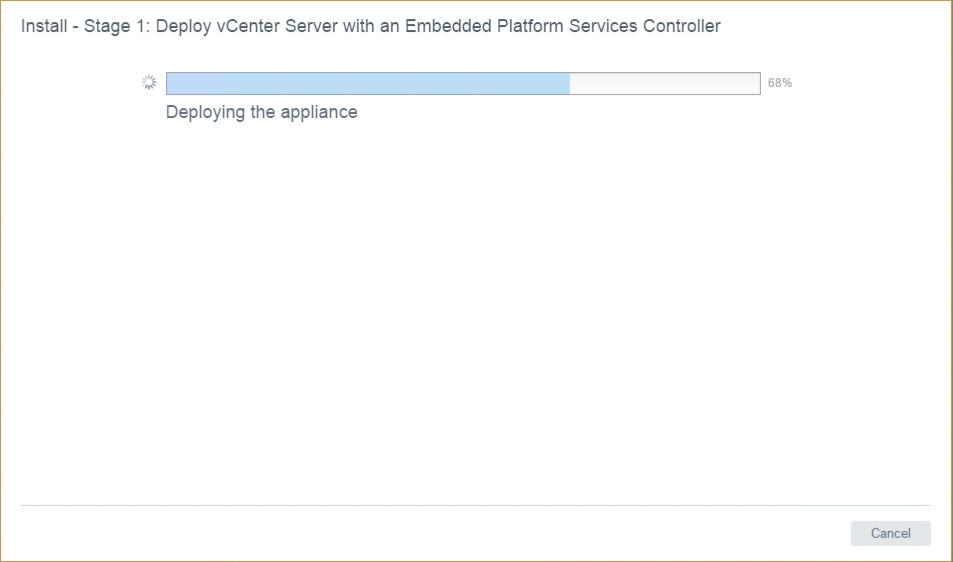
The VCSA is deployed to the single host. This process is identical to deploying on any other VMFS or NFS based datastore.
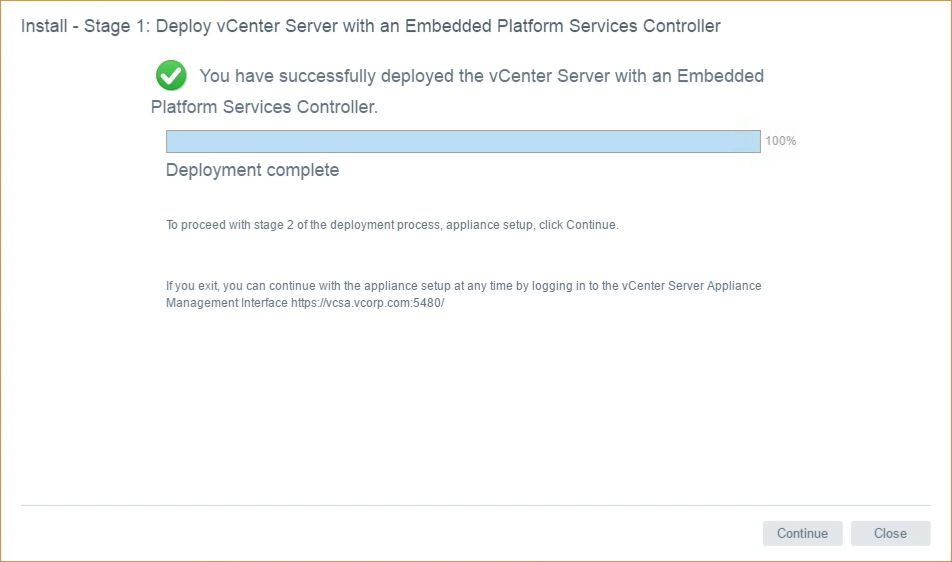
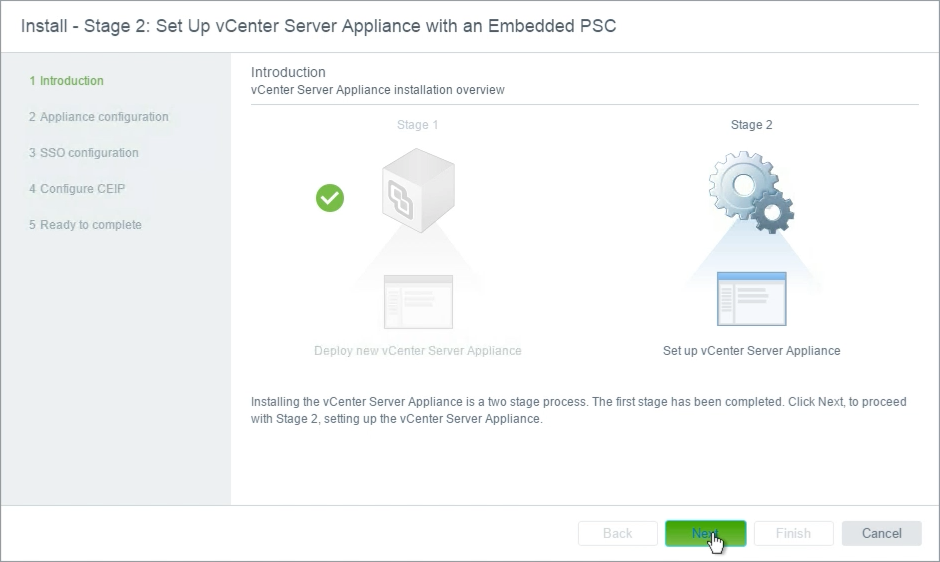
The VCSA deployment has completed, but the configuration is not finalized. The VCSA has only been partially configured, and additional settings much be completed.
The VCSA & PSC configuration continues as normal. Settings not shown here, indicate the SSO site settings, administrative account password, and other required VCSA settings.
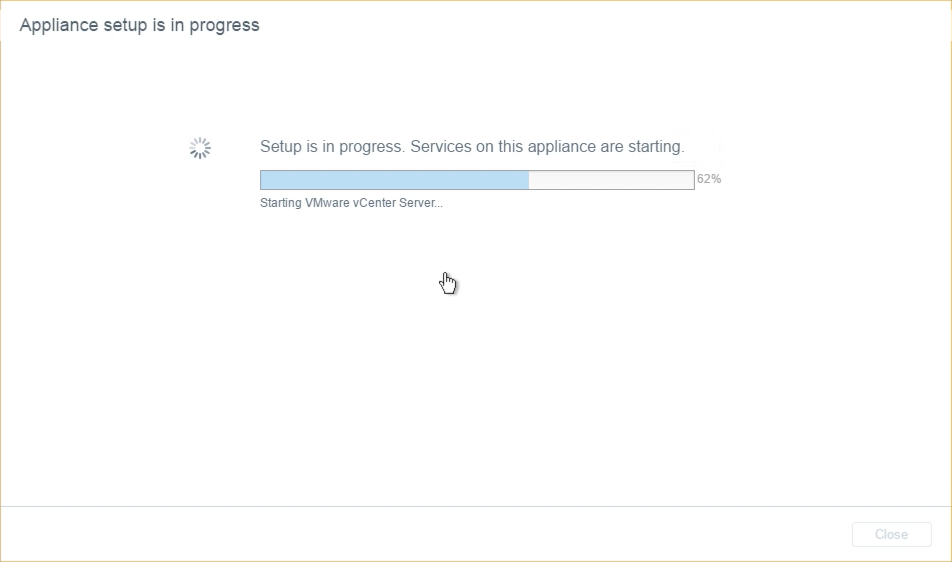
The VCSA (with Embedded PSC here) are started, so vCenter may be used to manage the environment.
While the deployment of the VCSA (and Embedded PSC) are complete, the vSAN configuration is incomplete.

There is currently only a single host running vSAN. This is not a supported configuration, and some additional steps must be accomplished.
Next Steps
So the VCSA is running on a standalone vSAN 6.6 ESXi host, what's next?
What are the Next Steps?
The current state of vSAN and the VCSA are incomplete. Yes the VCSA has been deployed to a single ESXi host and vSAN 6.6 has been installed.
Looking at the last screen from Stage 2 of the installer, there is a drop down arrow that provides some additional information.
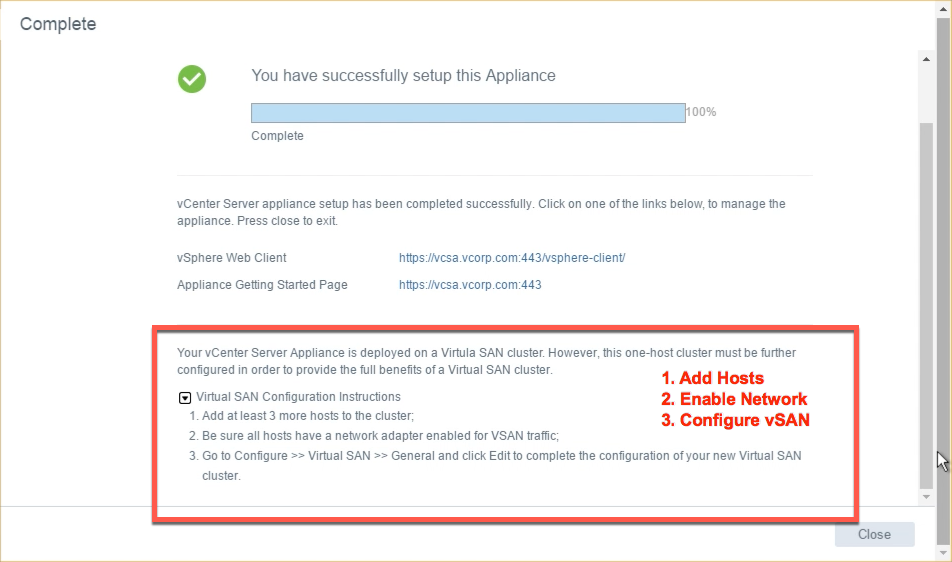
Two (2) or more nodes must be added to the cluster, unless using 2 Node vSAN, to have a supported configuration. Easy Install does not add these hosts as part of the deployment.
They must be added manually. Adding hosts here is the same as adding any hosts to a vSphere cluster.

Once hosts have been added, we will see that they don't have any disks configured, and they have no connectivity amongst each other.
vSAN VMkernel networking must be configured for them to communicate.
The Easy Install feature has only brought us part of the way. We can look to the Configuration Assist feature will help accomplish vSAN networking and other vSAN settings, therefore finalizing the vSAN configuration.