
Holo-Tanzu-Helm-Intro
Module 8 – Using Helm to Deploy a Sample Application
This module shows how a developer can use helm charts (https://helm.sh/ ) to deploy a container-based application inside a Tanzu Kubernetes Cluster (TKC).
In the lab we use the open source OpenCart application that is available from the Bitnami Application Catalog (https://bitnami.com/stack/opencart). We deploy the OpenCart application into ‘tkc01’.
Prior to completing this module, you need to complete “Module 1 – Tanzu Environment Setup” and “Module 4 – Create a Tanzu Kubernetes Cluster (TKC)”.
It is recommended that you close all browser and PuTTY windows on the desktop prior to starting.
It is estimated that it will take 15 minutes to complete this exercise.
Step 1: Add the Bitnami Repository to Helm
Connect to the developer workstation.
- Click the PuTTY icon on the Windows taskbar
- Click Tanzu WS
- Click Load
- Click Open
- Login: sam
- Password: VMware123!

Helm is a package manager for Kubernetes that makes it easy to deploy container-based applications using ‘charts’. The helm application is distributed as a binary. In the lab the helm binary has been preinstalled in the /usr/local/bin on the Linux workstation.
Confirm that the helm binary is available on the Linux workstation by typing the command ‘helm version’:
# helm version
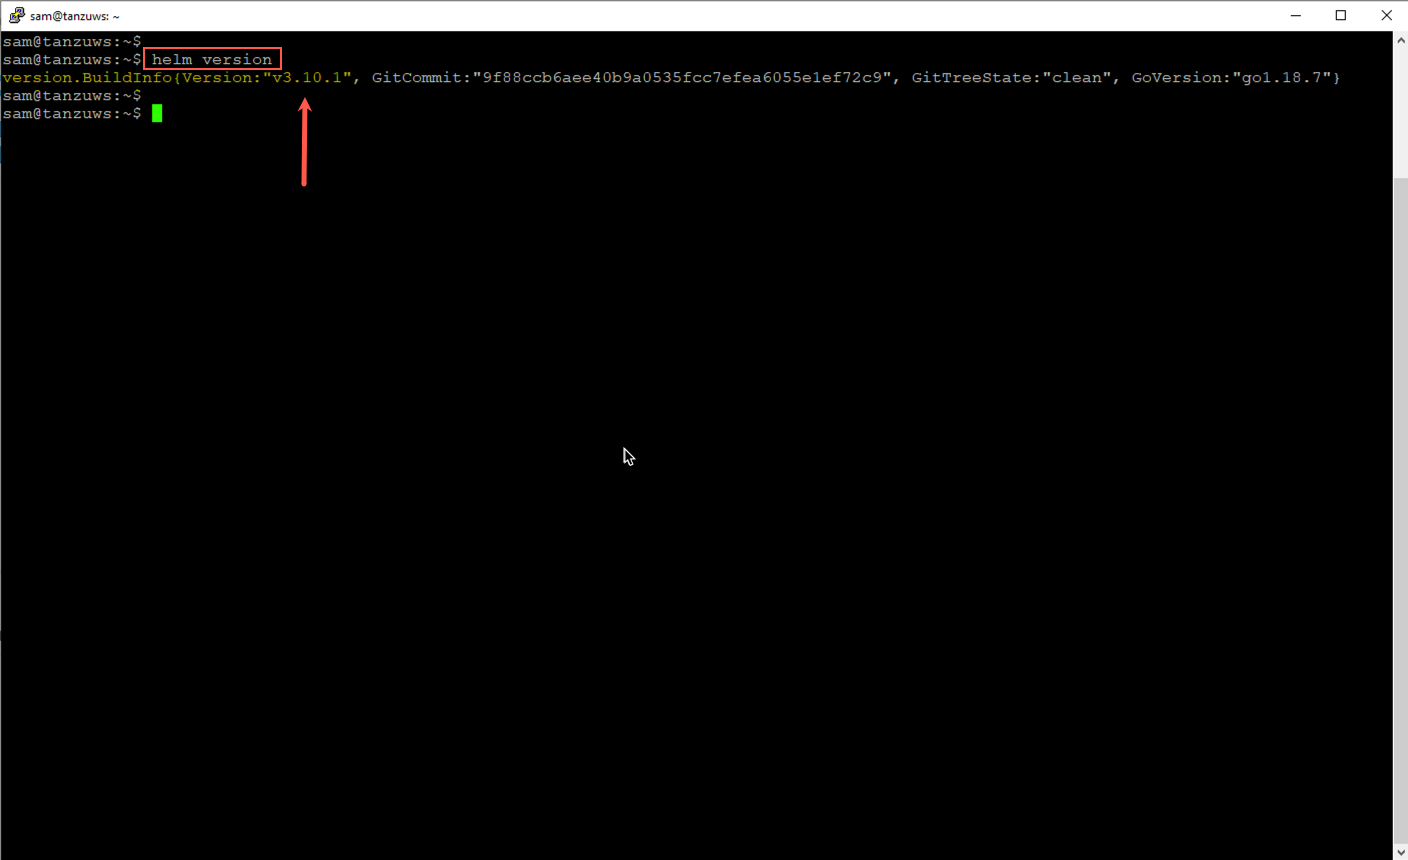
The output of the ‘helm version’ command shows that the lab is using helm version “v3.10.1”. (Note, the helm version in your lab may be different, this will not affect your ability to complete the lab).
In helm, container-based applications are packed into ‘charts’. Helm charts are distributed via repositories. In the lab we will use a public repository provided by Bitnami (https://bitnami.com/stack/opencart).
Begin by using the ‘helm repo add …’ command to add the Bitnami repository to our local helm configuration. Use the ‘helm repo list’ command to verify the repository is successfully added.
# helm repo add my-repo https://charts.bitnami.com/bitnami

# helm repo list

Step 1 Summary
In this step we connected to our developer workstation where we ran the ‘helm repo add …’ command to add the Bitnami chart repository to our local helm configuration. We then used the ‘hem repo list’ command to confirm that the repo was successfully added.
Step 2: Deploy OpenCart Using Helm
With the Bitnami repository added to our local helm configuration, we are ready deploy the OpenCart chart.
Start by running the ‘helm search repo opencart’ and ‘helm show chart my-repo/opencart’ commands to view details of the OpenCart chart available in the Bitnami repository.
# helm search repo opencart

# helm show chart my-repo/opencart

The output shows that the Bitnami chart version is 13.0.10. This chart will deploy OpenCart version 2.x.x.
We will deploy the OpenCart chart into ‘tkc01’. To do this we first need to authenticate to the TKC and set our context.
In the PuTTY terminal run the ‘kubectl vsphere login …’ command to connect to the ‘tkc01’ Kubernetes control plane. Then run the ‘kubectl config use-context …’ command to set the context to “tkc01”. Then run the ‘kubectl get nodes’ command to display the nodes that make up ‘tkc01’.
# kubectl vsphere login --vsphere-username sam@vsphere.local --server 10.80.0.2 --tanzu-kubernetes-cluster-namespace ns01 --tanzu-kubernetes-cluster-name tkc01

# kubectl config use-context tkc01

#kubectl get nodes

The default security settings for ‘tkc01’ do not allow pods to be deployed by the user Sam. To enable pods to be deployed we must update the ClusterRole and ClusterRoleBinding for the TKC.
A detailed discussion on Kubernetes pod security and how to create ClusterRoles and ClusterRoleBindings is out of scope for this exercise. As such, for the lab we will essentially disable the default pod security settings to allow all users to deploy pods. While this is not recommended for production TKCs, this approach will facilitate this lab. A sample YAML manifest to enable all users to deploy pods in the TKC is provided in the ~/lab/tkc/rolebinding.yaml directory.
Change directory to /home/sam/demo and cat the rolebinding.yaml to view the contents of this file.
# cd /home/sam/demo

# cat rolebinding.yaml

To apply the YAML manifest and update the ClusterRole and ClusterRoleBinding, run the ‘kubectl apply -f rolebinding.yaml’ command.
# kubectl apply -f /home/lab/demo/rolebinding.yaml

The output shows the ClusterRole and ClusterRoleBinding were updated.
For more information on configuring pod security for TKCs refer to the vSphere with Kubernetes documentation.
Having connected to the TKC and configured the necessary RoleBindings, we are ready to use helm to deploy the OpenCart chart. To do this, run the ‘helm install myopencart my-repo/opencart’ command.
# helm install myopencart my-repo/opencart
Helm starts the deployment of the OpenCart.
Deploying OpenCart in the lab is a multi-step process. Note that the output of the ‘helm install …’ command notifies you that the “deployment will be incomplete until you configure OpenCart with a resolvable host”.

To complete the OpenCart installation, we wait for the myopencart-mariadb-0 pod to start. Run the ‘kubectl get pods’ command and confirm that the myopencart-mariadb-0 pod has successfully deployed and is in a running state. It may take a few minutes for the pod to enter a running state.
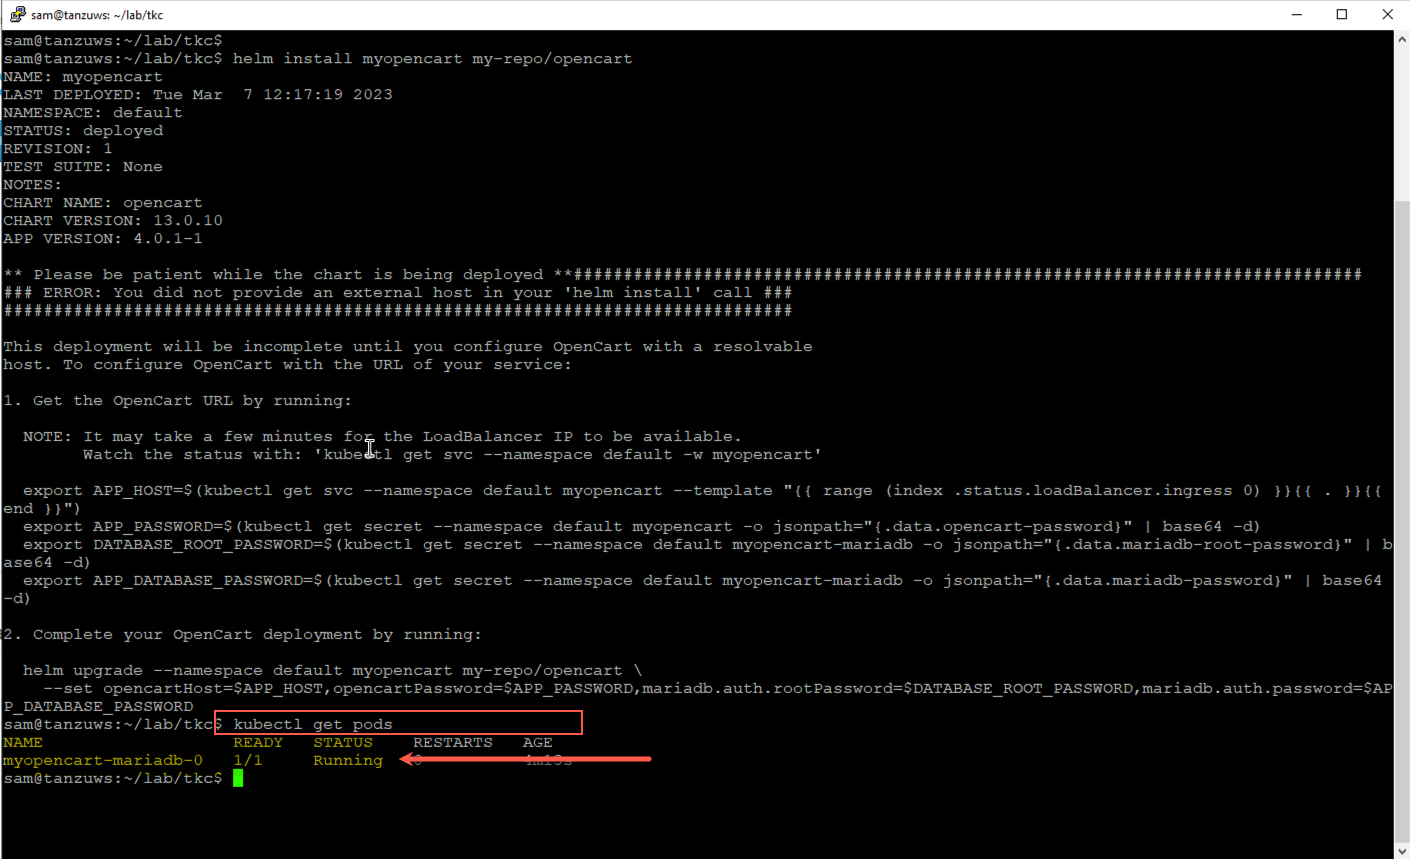
When the myopencart-mariadb-0 pod status is “Running”, we are ready to complete the configuration.
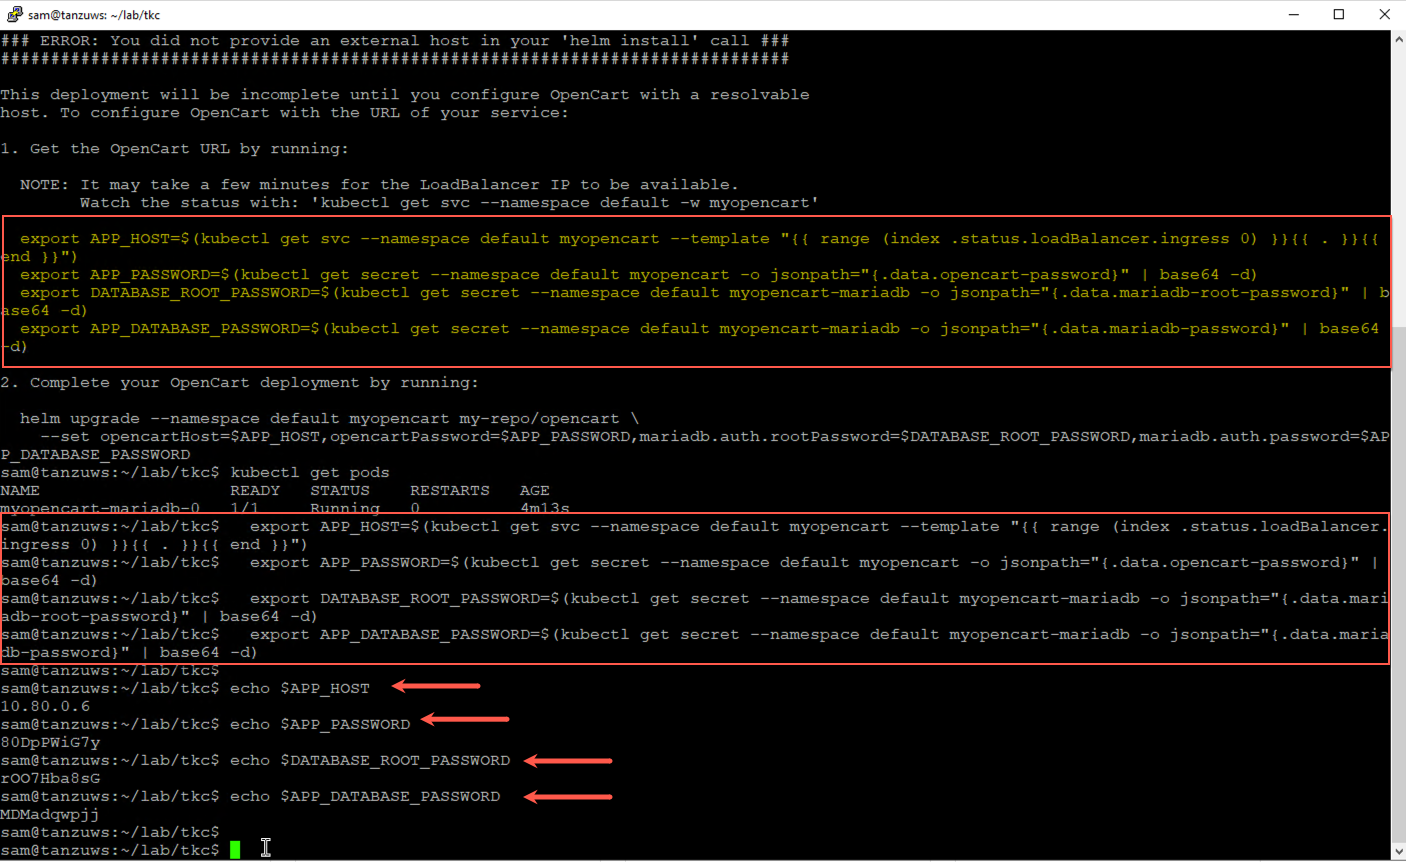
Observe that the output of the ‘helm install’ command prompted you to run four Linux ‘export’ commands followed by a ‘helm upgrade …’ command. The four export commands set environment variables in the Linux shell. These environment variables are then used with the ‘helm upgrade’ command to complete the OpenCart installation.
In the PuTTY terminal, highlight the four export commands shown in the output of the ‘helm install’ command and then past them into the terminal.
As noted, the export commands are used to set four environment variables in the Linux shell: APP_HOST, APP_PASSWORD, DATABASE_ROOT_PASSWORD, and APP_DATABASE_PASSWORD. You can confirm that the environment variables have been set using the “echo” command.
# echo $APP_HOST

# echo $APP_PASSWORD

# echo $DATABASE_ROOT_PASSWORD

# echo $APP_DATABASE_PASSWORD
With the myopencart-mariadb-0 pod running and the four environment variables set, we are ready to complete the OpenCart installation by running the ‘helm upgrade …’ command as shown in the output of the ‘helm install’ command.
In the PuTTY terminal, highlight the ‘helm upgrade …’ command shown in the output of the ‘helm install’ and then past the command into the terminal.

The ‘helm upgrade’ command completes the OpenCart installation by deploying a second pod and configuring an associated Kubernetes service. The final output shows the URL to connect to the OpenCart instance.
Step 3: Verify OpenCart Deployment
Run the ‘kubectl get pods’ command until you see the pod enter a running state. Note that it can take 2 to 3 minutes for both OpenCart pods to enter a running state.

When the OpenCart pods are running, we are ready to access the shopping cart.
Open a new tab in the Chrome browser and type in the OpenCart URL shown in the output of the “helm upgrade …” command. In this example, http://10.80.0.6.

We are connected to the OpenCart web server.
With the OpenCart application running, we can use the kubectl and helm commands to view additional details about the container-based application.
# kubectl get pods

# kubectl get svc

# kubectl get pvc

# helm list

Module Summary
In this module we used Helm to deploy the OpenCart application, available from the Bitnami Application Catalog (https://bitnami.com/stack/opencart), in order to show how easy it is for a developer to deploy a container-based application inside a Tanzu Kubernetes Cluster (TKC) running on a vSphere cluster that is part of a Cloud Foundation workload domain.
Module Key Takeaways
- TKCs are fully conformant Kubernetes clusters that are easily accessed using existing developer tools (i.e Helm).
- Developers do not require any vSphere knowledge or skills to deploy, configure, and run container-based workloads inside a TKC.
- TKCs are an ideal place for developers to develop, run, and deploy container-based workloads.