
Holo Toolkit 2.0 Deploy Router
Holo-Router 2.0 Deployment
Overview
This section details the deployment of the Holo-Router v2.0 VM. The Holo-Router provides:
- External connectivity for a Holodeck environment
- RDP port forwarding from external network to Holo-Console
- Squid proxy functionality for outbound connections
- Routing between Holo-Site-1 and Holo-Site-2 inside a Holodeck environment
Prerequisites
- External facing port group
- External IP, netmask and gateway information
- Site-1 and Site-2 Port Groups for this Holodeck environment
Deploy Holo-Router
The Holo-Router VM is deployed on the physical ESXi host to the same Port Group set as the corresponding Holo-Console. It can be deployed using the vCenter client or the vSphere client. This example demonstrates the use of the vSphere Client to deploy the OVA to the physical ESXi host. The Holo-Router can be deployed while the Holo-Console is building.
Provision the Holo-Router Virtual Machine
- Using the vSphere Web client, login to the ESXi host
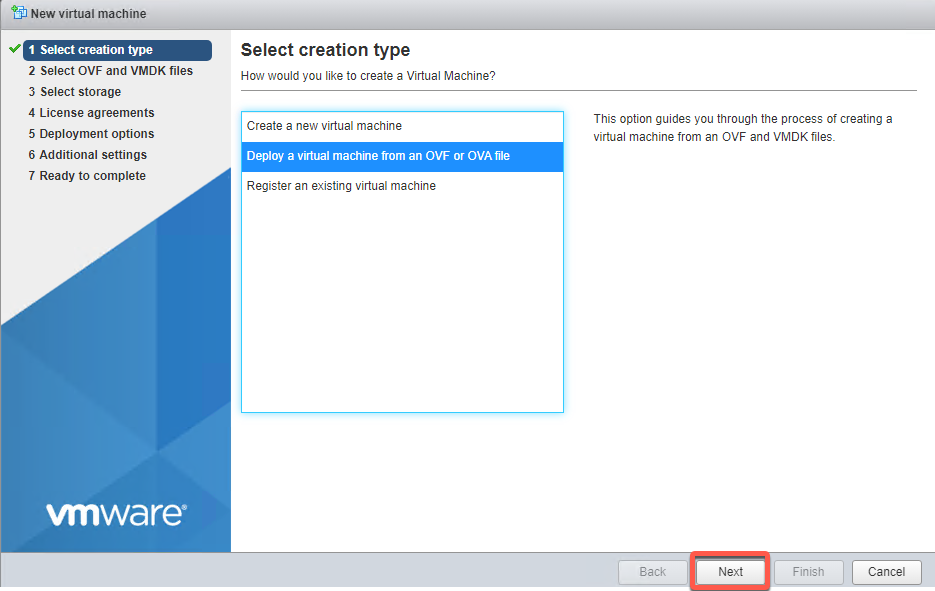
- Click Create/Register VM ->Deploy a virtual machine from an OVF or OVA file
- Click Next
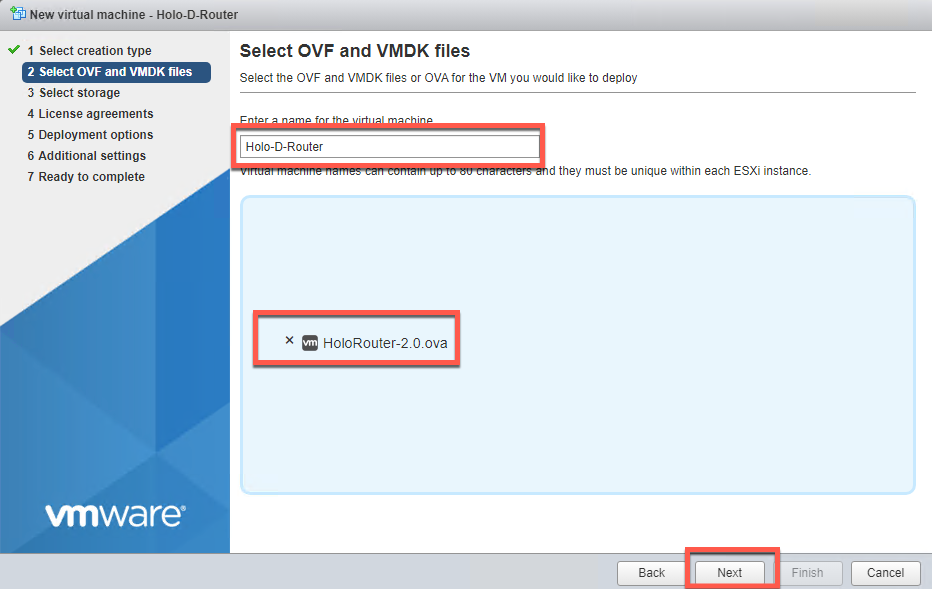
- Name the router Holo-X-Router. (This example uses Holo-D-Router)
- Click to select files and select the C:\Users\Administrator\Downloads\holodeck-standard-main1.3\holodeck-standard-main\Holo-Router\holorouter-2.0.ova file
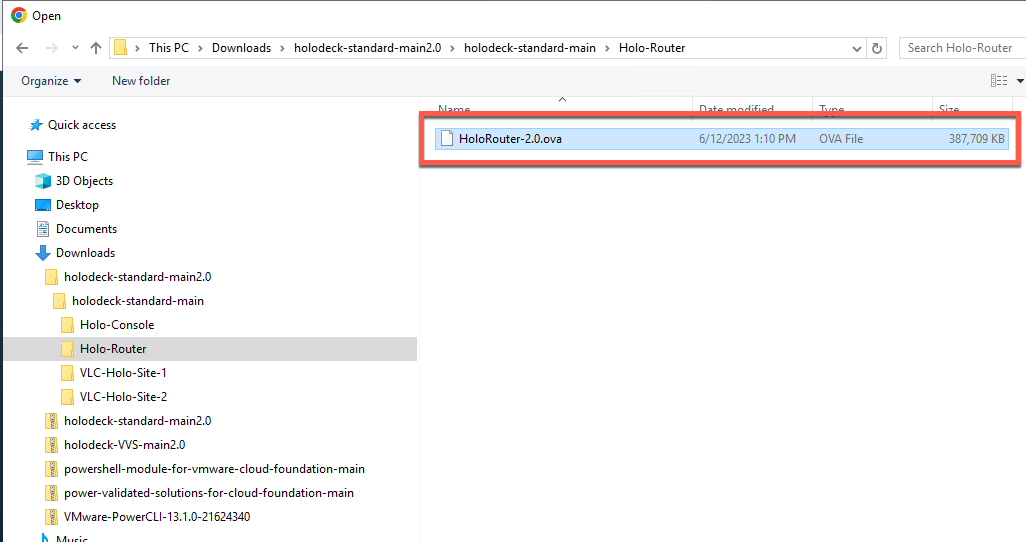
- Click Next
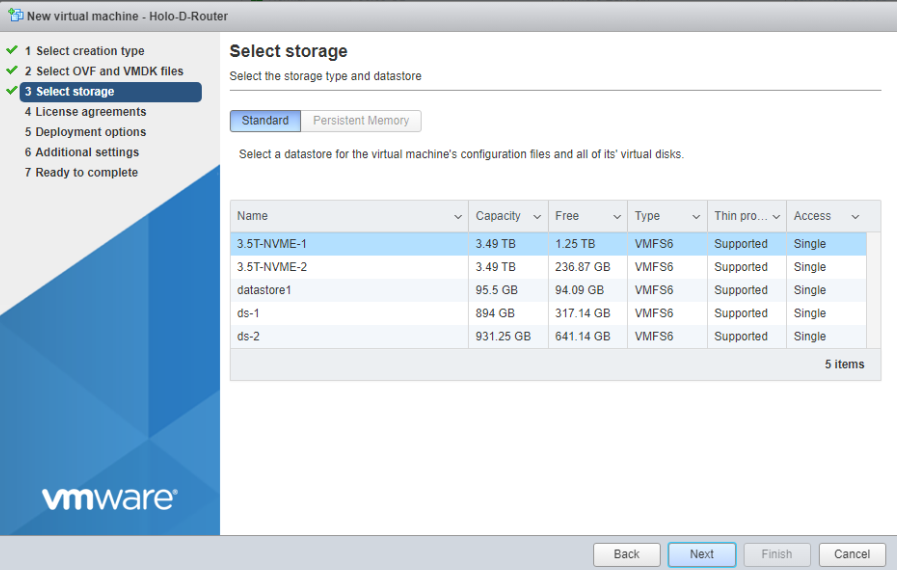
- The Holo-Router VM takes less than 2GB on disk. Select an appropriate storage with enough available capacity and click Next
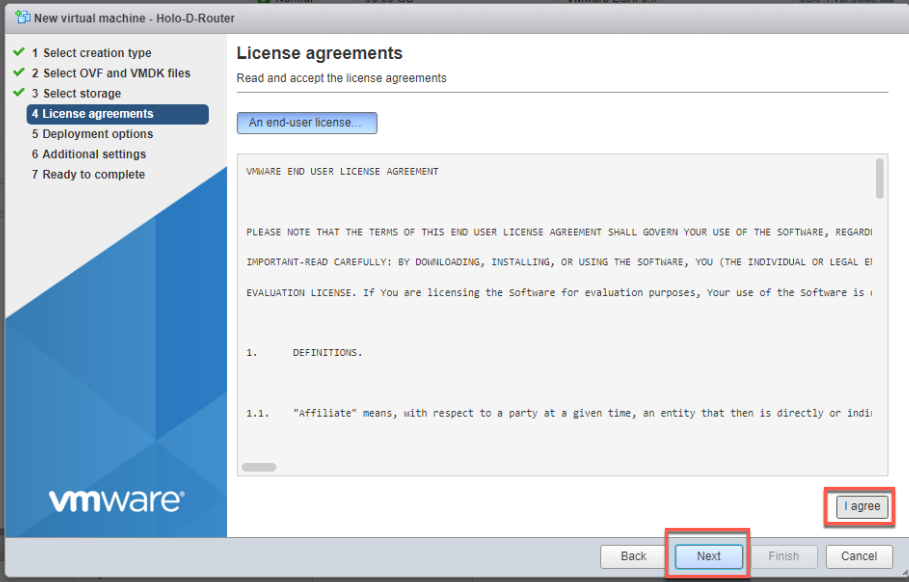
- Accept the EULA and click Next
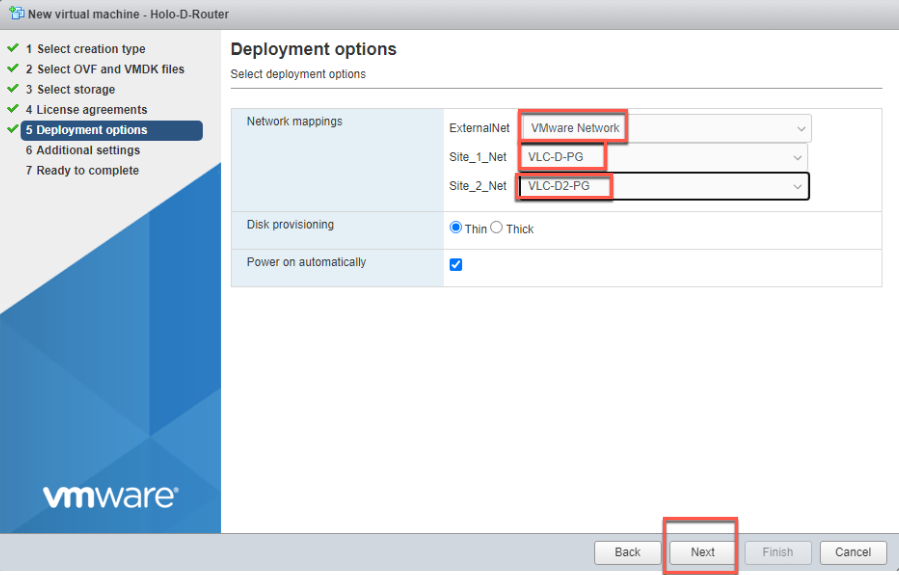
- Add network mappings appropriate for the environment. The example below illustrates using the VMware Network port group for the ExternalNet. This port group was created during the initial setup process for the physical ESXi host.
In this example, the port group named VLC-D-PG is used for Site_1 and VLC-D2-PG is used for Site_2. NOTE: Even if you do not intend to use the second site configuration, deploying the Holo-Router to connect to both port groups is recommended.
After selecting the appropriate port groups, click Next to continue.
- Click the drop-down box to access the Options attributes
Provide the appropriate values for the following attributes:
- External IP
- External Subnet Mask
- External gateway
Do not change any fields other than the three External fields
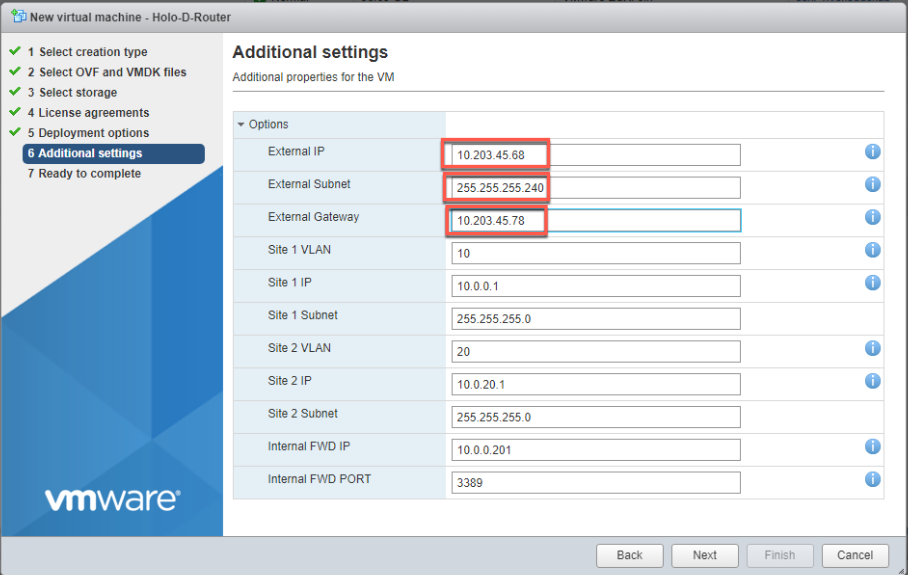
- Click Next
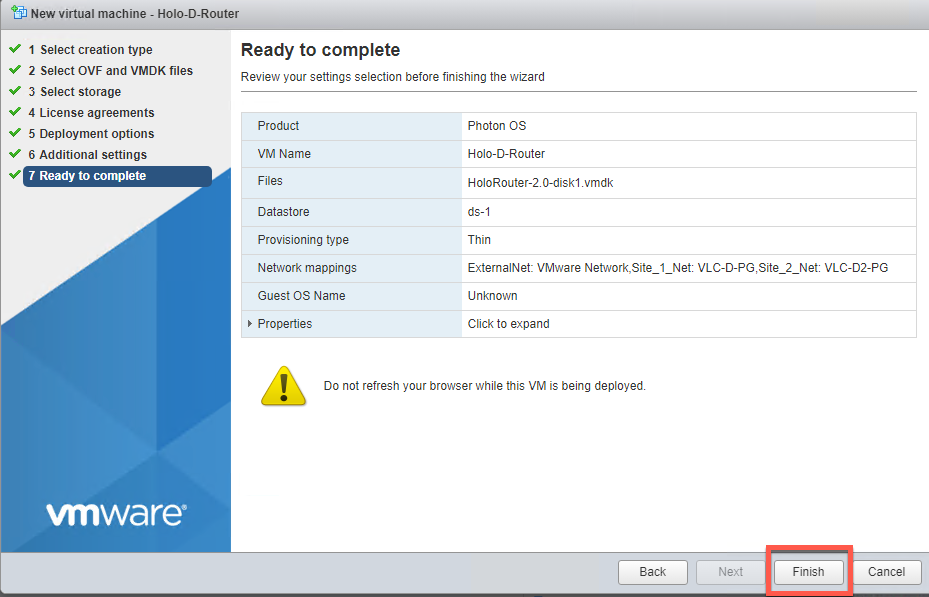
- Review the settings and click Finish
- Open a console for the new VM
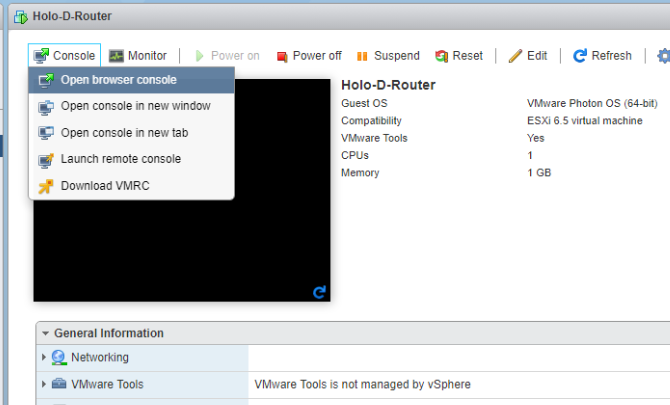
- While the VM is being deployed, you may see the following error that can be ignored.

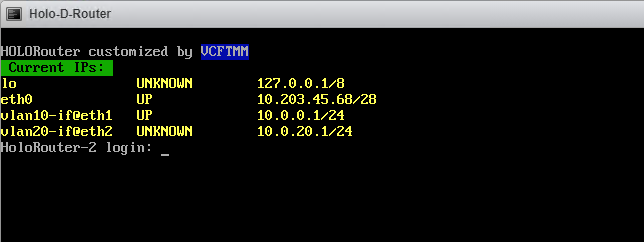
- After approximately 3 minutes you will see the following screen
Validate Router
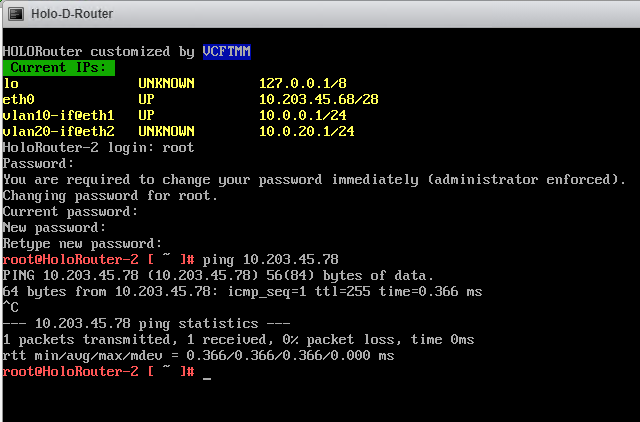
- Login as the user root with the password of VMware123!
- You will be required to change the password immediately. As the Holo-Router is the external network connection to the Holodeck Environment, it is highly recommended that you change the password to a strong password that conforms to your company policy.
- Use the ping command to verify network connectivity from the Holo-Router.
- Ping your gateway address to verify external networking
- Close the console window
- NOTE: At this point, following successful test of Holo-Router and Holo-Console, access to Holo-Console inside the pod via Microsoft RDP to the Holo-Router external address is enabled.