Holo Toolkit 2.0 Generate Support VMs
Preparing to build Holodeck Toolkit support VMs
Overview
This section uses PowerShell automation to configure several VM’s used in the Holodeck Toolkit lab exercises. VM’s are built using Cloud Init from a Ubuntu 18.04 OVA downloaded by the local Holodeck admin. NOTE: There are four different sets of virtual machines built supporting NSX, HCX, vRealize Automation and Tanzu labs. There is no dependency between the different sets.
Prerequisites
- VLC-Holo-Site-1 configuration deployed from the Holodeck Standard Main 2.0 package
- External network access from the Holodeck environment
- The VLC Holo Build directory is available at C:\VLC\VLC-Holo-Site-1\Holo-Build on Holo-Console
Stage Ubuntu OVA
- Within Holo-Console, open Chrome and download the Ubuntu 18.04 LTS Daily Build
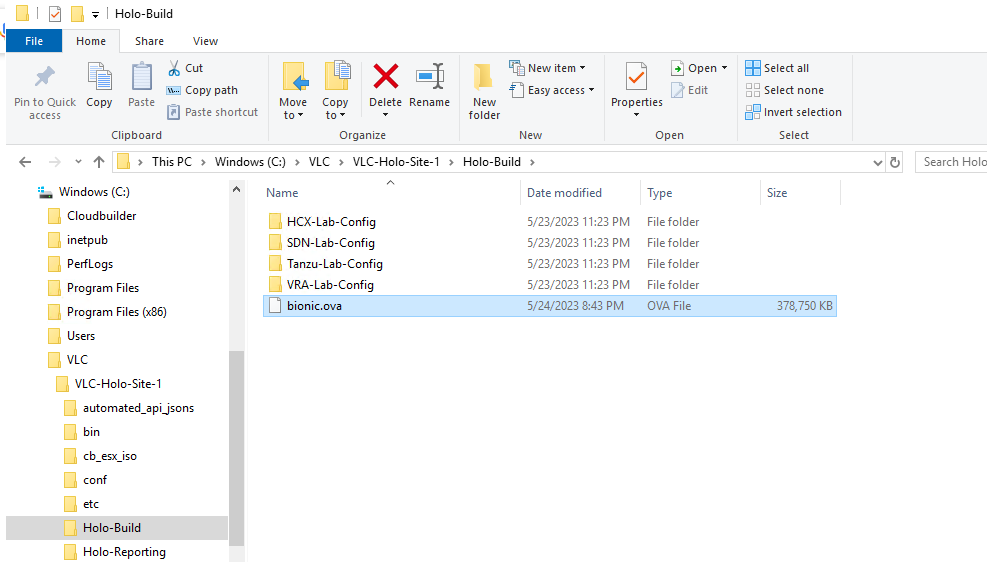
- Copy this file to C:\VLC\VLC-Holo-Site-1\Holo-Build\
- Rename the file to bionic.ova
Review Automation
- Open windows explorer and navigate to C:\VLC\VLC-Holo-Site-1\Holo-Build
- Note there is a directory for each set of configuration scripts.
- The bionic.ova should be available in this directory
Create Ubuntu Holo-Template
Overview
The vRealize Automation (VRA) labs in the Holodeck series make use of a standardized Ubuntu 18.04 based template. This section covers the creation of this template prior to deploying VRA so the template can be included in the VRA setup.
Build Template
In this task the automated build scripts are executed, and the output is verified.
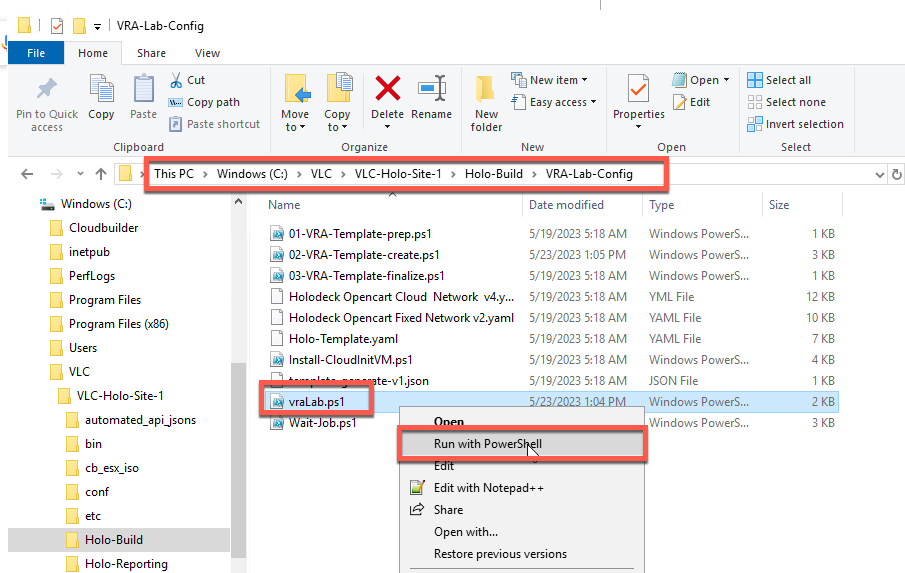
- Using the Windows Explorer, navigate to
C:\VLC\VLC-Holo-Site-1\Holo-Build\VRA-Lab-Config - Right click on vraLab.ps1 and select “Run with Powershell”
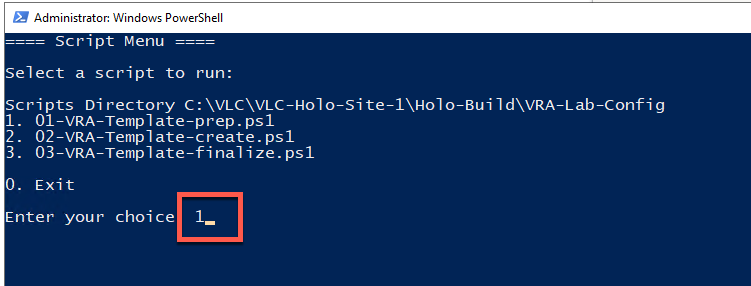
- Notice the three available options
- Enter 1 to run the 01-VRA-Template-prep.ps1 script
- Expected output
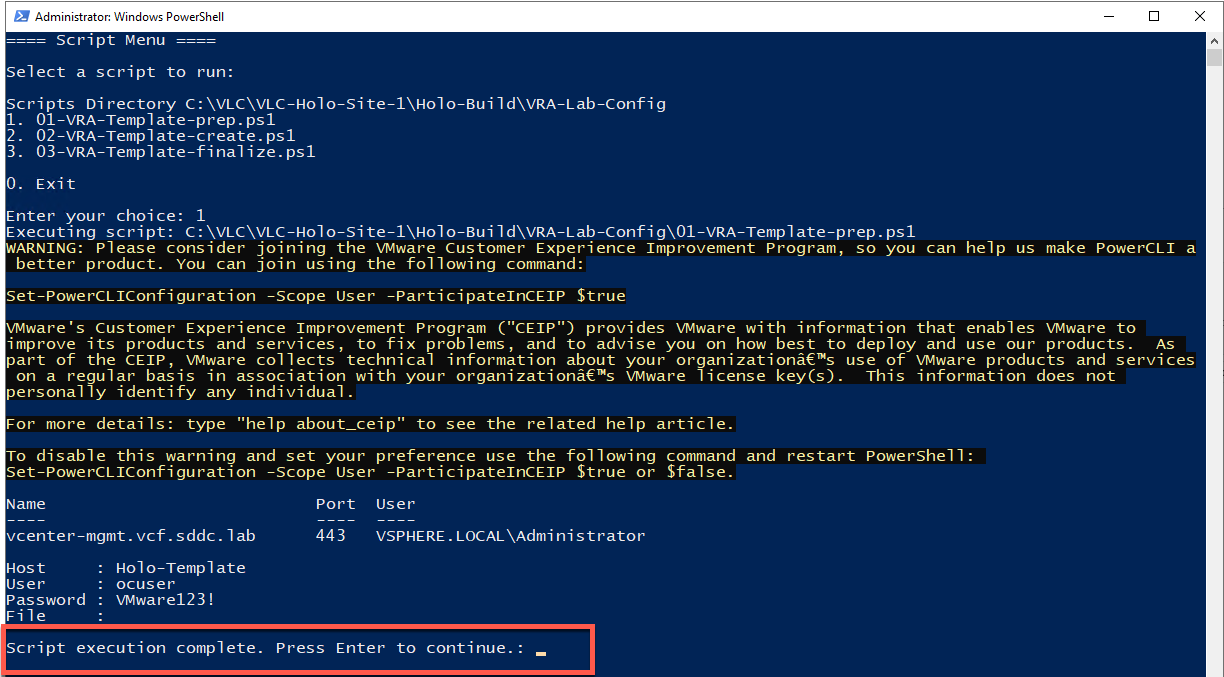
- Hit enter, then select option 2. This will begin creating the template using cloud-init. This process usually takes around five minutes.
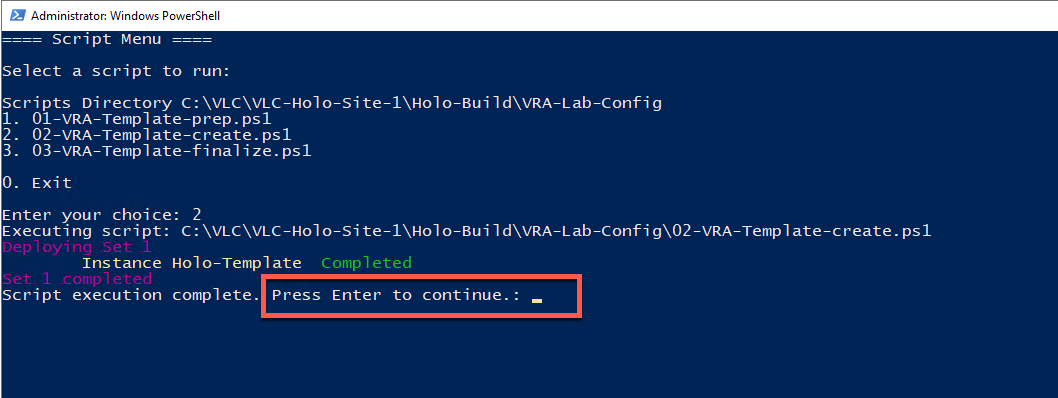
- Hit enter when the script completes.
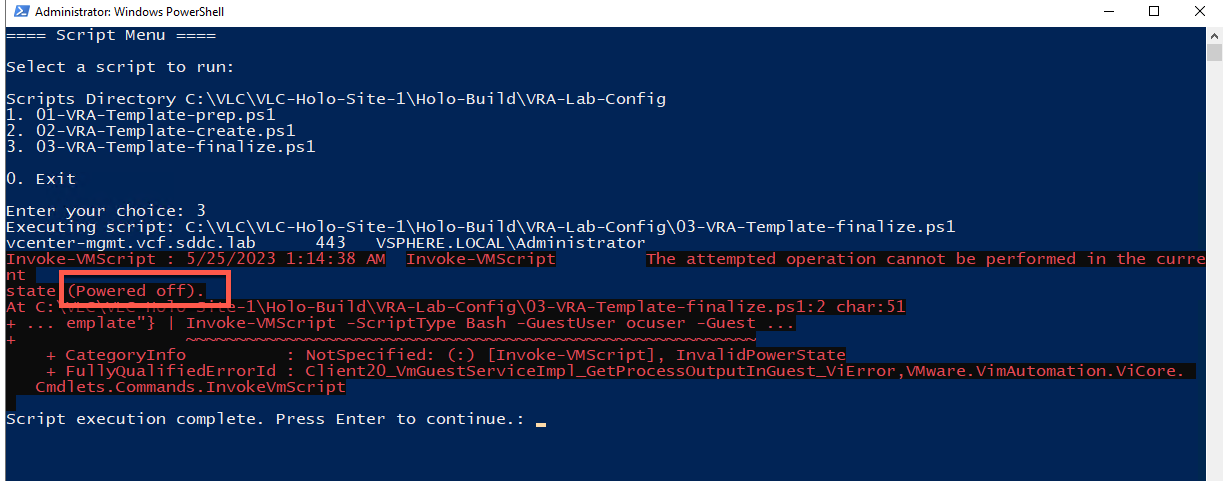
- The last step performs an update on the template VM for latest Ubuntu changes and shuts it down. It is broken out as a separate step in case the user wishes to make any additional changes to the VM before conversion to template.
- Select option 3
- The error shown is expected, and is normal behavior when the VM gets shutdown during the Invoke-VMScript PowerCLI function.
Prepare Holo-Template for lab use
This task prepares the Holo-Template for use in VRA.
Convert and shutdown Holo-Template
- Connect to the nested vCenter Server instance for the VCF Management Domain.
- From the VM and Template view within the vSphere Client
- Right click on Holo-Template->Edit Settings
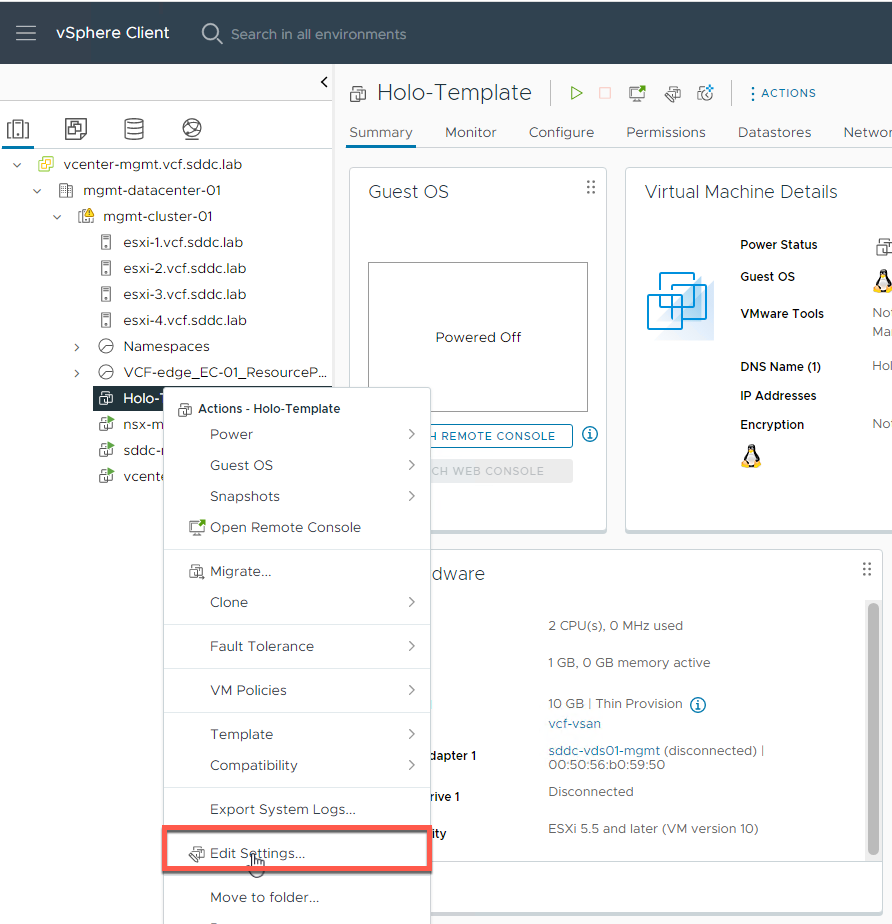
- Click the dropdown box for CD/DVD drive 1
- Select the Client Device option
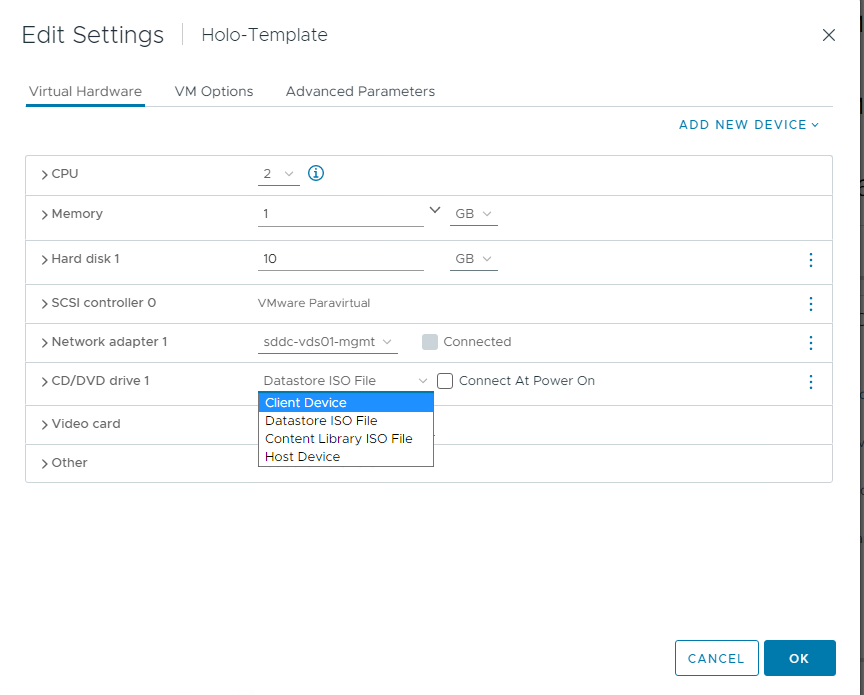
- Click OK
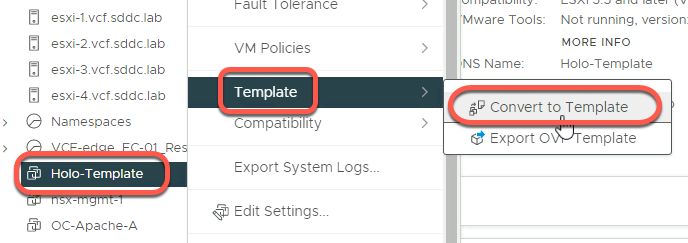
- On the vSphere client, right click on Holo-Template->Template->Convert to Template
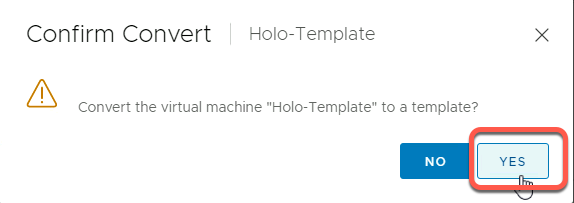
- Click Yes
Create OpenCart SDN VMs
Overview
The Software Defined Networking and Security labs in the Holodeck series make use of three specifically configured Ubuntu 18.04 based VMs that implement a predefined OpenCart e-commerce deployment. This section covers the creation of these VM’s prior to starting the SDN lab series.
Build OpenCart VM’s
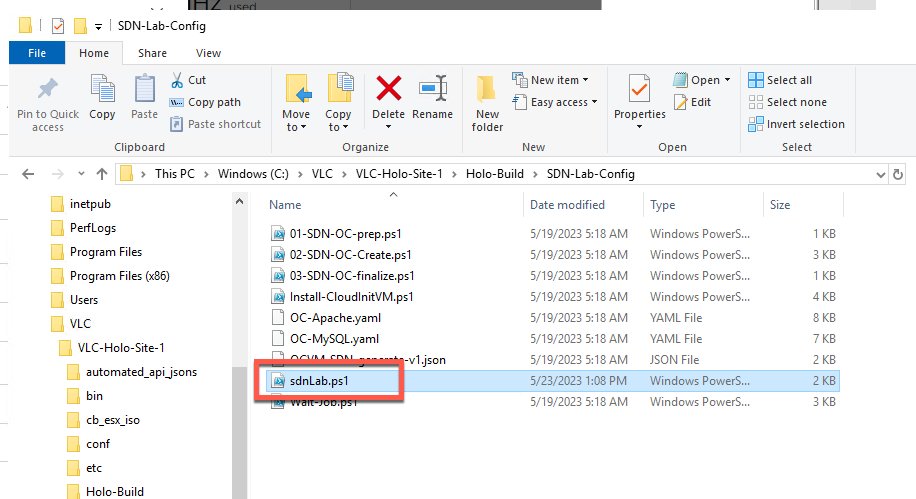
- Using the Windows Explorer, navigate to
C:\VLC\VLC-Holo-Site-1\Holo-Build\SDN-Lab-Config - Right click on sdnLab.ps1 and select “Run with Powershell”
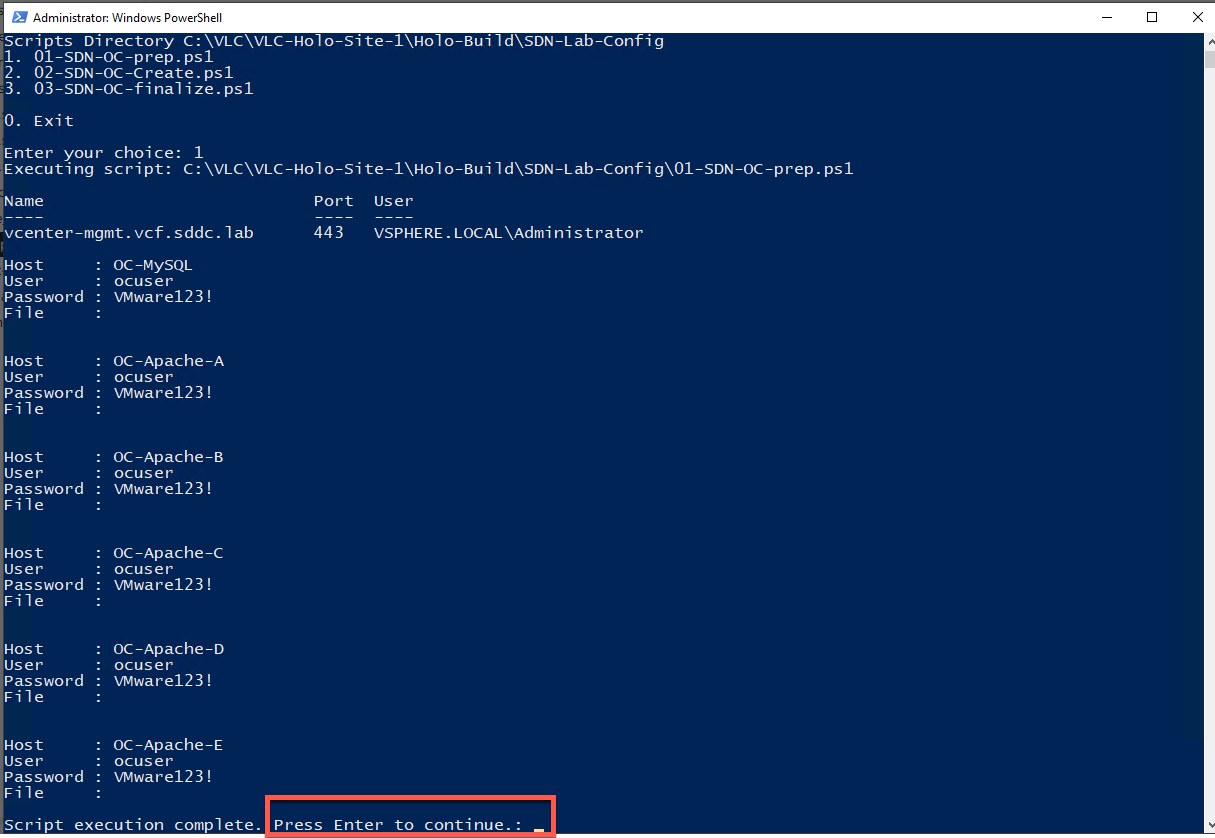
- Enter 1
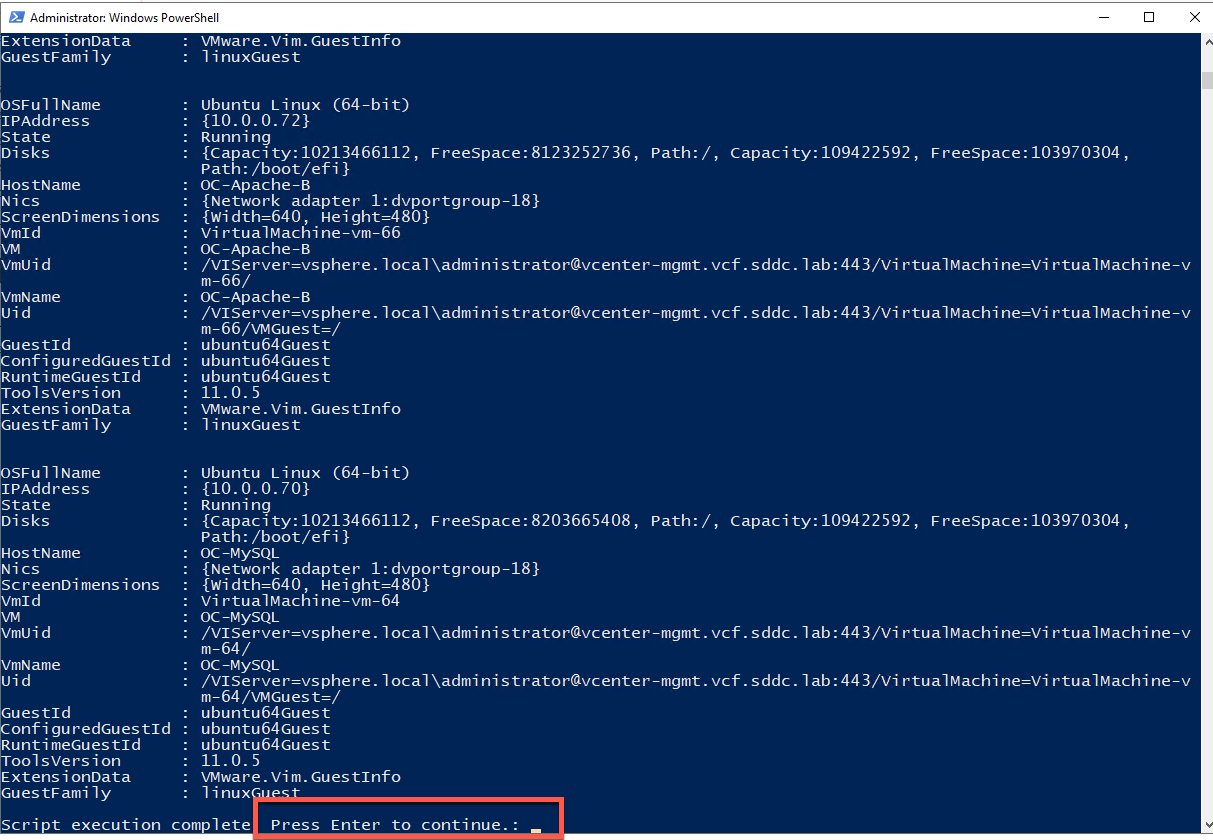
- The output resembles the following
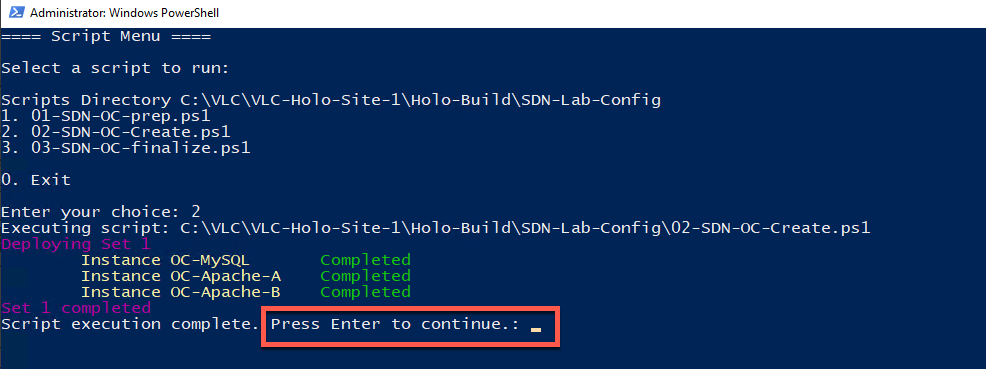
- Press enter, then select option 2
- This kicks off deploying one instance of OC-MySQL and two instances of OC-Apache. The full process takes approximately 15 minutes
Test OpenCart VM’s
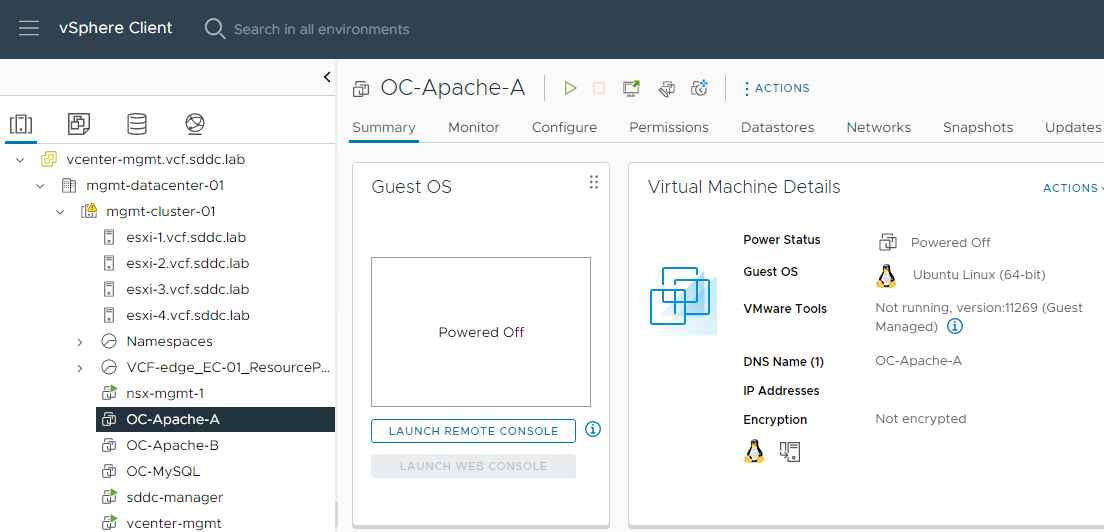
- Connect to the nested vCenter server instance for the VCF Management Domain.
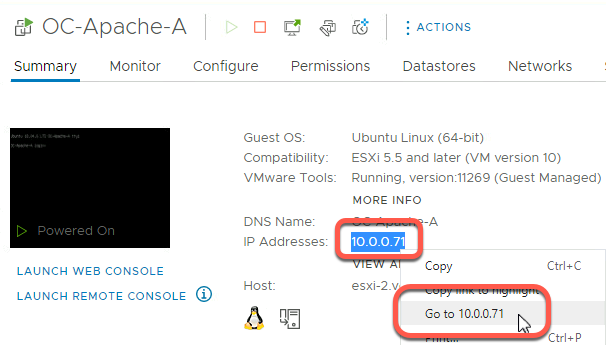
- From the VM and Template view within the vSphere Client, click on OC-Apache-A
- Notice the IP address 10.0.0.71
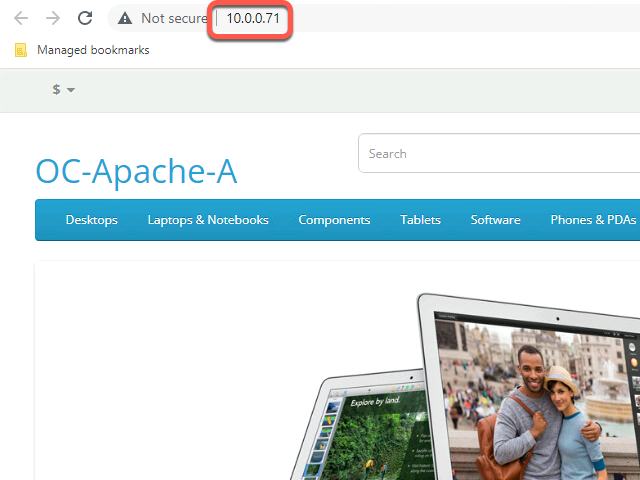
- Double click on the IP address, right click and select Go to 10.0.0.71
- A Chrome window will open and display the following page
Prep OpenCart VM’s for lab use
This task reconfigures the OpenCart VMs as needed for the SDN lab and powers each VM off.
- Return to the sdnLab.ps1 screen
- Select option 3
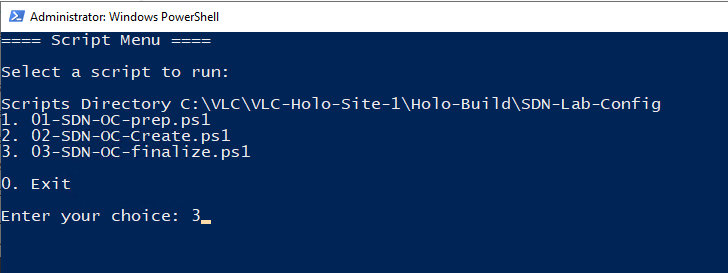
- Expected output
- The VM’s will be powered off in vCenter Server
Create Ubuntu Tanzu Workstation
Overview
The VMware Tanzu labs in the Holodeck series make use of a standardized Ubuntu 18.04 based workstation VM. This section covers the creation of this VM.
Build Tanzu VM
- Using the Windows Explorer, navigate to
C:\VLC\VLC-Holo-Site-1\Holo-Build\tanzu-Lab-Config - Right click on tanzuLab.ps1 and select “Run with Powershell”
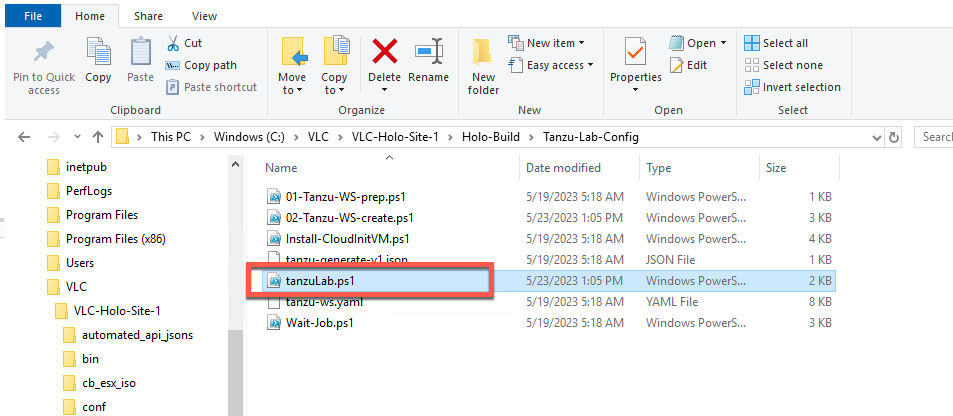
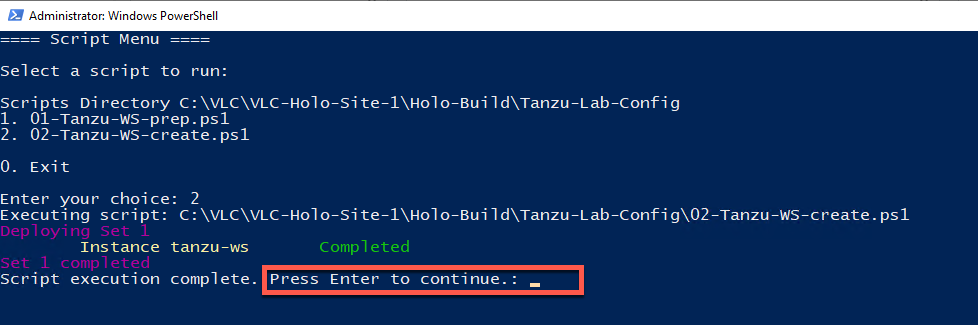
- Enter 1
- The output resembles the following
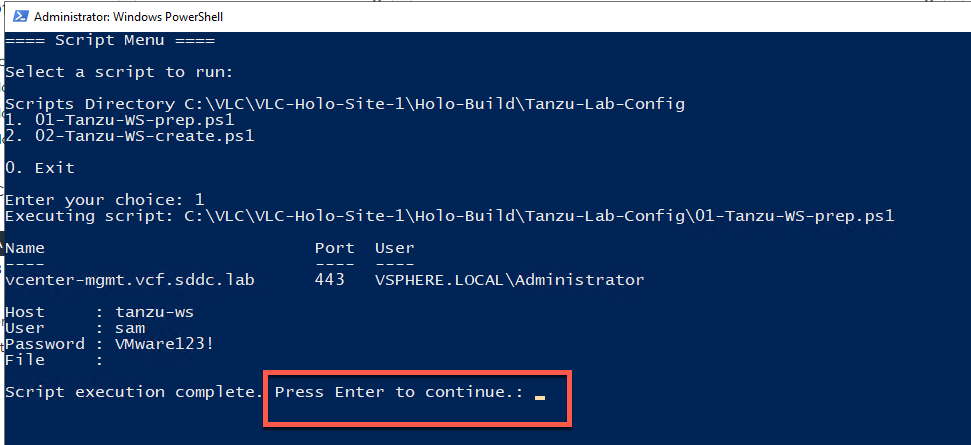
- Press enter, then select option 2
- This kicks off deploying the Tanzu Workstation. The process takes approximately 5 minutes