Holodeck Toolkit - Installing Cloud Assembly Lab Guide
Configuring VMware Cloud Assembly 8.11.2 On Prem for Use in VLC Holodeck
Overview
This section details configuring VMware Cloud Assembly 8.11.2 On Prem for use in the VLC Holodeck 2.0 nested lab environment.
Prerequisites
This lab procedure has the following prerequisites:
- VCF 5.0 or 4.5 is deployed in the VLC-Holo-Site-1 configuration
- No changes were made to the configuration, including changes of the host names, domains, IP addresses, or other information.
- AVN and Edge Cluster were deployed as part of VLC deployment.
- vRealize Automation 8.10 vra-lcm-installer-21471040.iso is available.
- Verify that the Holo-Template created earlier is present.
- License key for vRealize Automation 8.x Advanced or Enterprise
Task 1: Deploy VMware Cloud Assembly On Prem using the Easy Installer
This task configures VMware Cloud Assembly On Prem using the VMware vRealize Easy Installer from the Holo-Console VM.
[Step 1] Launch Easy installer
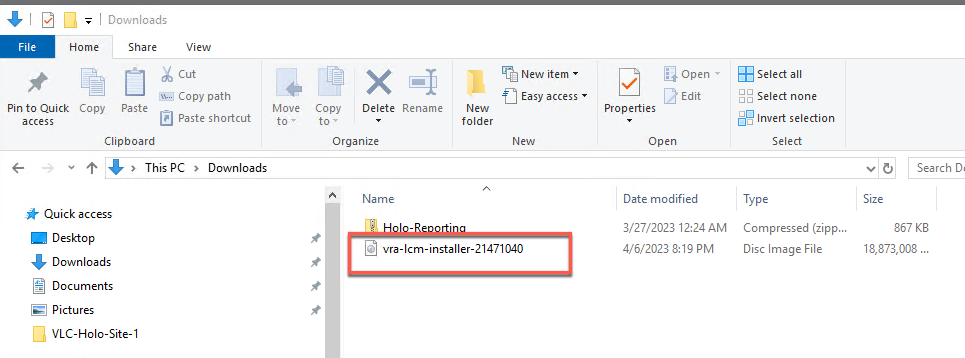
- Double click the installer ISO file in windows file manager. This will mount the ISO image to drive letter D: as a DVD.
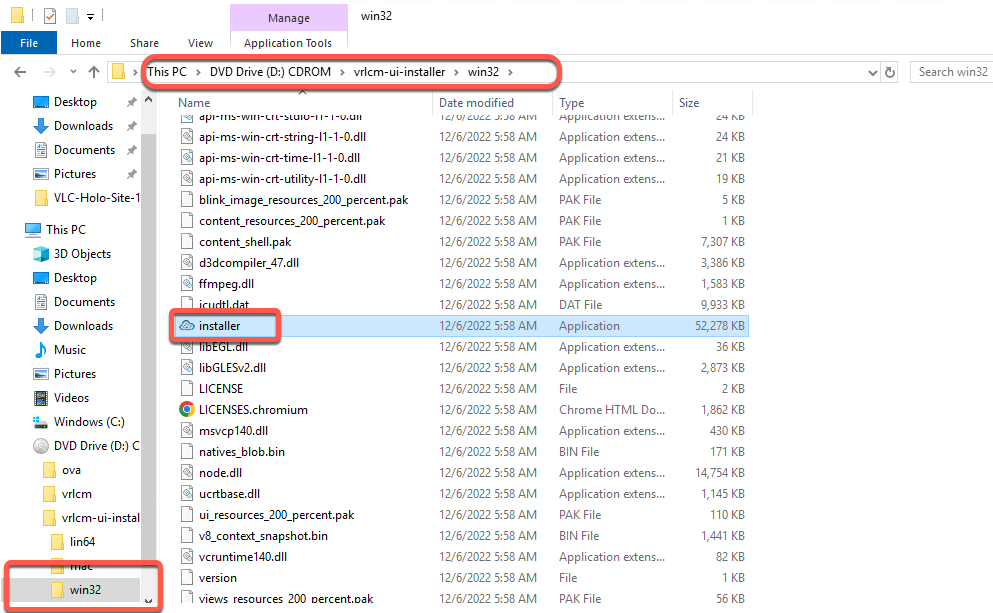
- Navigate to D:\vrlcm-ui-installer\win32 and double click on the installer file to start the installation
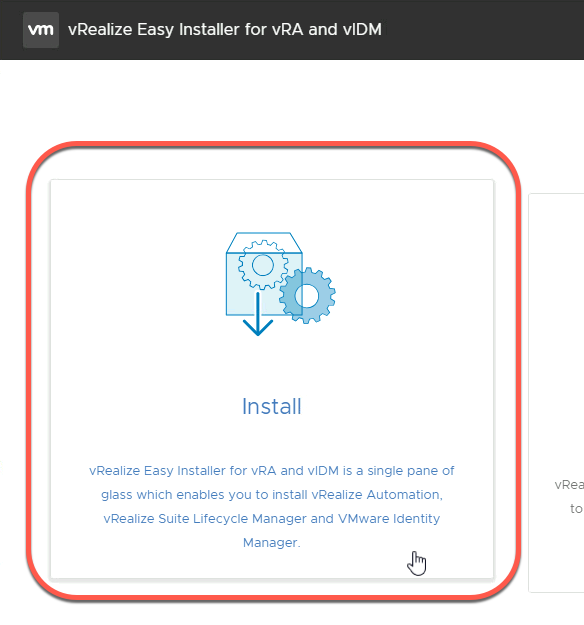
- Select Install
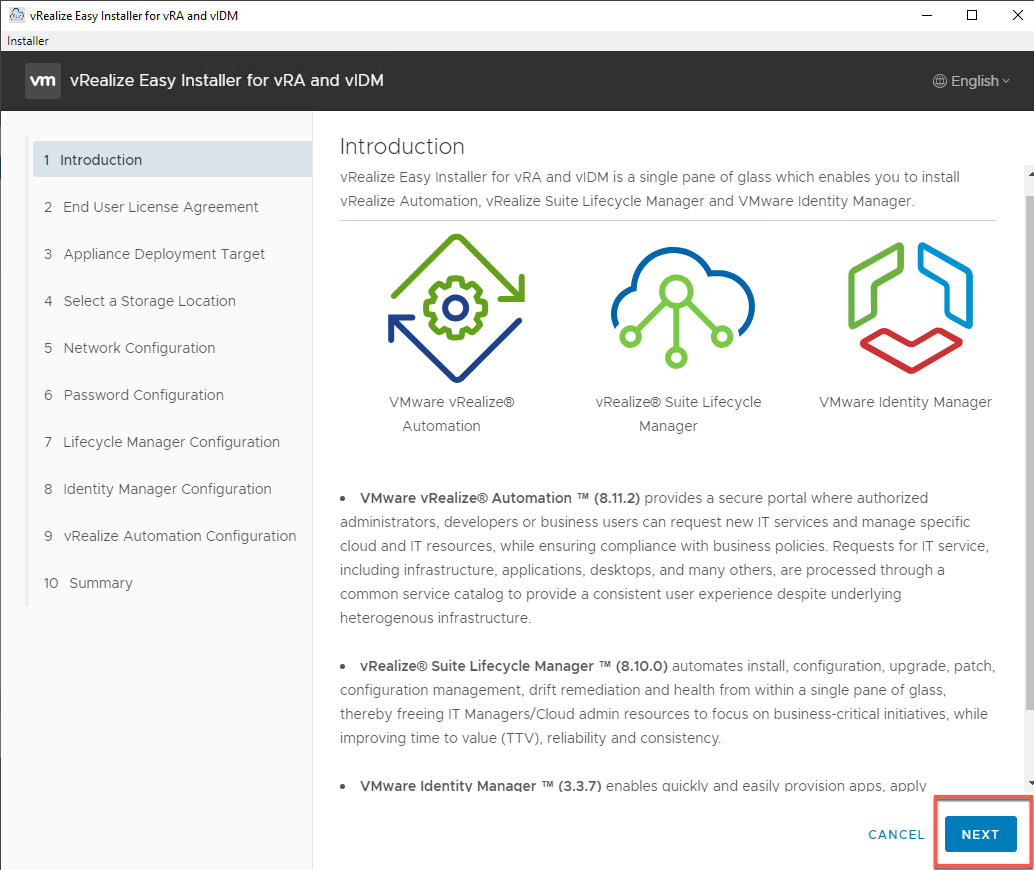
- Click Next
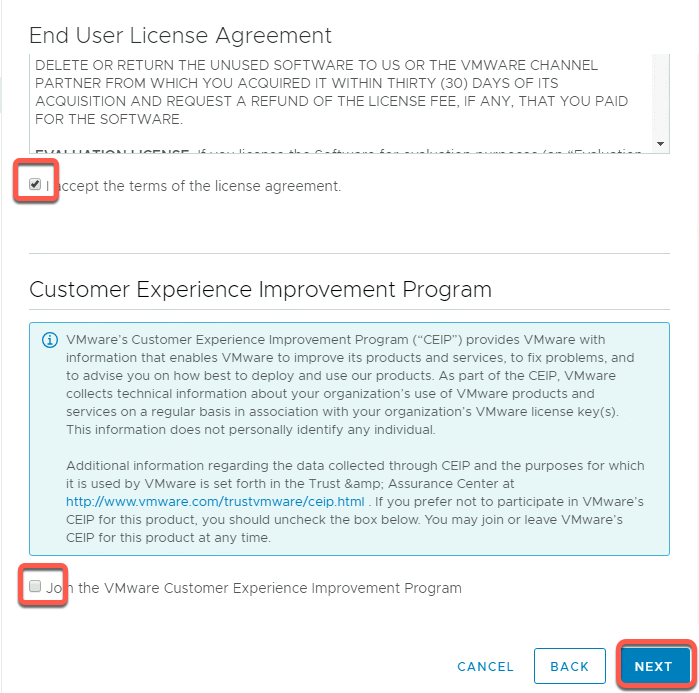
- Check the checkbox to accept the license agreement and clear the checkbox for joining the Customer Experience Improvement Program (CEIP)
- Click Next
- Enter vcenter-mgmt.vcf.sddc.lab for the vCenter Server FQDN, administrator@vsphere.local for the username and VMware123! for the password. Click Next
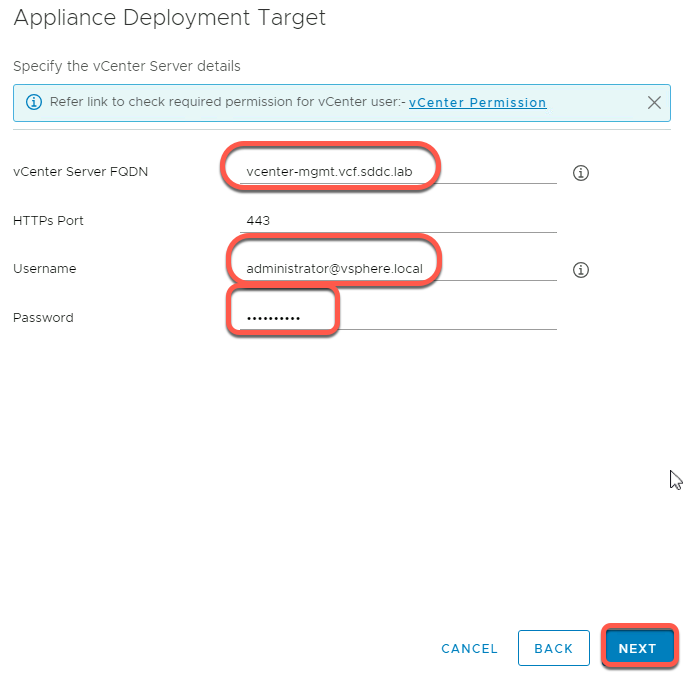
- Click Accept the certificate warning
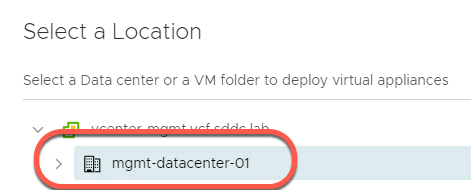
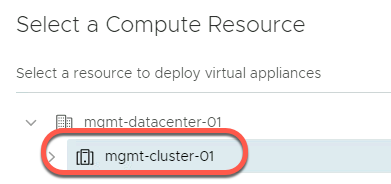
- Select location mgmt-datacenter-01 and click Next
- Select compute resource mgmt-cluster-01 and click next
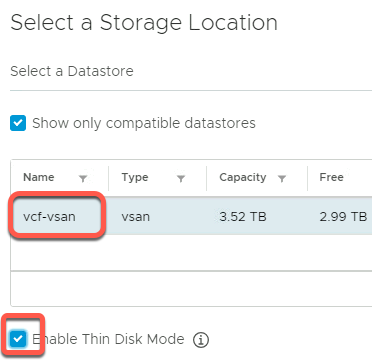
- Select storage location vcf-vsan and set Enable Thin Disk, then click Next
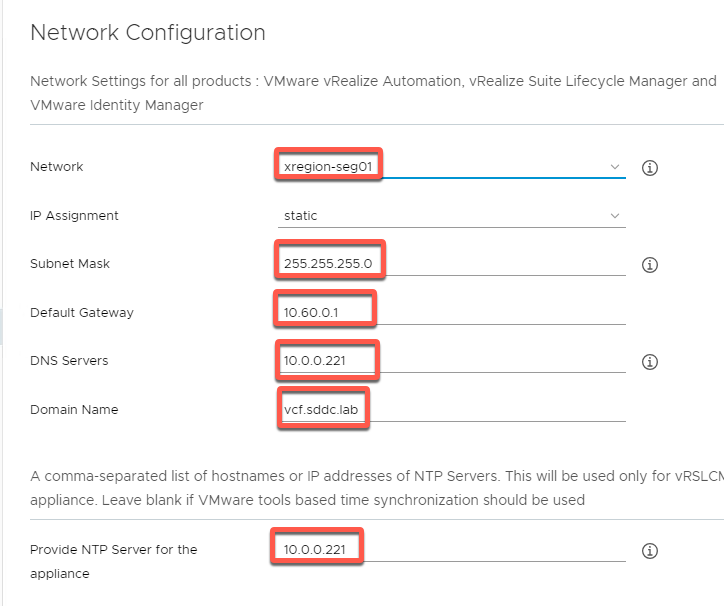
- Use the dropdown box for Network to select xregion-seg01 and leave IP Assignment as static . Enter the values below for each of the following attributes:
Subnet Mask = 255.255.255.0
Default Gateway = 10.60.0.1
DNS Servers = 10.0.0.221
Domain Name = vcf.sddc.lab
NTP Server = 10.0.0.221
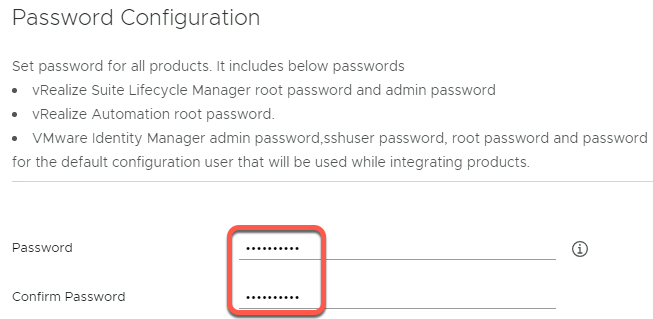
- Enter VMware123! For the Password and Confirm Password fields. Click Next
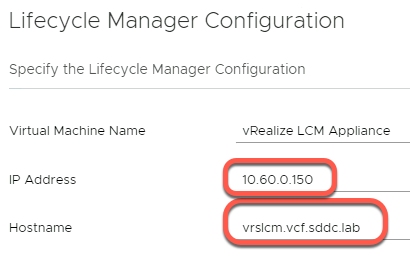
- Enter 10.60.0.150 for the IP Address value.
- Enter vrslcm.vcf.sddc.lab for the Hostname value
- No additional changes need to be made in the Optional Configuration
- Click Next
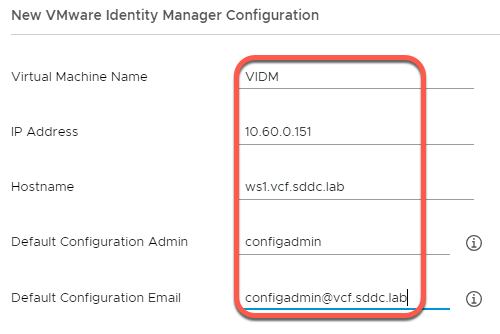
- We are going to install a new VMware Identity Manager. Provide the following values for the Identity Manager Configuration attributes listed below
Virtual Machine Name =VIDM
IP Address = 10.60.0.151
Hostname = ws1.vcf.sddc.lab
Default Configuration Admin = configadmin
Default Configuration Email = configadmin@vcf.sddc.lab
- Click Next
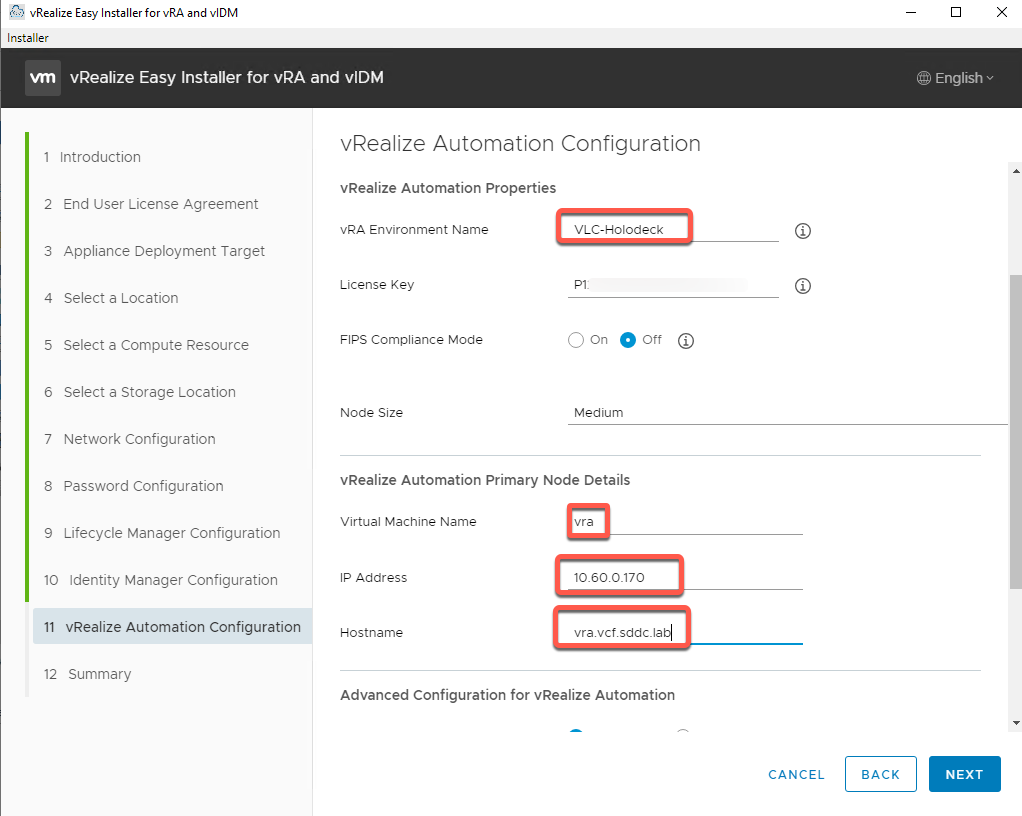
- Provide the following values for the vRealize Automation Configuration attributes listed below
vRA Environment Name =VLC-Holodeck
License Key = <any valid license key>
Virtual Machine Name = VRA
FIPS Compliance = Off
Node Size = medium
IP Address =10.60.0.170
Hostname =vra.vcf.sddc.lab
- Leave the Advance Configuration for Internal Pods and Service Configuration with Use Default selected
- Click Next
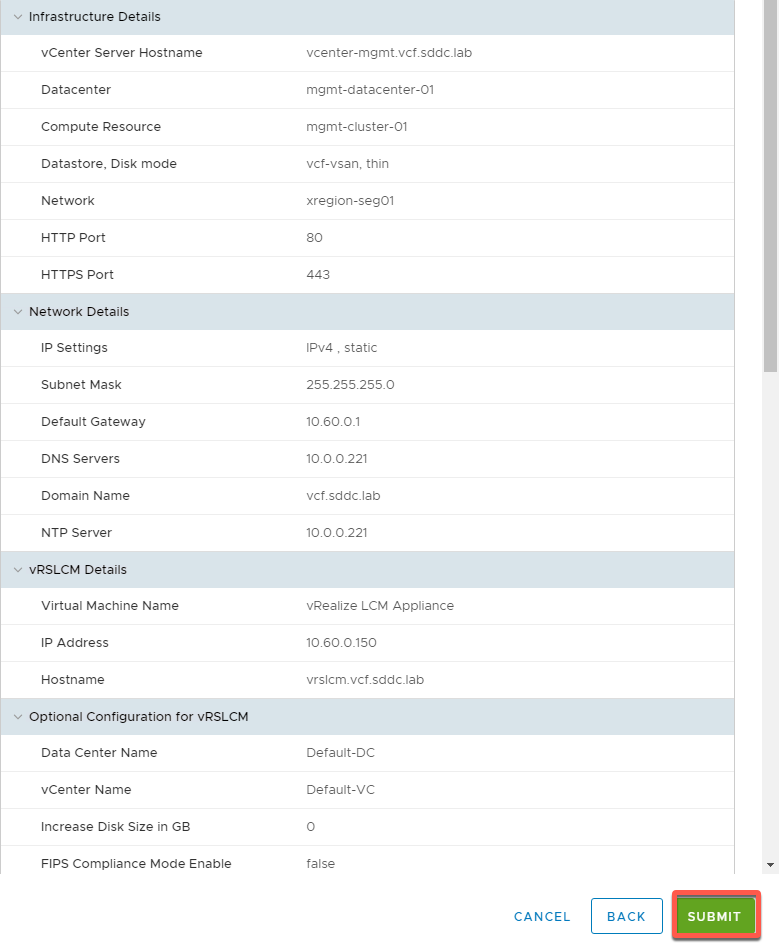
- Review the summary information and then click Submit
- The deployment process takes approximately two hours to complete
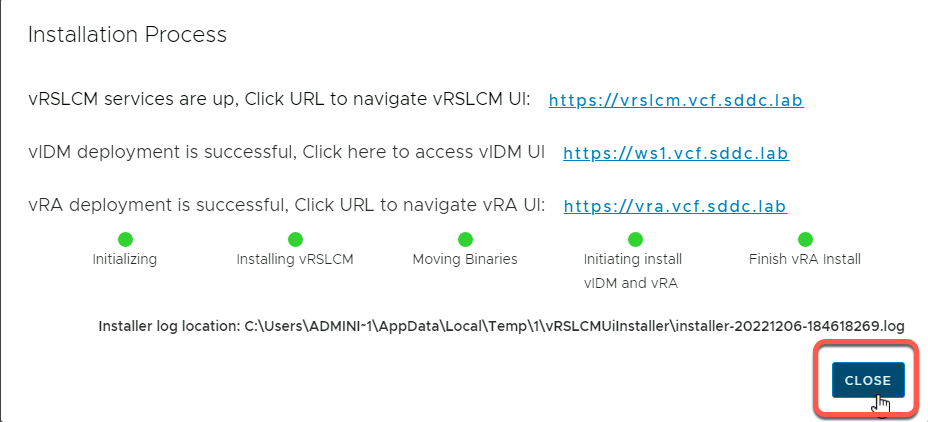
- Wait for the installation to complete, then click Close to quit the installer
Task 2: VMware Cloud Assembly 8.11.2 On Prem initial configuration with Quickstart
This task configures VMware Cloud Assembly On Prem to work with resources in the VLC-Holo-Site-1 Management Domain. This task assumes VMware Workspace One Access and VMware vRealize Automation have been successfully installed in the Holodeck configuration.
[Step 1] Login to vRealize
- Open a new Chrome browser tab
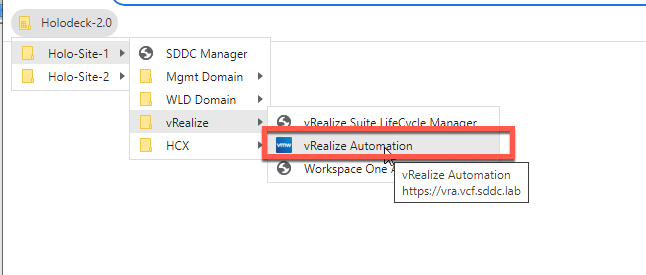
- Click on the Holodeck 2.0 bookmarks folder, then Holo-Site-1, then vRealize, and then vRealize Automation
- At the certificate warning, click Advanced, then click Proceed to vra.vcf.sddc.lab (unsafe)
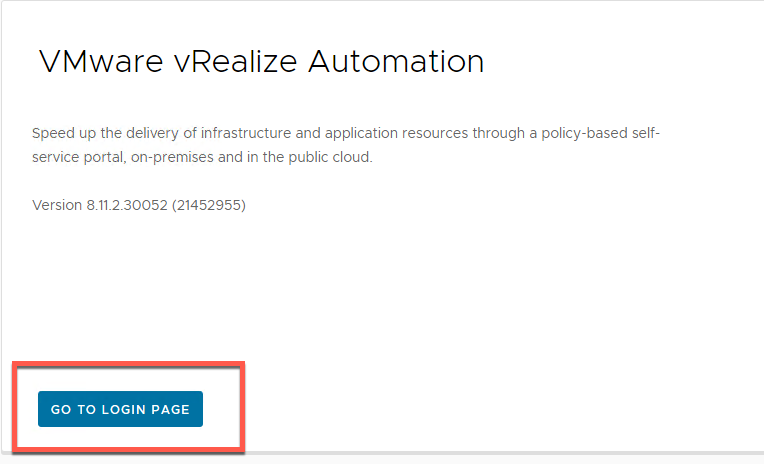
- Click on Go To Login Page
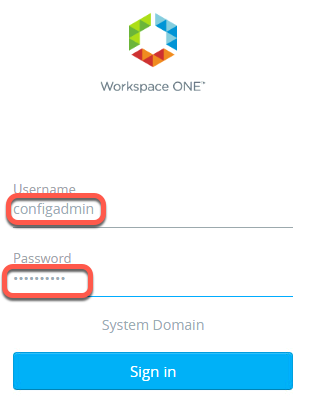
- At the certificate warning, click Advanced, then click Proceed to vws1.vcf.sddc.lab (unsafe)
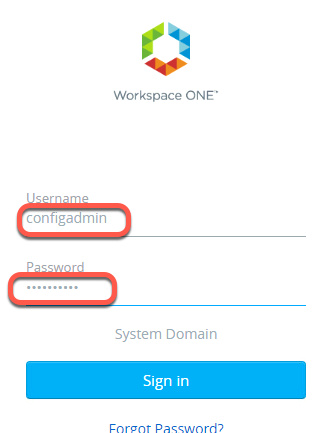
- Login as the user configadmin with the password ofVMware123!
[Step 2] Use vRealize Automation Quickstart wizard
- Click on Launch Quickstart

- Click Start on VMware Cloud Foundation

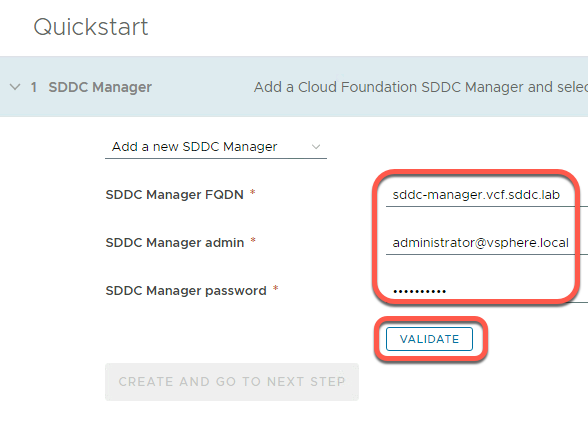
- In the Add a new SDDC Manager section and provide the values for the following attributes:
SDDC Manager FQDN = sddc-manager.vcf.sddc.lab
SDDC Manager admin = administrator@vsphere.local
SDDC Manager password = VMware123!
- Click Validate
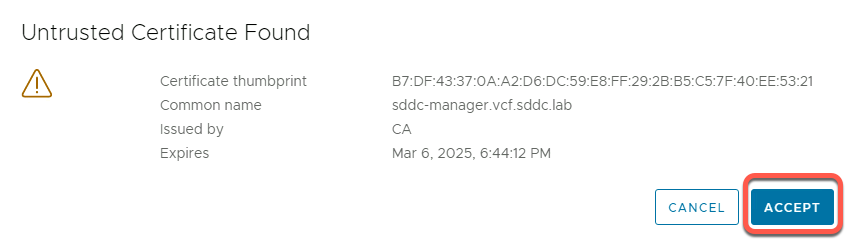
- Accept the untrusted certificate
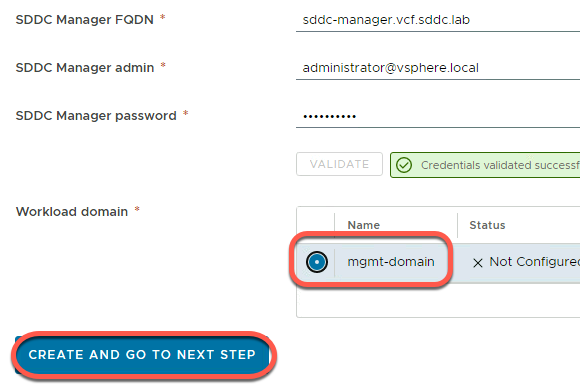
- After the validation completes, the Workload domain section updates. Select the mgmt-domain, then Create and Go To Next Step
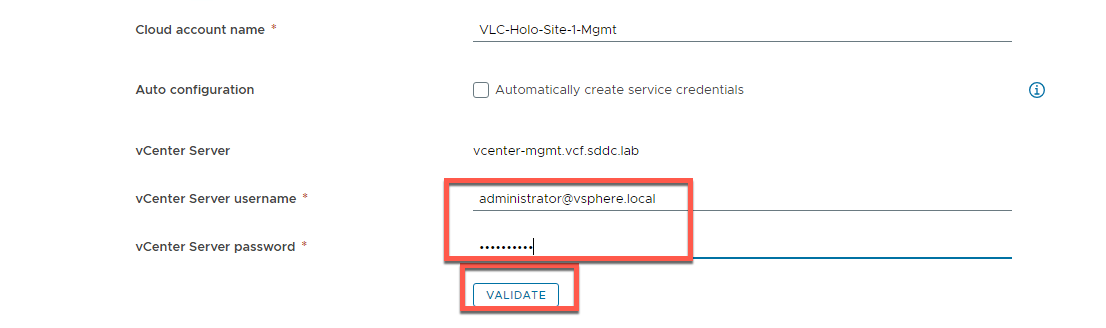
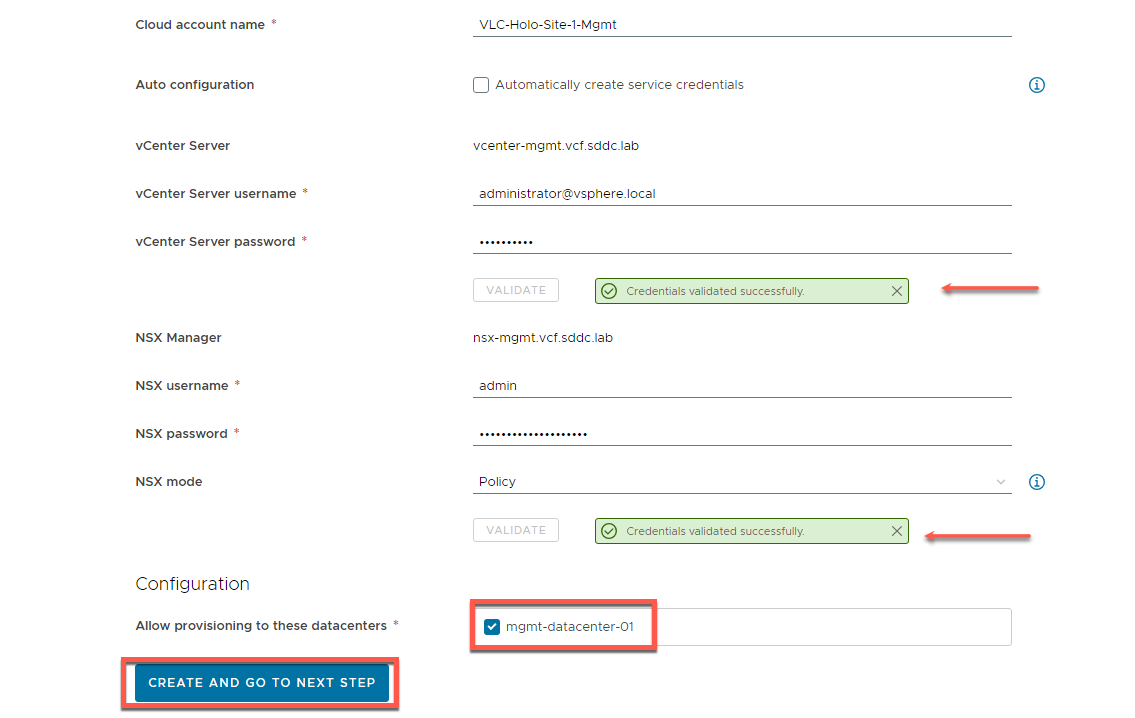
- Enter the value of VLC-Holo-Site-1-Mgmt for the Cloud Account Name attribute
- Do NOT check Automatically Create Service Credentials
- Enter administrator@vsphere.local for the username and VMware123! for the password. Click Validate
- Accept the Untrusted Certificate
- Under NSX Manager, enter admin for the username and VMware123!VMware123! for the password. Leave NSX Mode set to “Policy” Click Validate
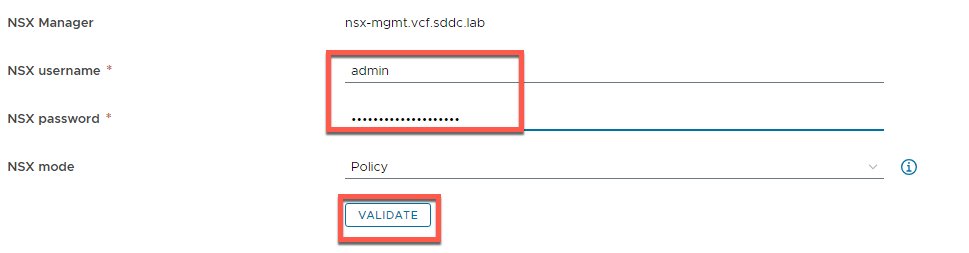
- Accept untrusted certificate
- Notice Credentials validated successfully and mgmt-datacenter-01 is checked for allow provisioning
- Click CREATE AND GO TO NEXT STEP
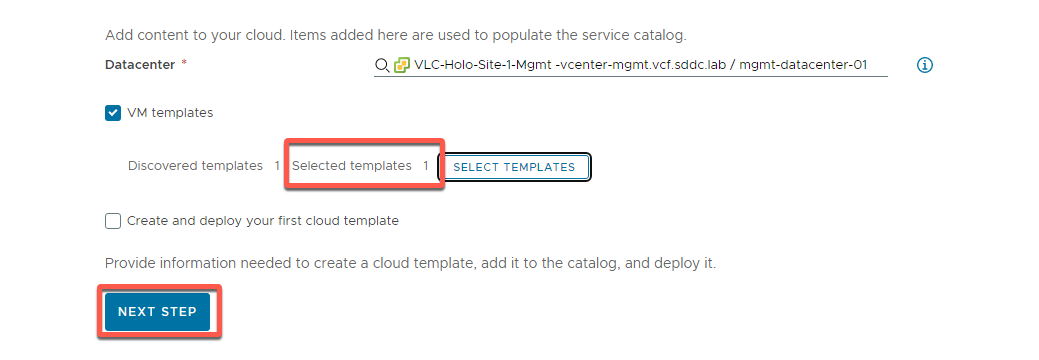
- Select the checkbox for VM Templates
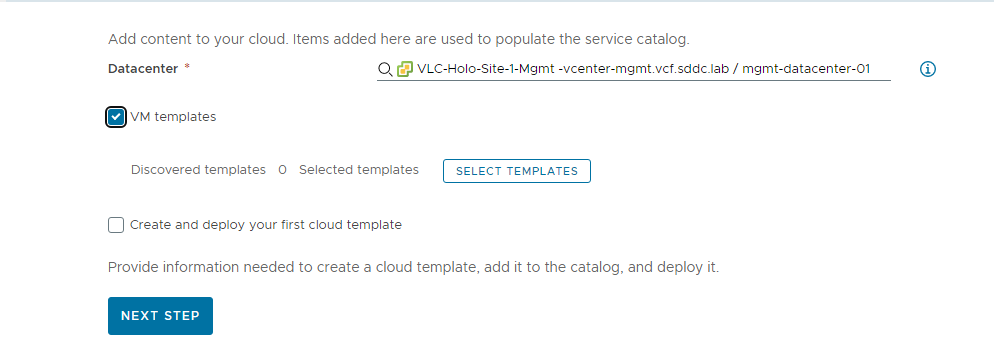
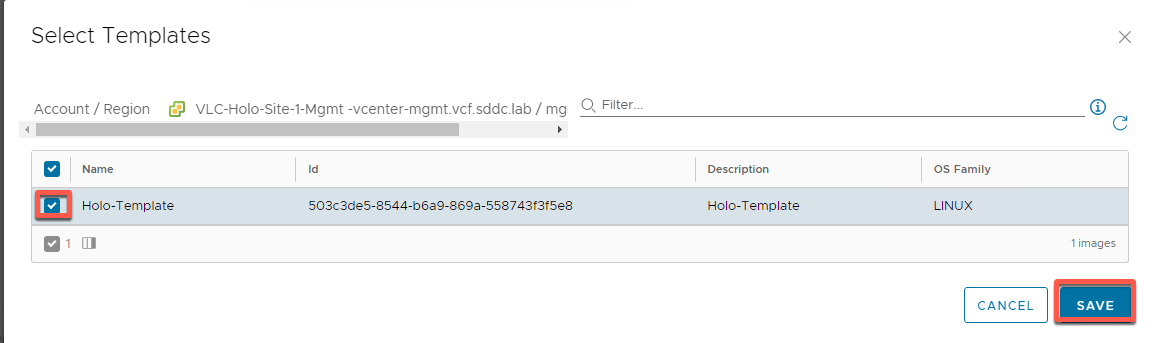
- Click Select Templates
- Select the Holo-Template
- Click Save
- Verify that one template is selected.
- Click Next Step
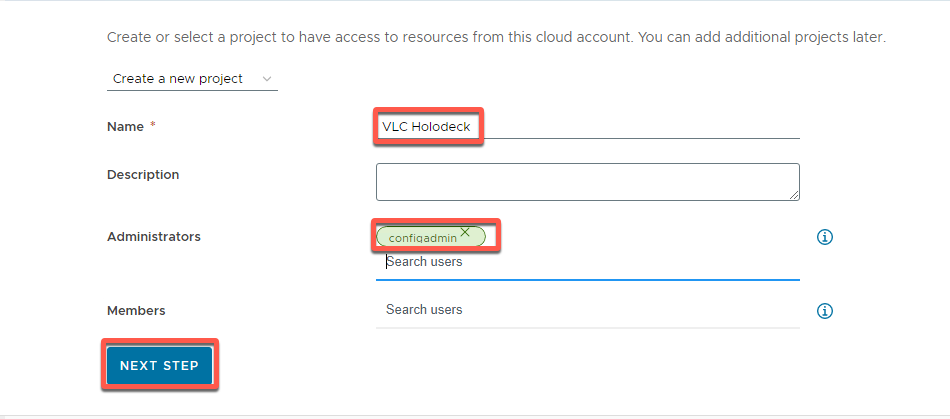
- Create a new project called VLC-Holodeck
- Search for con in the Administrators field to locate the configadmin user
- Select configadmin and click Next Step
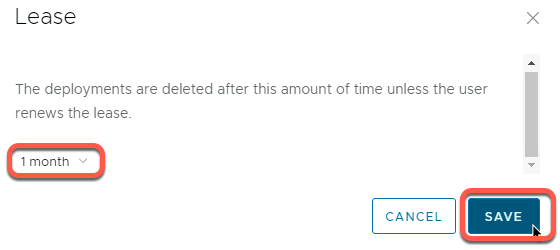
- Click Edit for Lease
- Set lease to 1 month
- Click Save
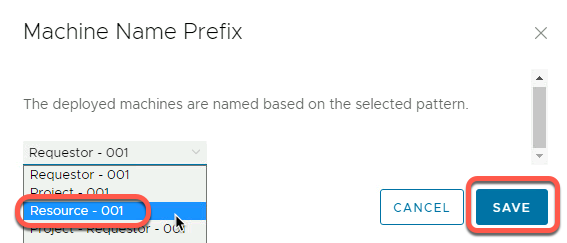
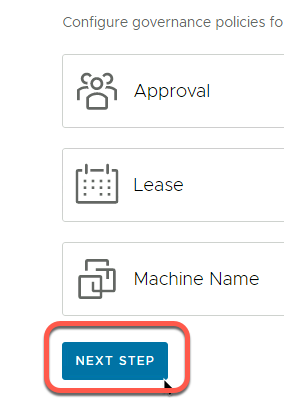
- Click Edit on Machine name
- Select the dropdown for the machine name prefix.
- Select Resource-001 then click Save
- Click Next Step
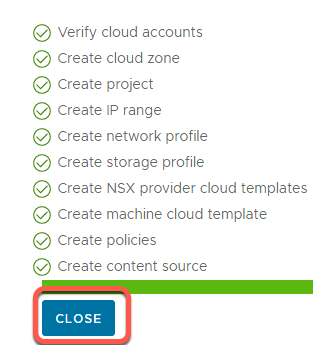
- Review the details and click Run Quickstart
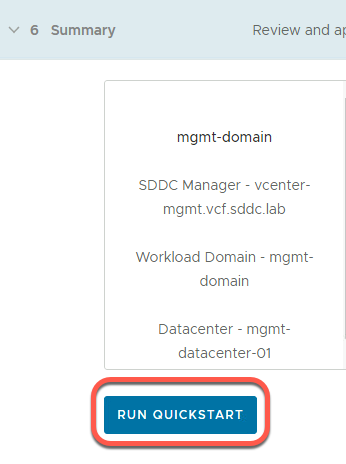
- Click Close when complete
Task 3: Review and customize VMware Cloud Assembly On Prem configuration
In this task the VMware Cloud Assembly configuration deployed by the quick start wizard is reviewed and customized as needed.
[Step 1] Login to Cloud Assembly
- Open a new Chrome browser tab
- Click on the Holodeck-2.0 bookmarks folder, then Holo-Site-1, then vRealize, and then vRealize Automation
- Click on Go to Login Page
- Login as the user configadmin with the password ofVMware123!
- Click Cloud Assembly
[Step 2] Review/Customize Cloud Account settings
- Click Infrastructure
- Scroll to bottom of the left-hand side menu and click Cloud Accounts
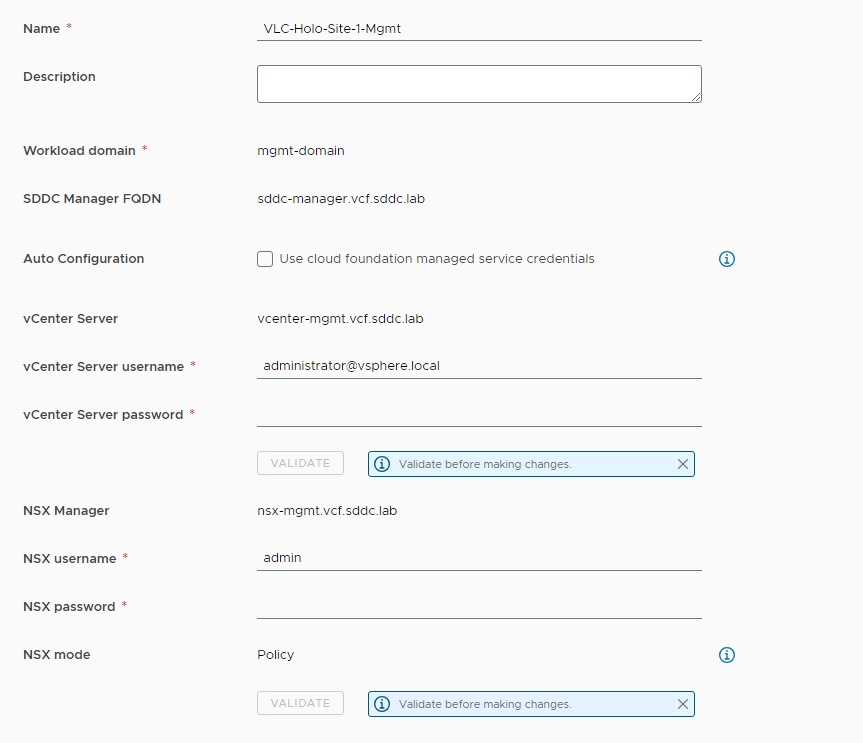
- Click Open on the VLC-Holodeck-Mgmt domain Cloud Account

- Note that Cloud Assembly recognizes the environment as connect to VMware Cloud Foundation and shows the Workload domain name and SDDC Manager FQDN. The vCenter Server service account credentials for the Management domain vCenter instance and the NSX Manager account details are also shown (VCF uses NSX user “admin” for connecting)
- Scroll down
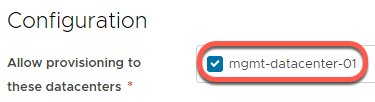
- Note this Cloud Account is authorized to provision workloads to the mgmt-datacenter-01 datacenter
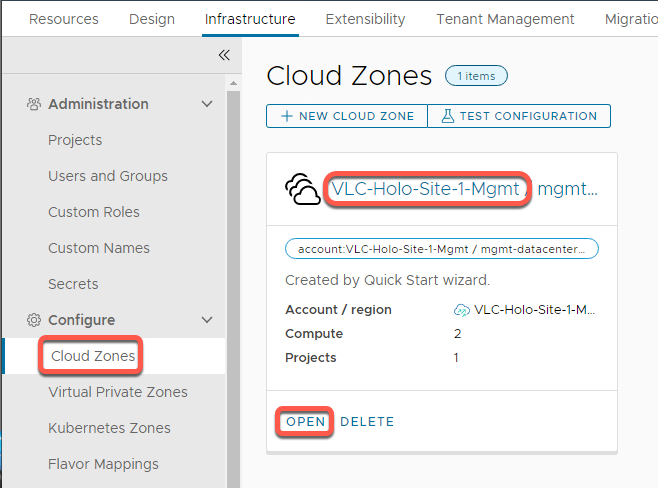
[Step 3] Review/Customize Cloud Zones settings
- On the left-hand side menu, click Cloud Zones.
In simple terms, a Cloud Zone maps to an instance of vCenter Server when connecting to a vSphere-based environment. With VMware Cloud Foundation, one Cloud Zone per Workload Domain is used for VMware Cloud Assembly
- Click Open on the VLC-Holo-Site-1-Mgmt Cloud Zone
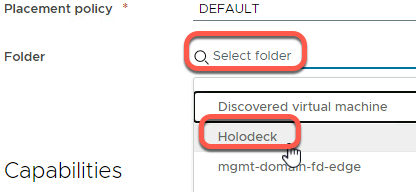
- Click on Folder and select the Holodeck folder previously created
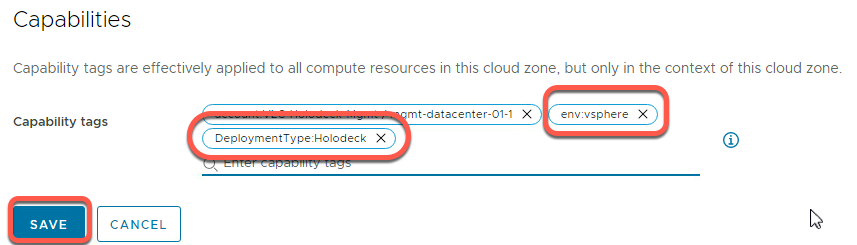
- Add a new Capability tag called env:vsphere
- Add a new Capability tag called DeploymentType:Holodeck
- Click Save
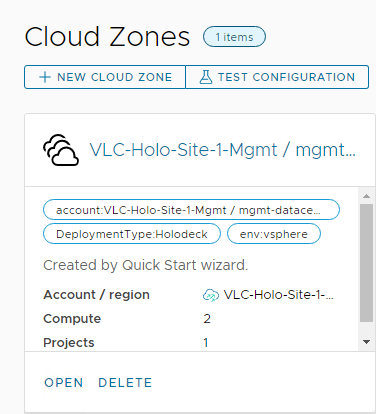
- Observe the UI resembles the following:
[Step 4] Review Project settings
- Click on Projects on the left-hand side menu
- Click Open on the VLC-Holodeck project.
Projects map specific users and/or templates to specific Cloud Zones. Projects essentially allow for separation of different sets of templates and users to different areas of capacity.
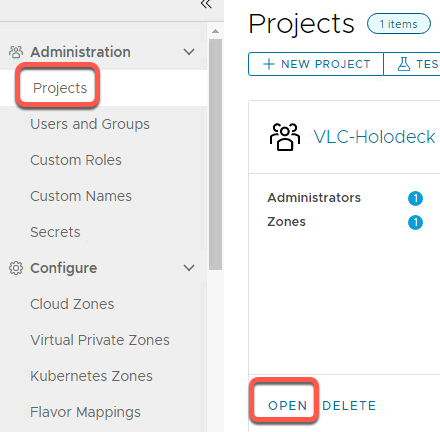
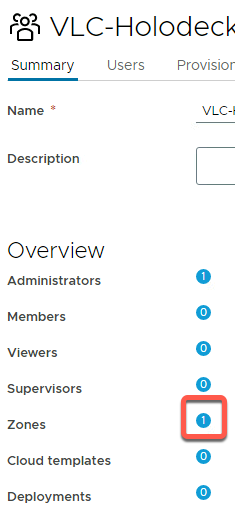
- Note that the Summary page shows this project maps to one Zone
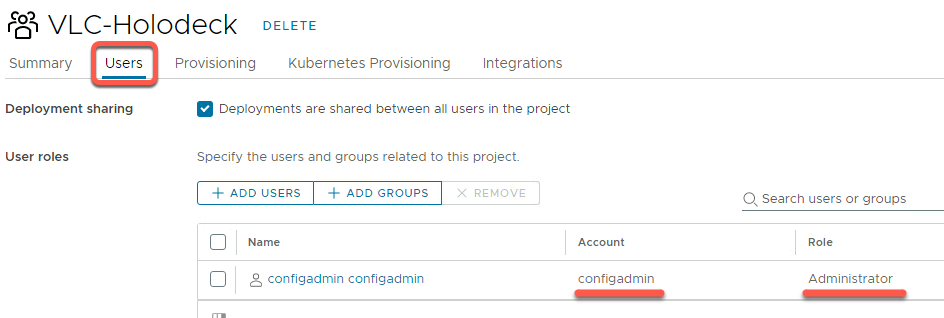
- Click Users. The configadmin user has full Administrator rights
- Click Provisioning. Note the capability tags of the VLC-Holodeck-Mgmt Cloud Zone are displayed

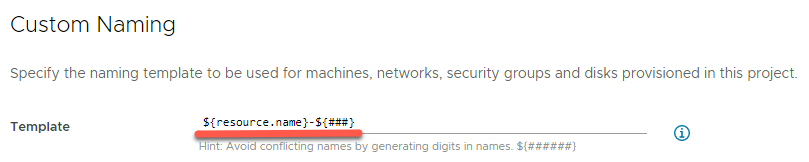
- Scroll to bottom of the provisioning screen
- Note the Custom Naming Template. This will show up later when deploying resources from VRA
- Click Cancel to exit this screen
[Step 5] Set Flavor Mappings
Flavor mappings map CPU and Memory sizing for virtual machines deployed by VMware Cloud Assembly. These mappings can be specific to a given Cloud Zone (account/region)
- Click on Flavor Mappings from the left-hand side menu
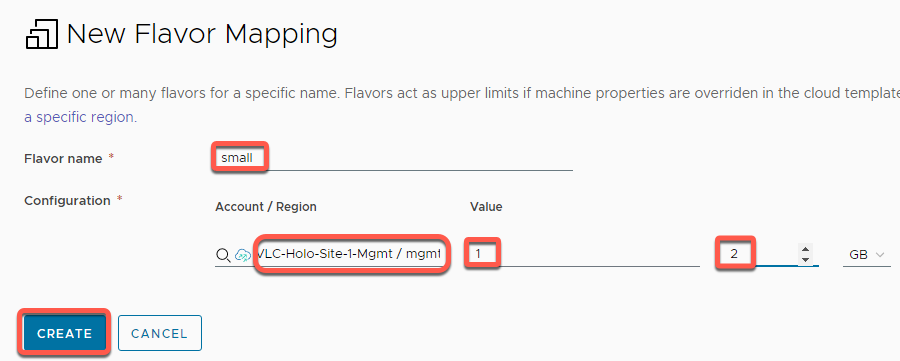
- Click New Flavor Mapping

- Set Flavor name to small and Account/Region to Holodeck/mgmt-datatcenter-01
- Set CPU and Memory Value to 1 and 2 respectively, then click Create
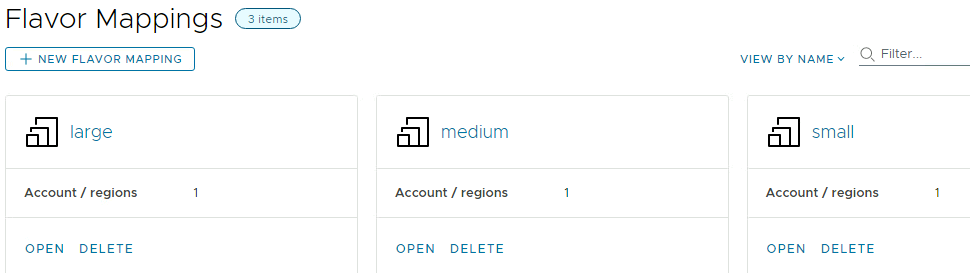
- Repeat B through D for Flavor Mapping medium, with CPU and Memory values of 2 and 4 respectively

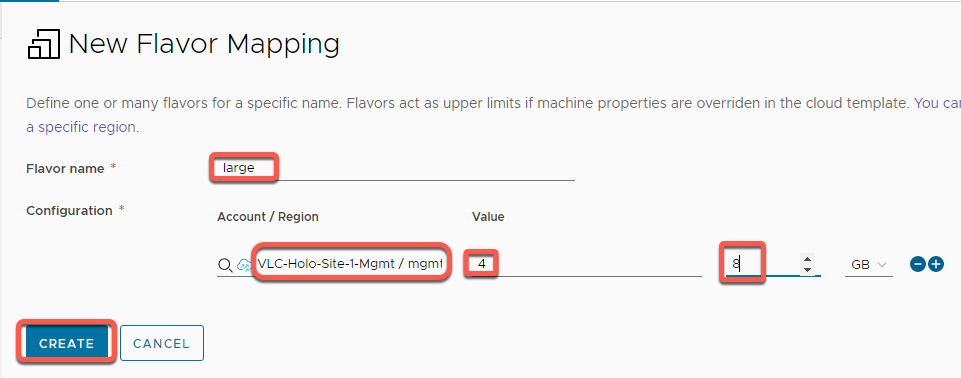
- Repeat B through D for Flavor Mapping large, with CPU and Memory values of 4 and 8 respectively
- Observe the UI resembles the following:
[Step 5] Set Image Mappings
- Click on Image Mappings on the left-hand side menu
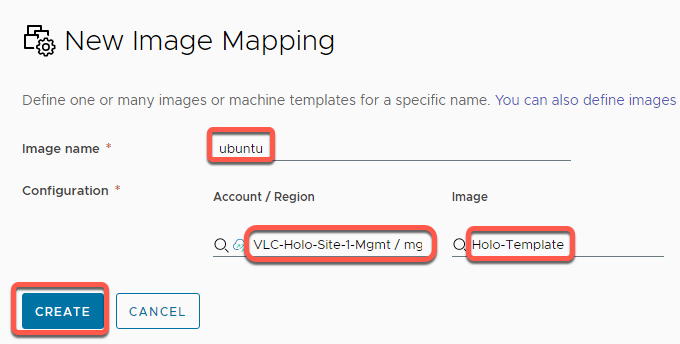
- Click New Image Mapping

- Set Image name to ubuntu and Account/Region to Holodeck/mgmt-datacenter-01
- Click on Search for Images and select the Holo-Template template configured during the VRA quickstart
- Click Create
- Observe the UI show the new Image Mapping called ubuntu

[Step 6] Tag NSX uplinks
- Click on Networks from the left-hand side menu
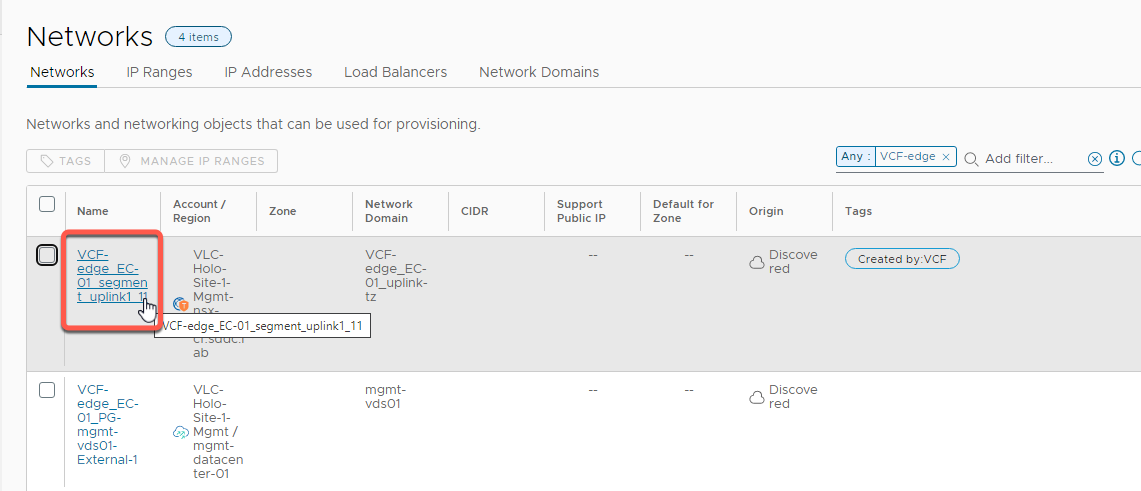
- Filter for VCF-Edge with properties Any
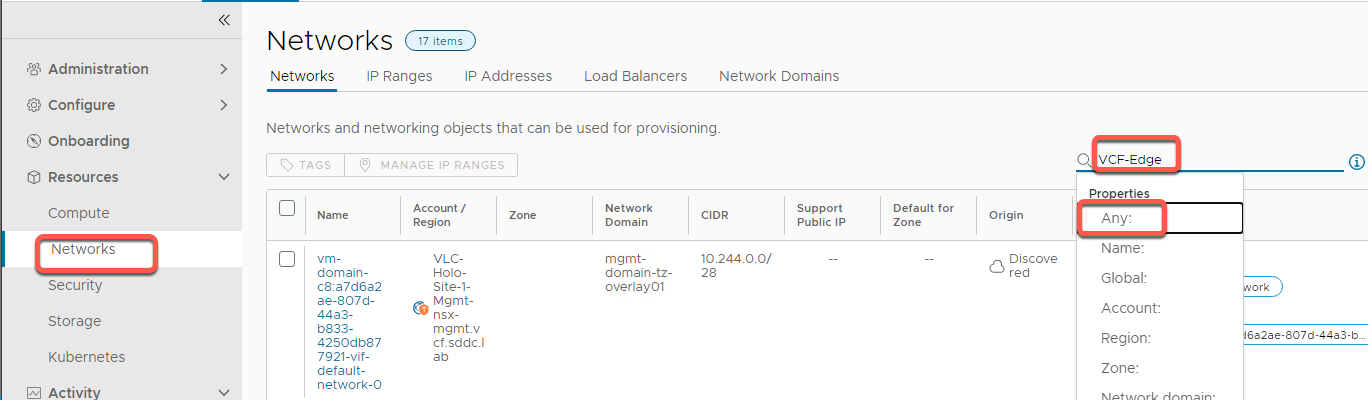
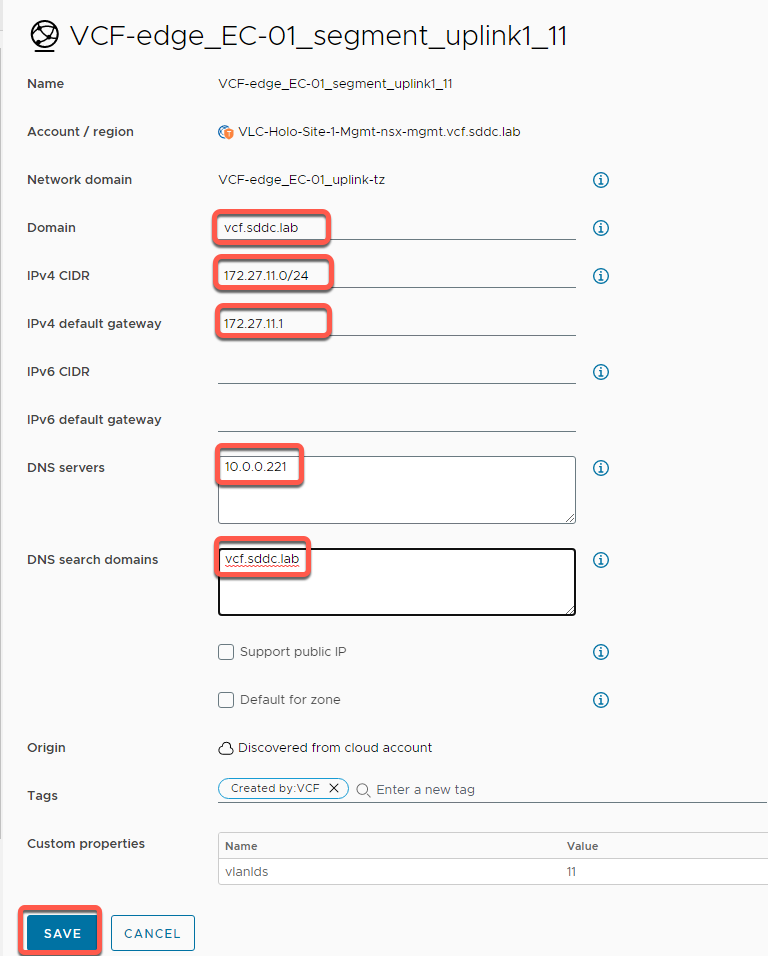
- Click on the first VCF-edge uplink network. Notice the keyword uplink in the name
- Provide the values for the following attributes:
Domain = vcf.sddc.lab
IPv4 CIDR = 172.27.11.0/24
IPv4 default gateway =172.27.11.1
DNS Servers = 10.0.0.221
DNS Search domain = vcf.sddc.lab
- Click Save
- Filter for VCF-Edge with properties Any
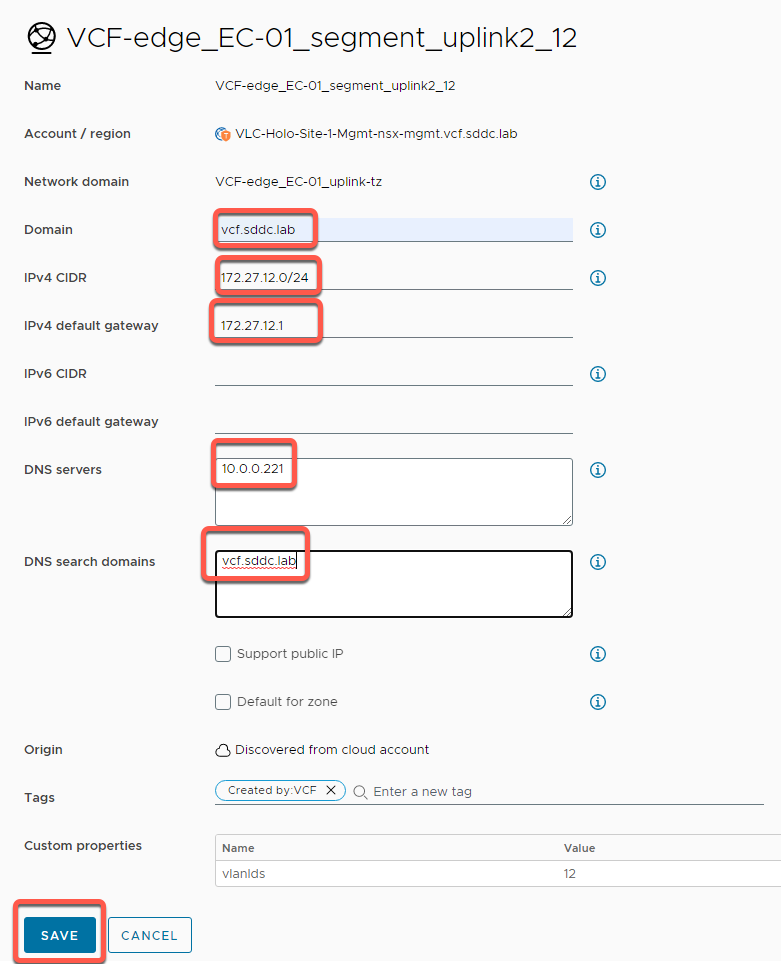
- Select the second VCF-Edge uplink
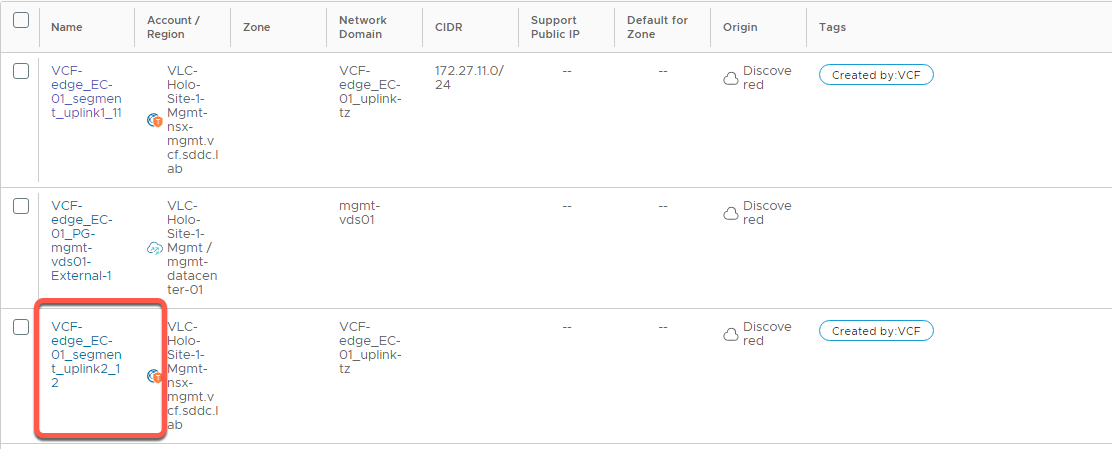
- Provide the values for the following attributes:
Domain = vcf.sddc.lab
IPv4 CIDR = 172.27.12.0/24
IPv4 default gateway =172.27.12.1
DNS Servers = 10.0.0.221
DNS Search domain = vcf.sddc.lab
- Click Save