
Virtual Machine Mobility
VM Migration (vMotion)
This walkthrough is designed to provide you a step-by-step overview on how to migrate Virtual Machines across Hosts and Storage. Use the arrow keys to navigate through the screens.
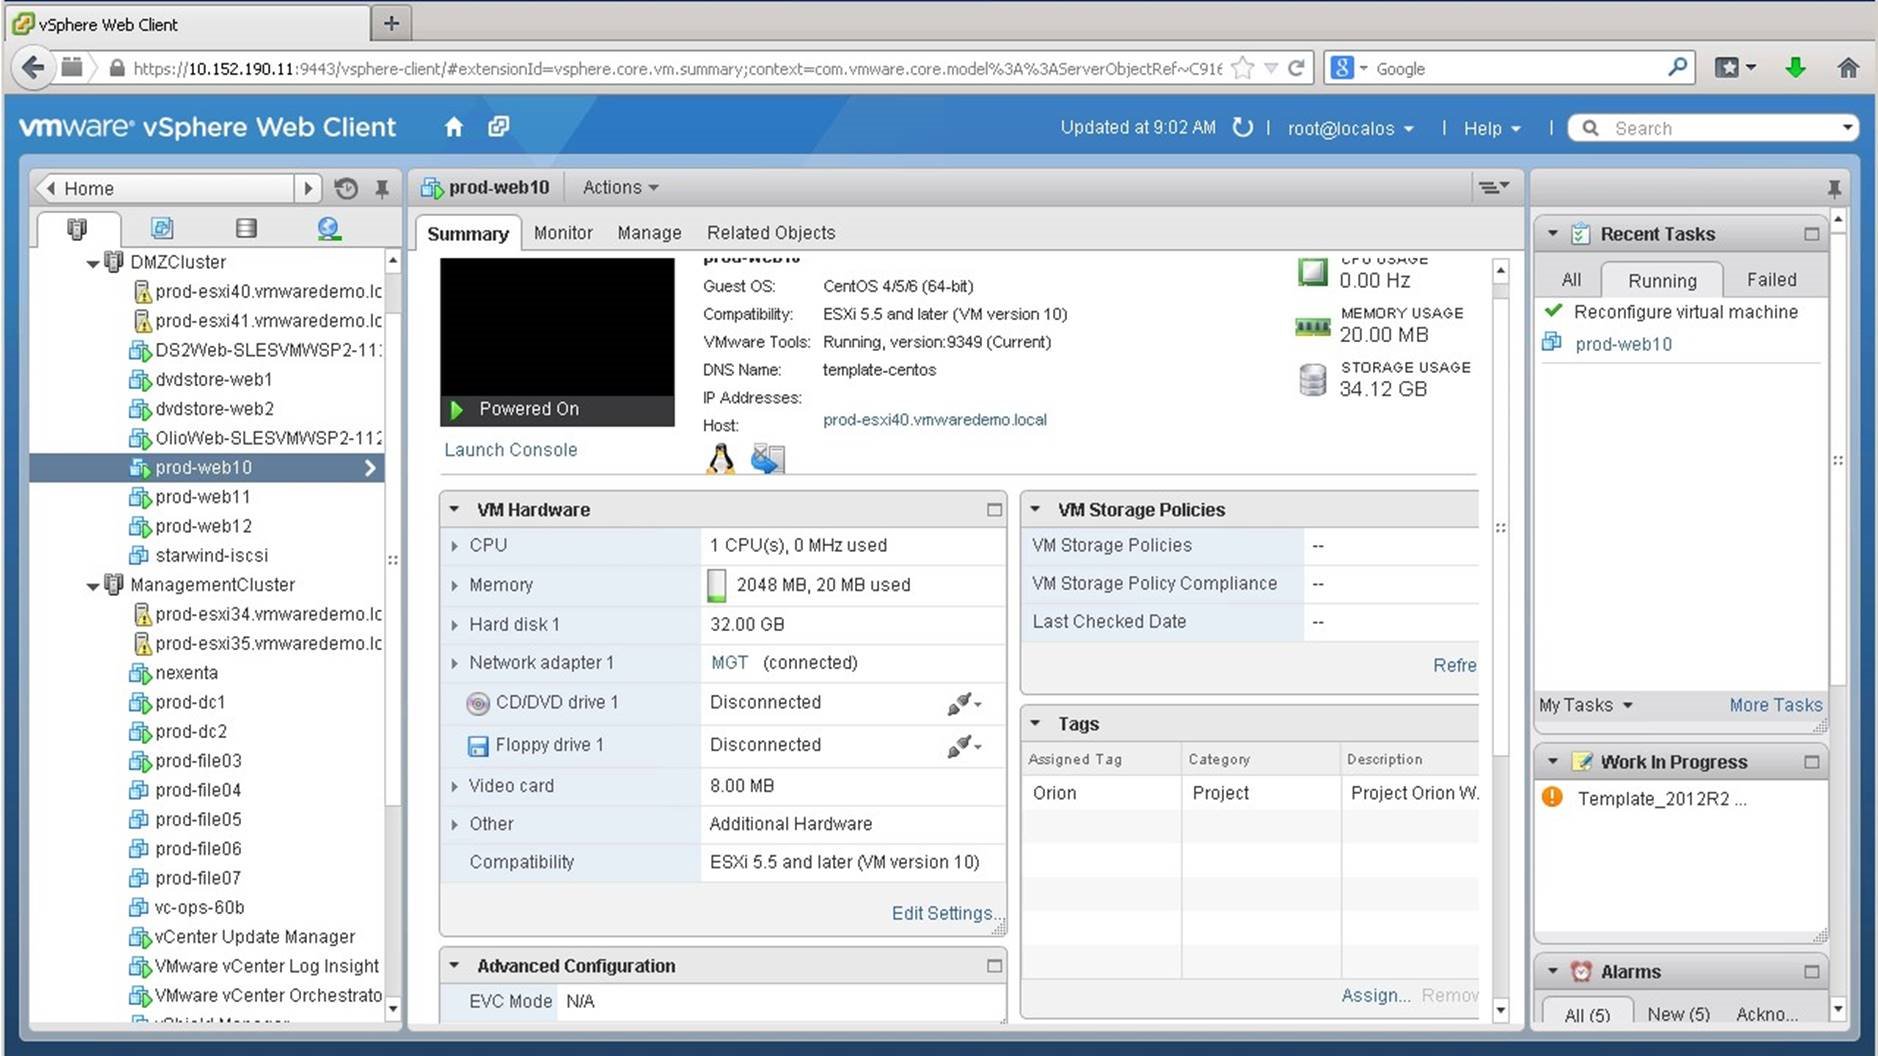
During the course of a virtual machine’s lifecycle, it may become necessary to migrate a VM between hosts or between different types of storage. In this example, we will migrate the virtual machine "prod-web10".
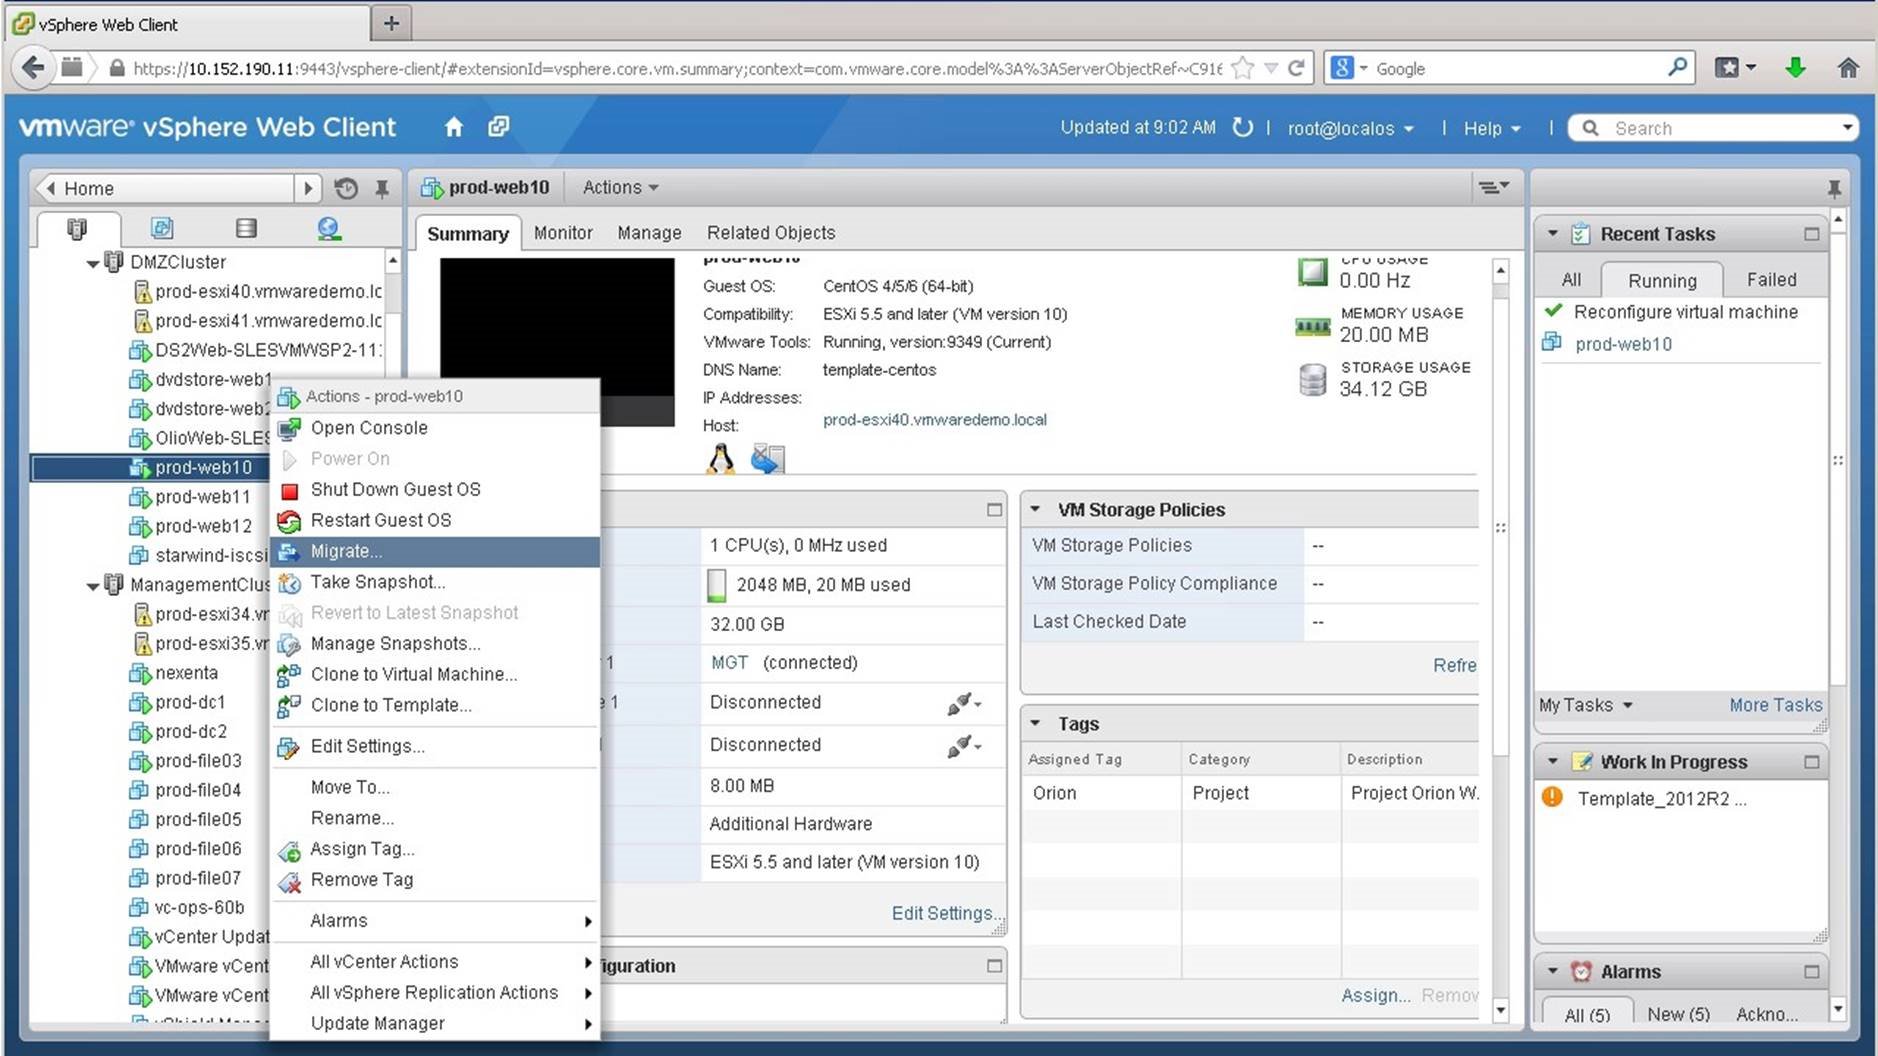
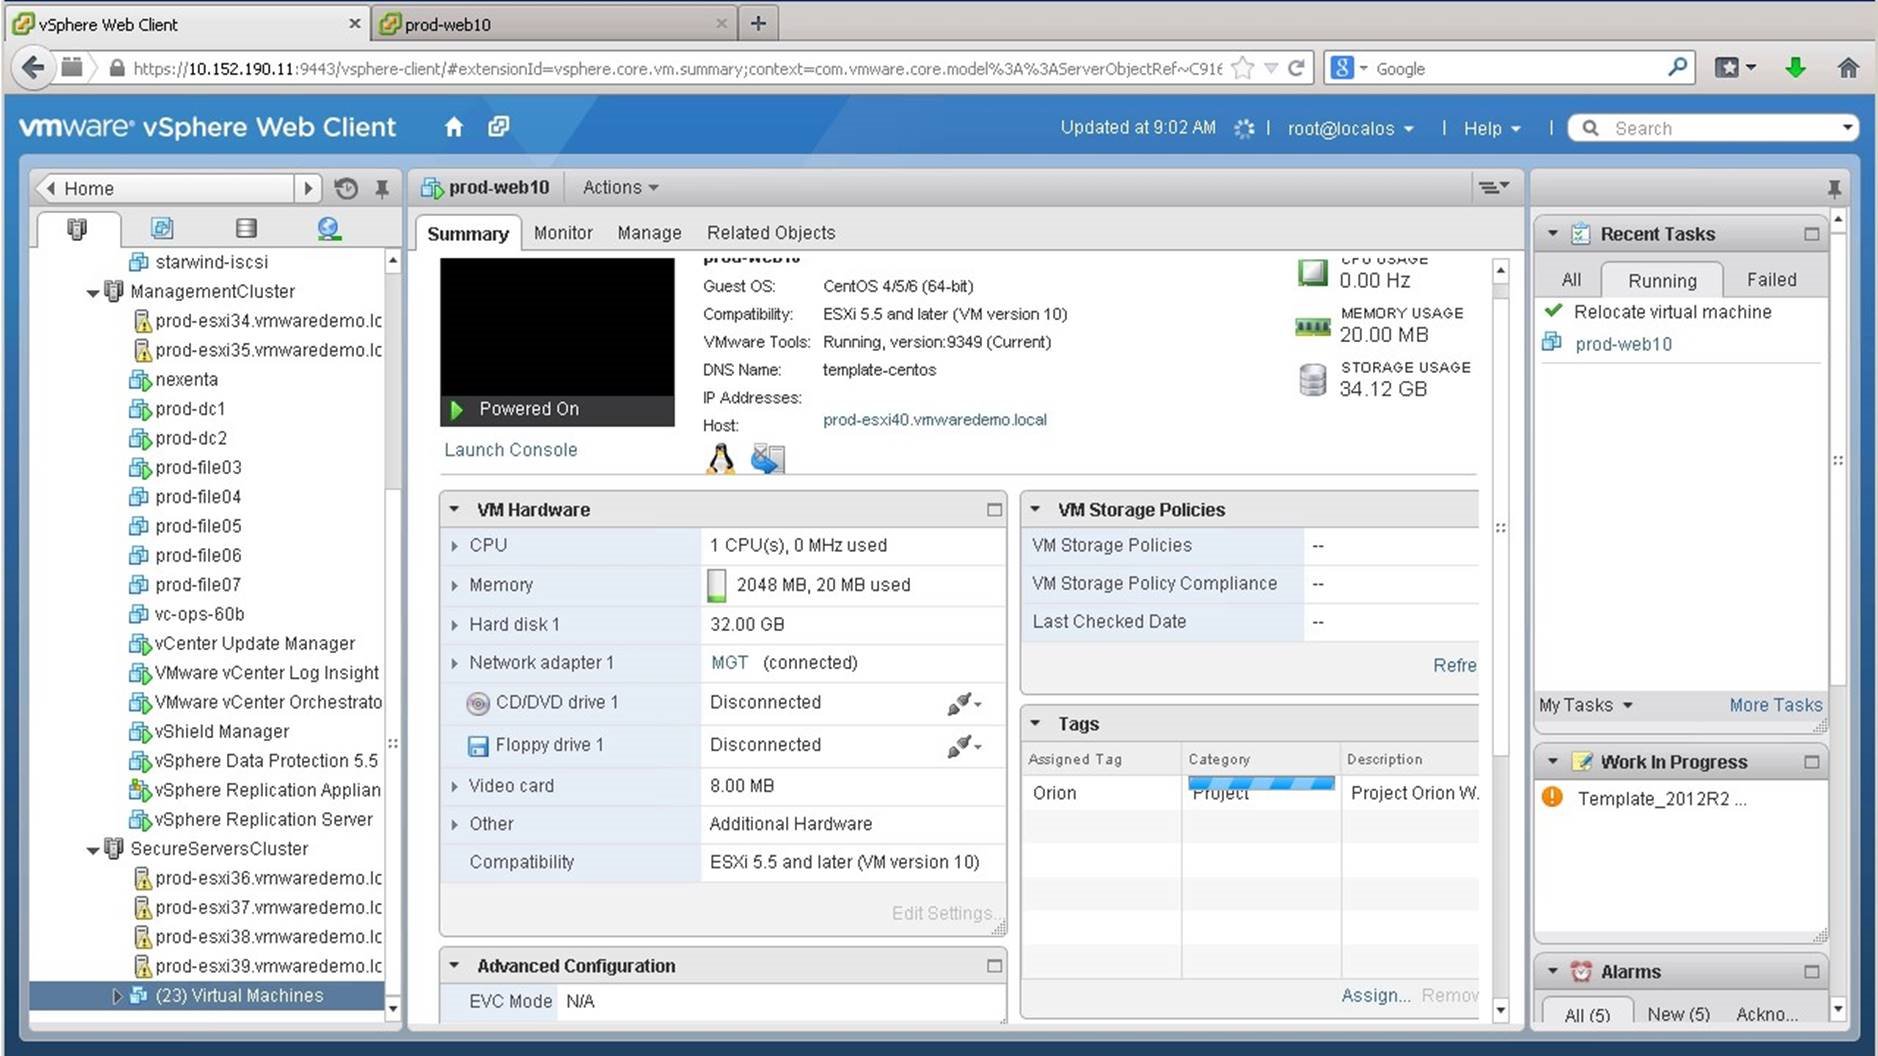
"prod-web10" is on the vSphere host "prod-esxi40". We will migrate this virtual machine to prod-esxi36 using vMotion. We right click on the [Host] and click on [Migrate].
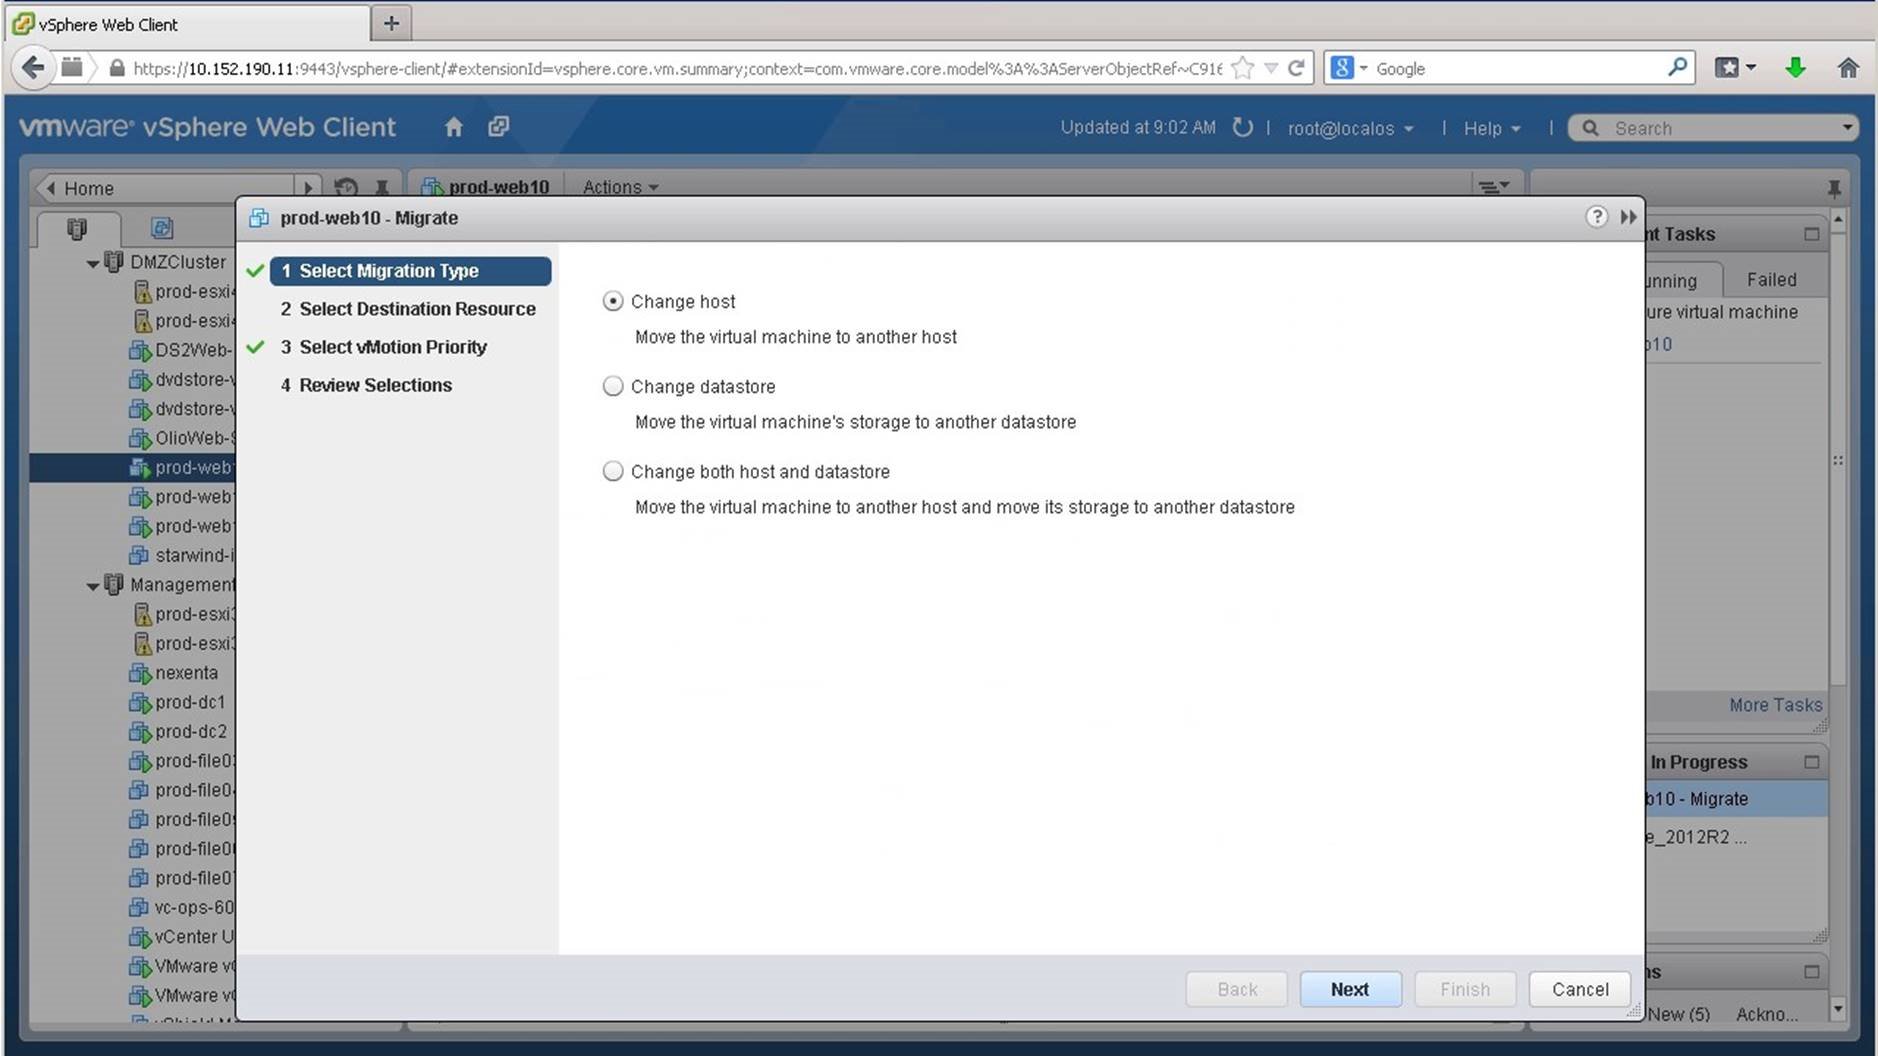
There are options to change just the host or datastore, or change both host and datastore. We select [Host] and click on [Next].
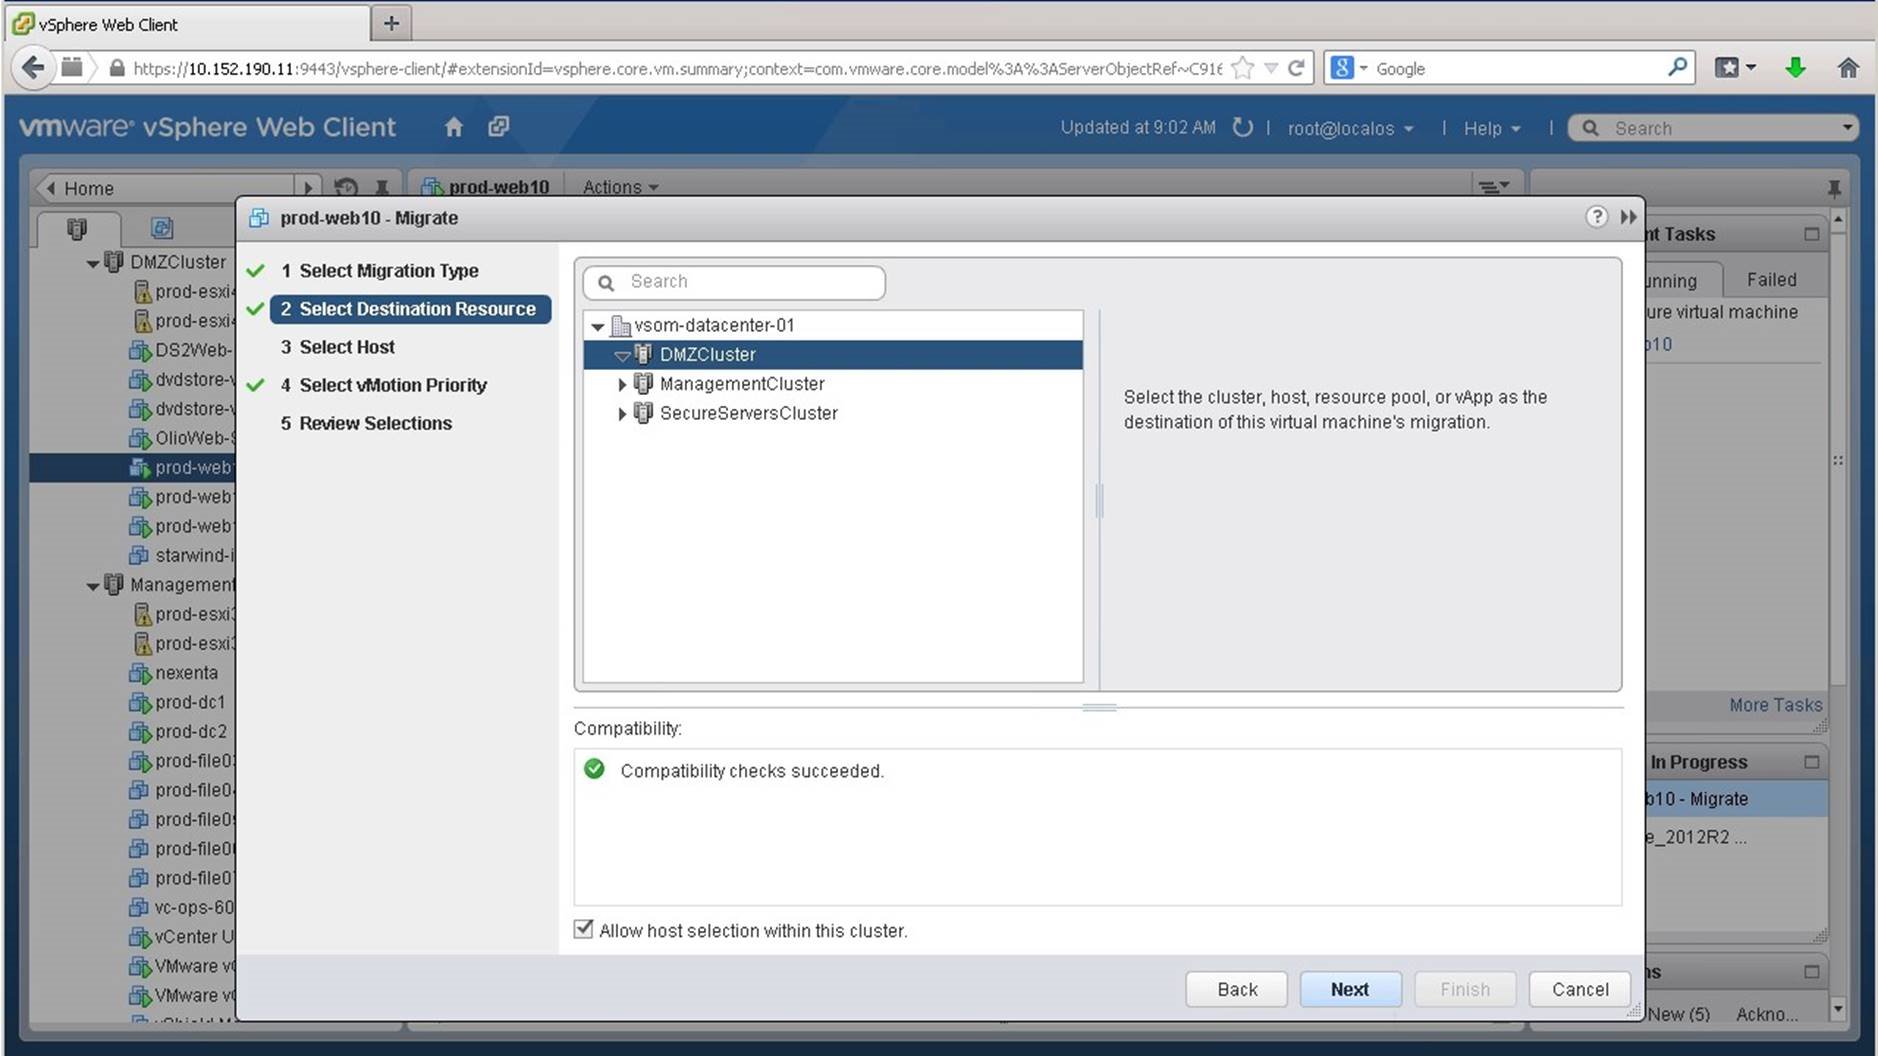
We select the destination click on [Next].
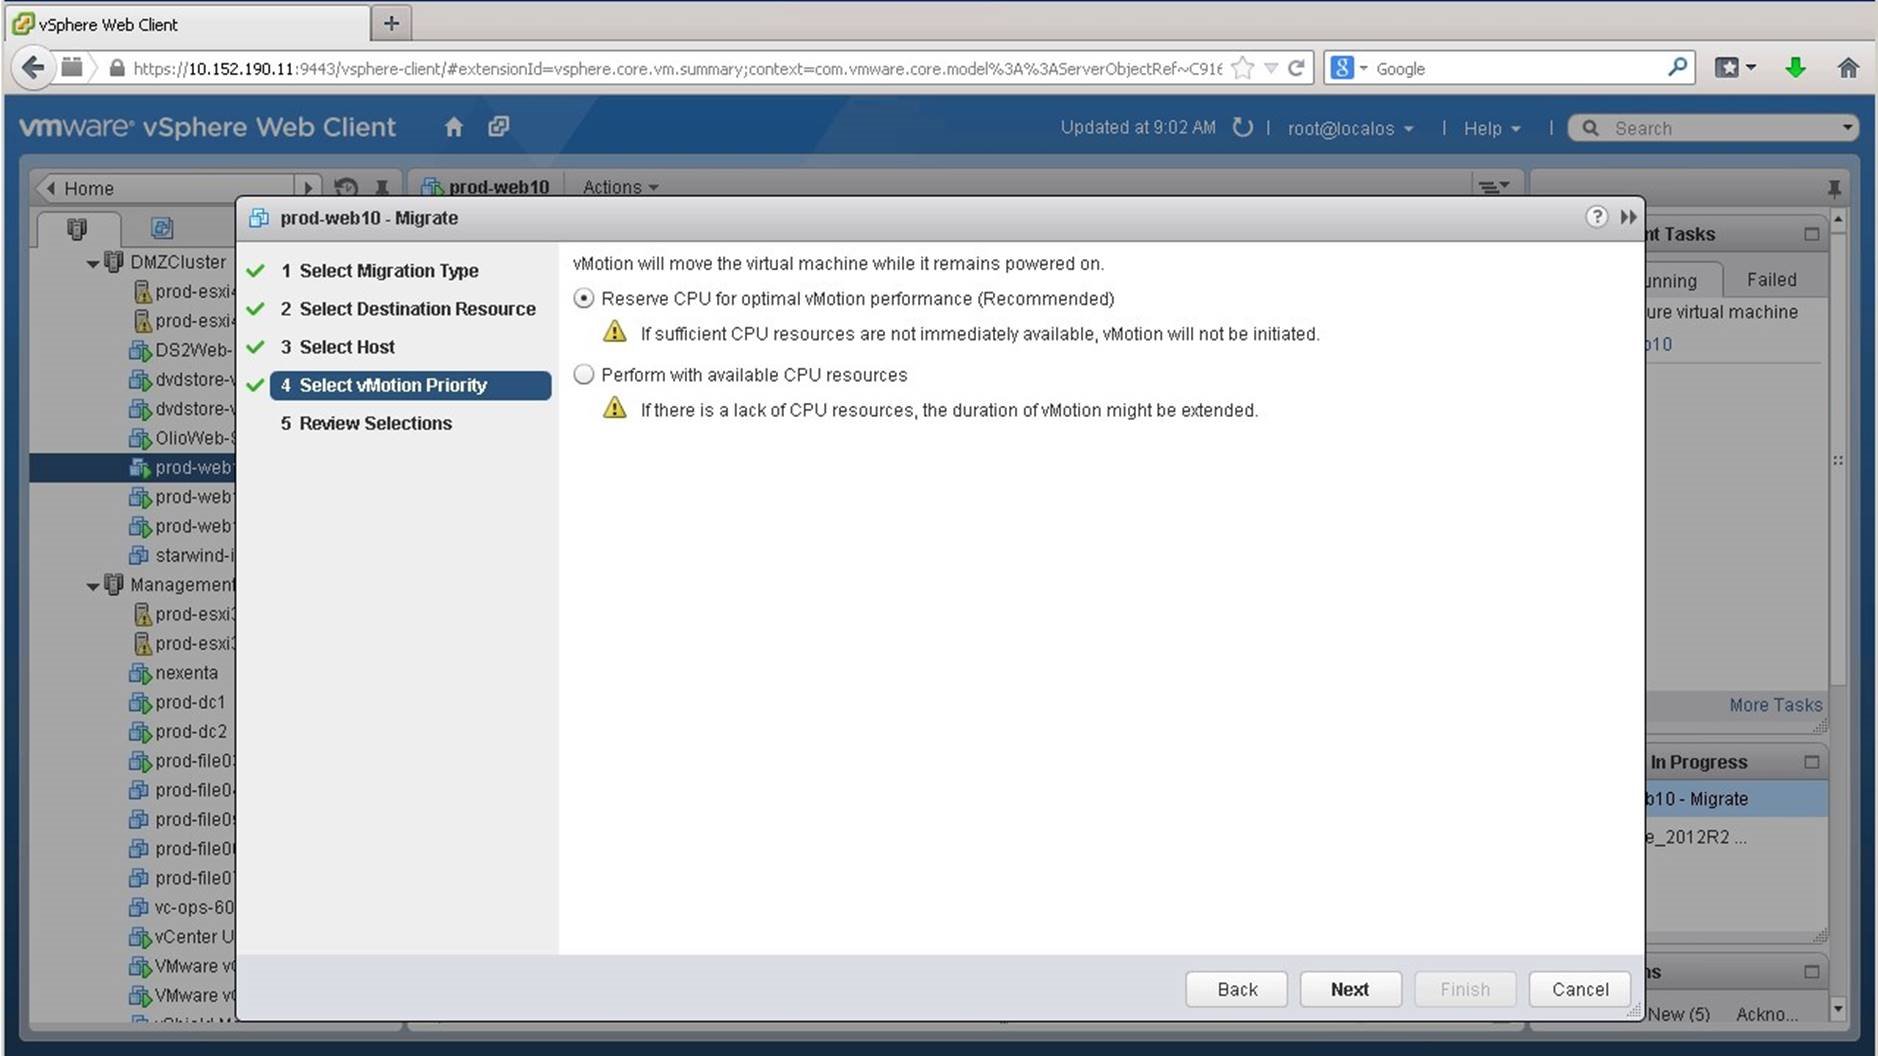
Here we have the option to reserve CPU resources for better vMotion performance. We select it and click on [Next].
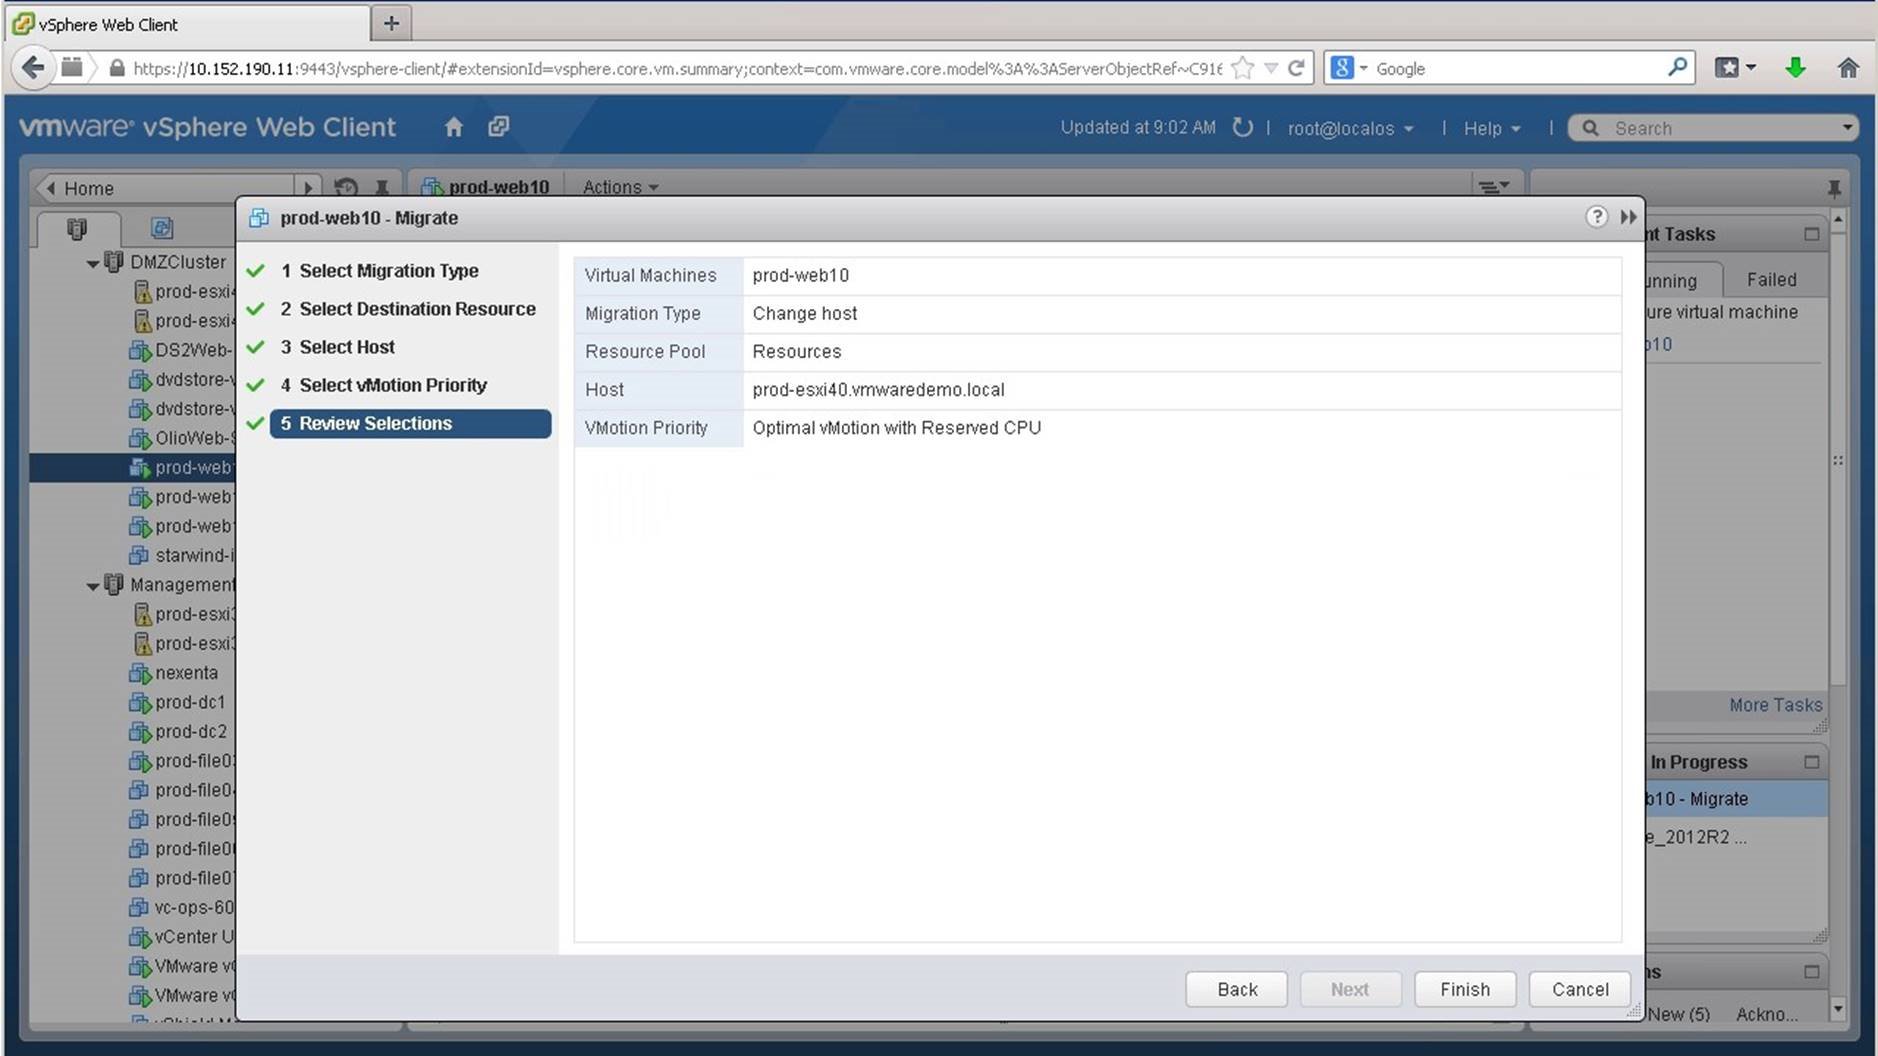
We keep the default settings and click on [Finish].
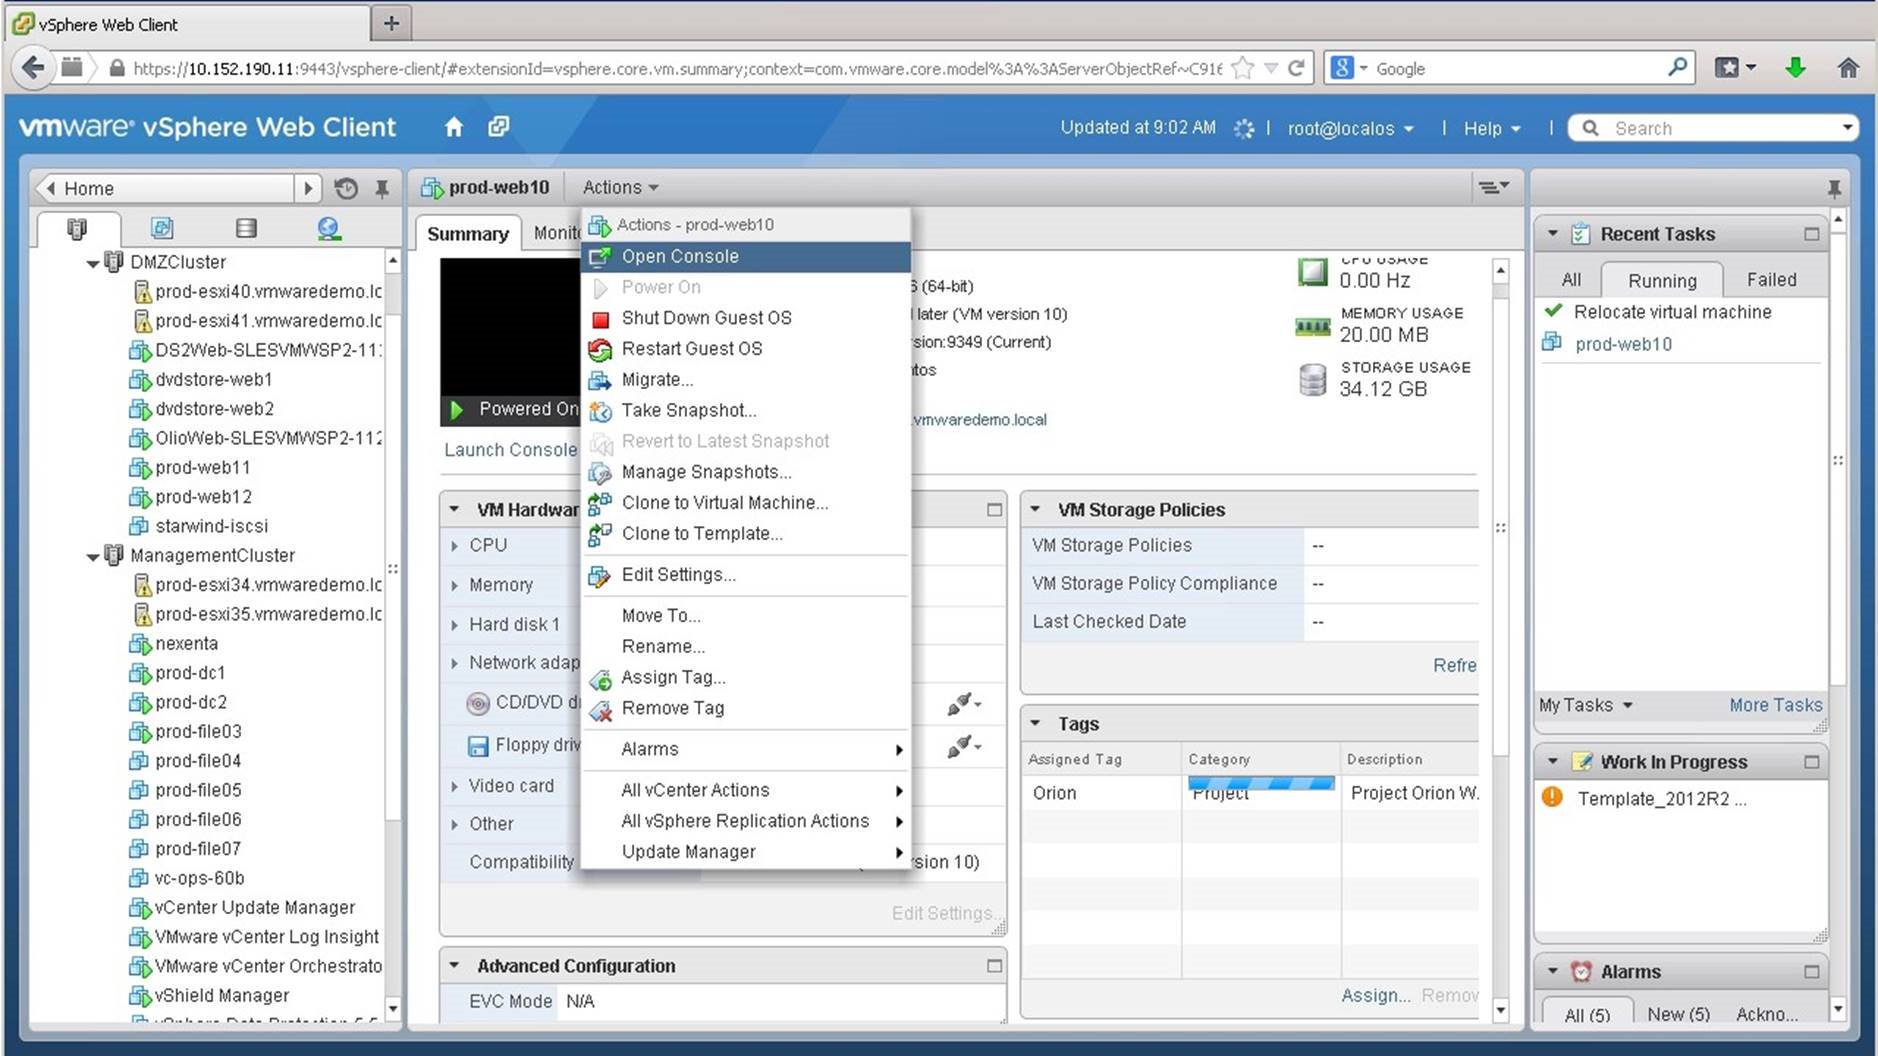
The virtual machine is now running on prod-esxi41. We open the console and see that the VM continued to run without interruption duing the vMotion migraton.
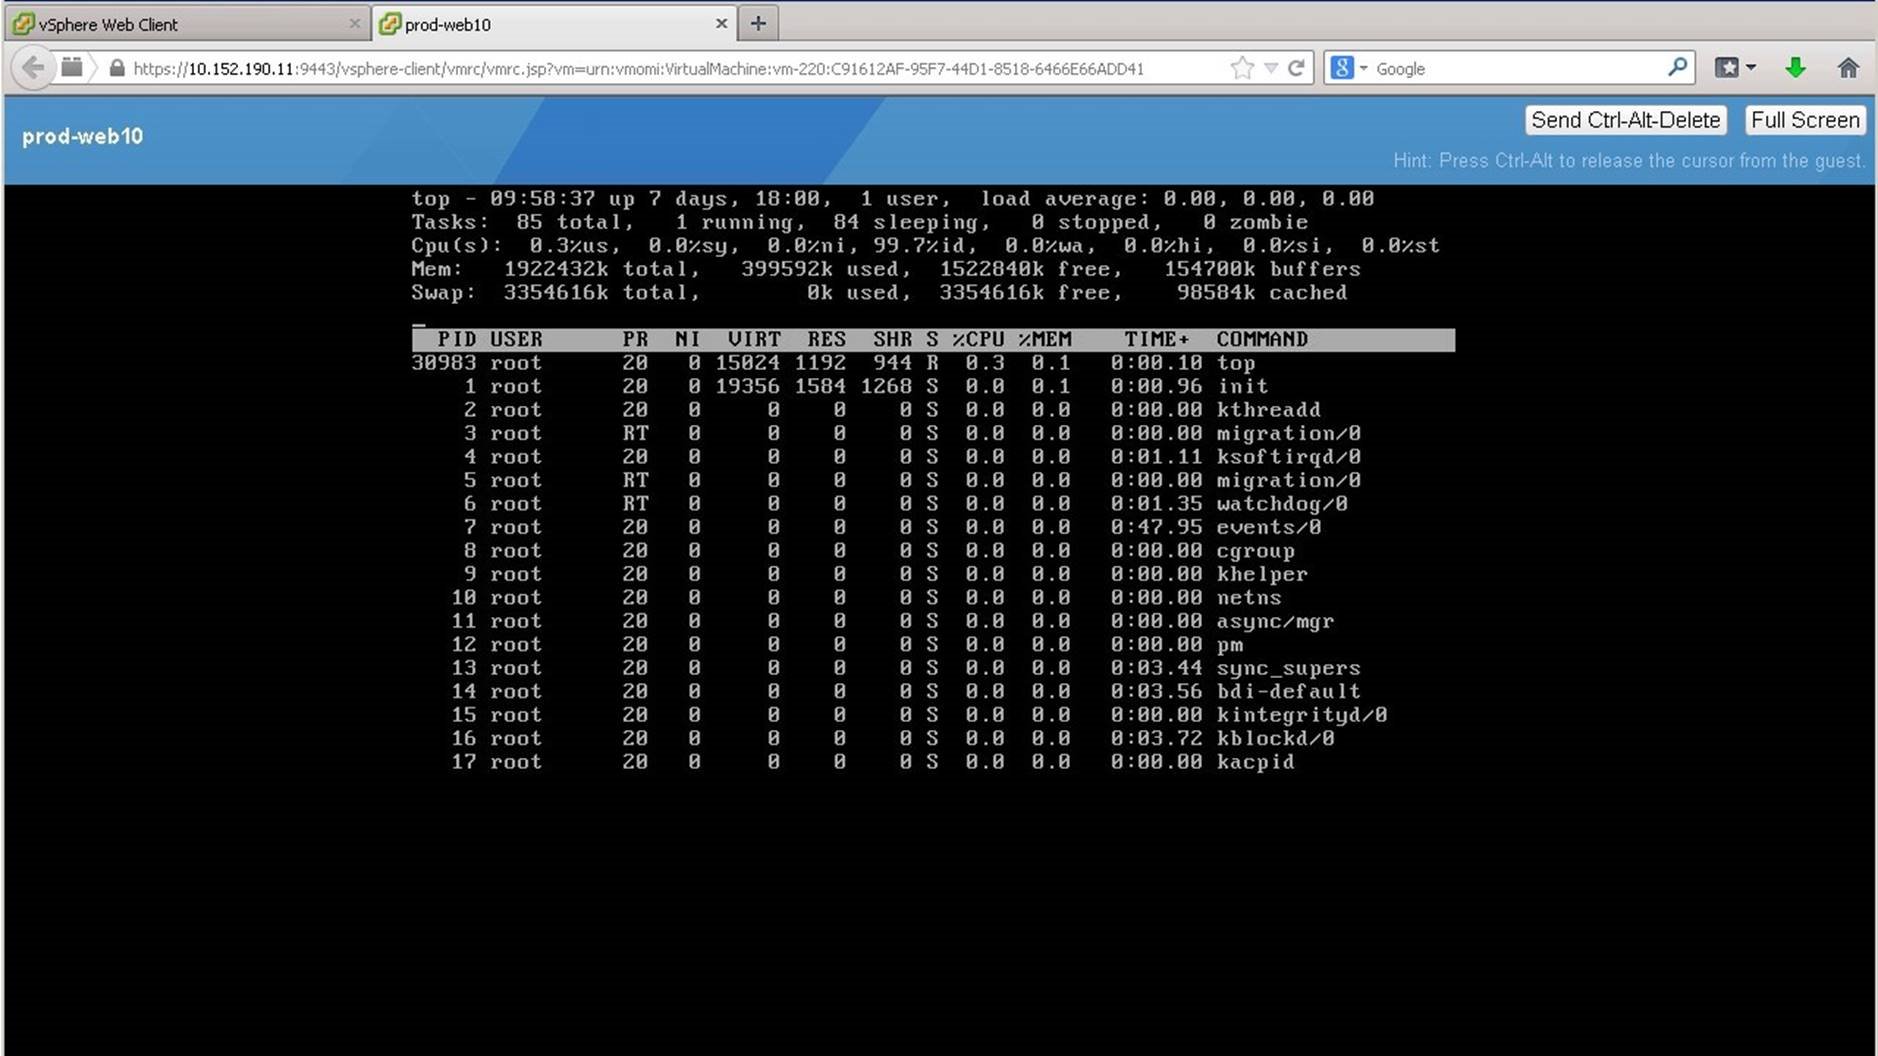
Note that the VM continued to run while the migration occurred without taking downtime.
Next, we will migrate the virtual machine from one datastore to another datastore. We click on [Virtual Machines] from the inventory.
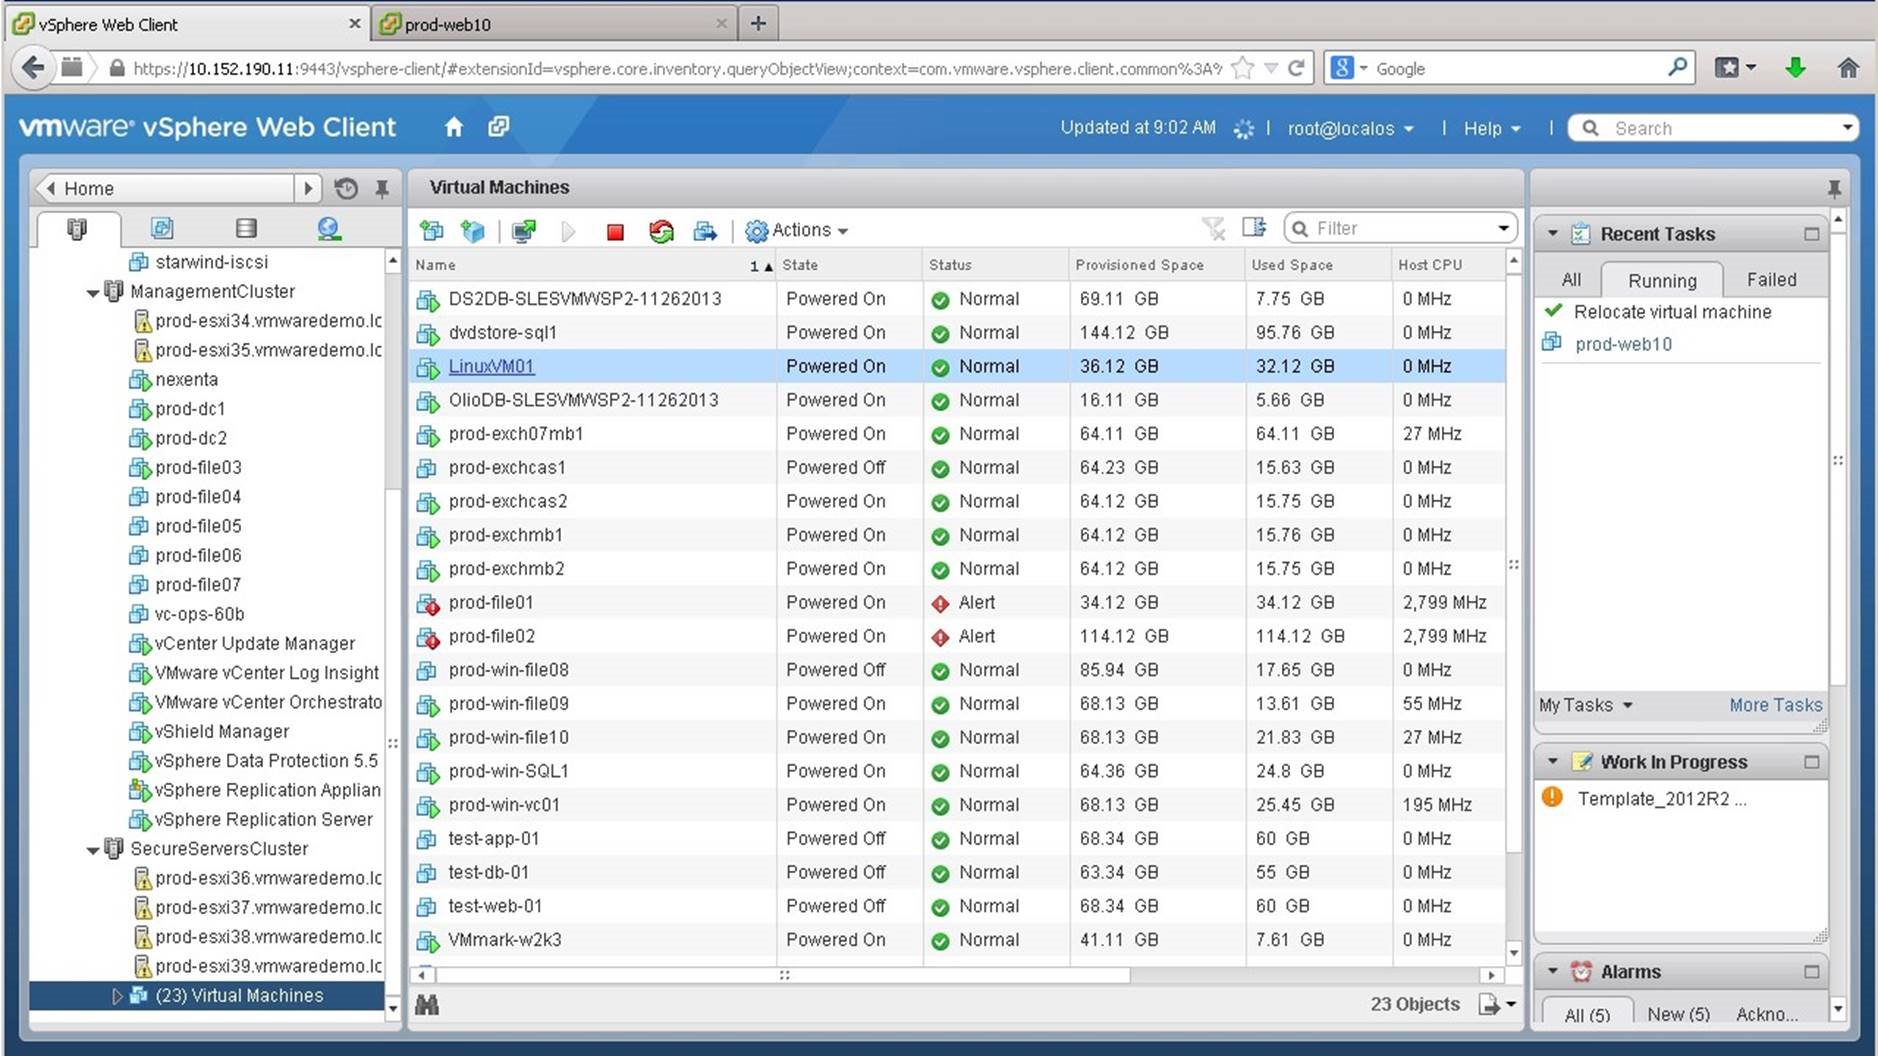
We open [LinuxVM01].
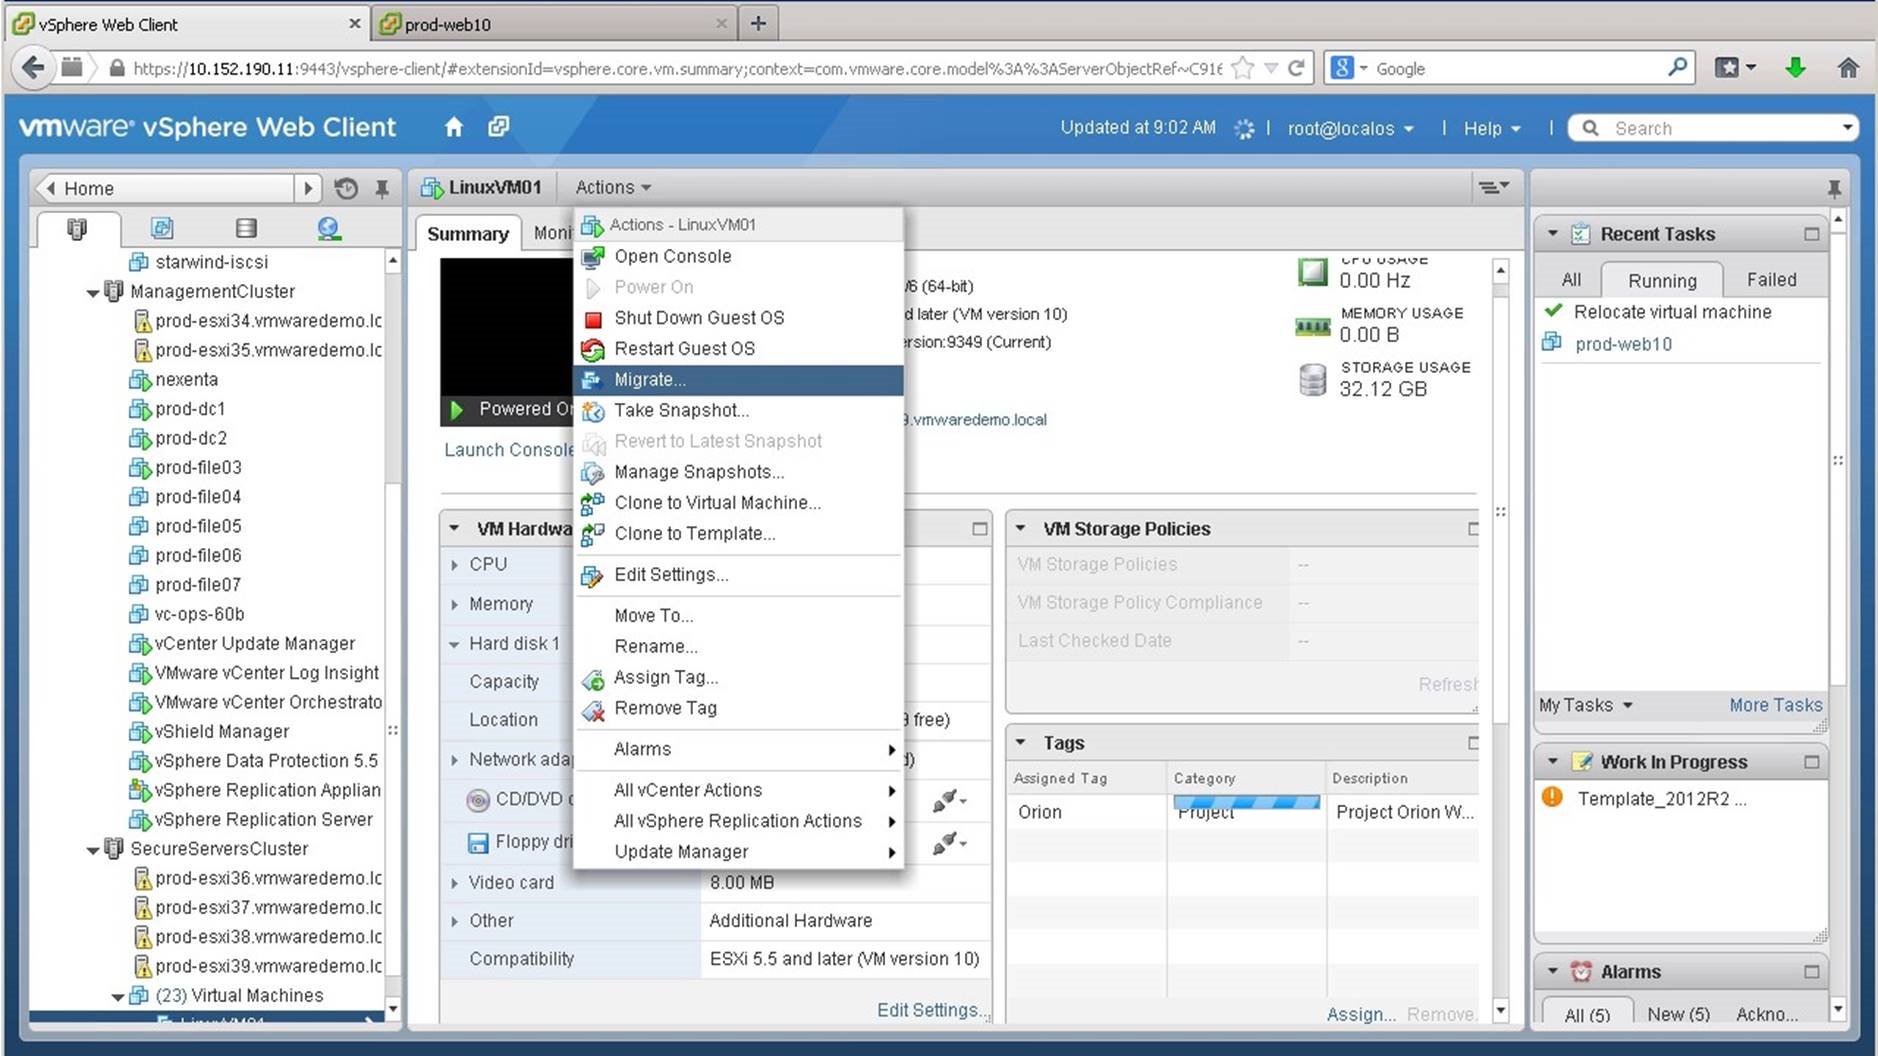
Click on [Actions] and then on [Migrate].
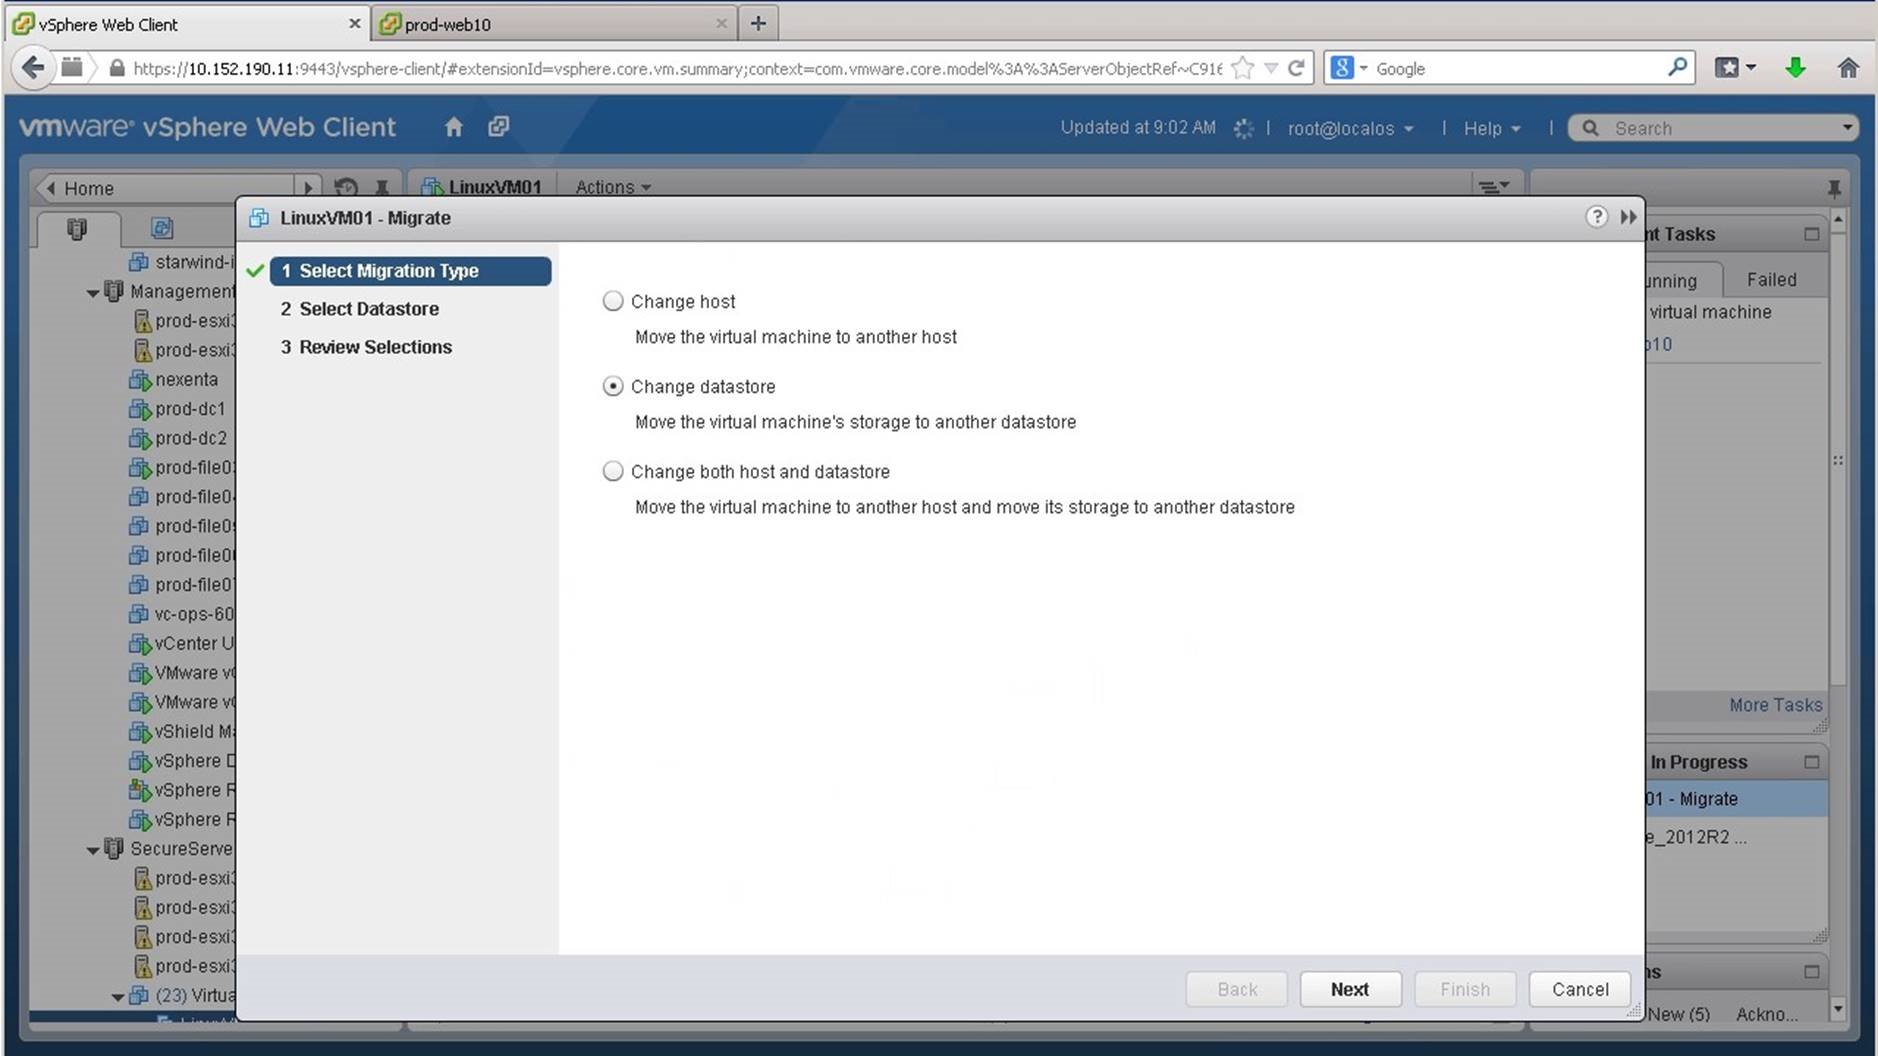
Select [Change Datastore] and click on [Next].
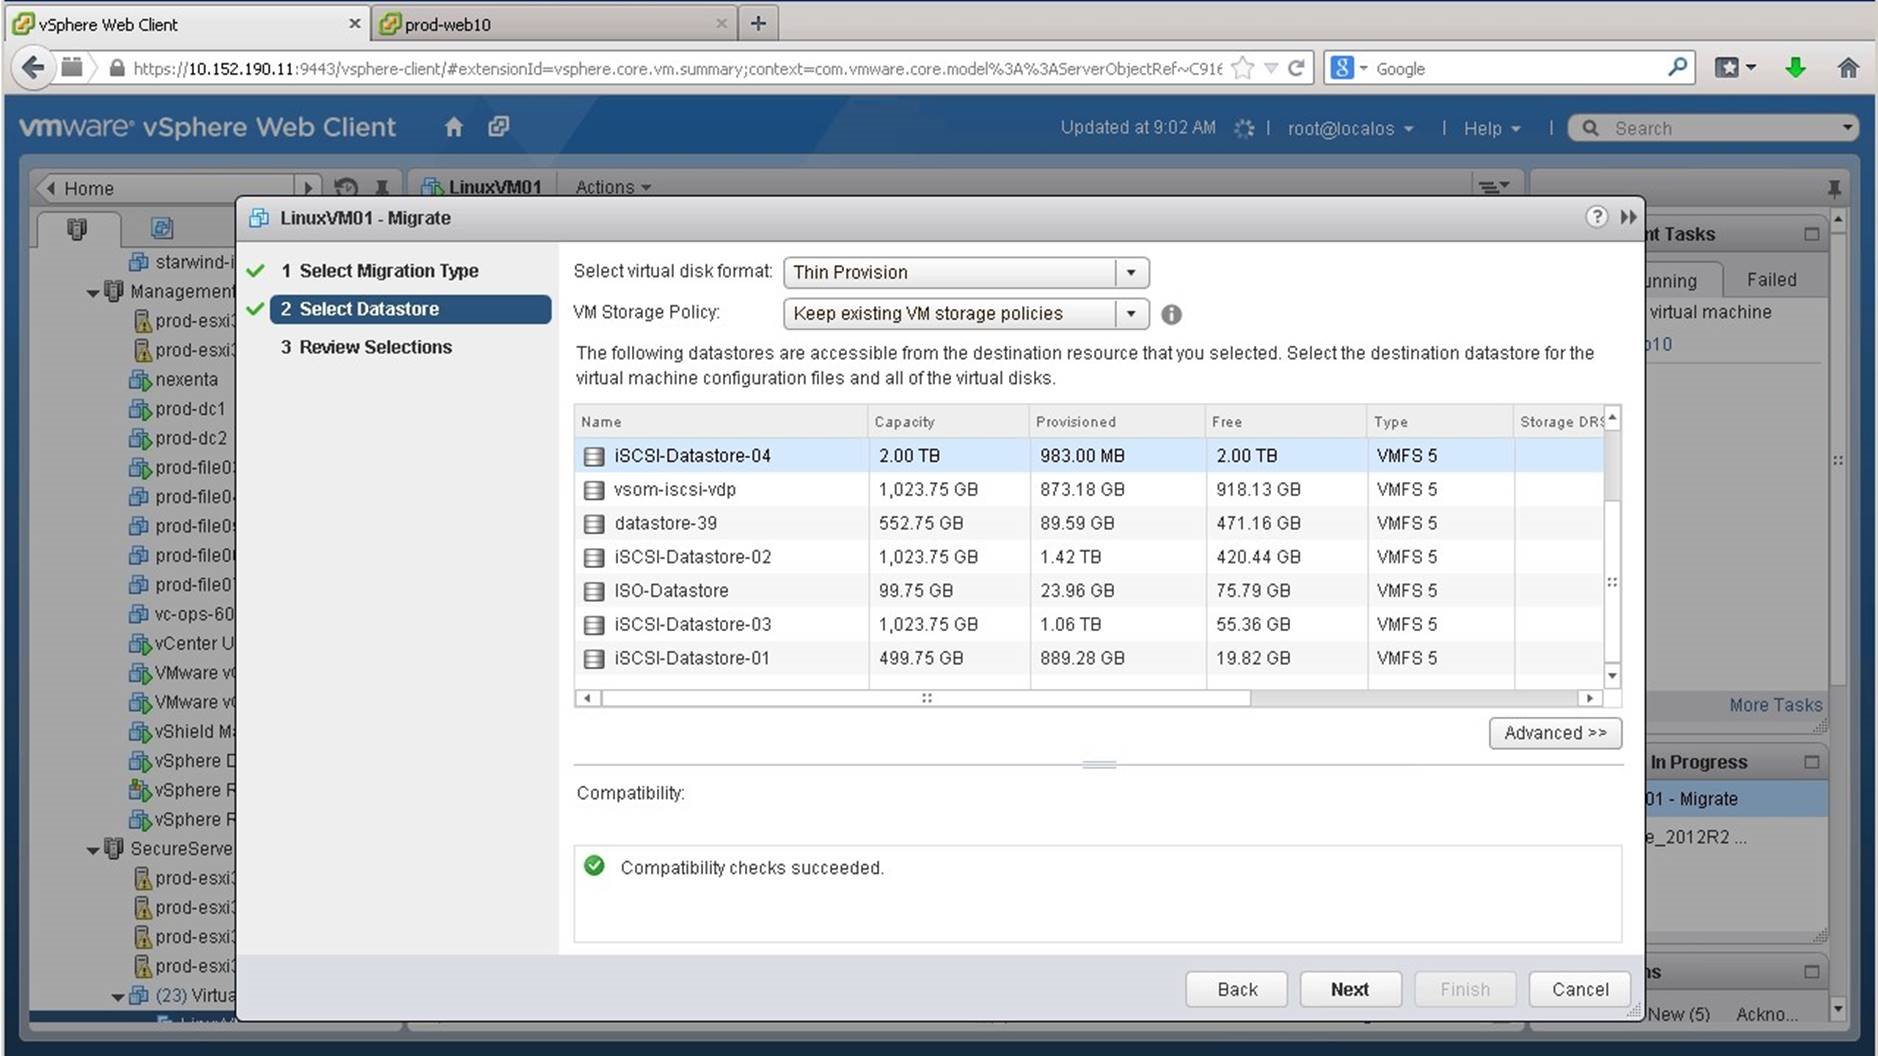
We select the destination datastore, which is the shared [iSCSI Datastore] and we click on [Next].

Review the settings and click on [Finish].
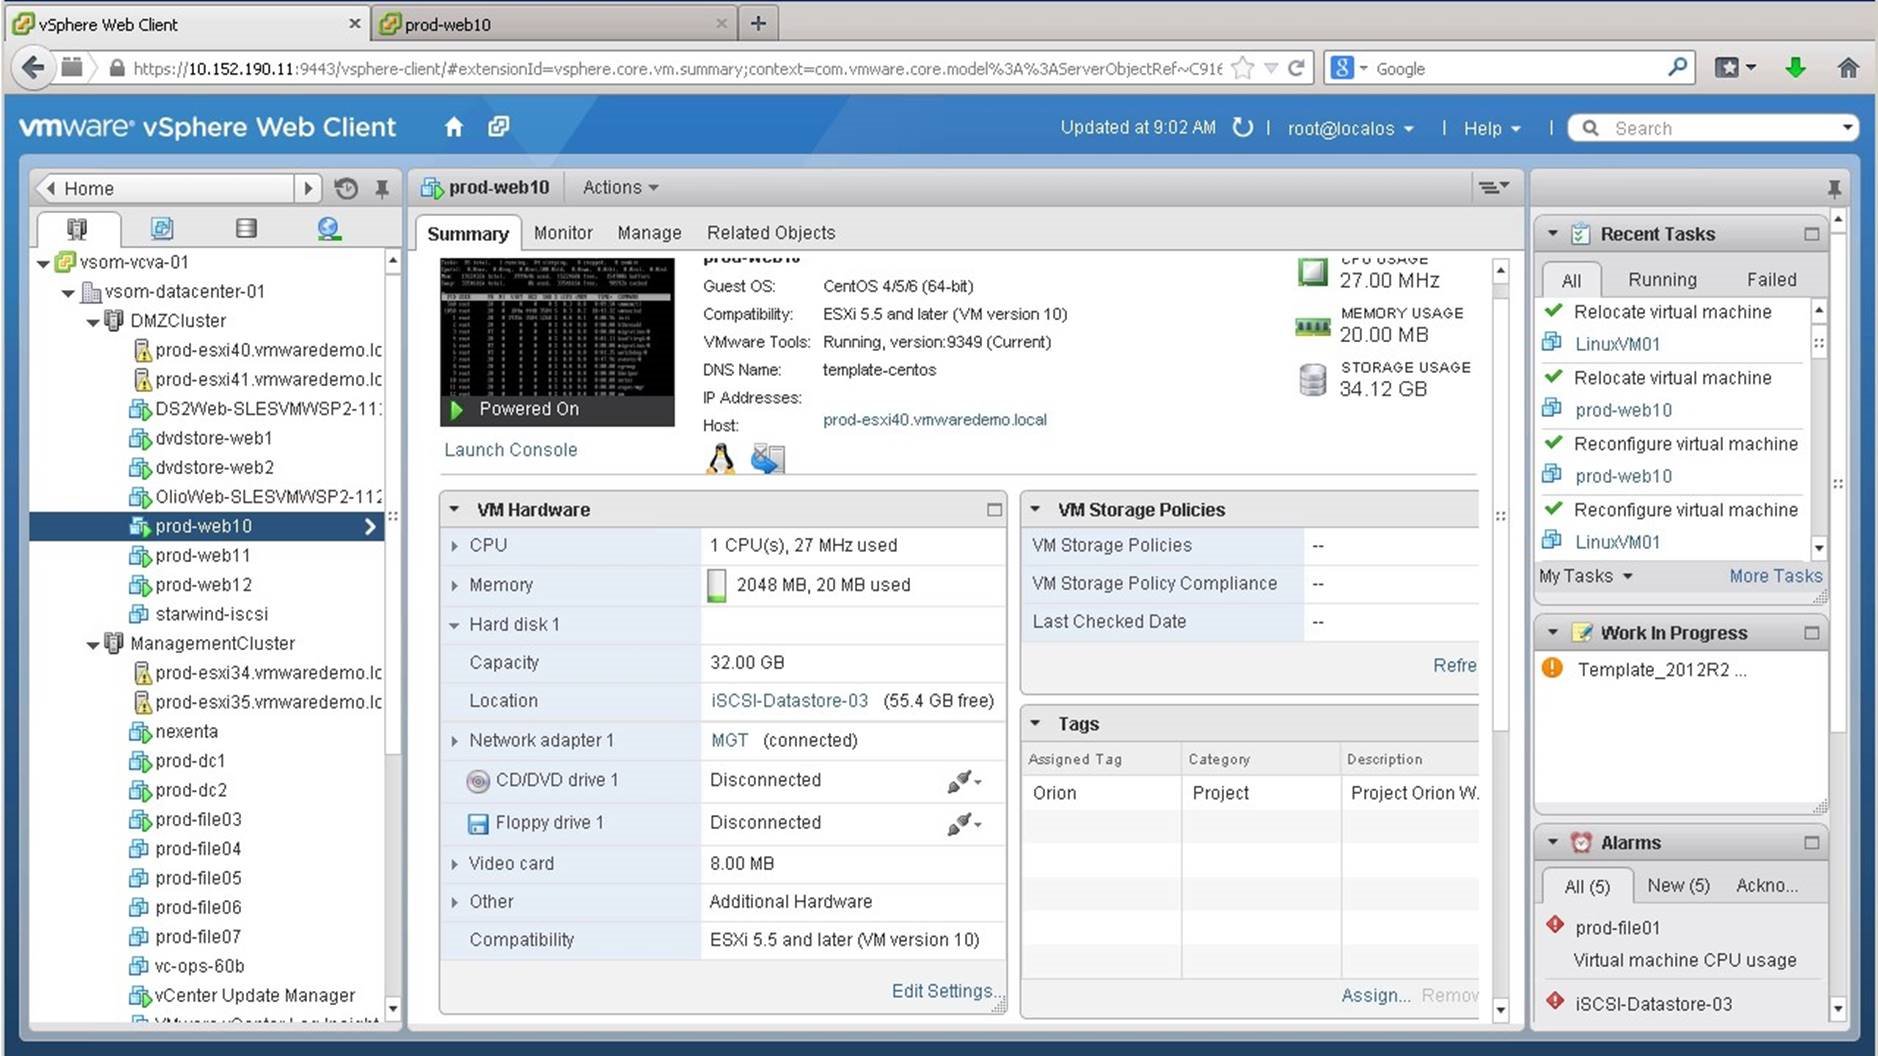
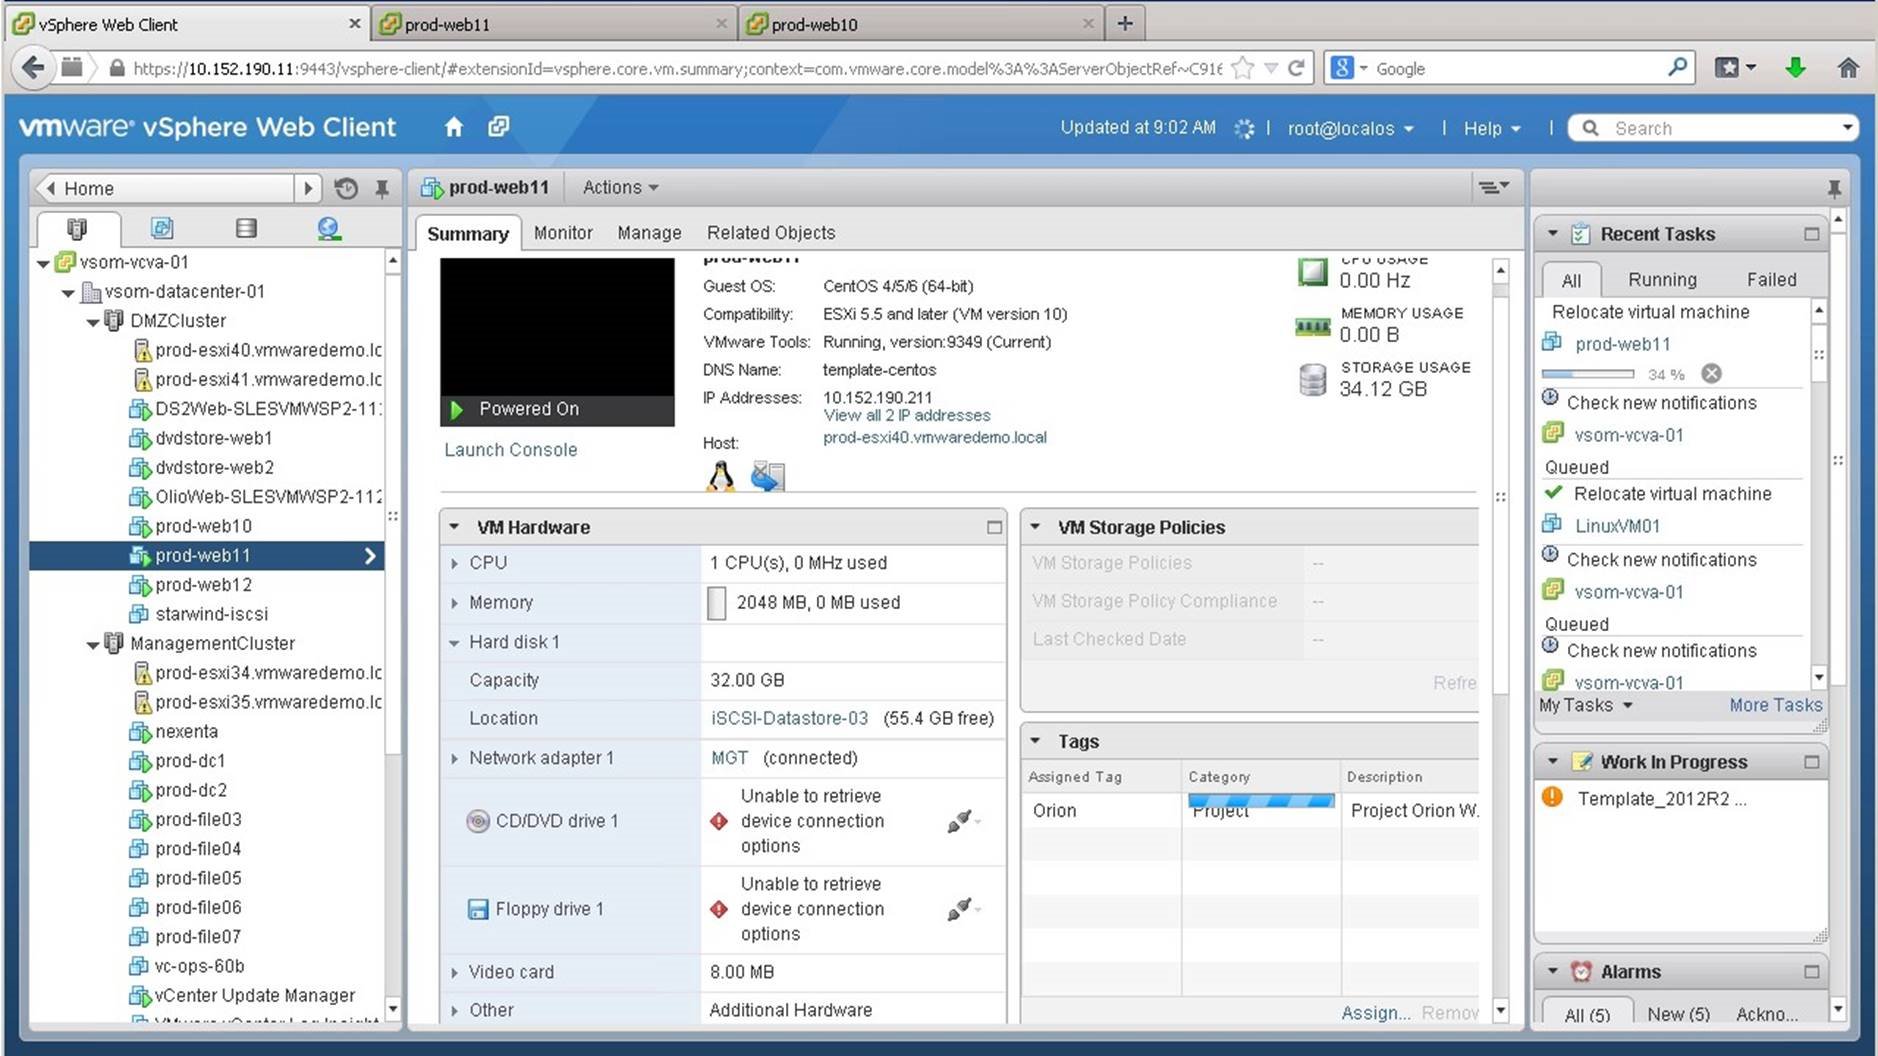
We see that the virtual machine has been migrated. Next, we will change both the host and datastore of a virtual machine. For this, we select the host [prodweb11].
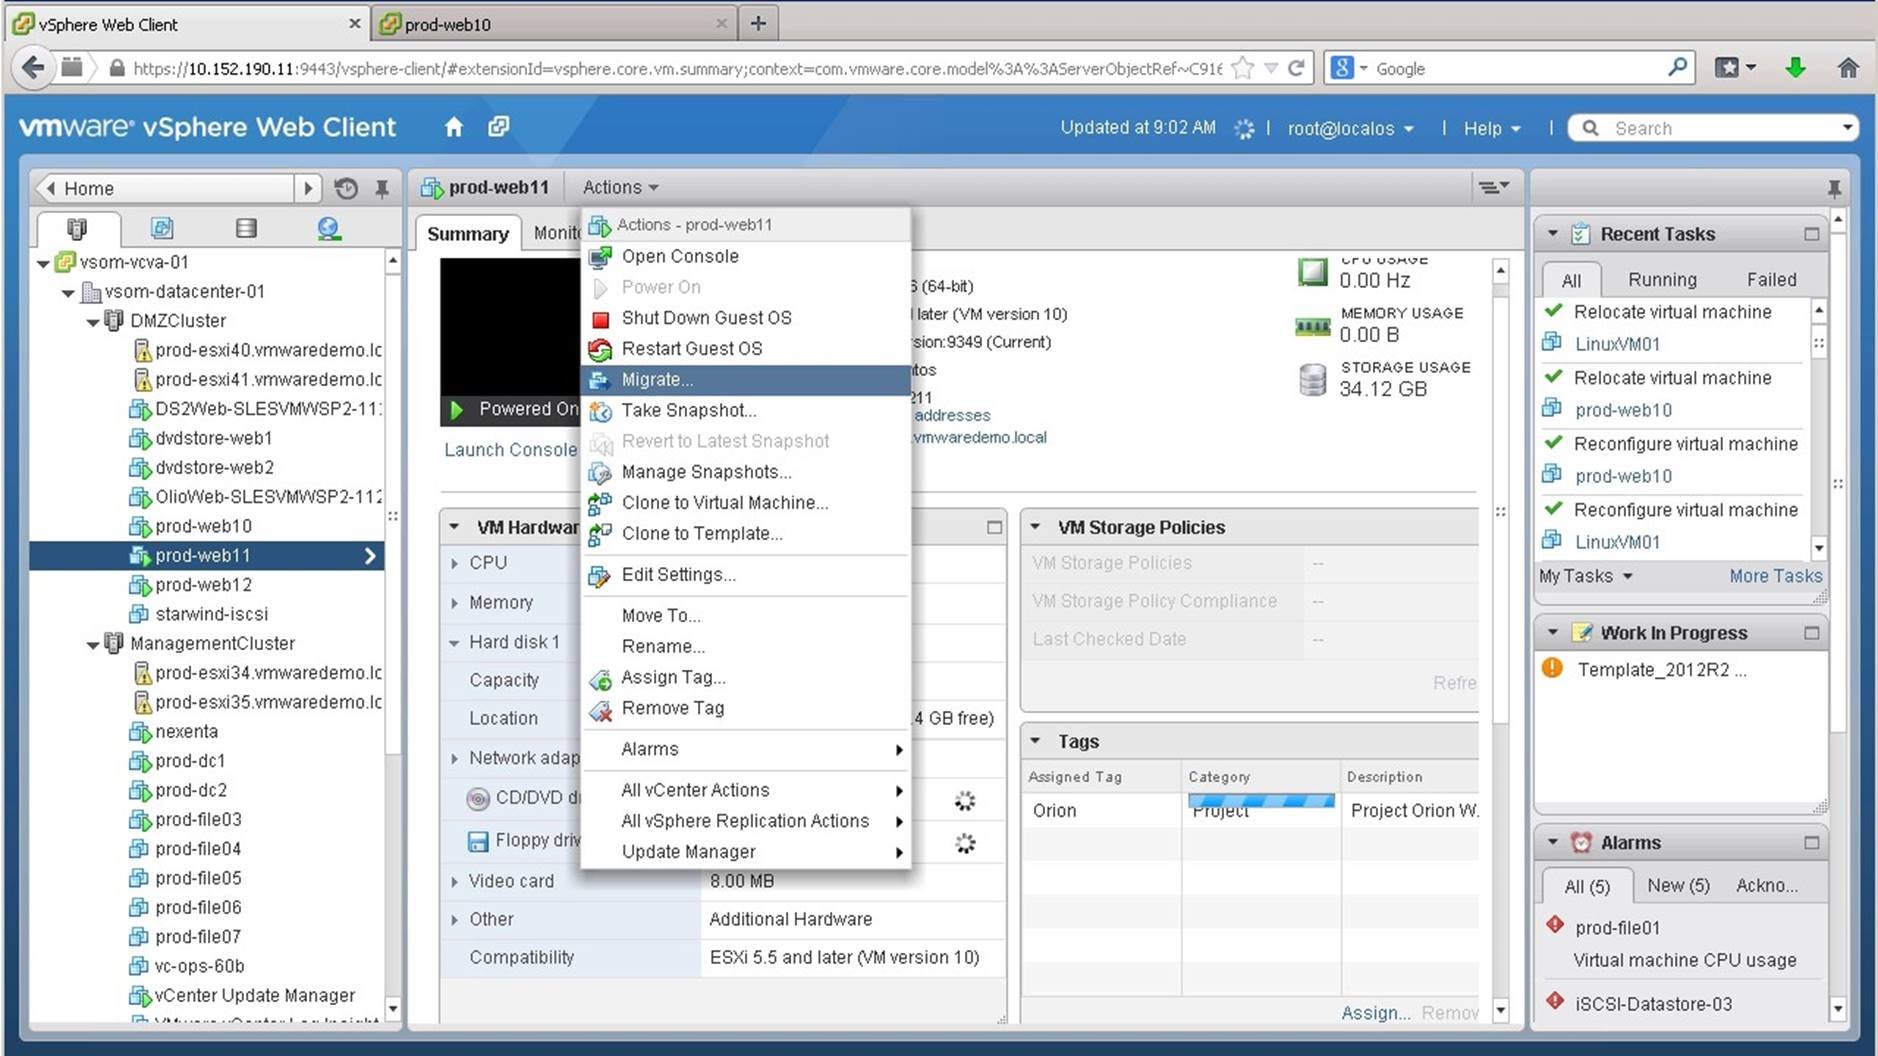
Go to [Actions] and click on [Migrate].
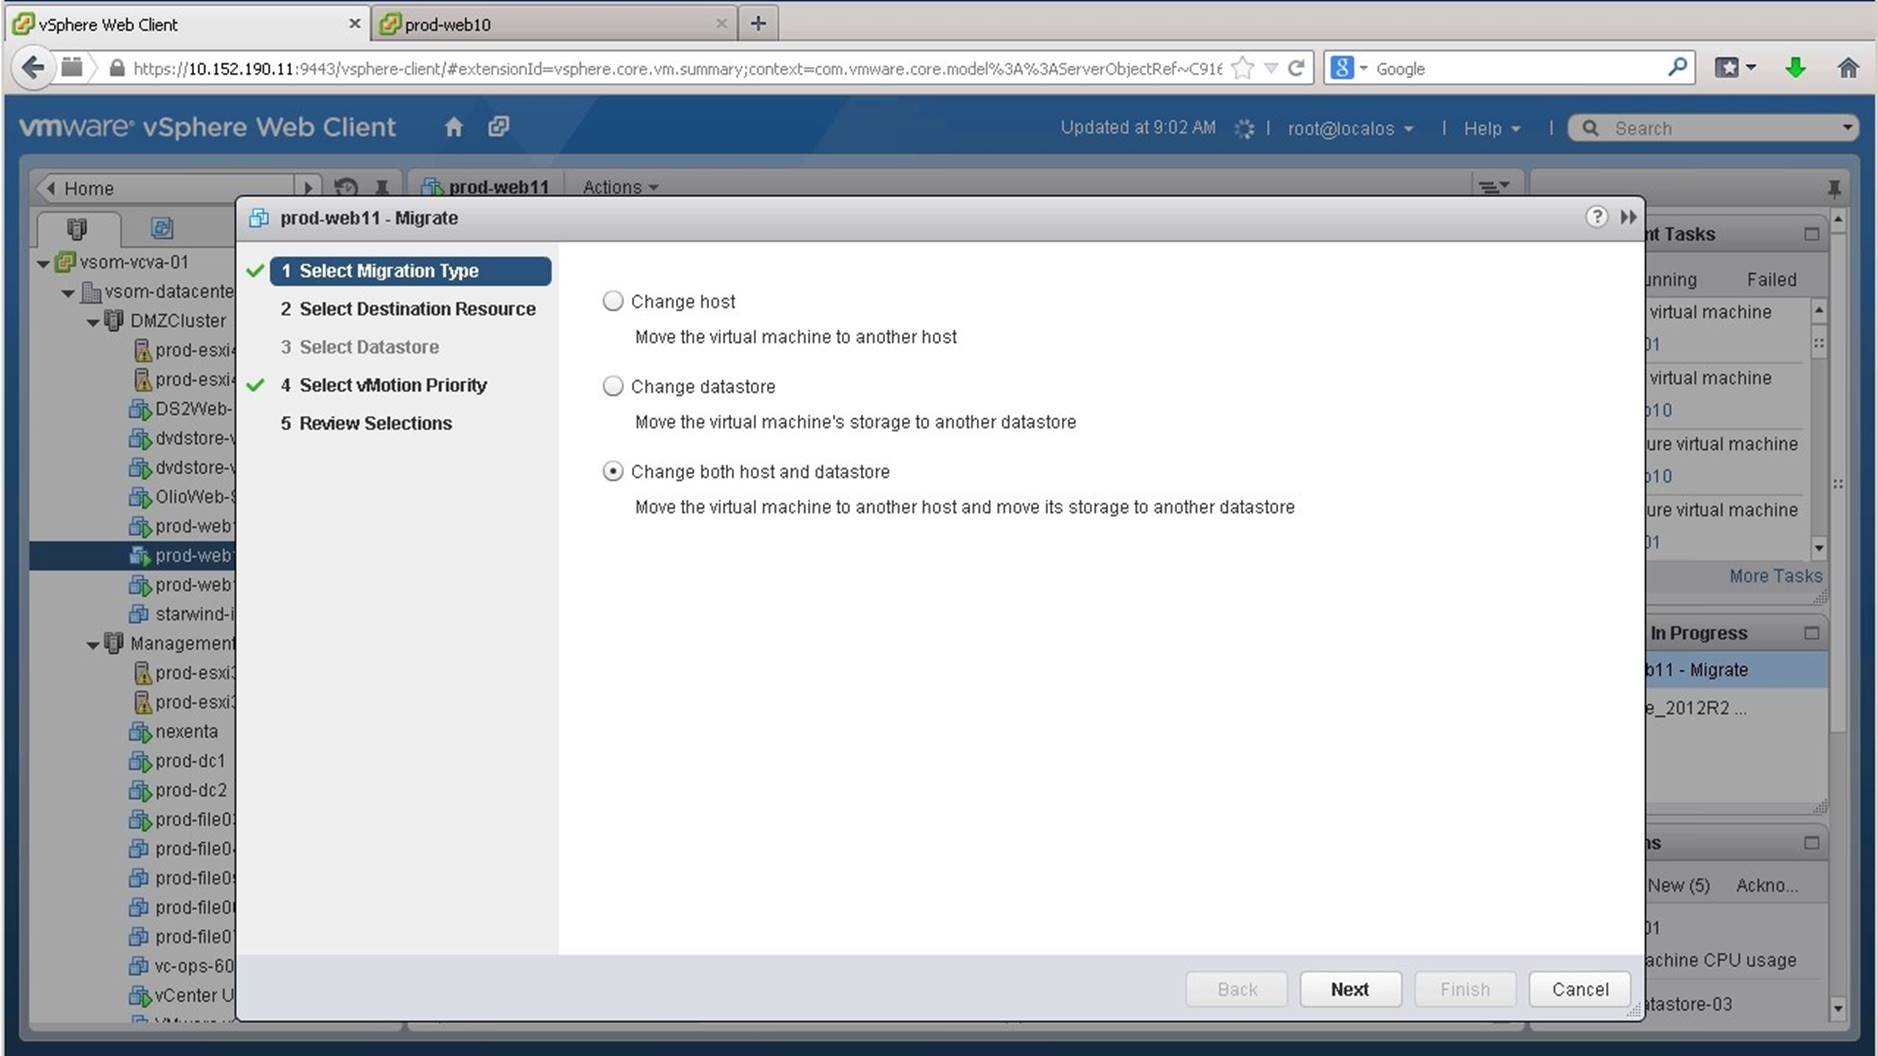
Select [Change Both Host and Datastore] and click on [Next].
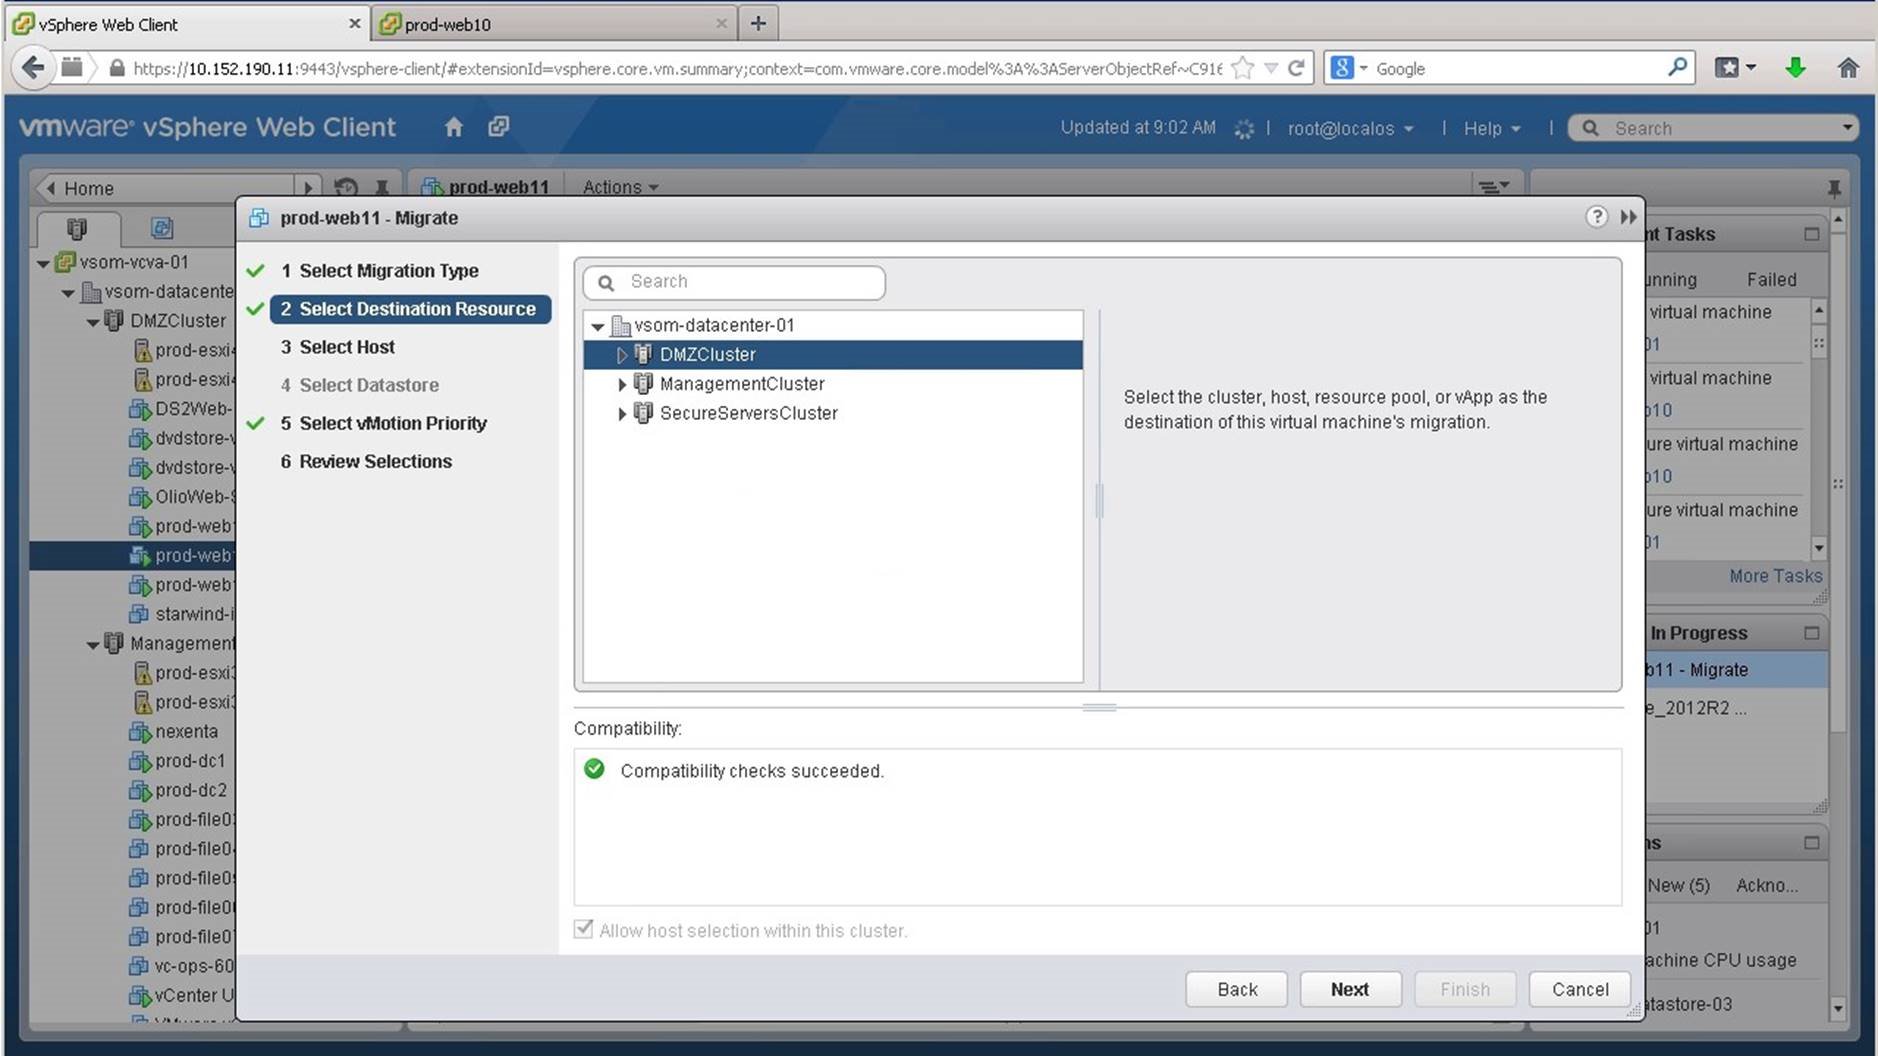
We select the destination resource and click on [Next].
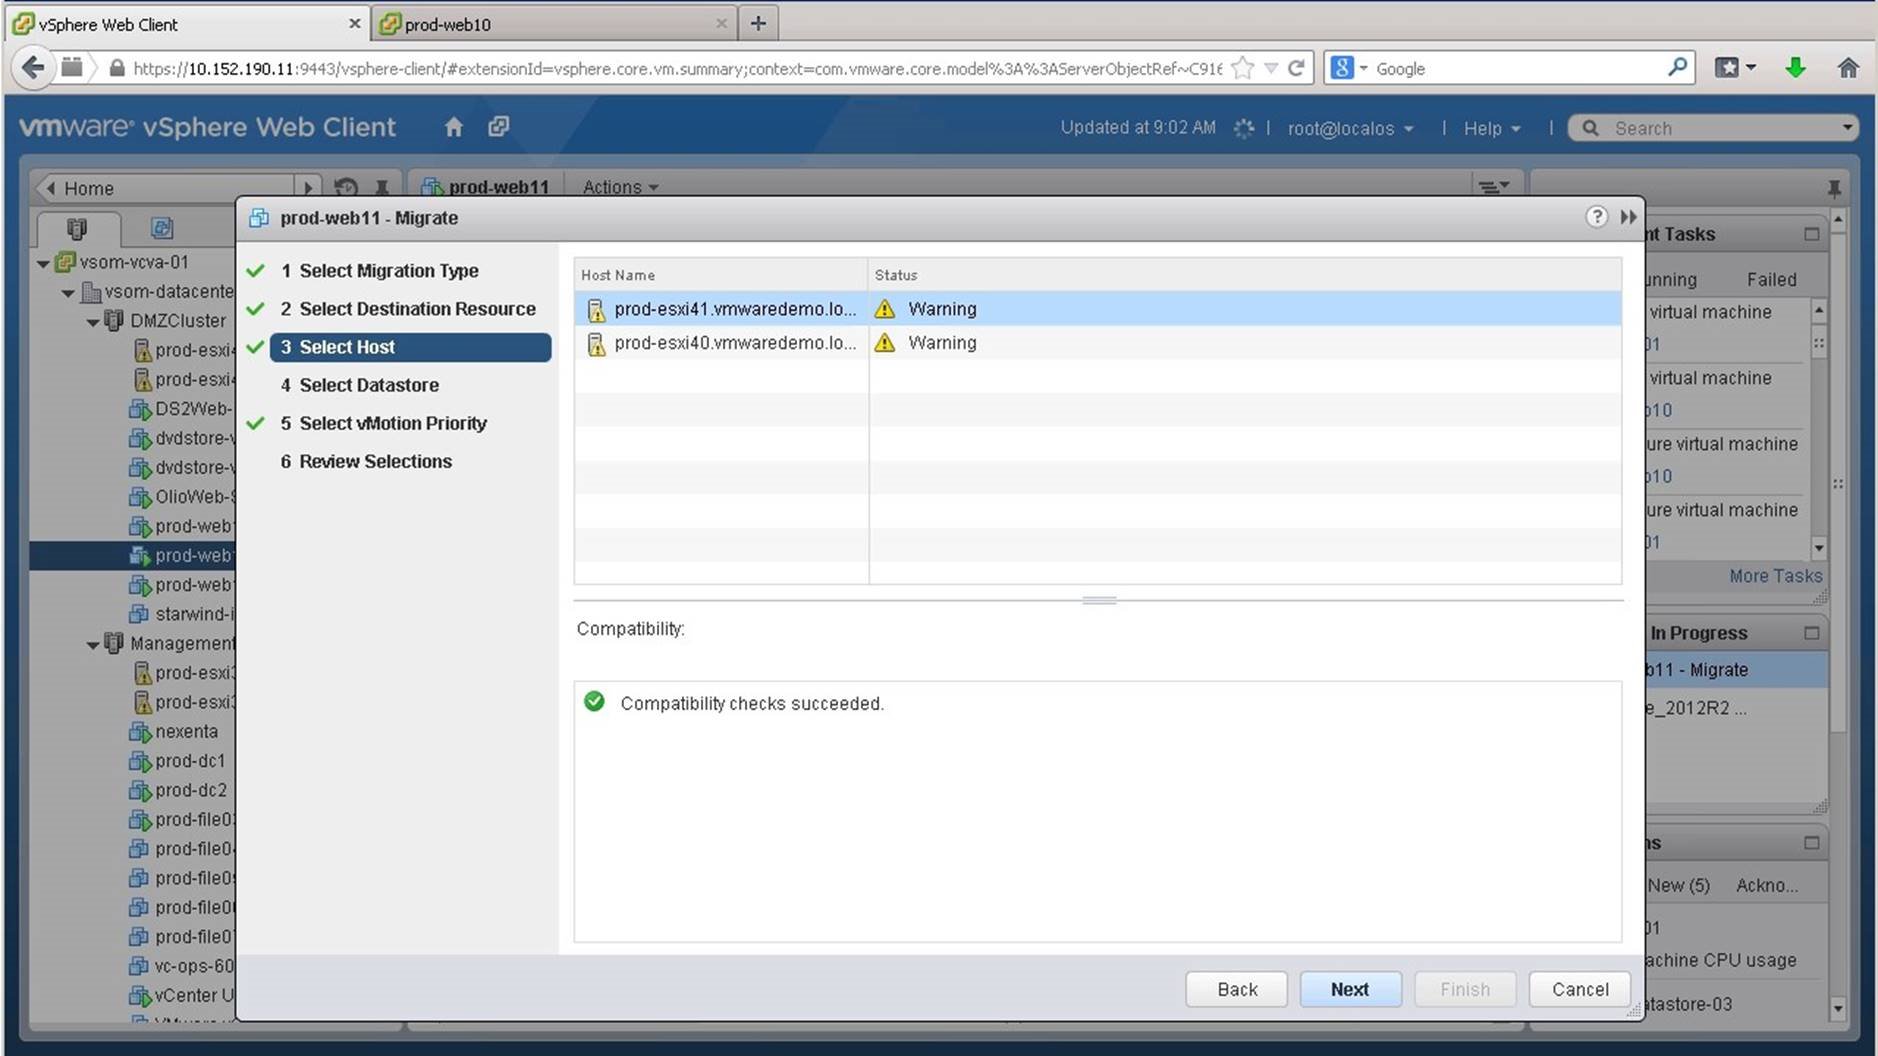
We select the host and click on [Next].
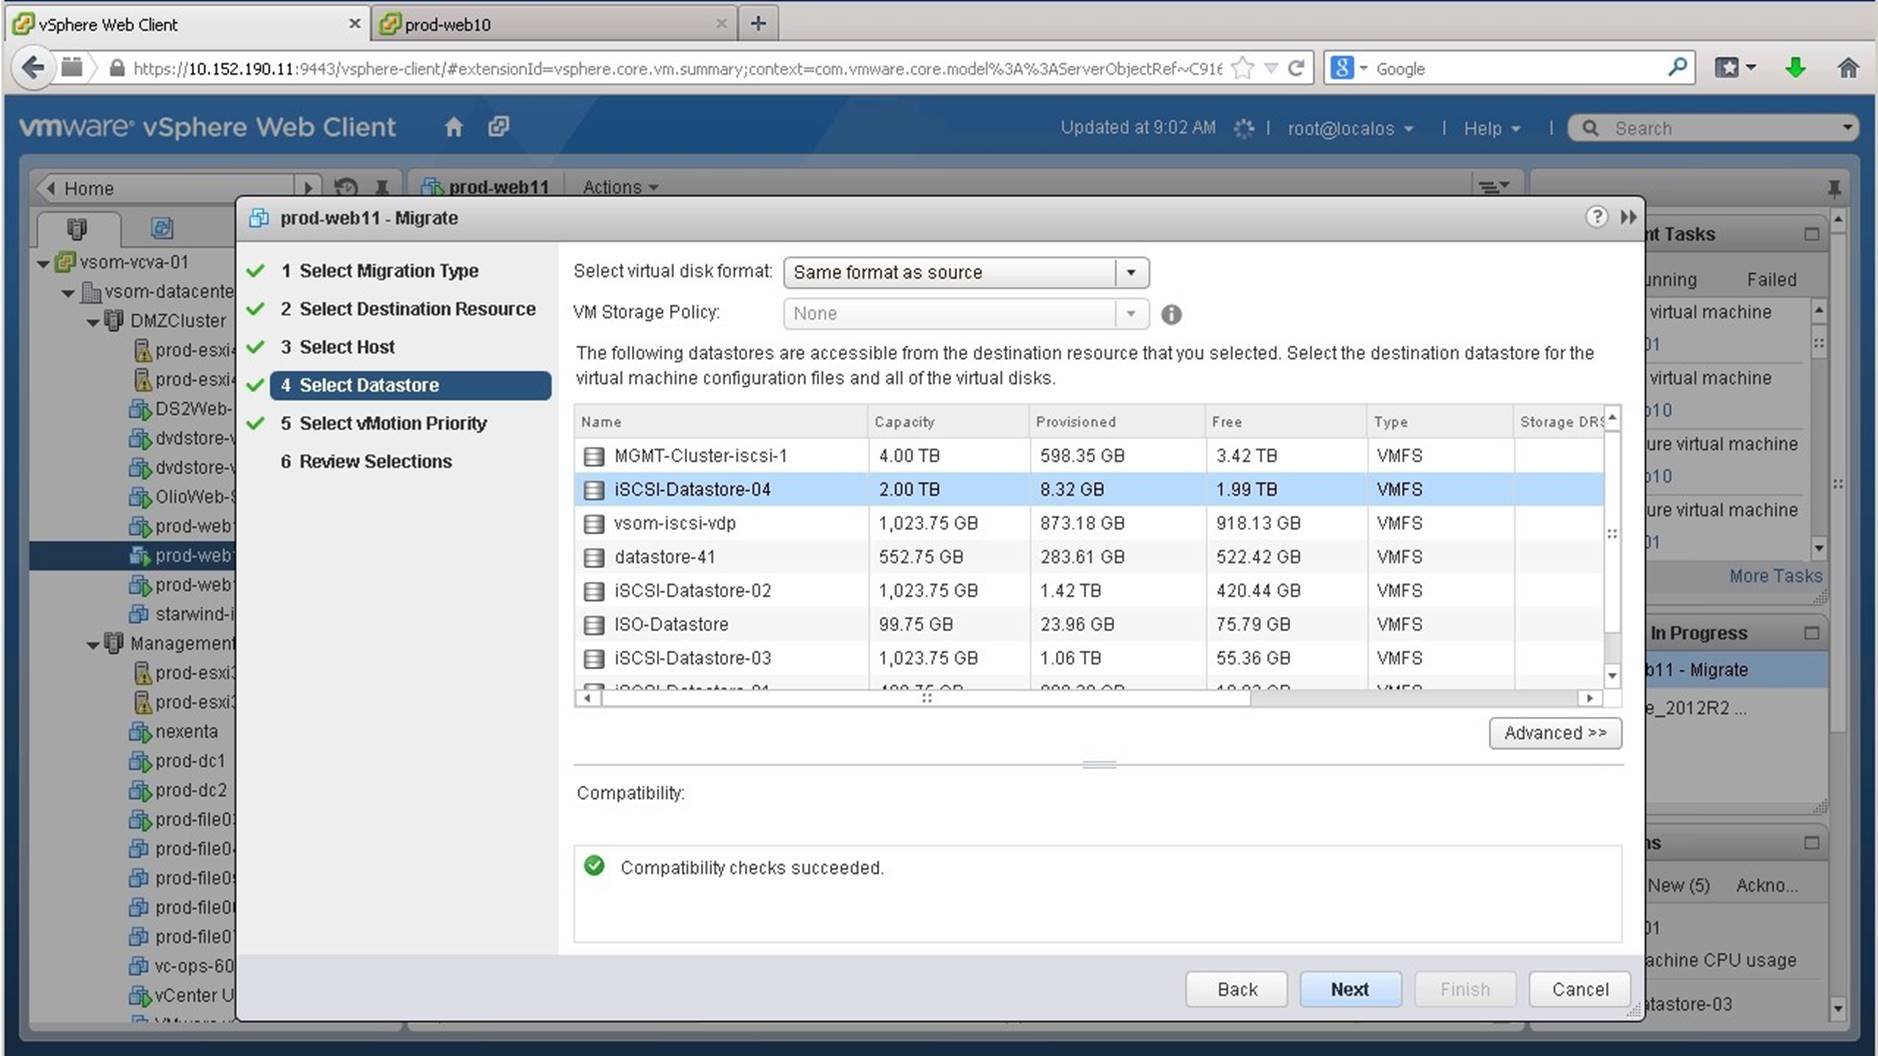
We select the datastore and click on [Next].
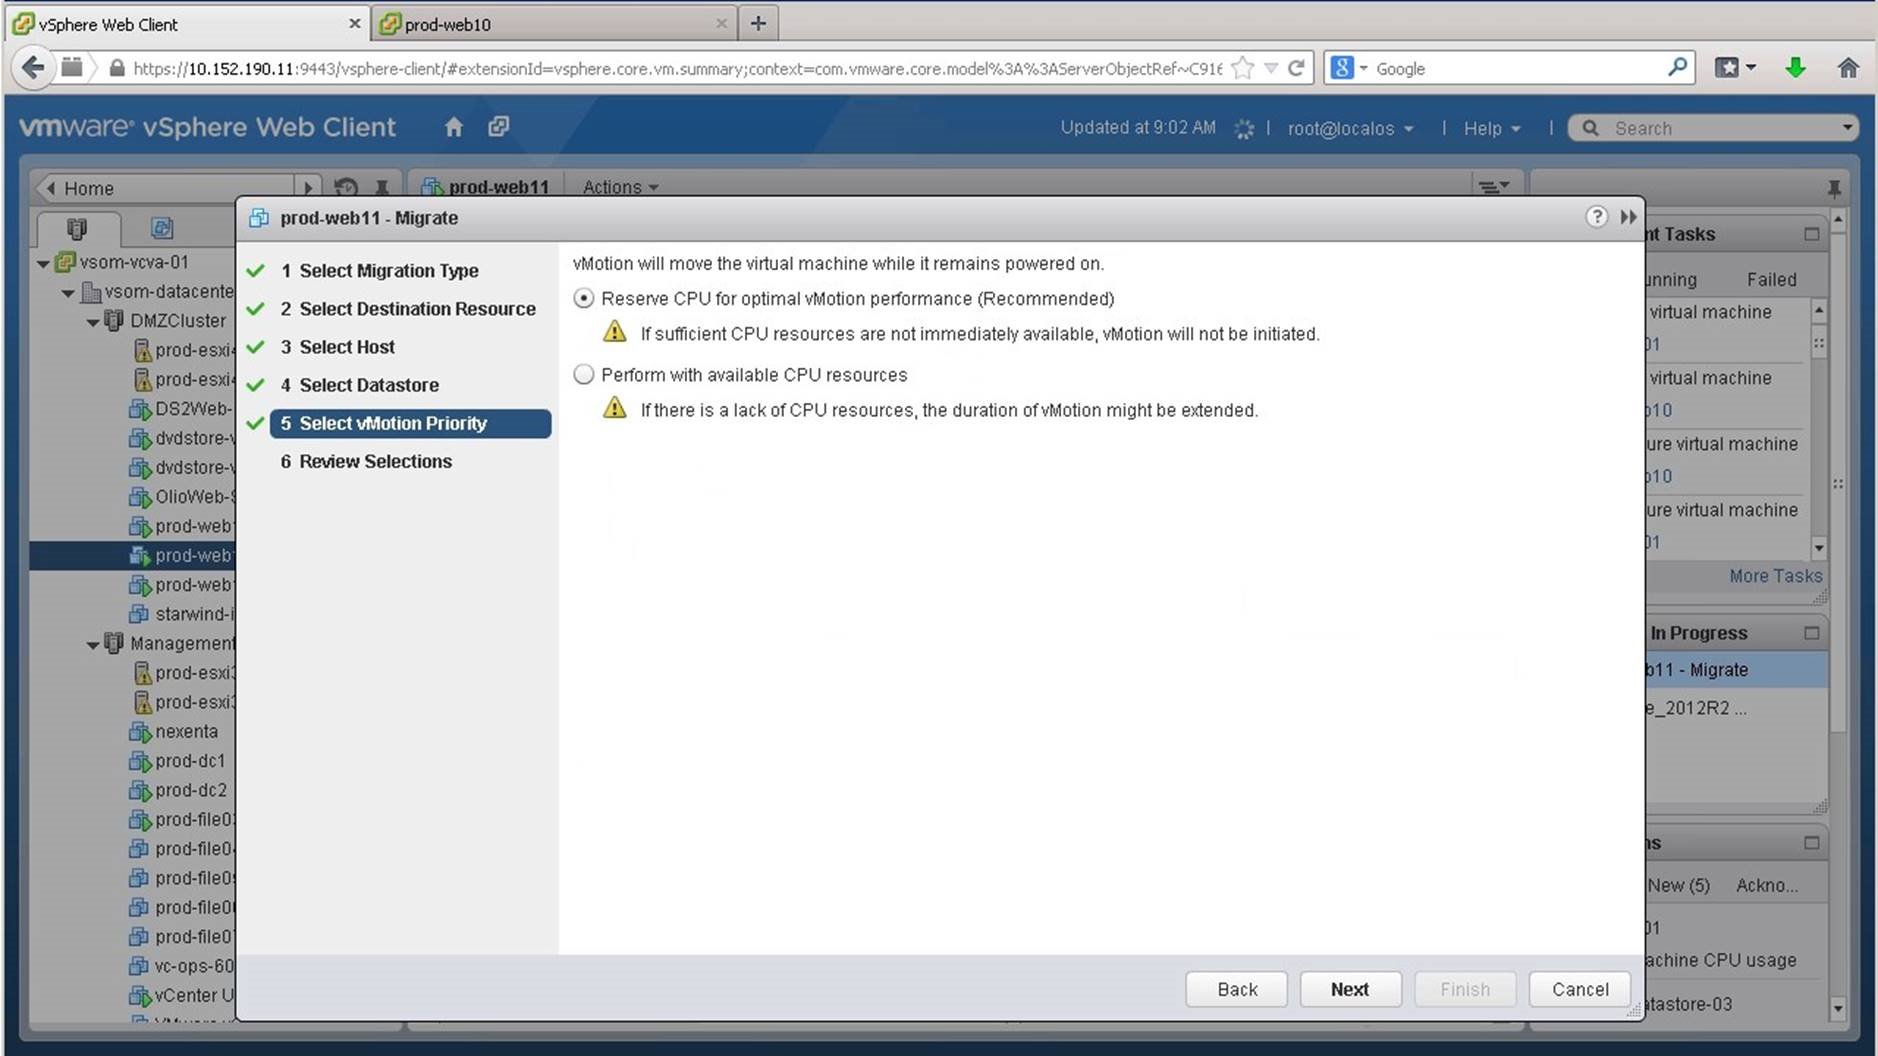
We choose to reserve CPU for optimal vMotion performance and click on [Next].
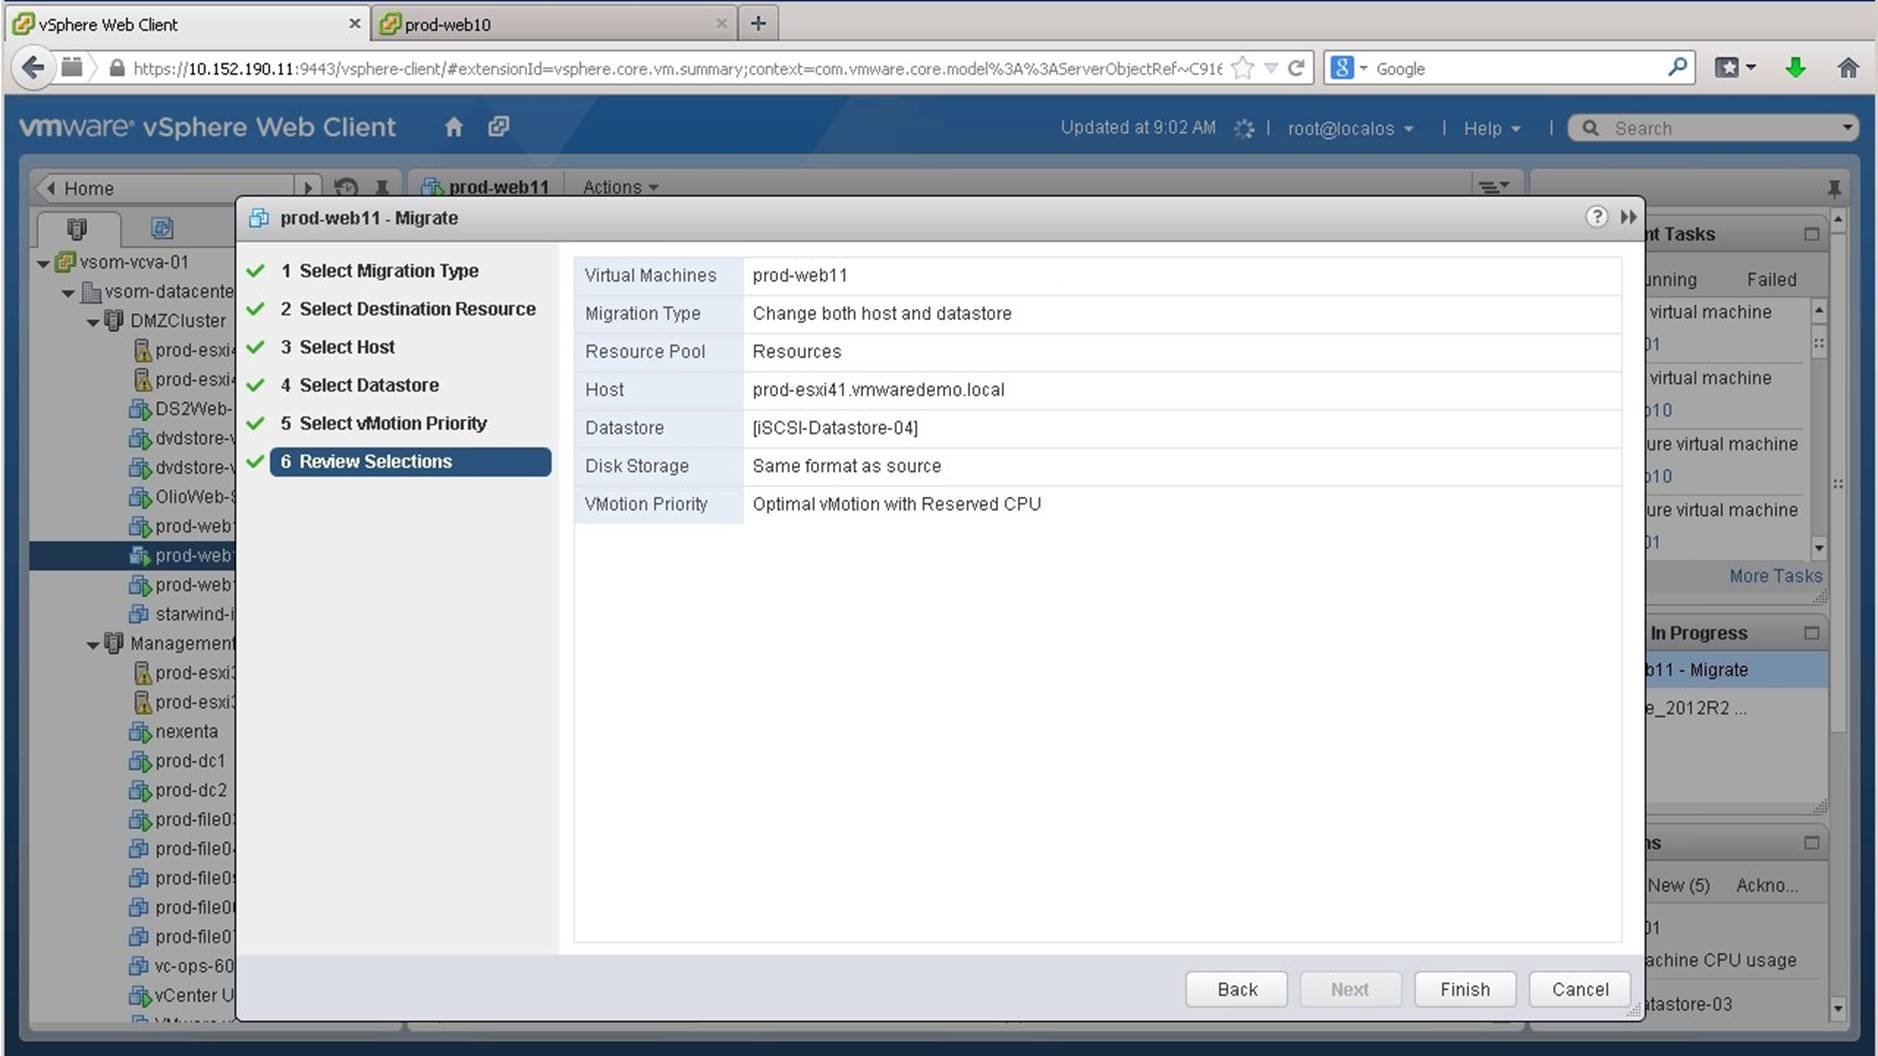
Review the settings and click on [Finish].
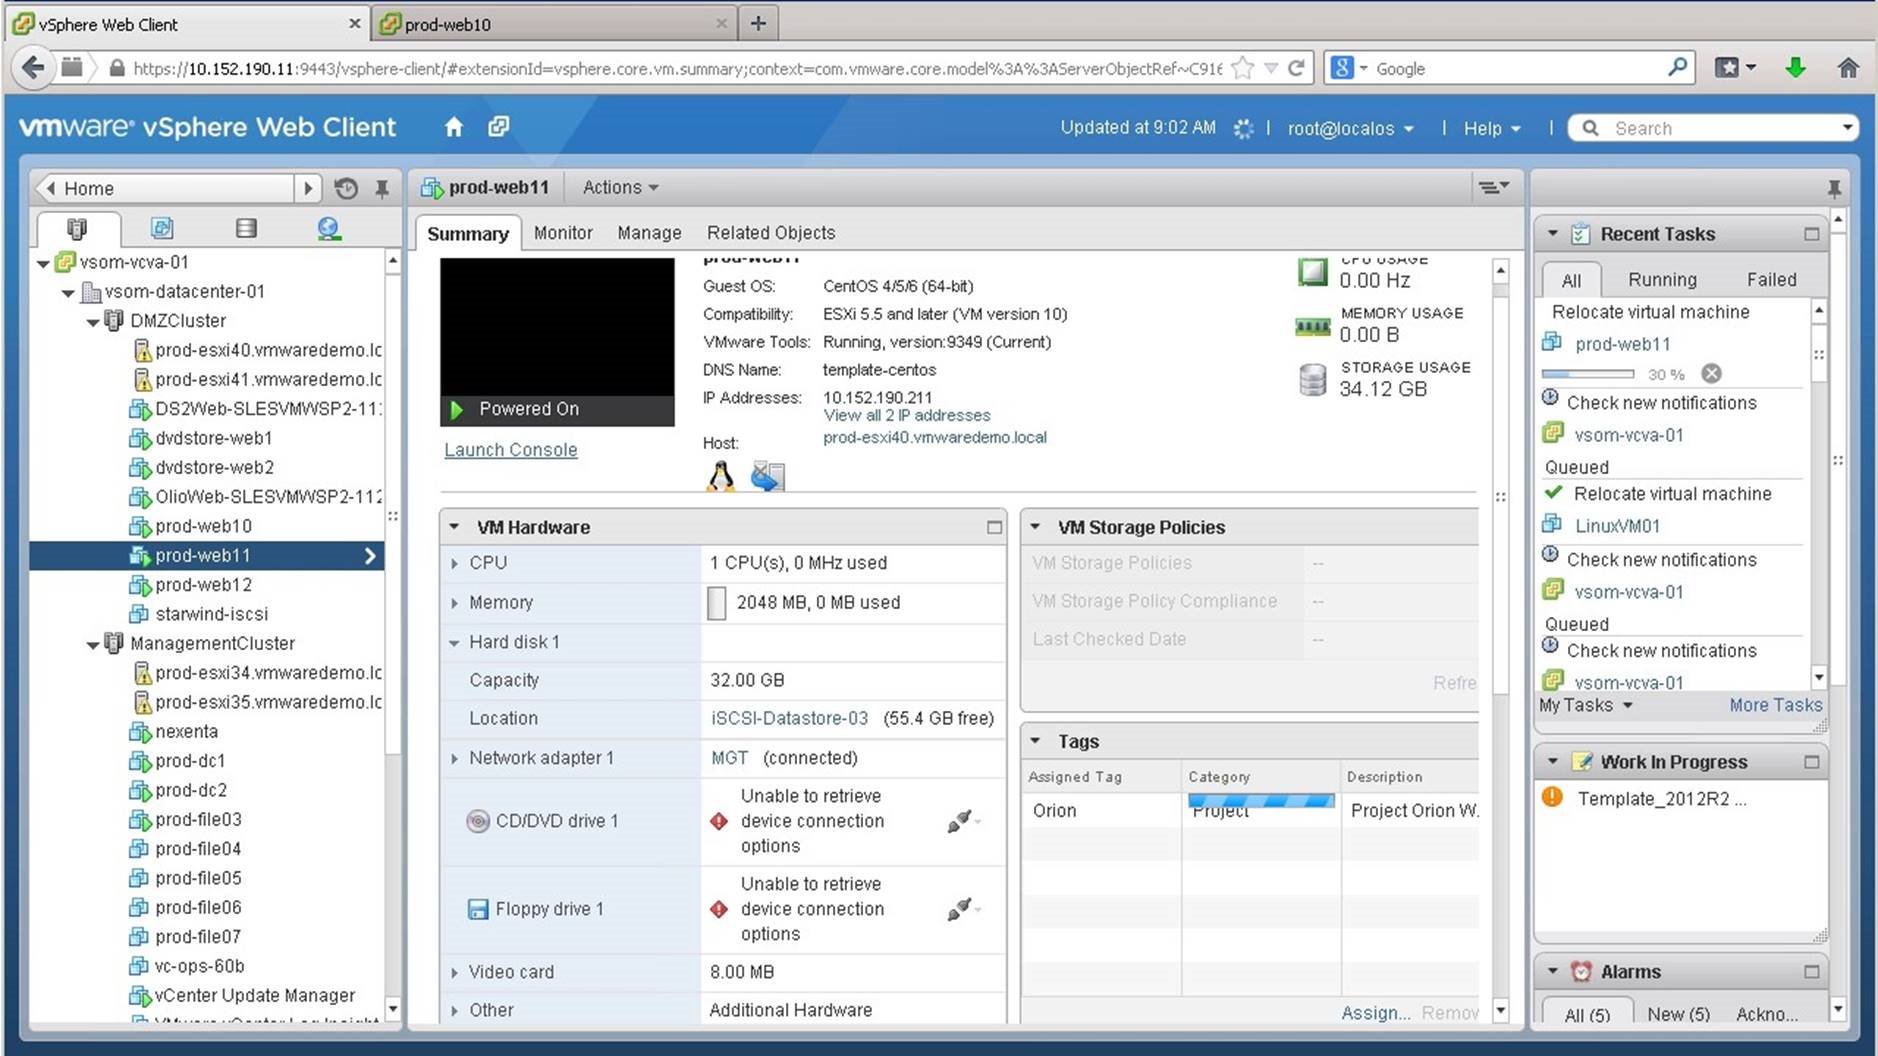
The migration may take several minutes. You can monitor it in the recent tasks column. We will launch the console to verify if the virtual machine is still active.
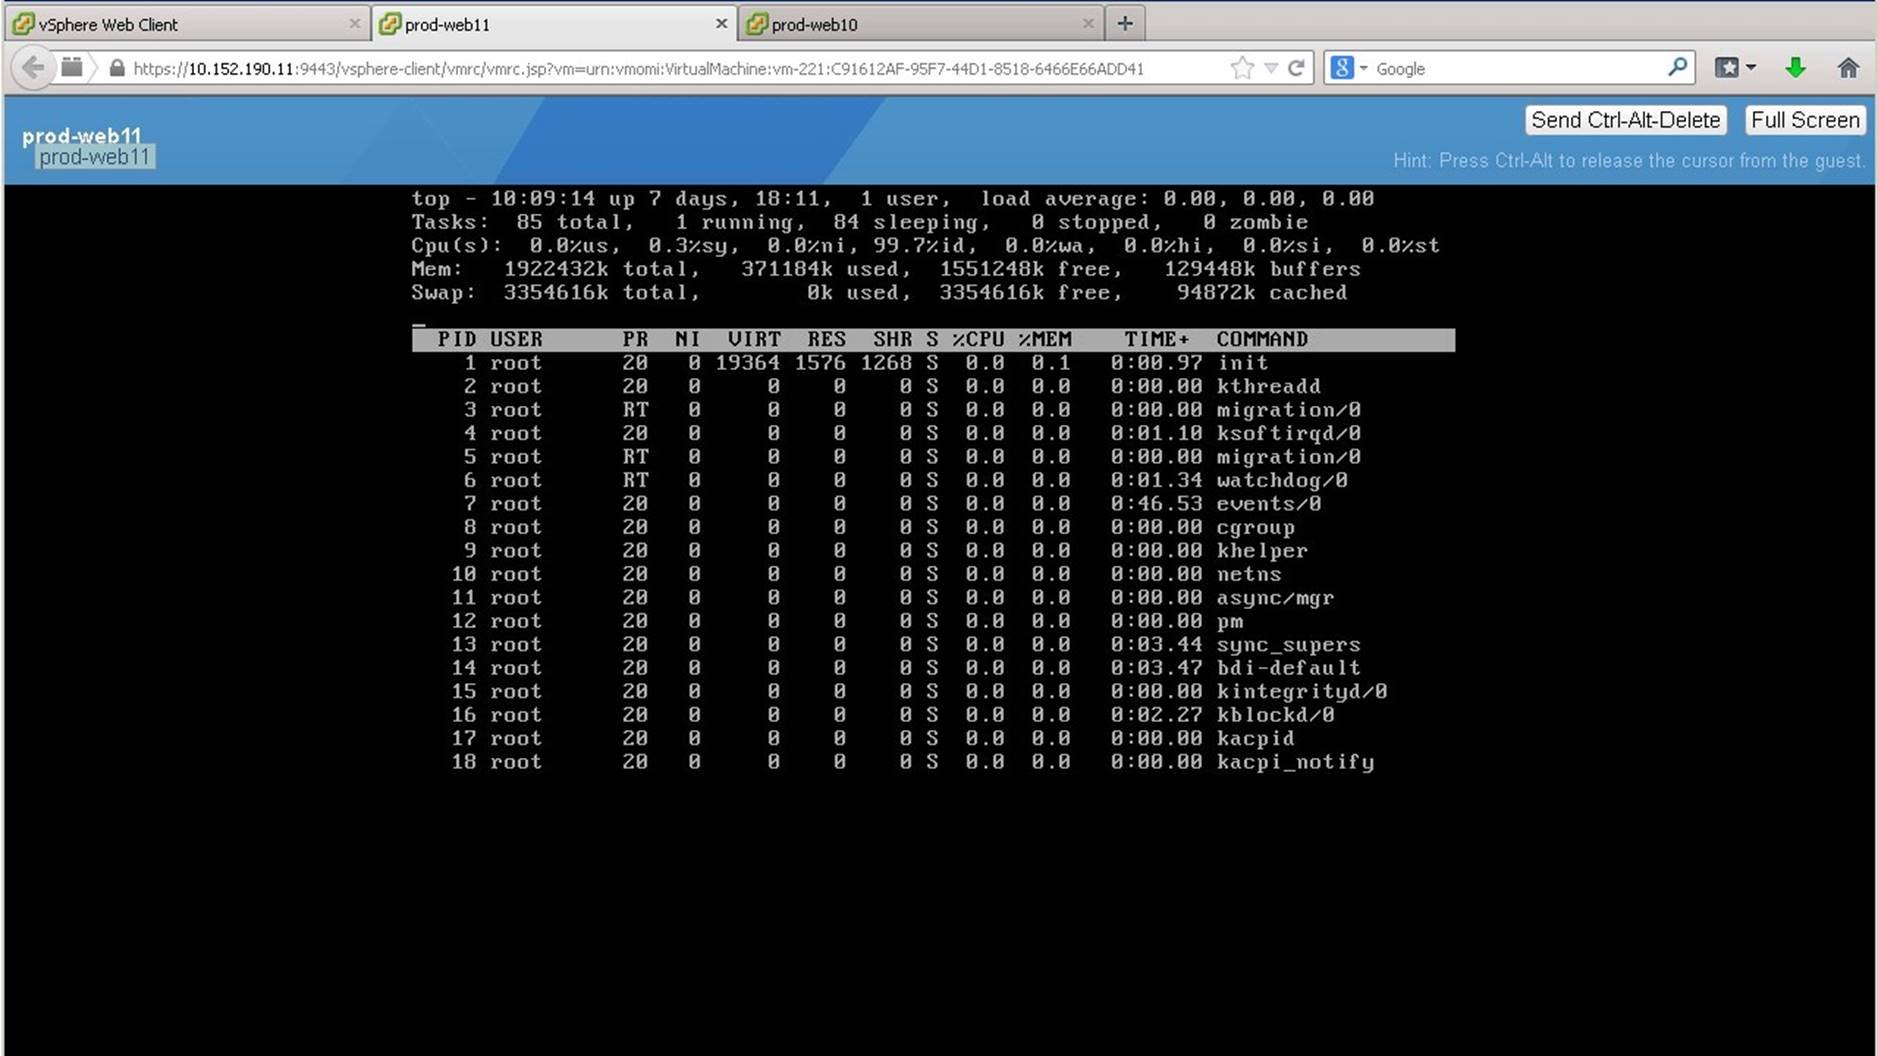
We see that the virtual machine is still running.
We switch back to the vSphere Web Client to see that the migration is still in progress. After the migration is complete, the virtual machine will run on the host prod-esxi41 and the datastore iSCSI-Datastore-04. This concludes the walkthrough on migrating VMs across Hosts and Clusters. Select the next walkthrough of your choice using the navigation panel.