
vSphere Clustering
Maintenance Mode

This walkthrough is designed to provide a step-by-step overview of placing a vSphere host under maintenance mode using DRS. Use arrow keys to navigate through the screens.
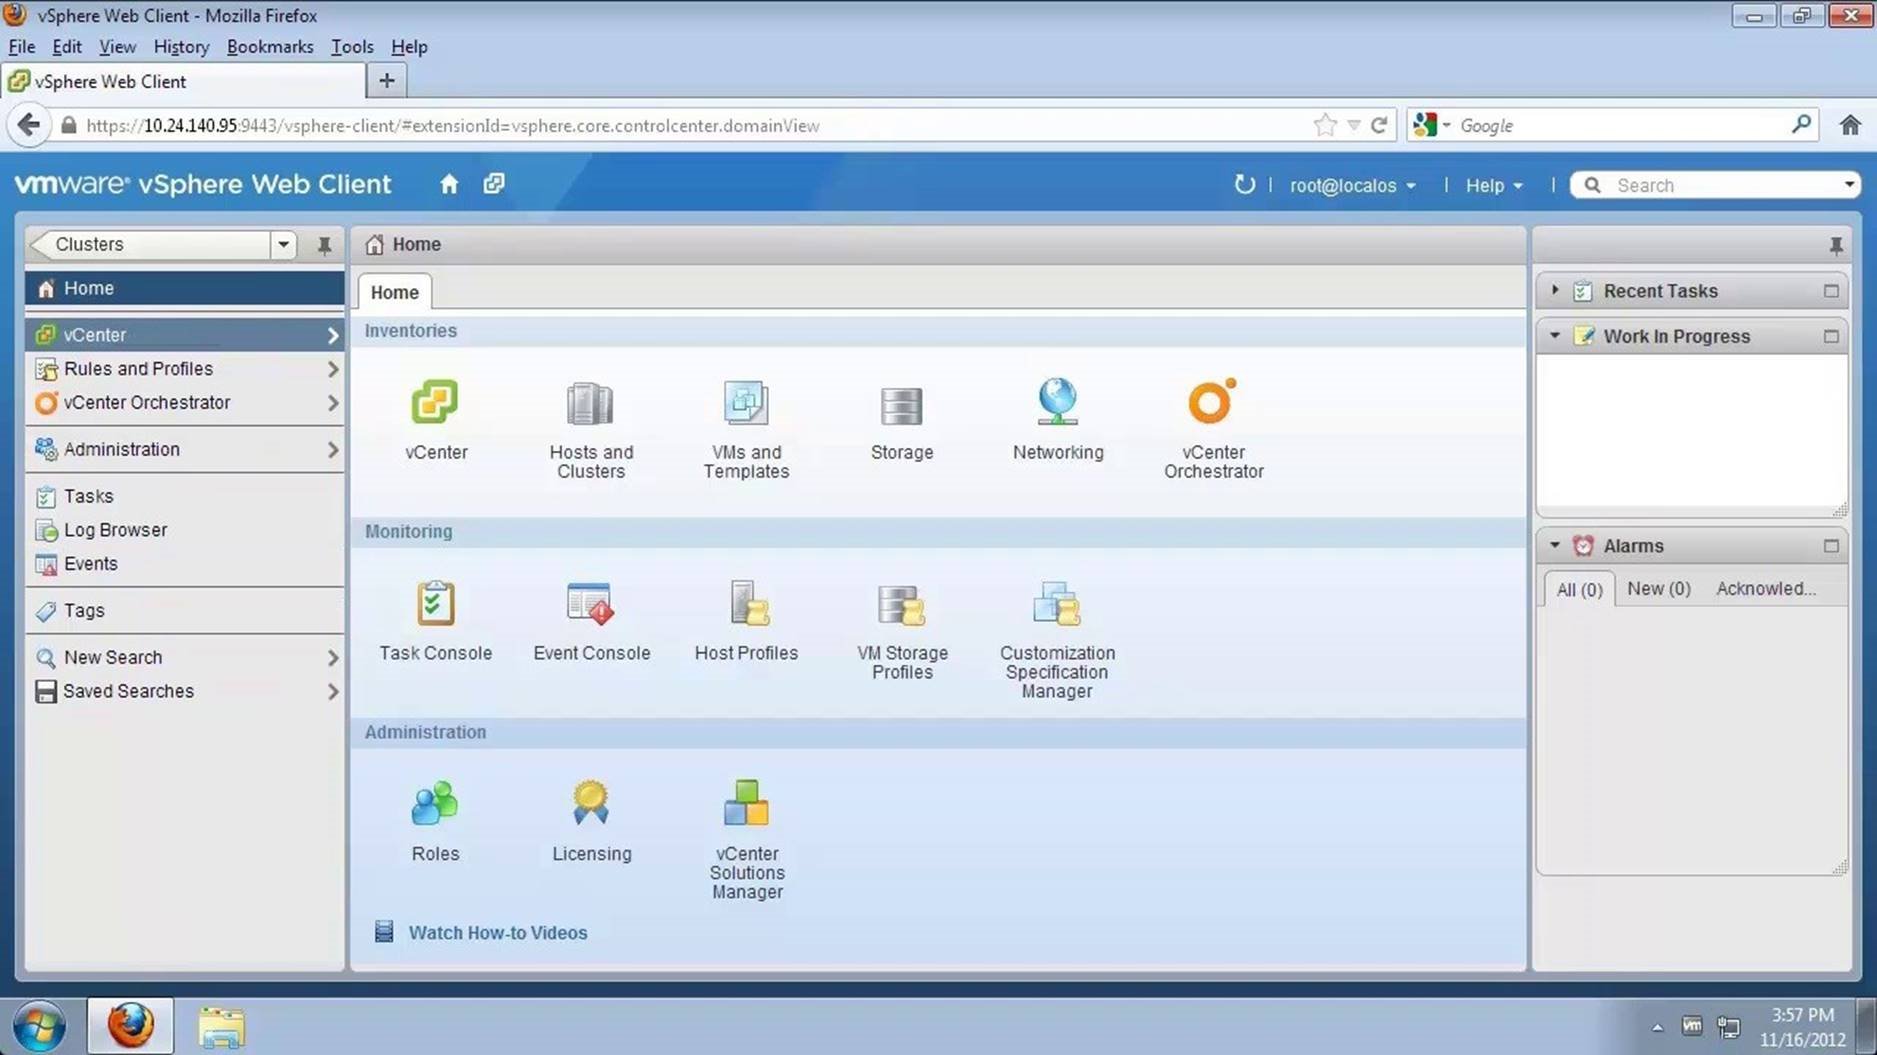
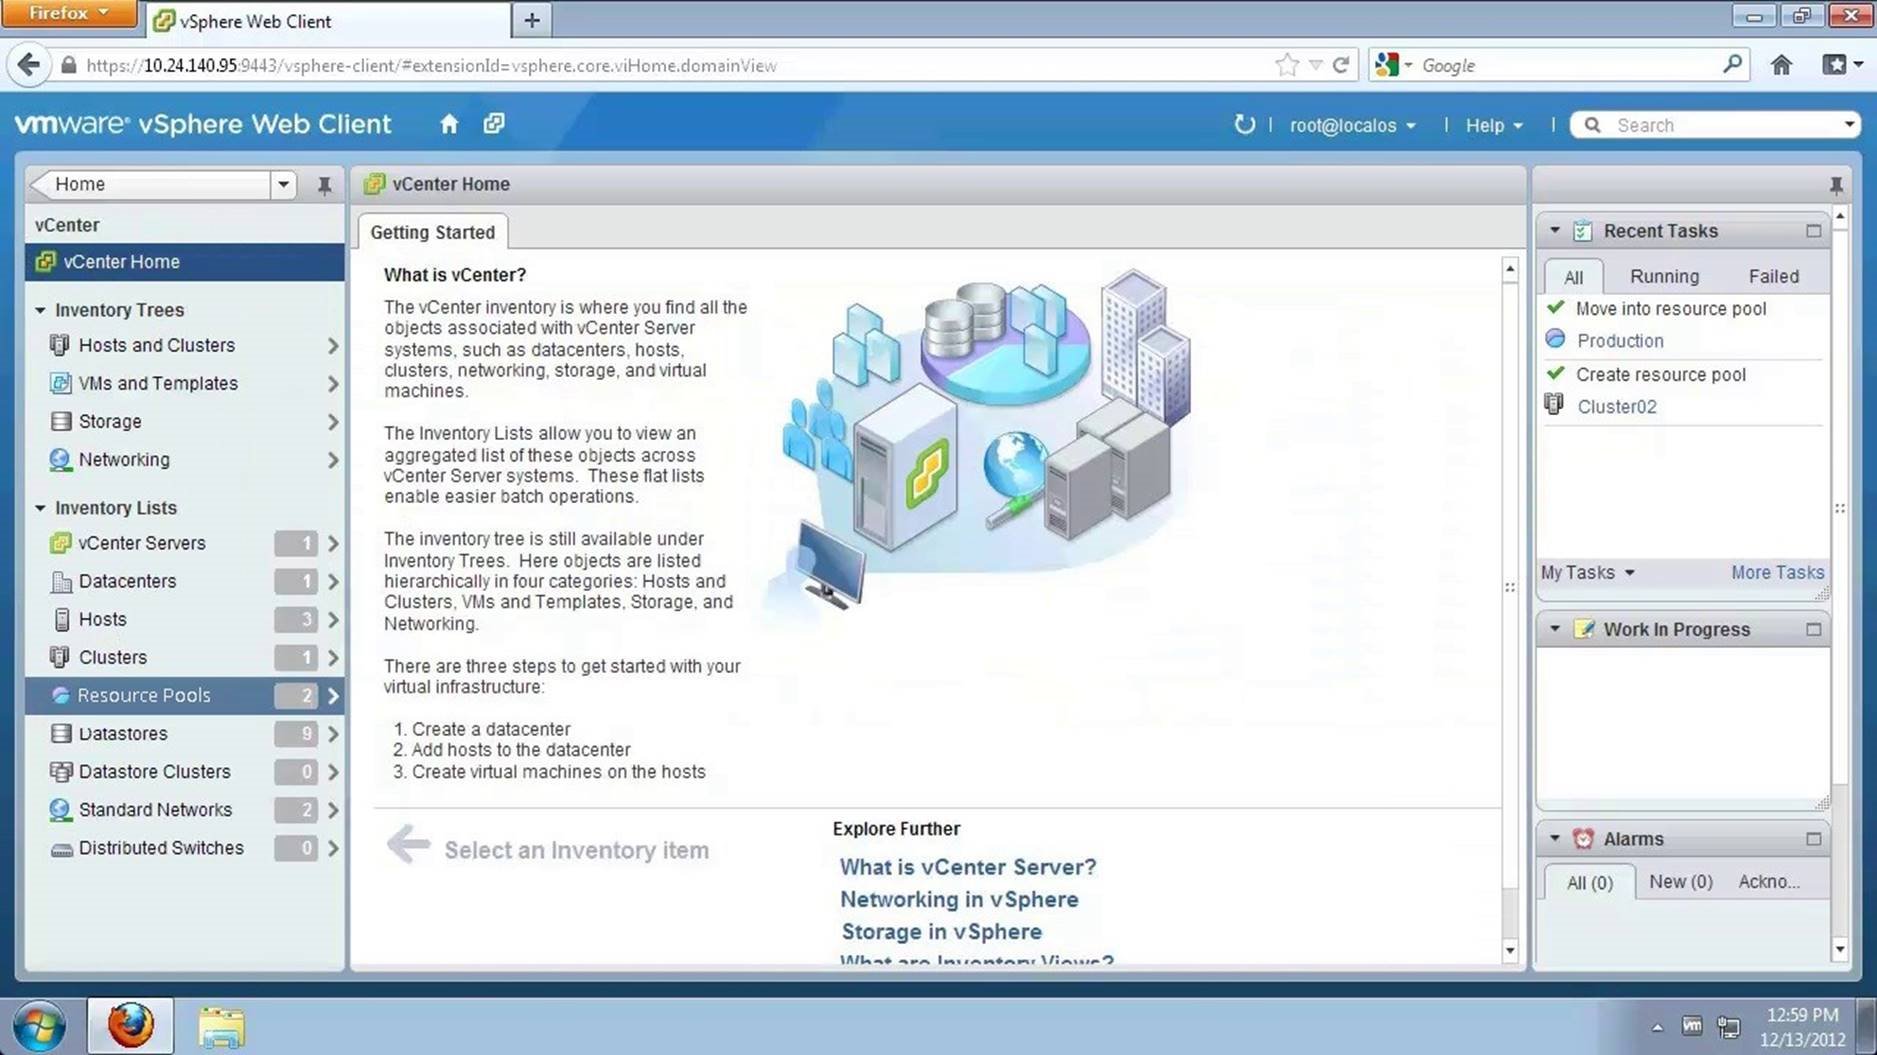
DRS maintenance mode helps you evacuate VMs from a vSphere host with zero downtime using vMotion. To place a host under maintenance mode, you need to create a cluster and enable DRS. To do this, go to [vCenter].
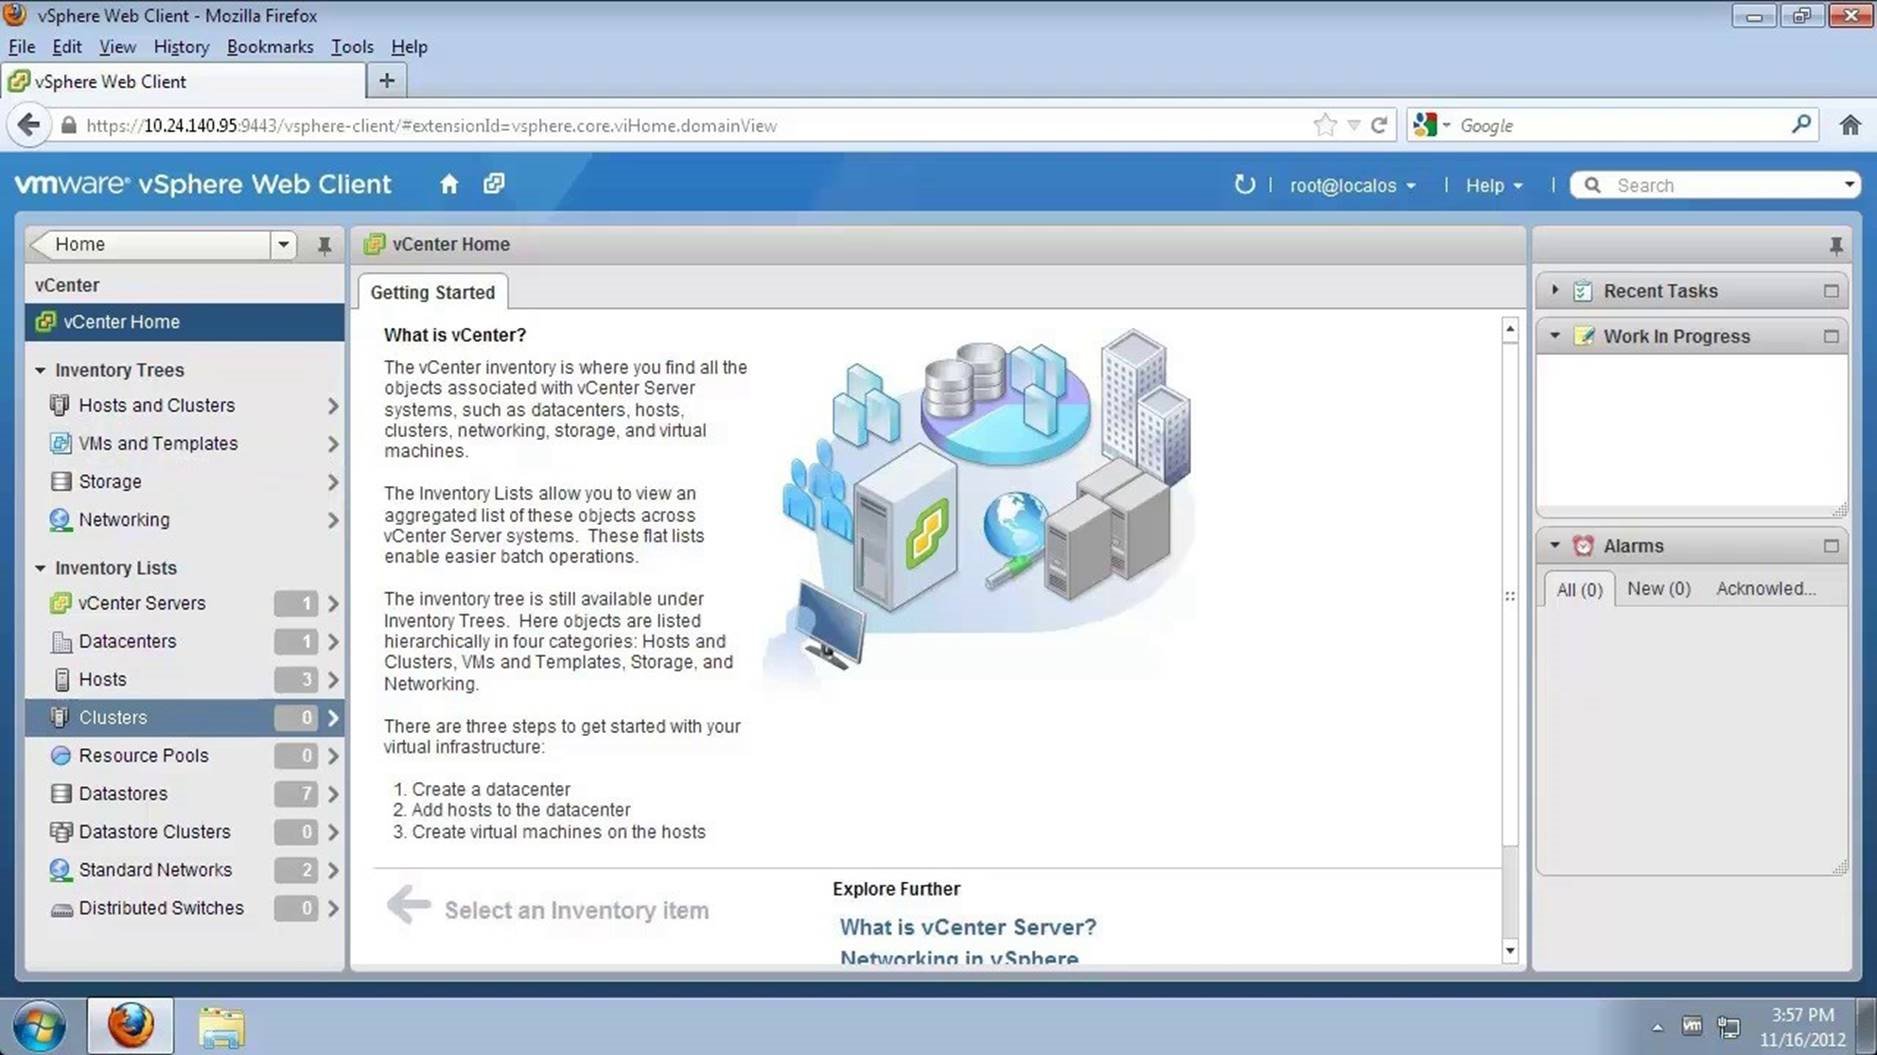
Click on [Clusters]. Notice, the inventory here does not have any cluster.
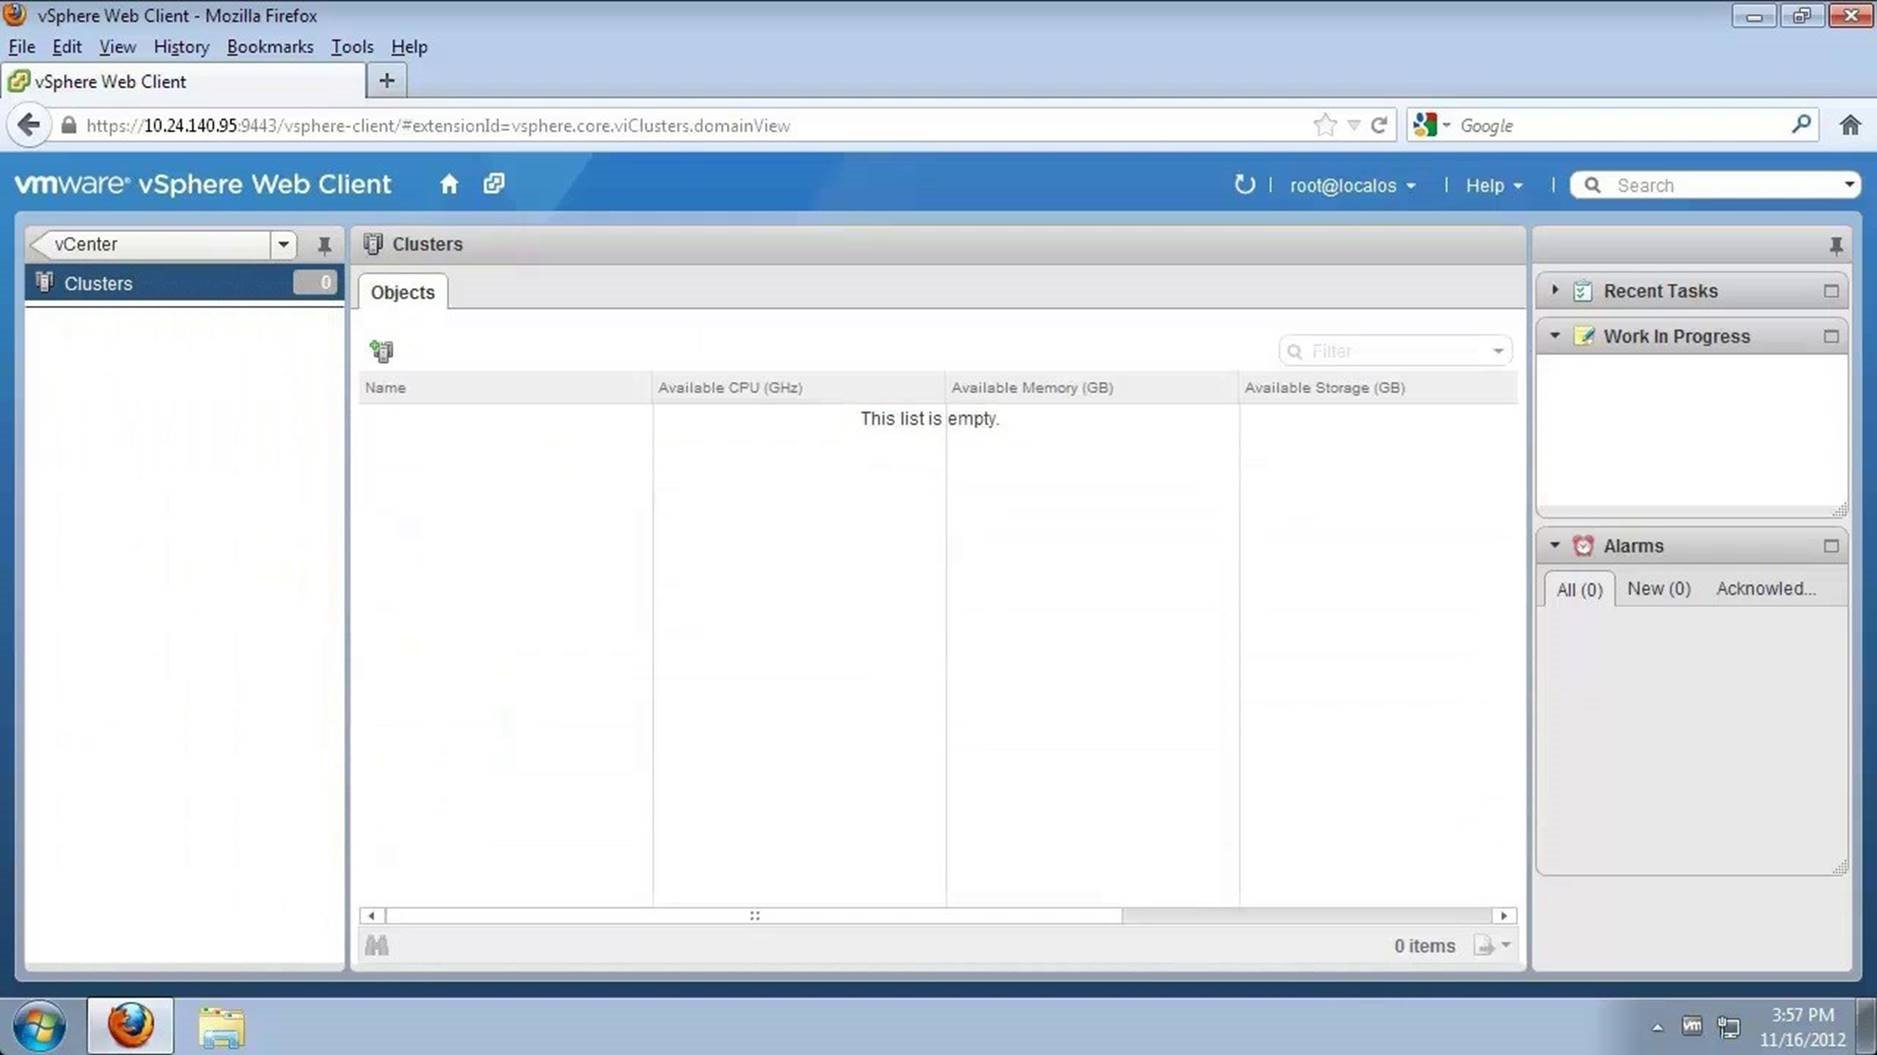
Click on the [Create a New Cluster] icon to open the wizard.

Name the cluster 'Clustr02' and click on [Browse] to select a location for this cluster.
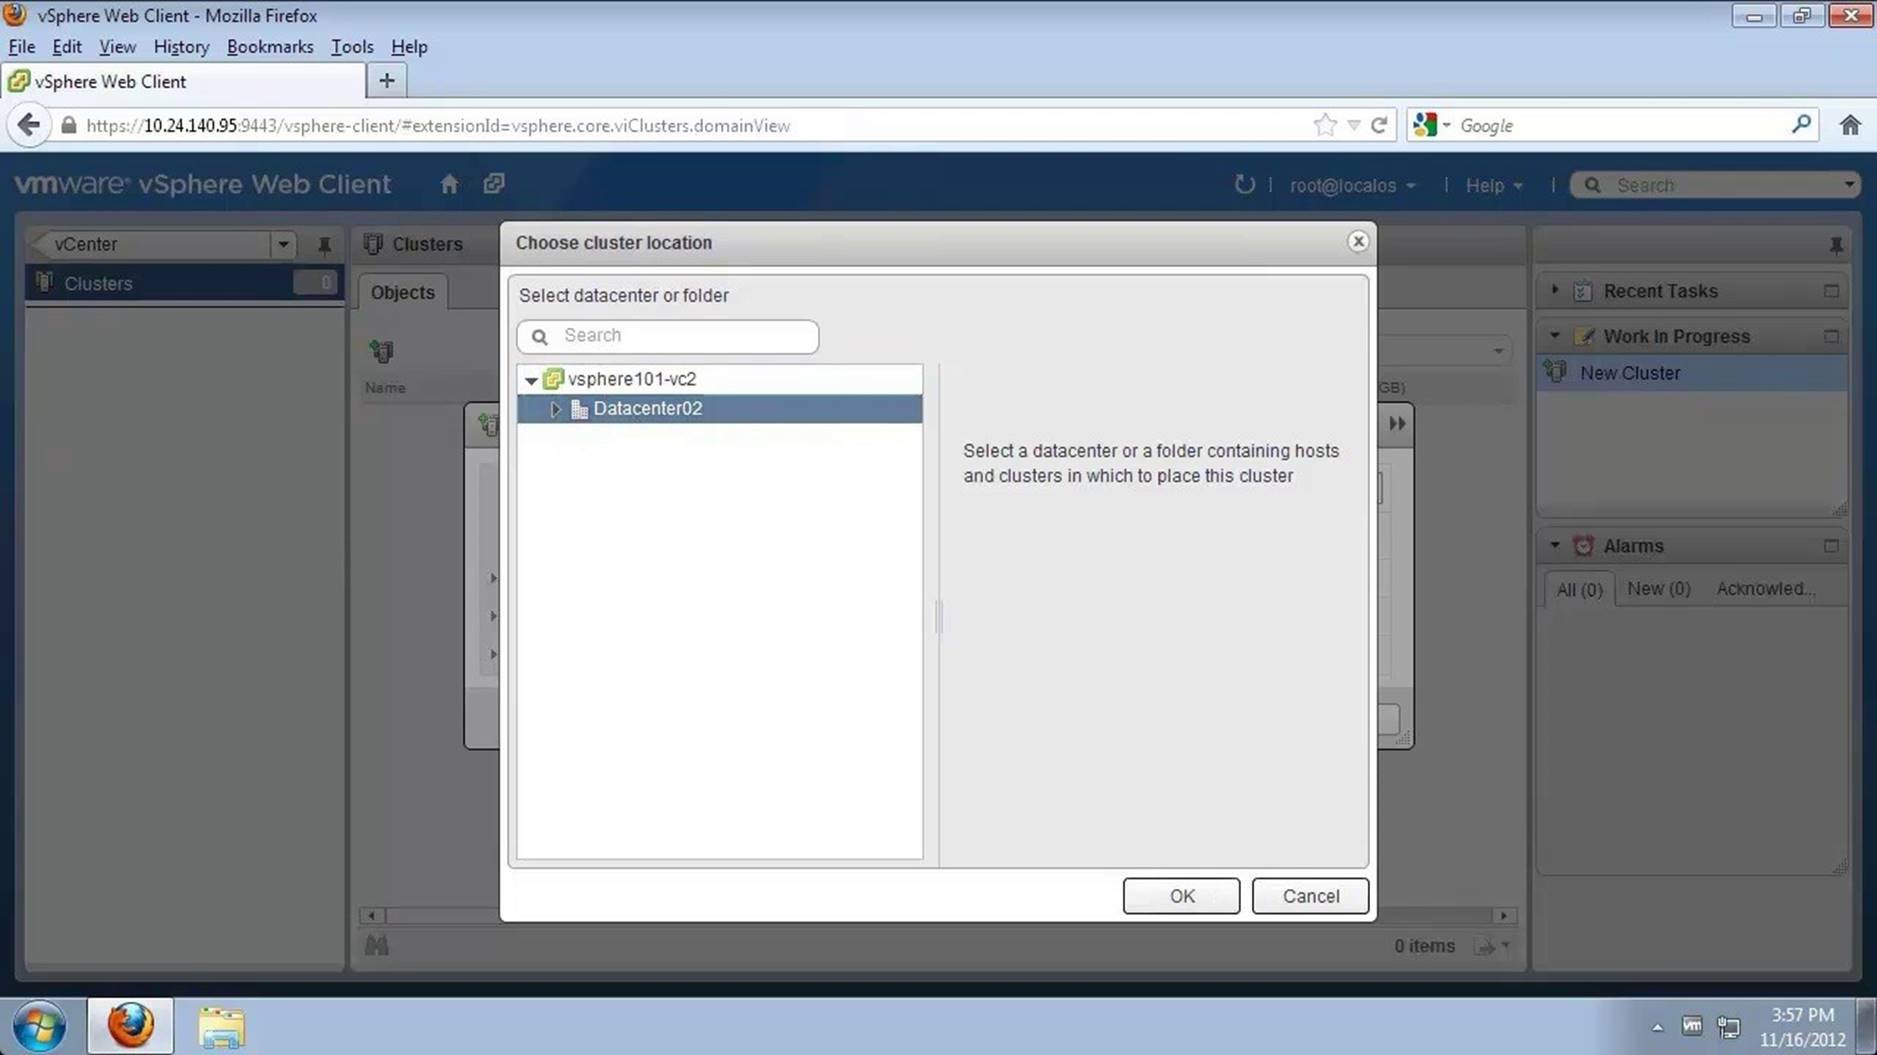
Select [datacenter02] as the location for the cluster. Click on [OK].
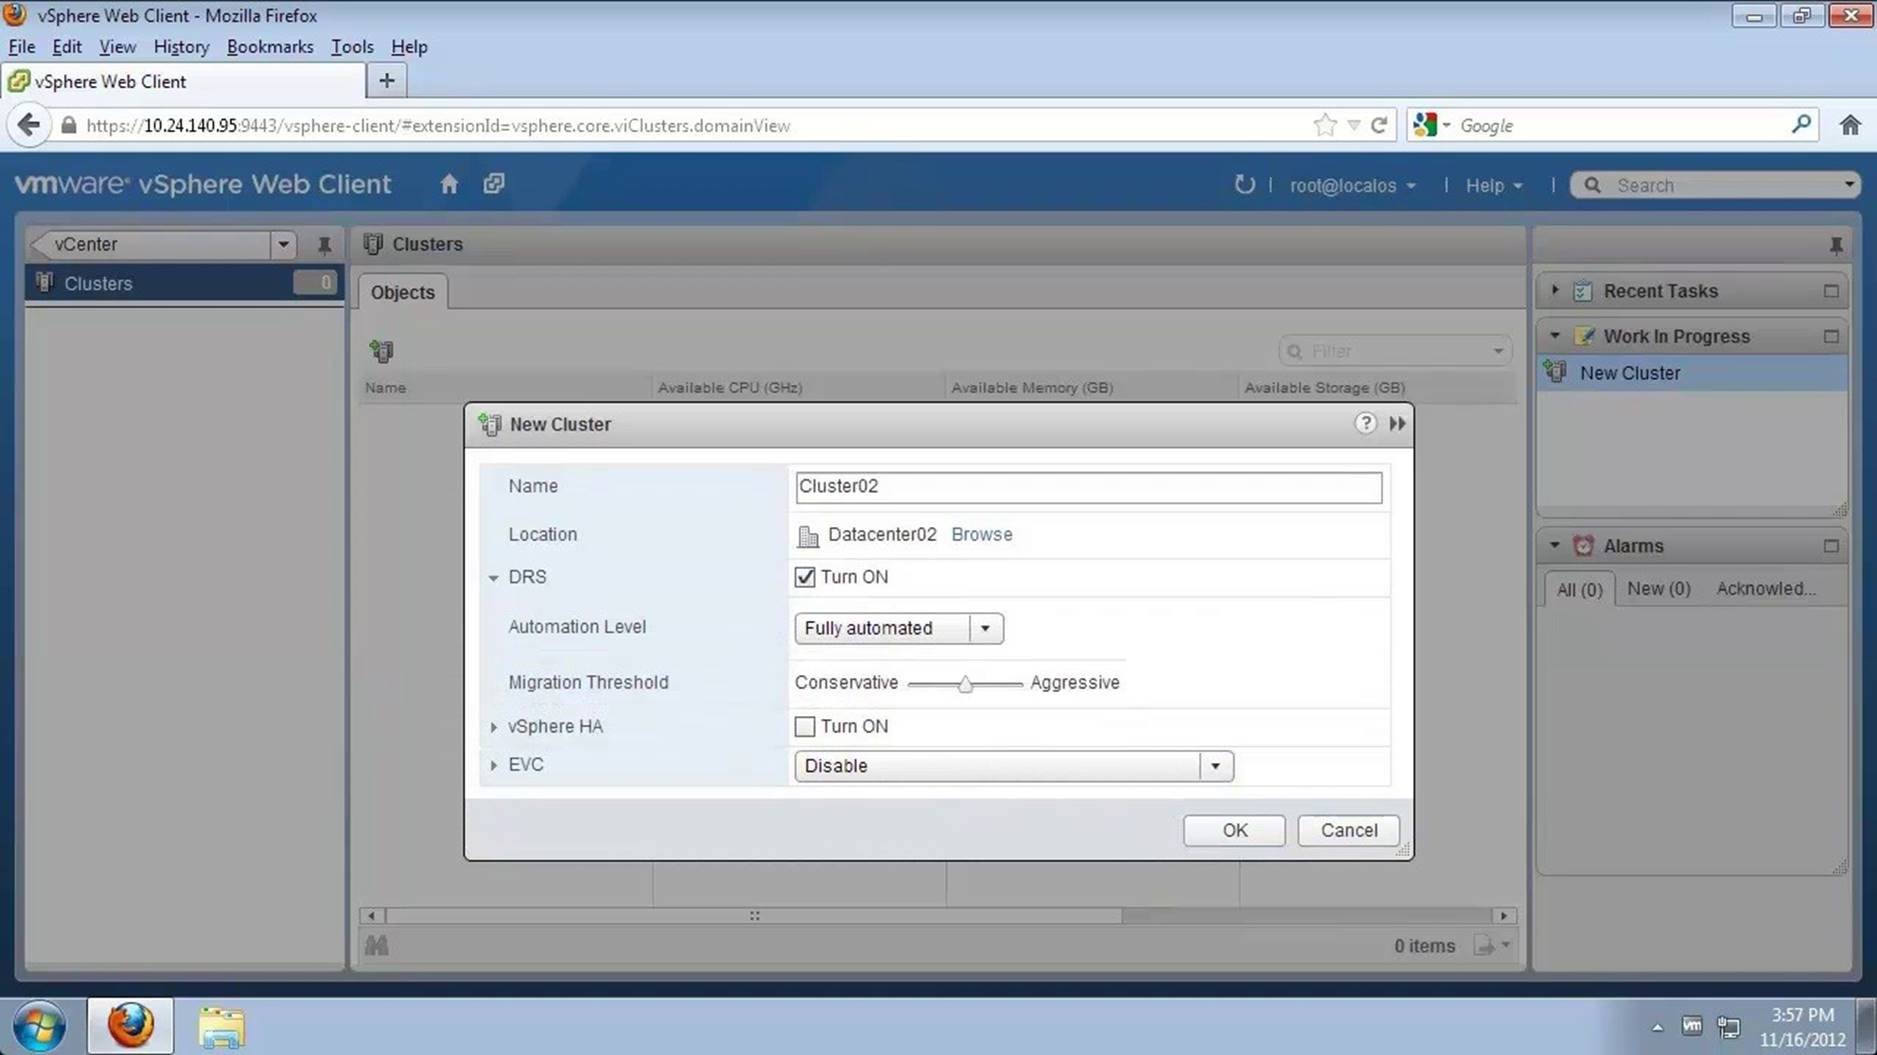
Turn on DRS and click on [OK].

The new cluster is created with DRS enabled. Click on the [Add New Hosts] icon to add hosts to the cluster.
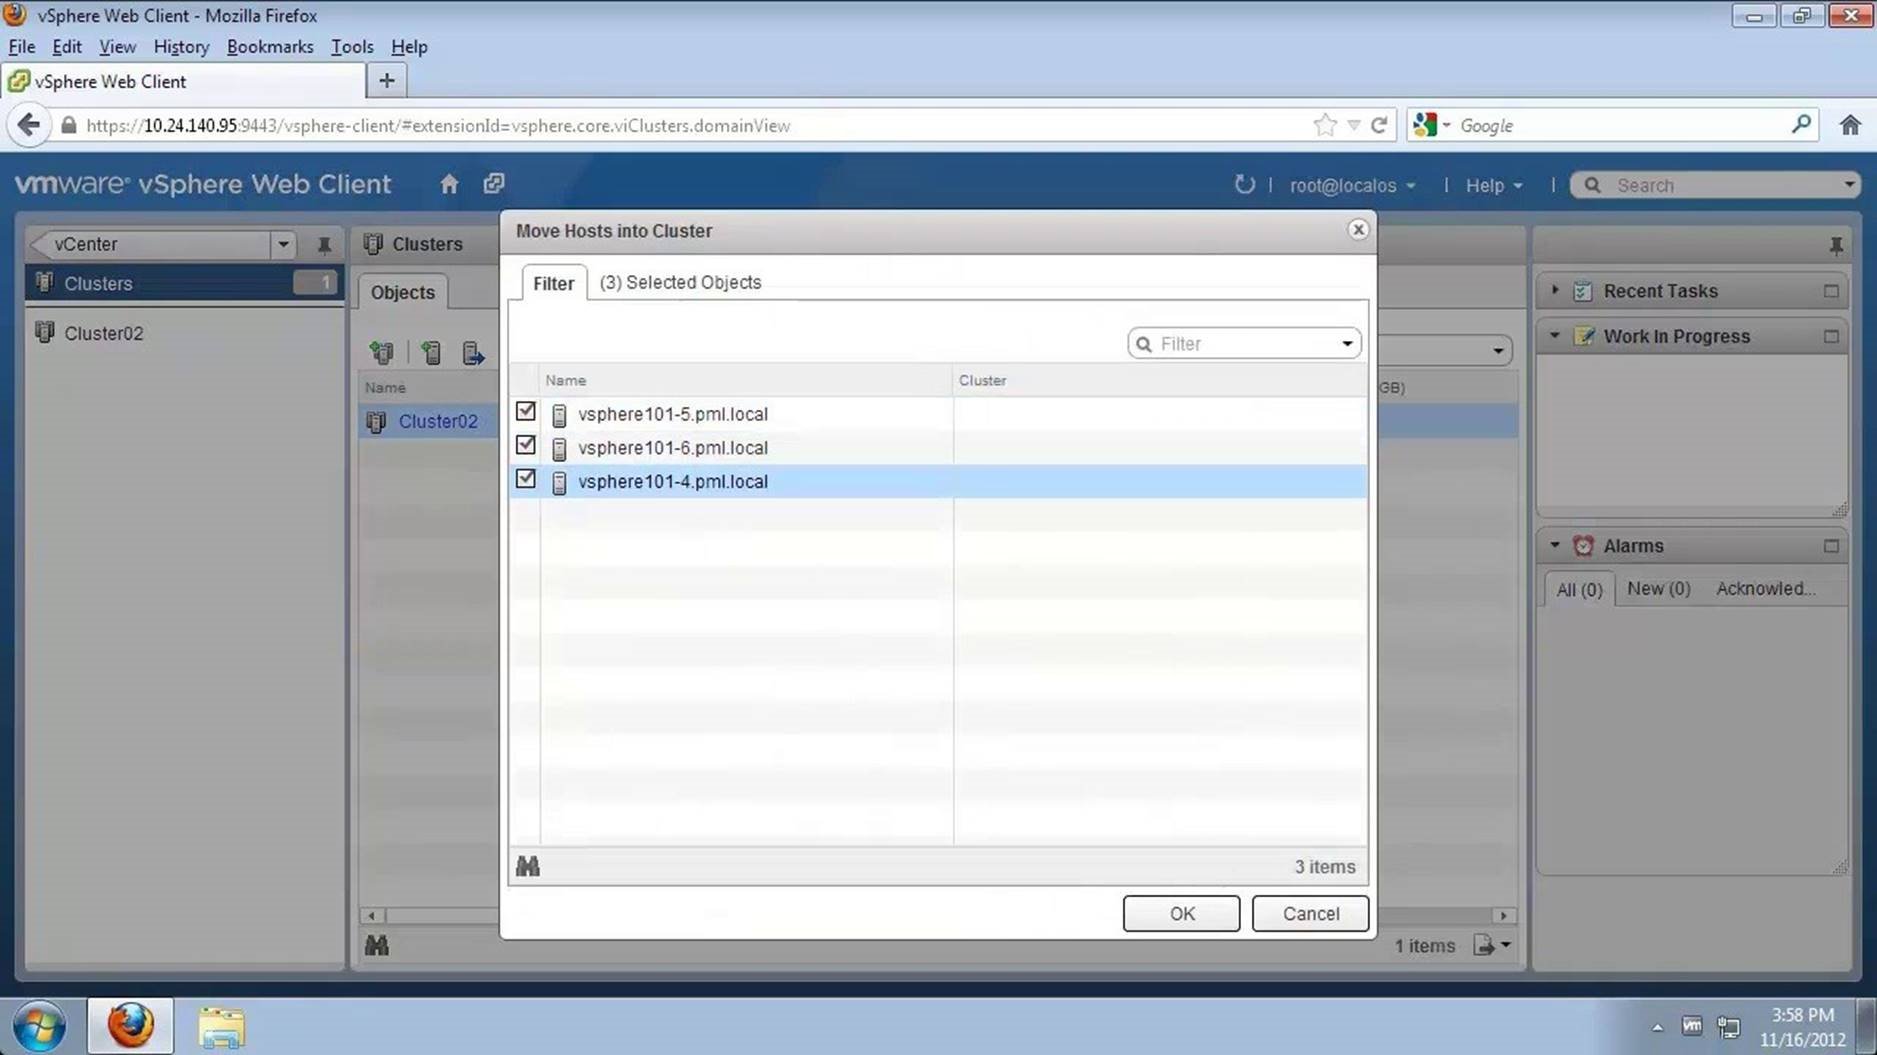
Select the hosts and click on [OK]. Choose all three hosts here.
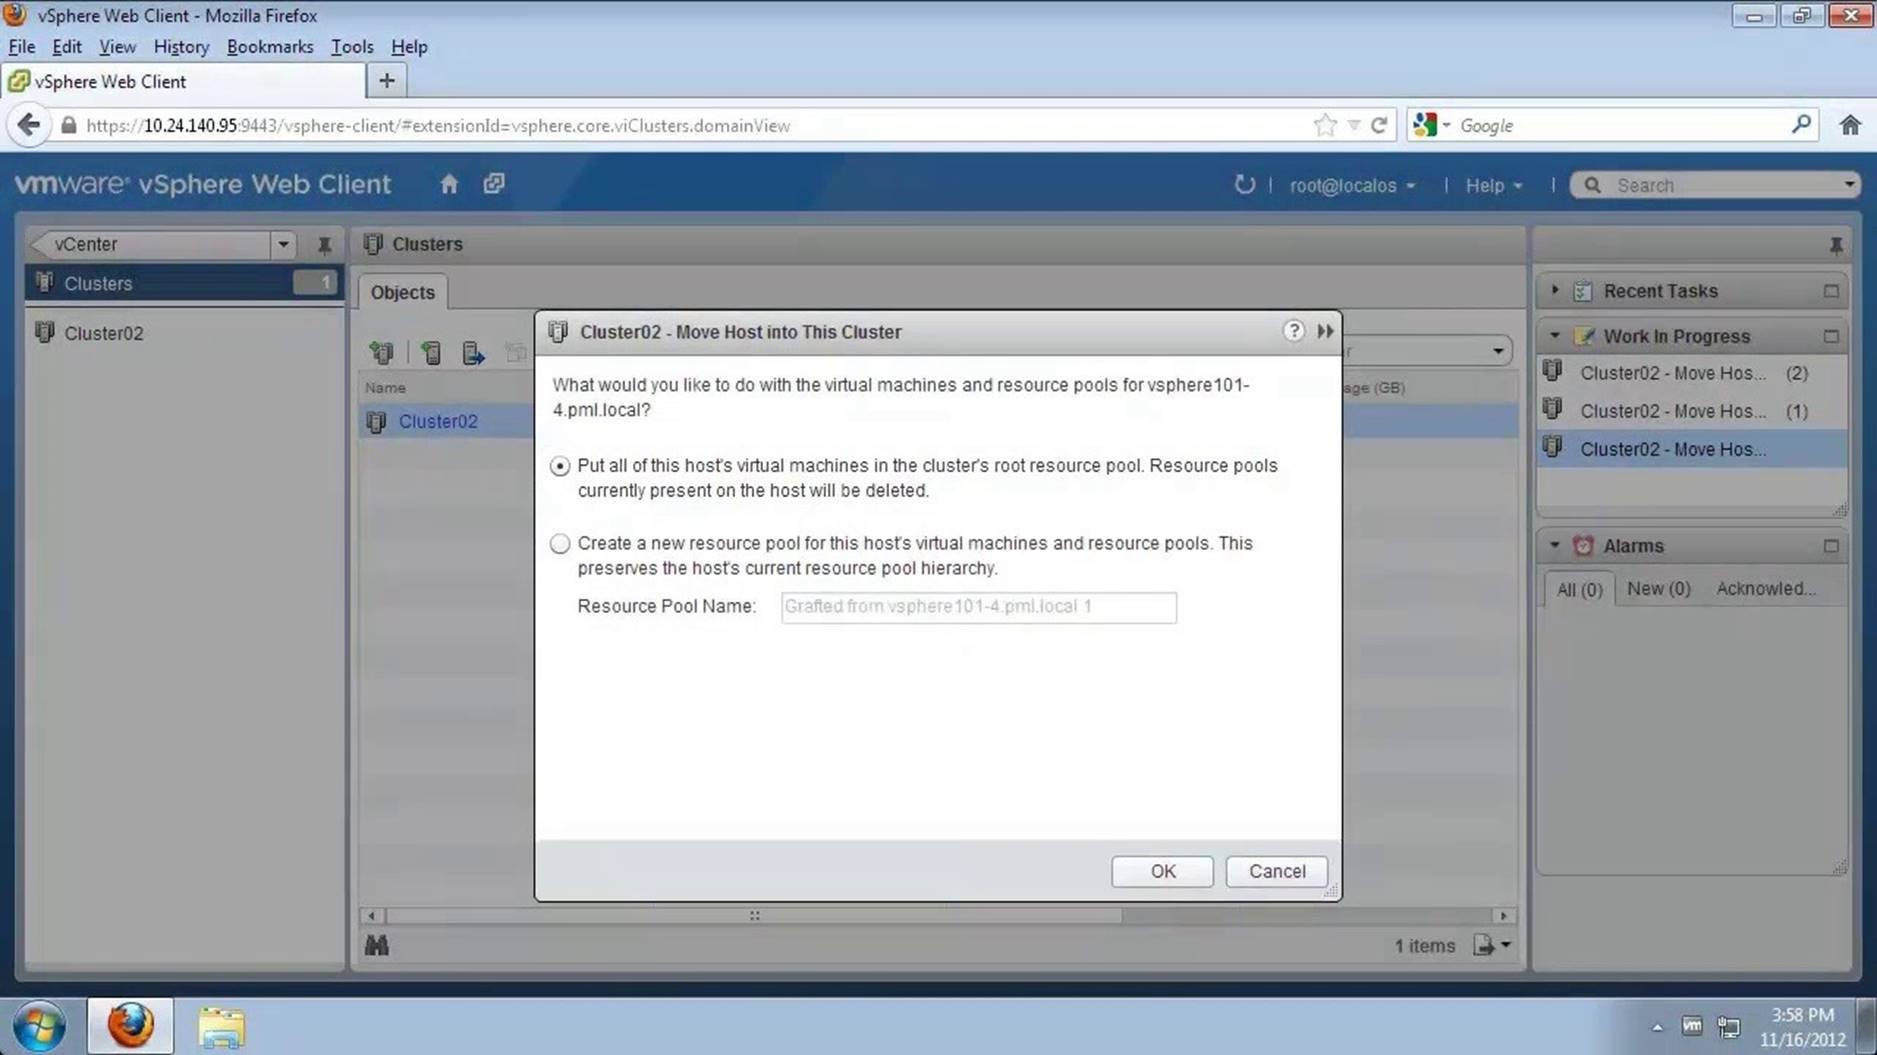
Retain the default setting and click on [OK] to continue. Repeat the action for the other two hosts by clicking on [OK] to the prompts.
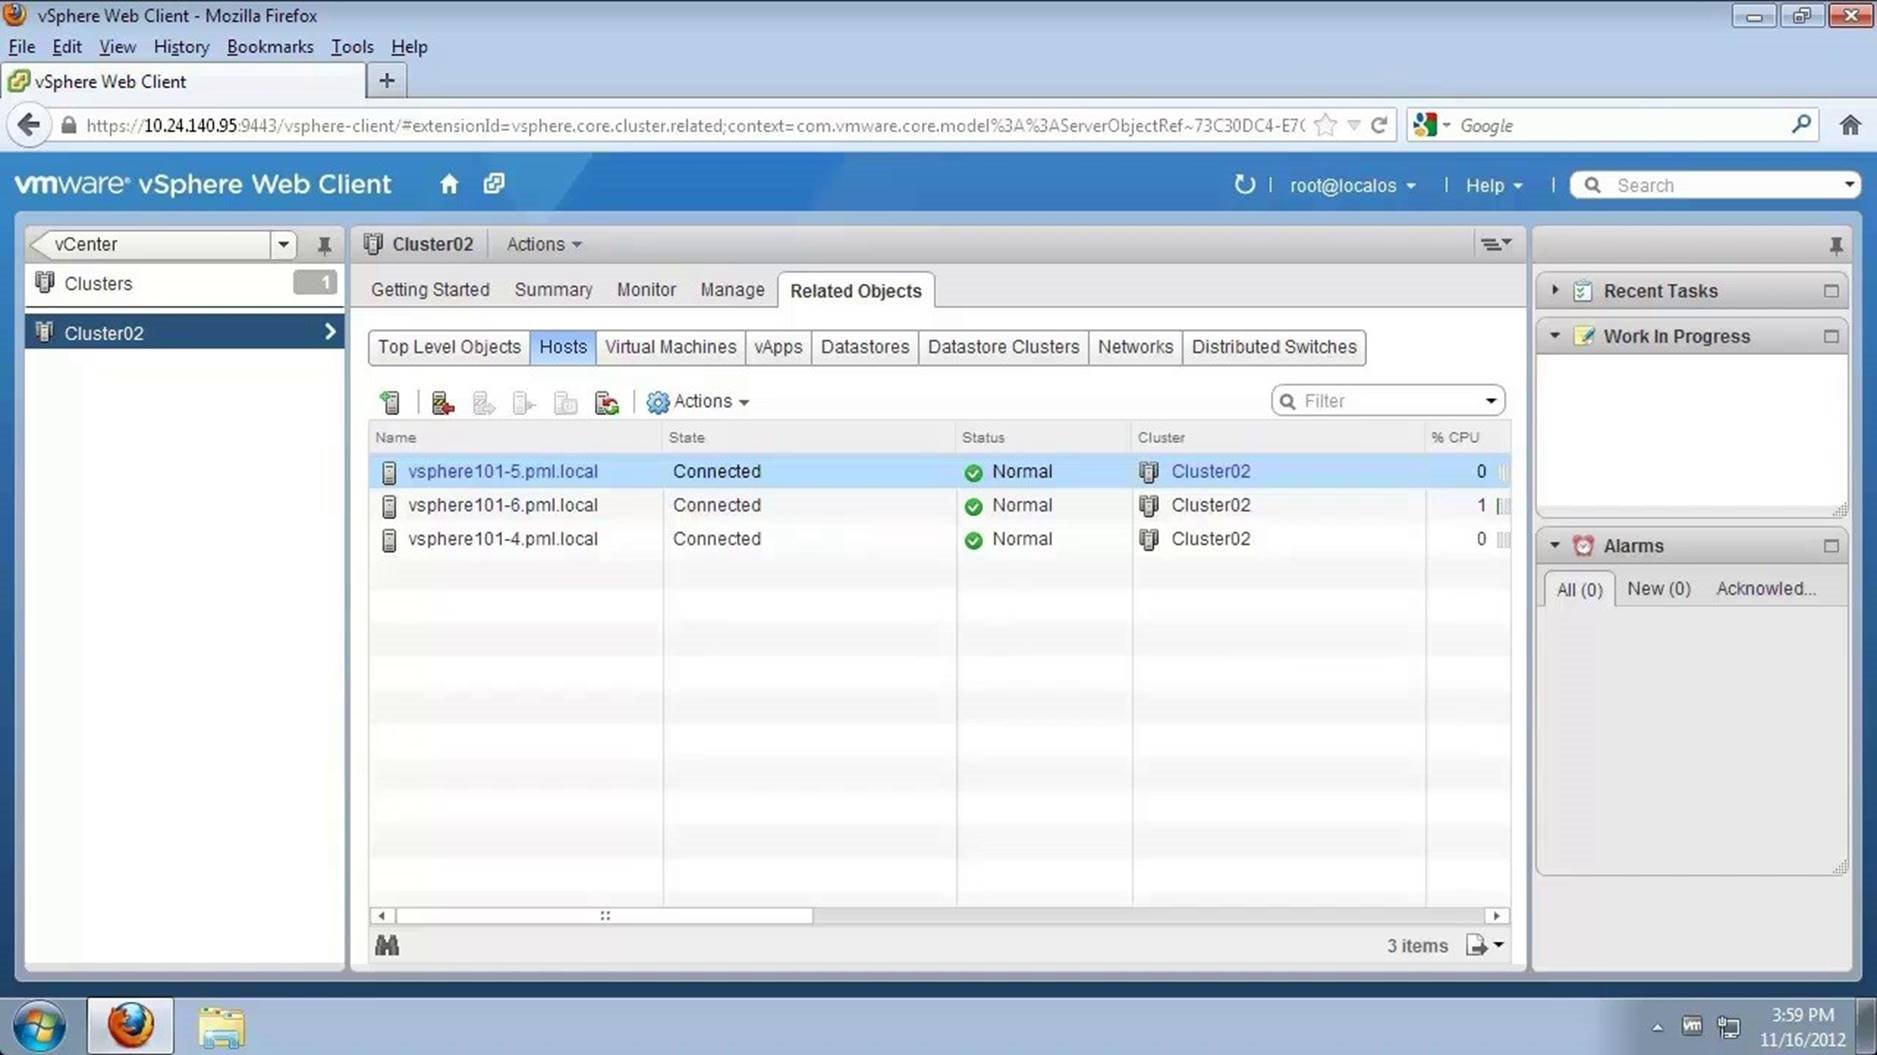
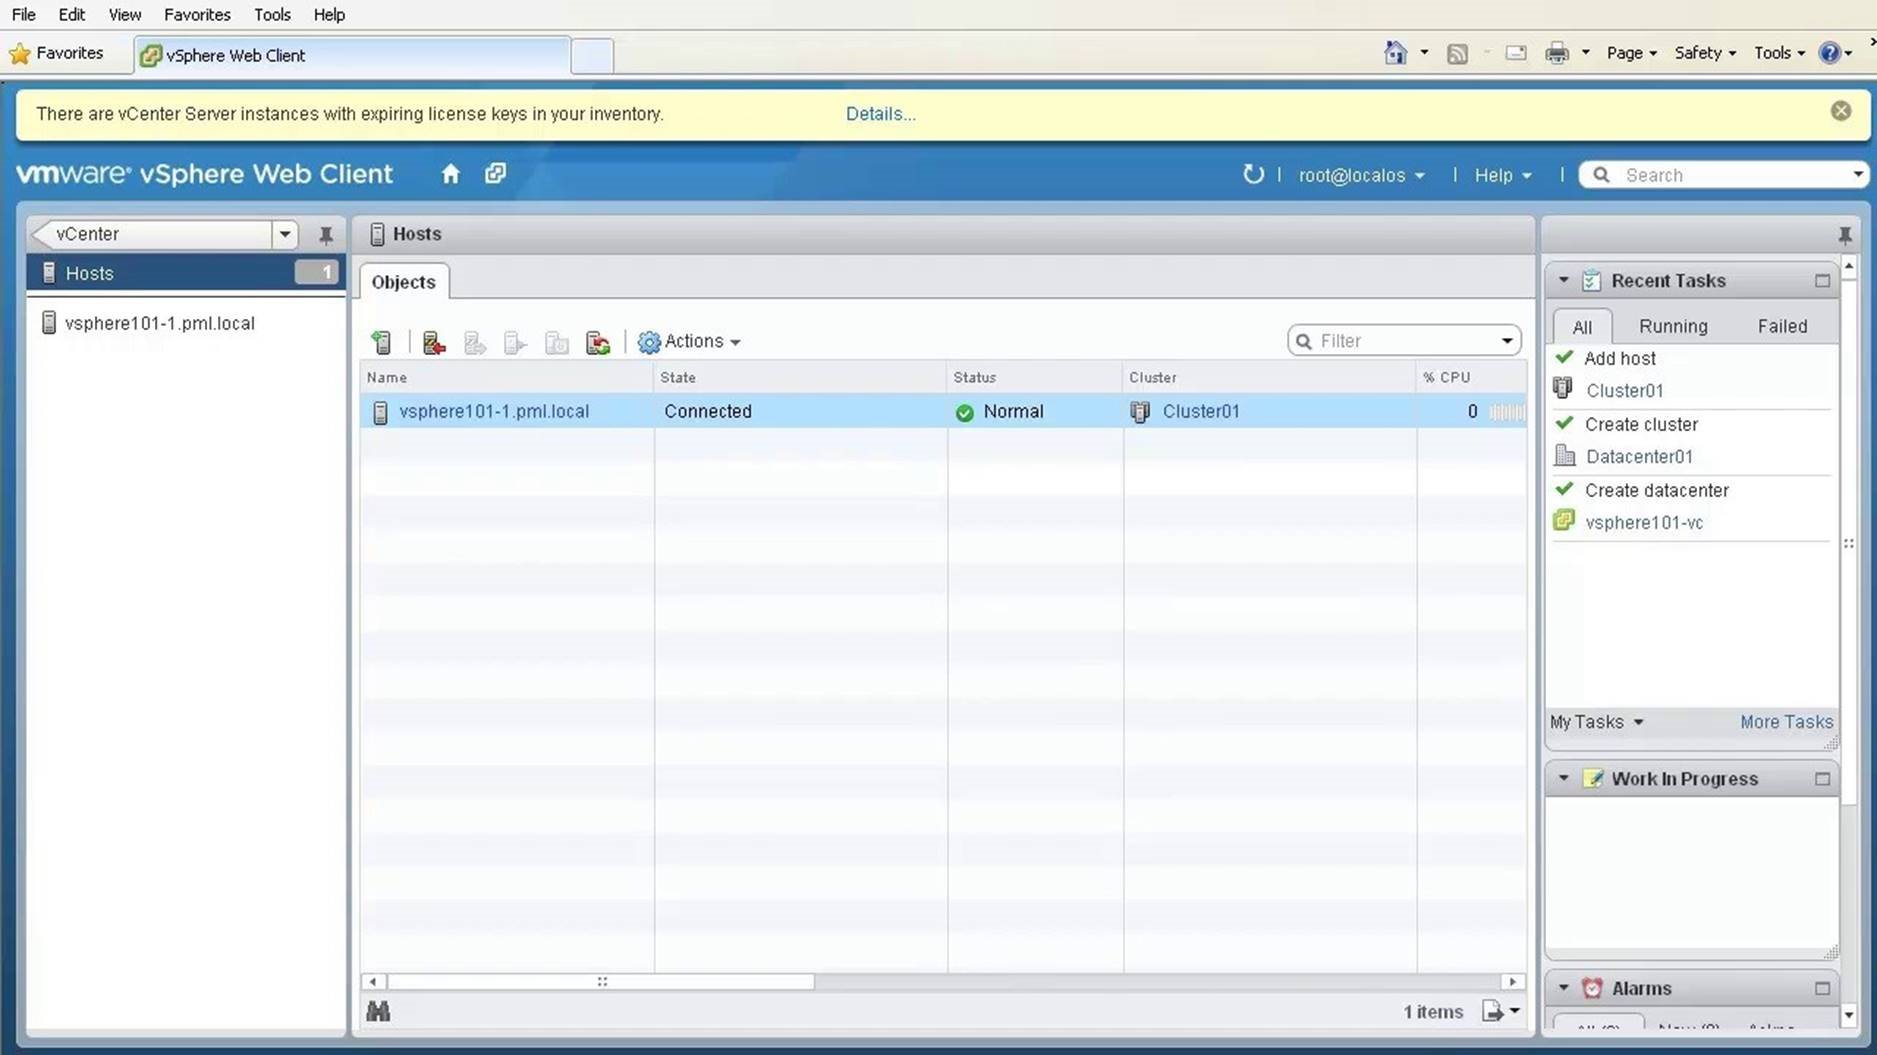
Open [Related Objects] and click on [Hosts]. Notice that the hosts are now a part of Cluster02.
When you have created a cluster, added hosts and enabled DRS, you can place a host under maintenance mode. To see how it's done, click on [vCenter].
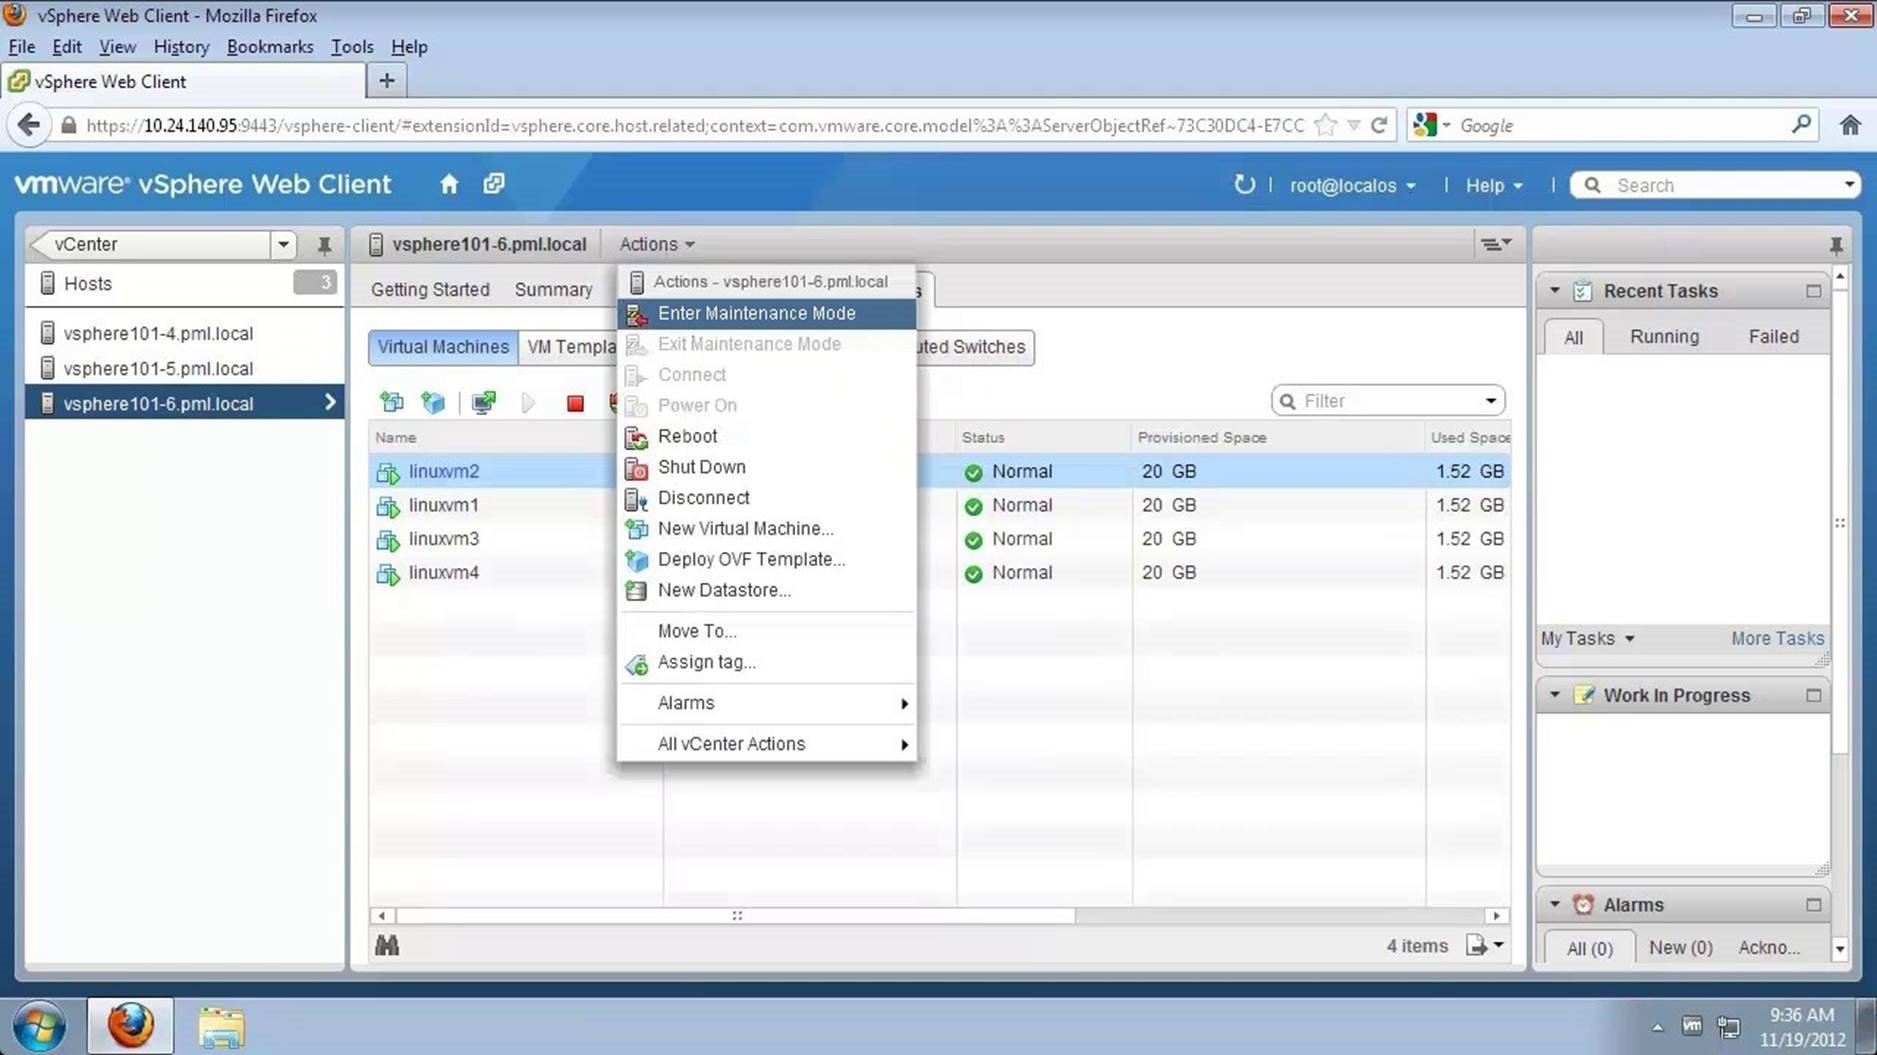
Select the host which has to be placed under maintenance mode. Go to [Actions] and select [Enter Maintenance Mode].

Click on [Yes] on this confirmation dialogue.
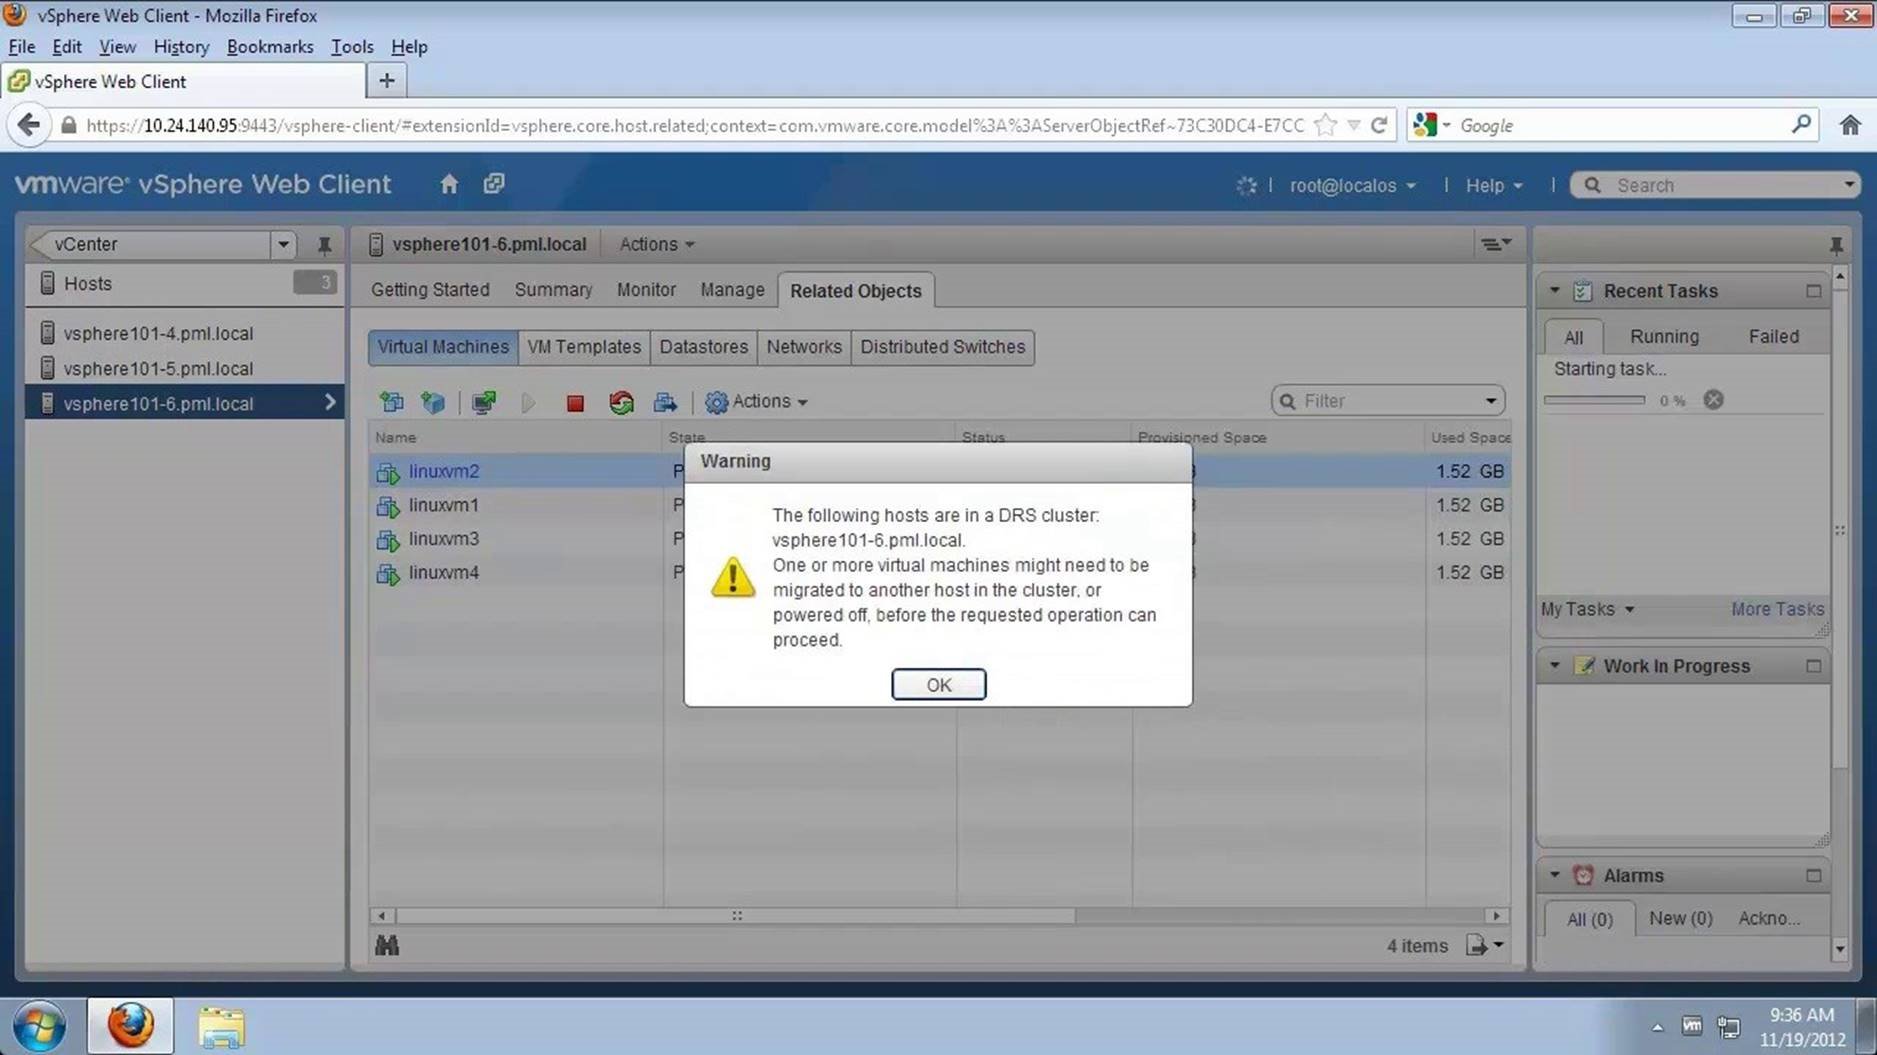
Click on [OK] on this warning message.
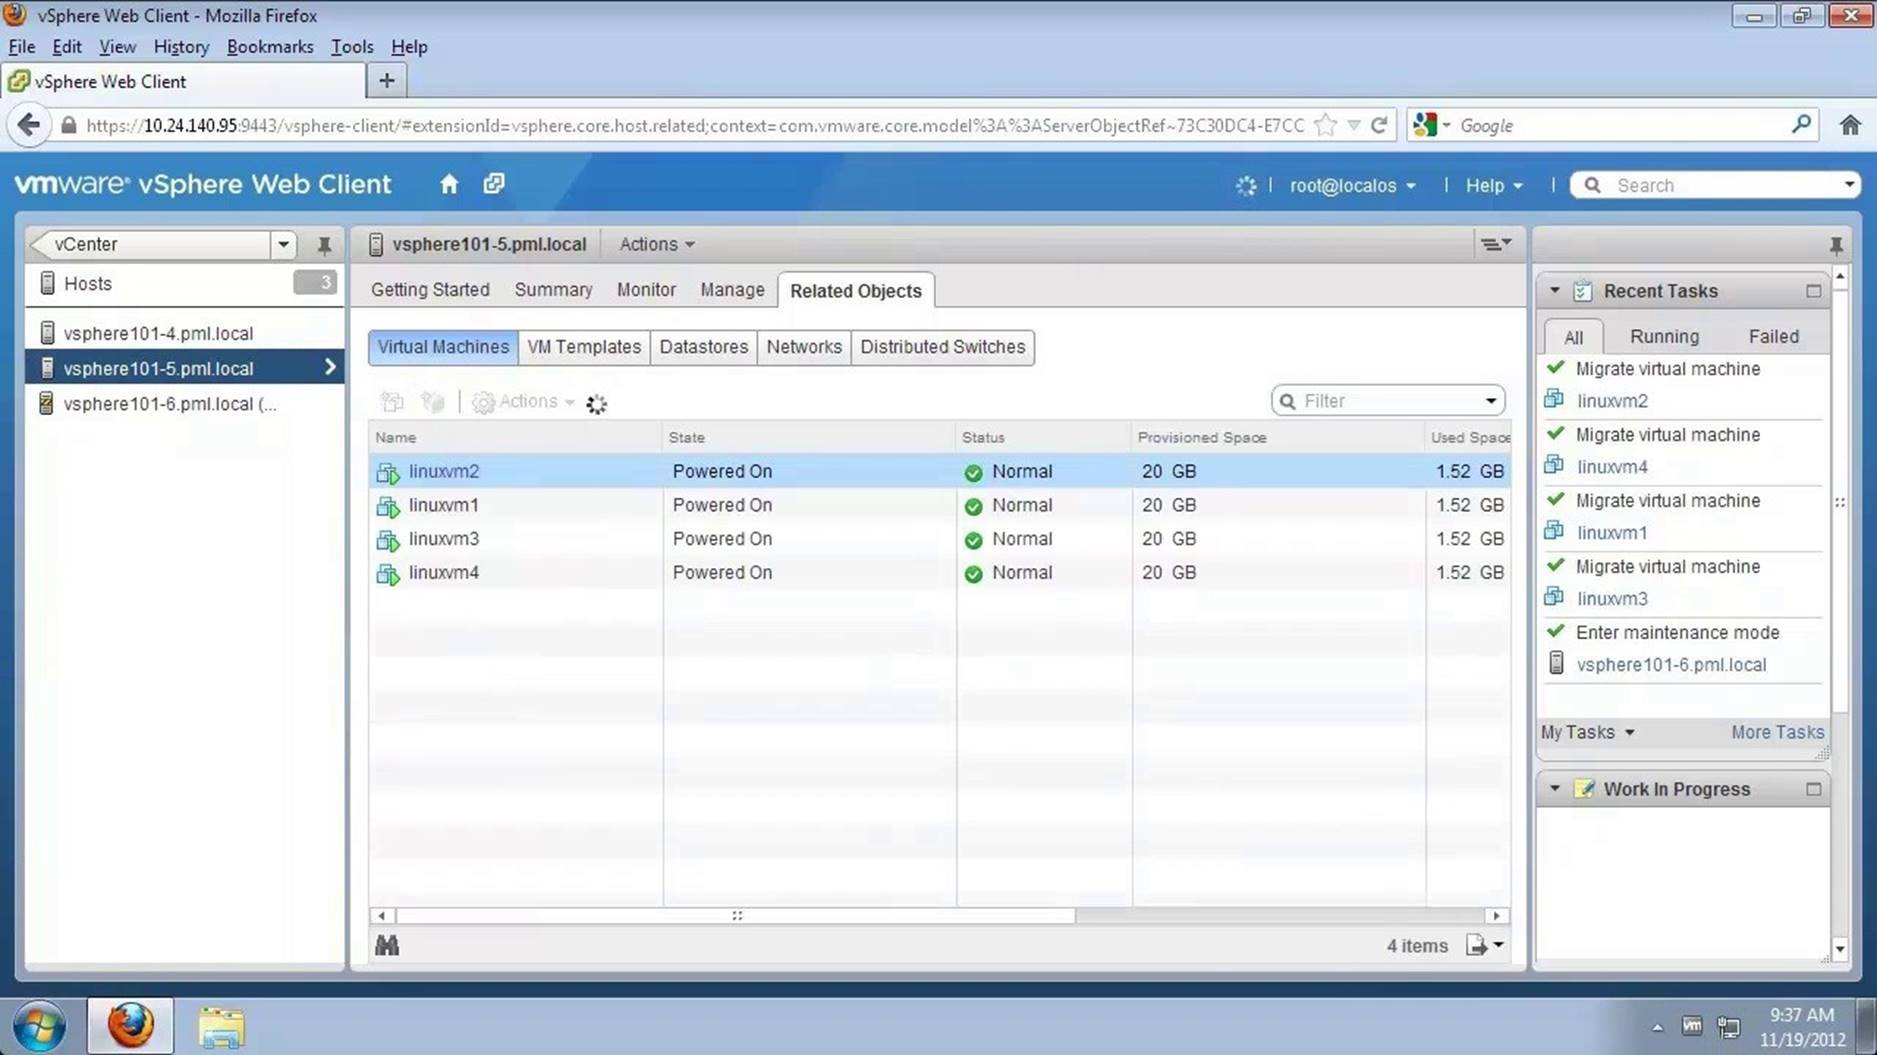
After a few moments, notice that the VMs are migrated from host 6 to host 5 using vMotion.

After the maintenance is completed, click on Actions and select Exit Maintenance Mode. This concludes the walkthrough of placing a vSphere Host Under Maintenance Mode. Select the next walkthrough of your choice using the navigation panel.
Shares & Reservations
This walkthrough is designed to provide a step-by-step overview of virtual machine resource management using VMware vSphere Web Client. Use arrow keys to navigate through the screens.
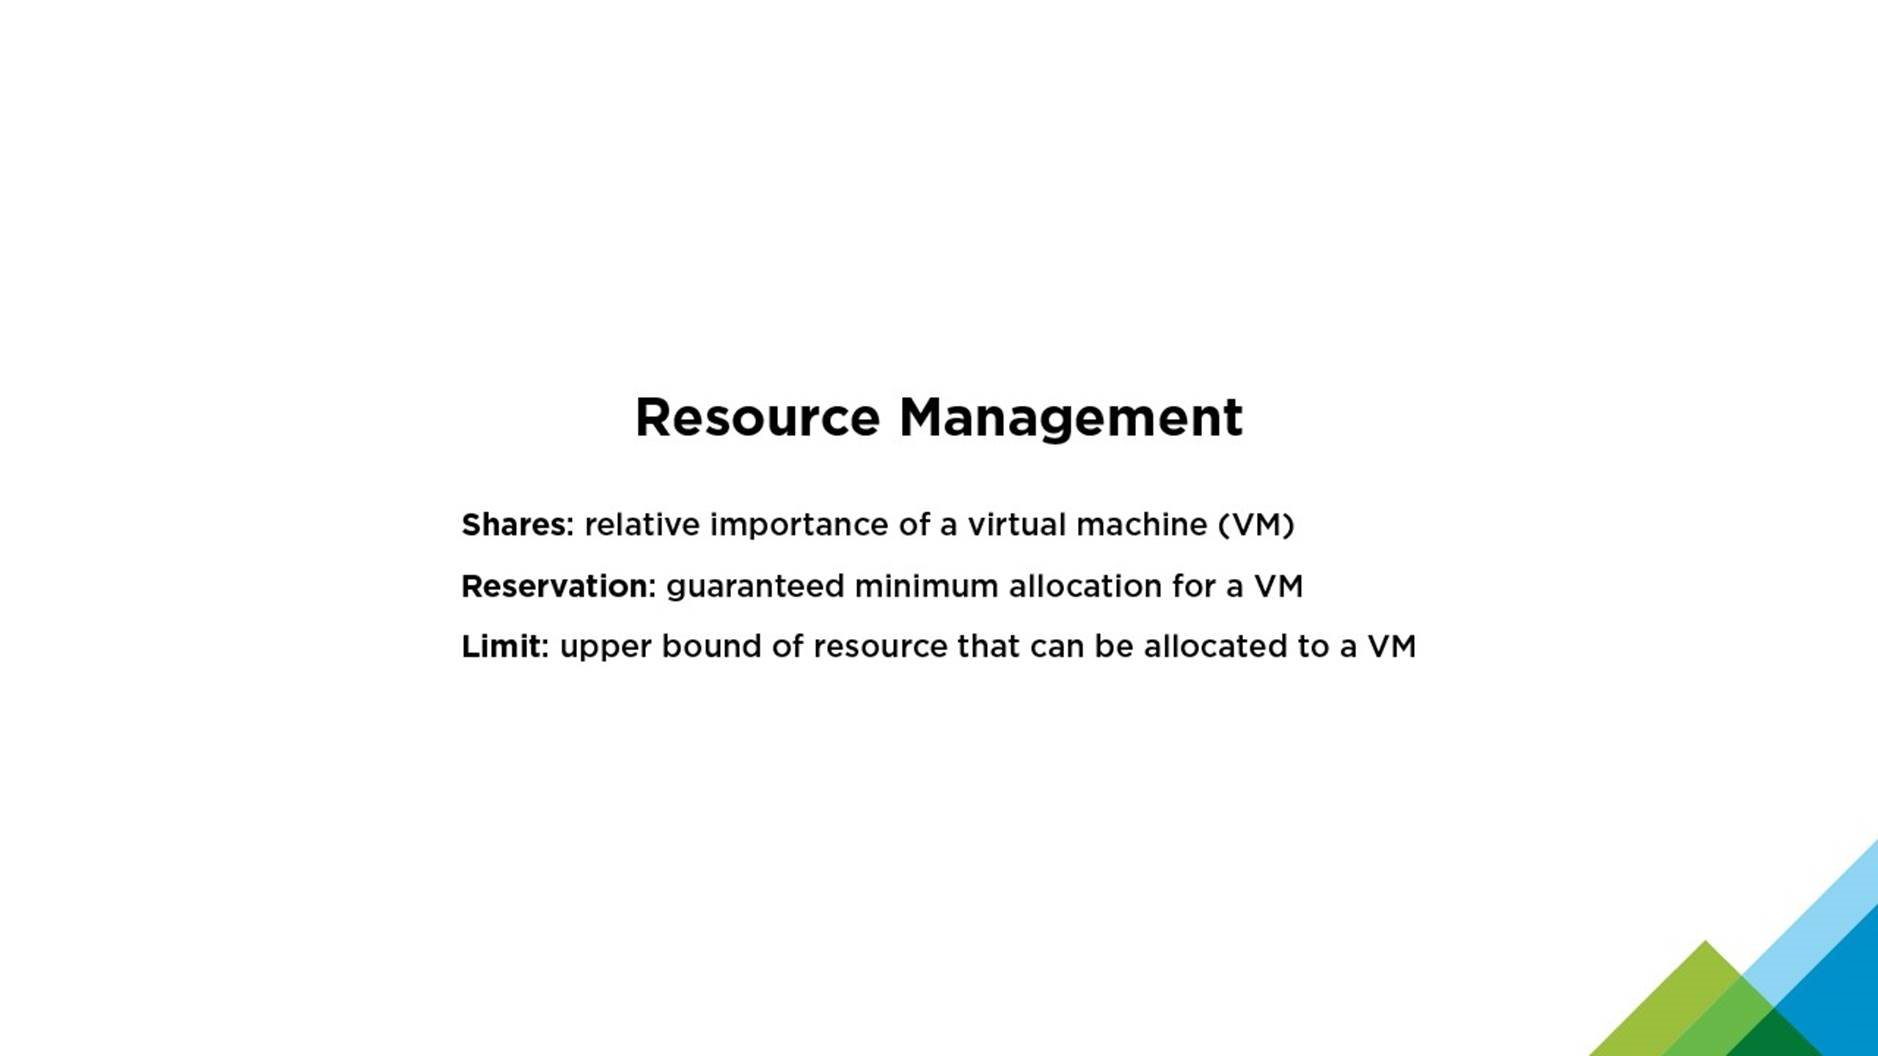
This walkthrough is segmented into three parts: Virtual Machine Shares, Reservations and Limits, which can be configured using vSphere Web Client.
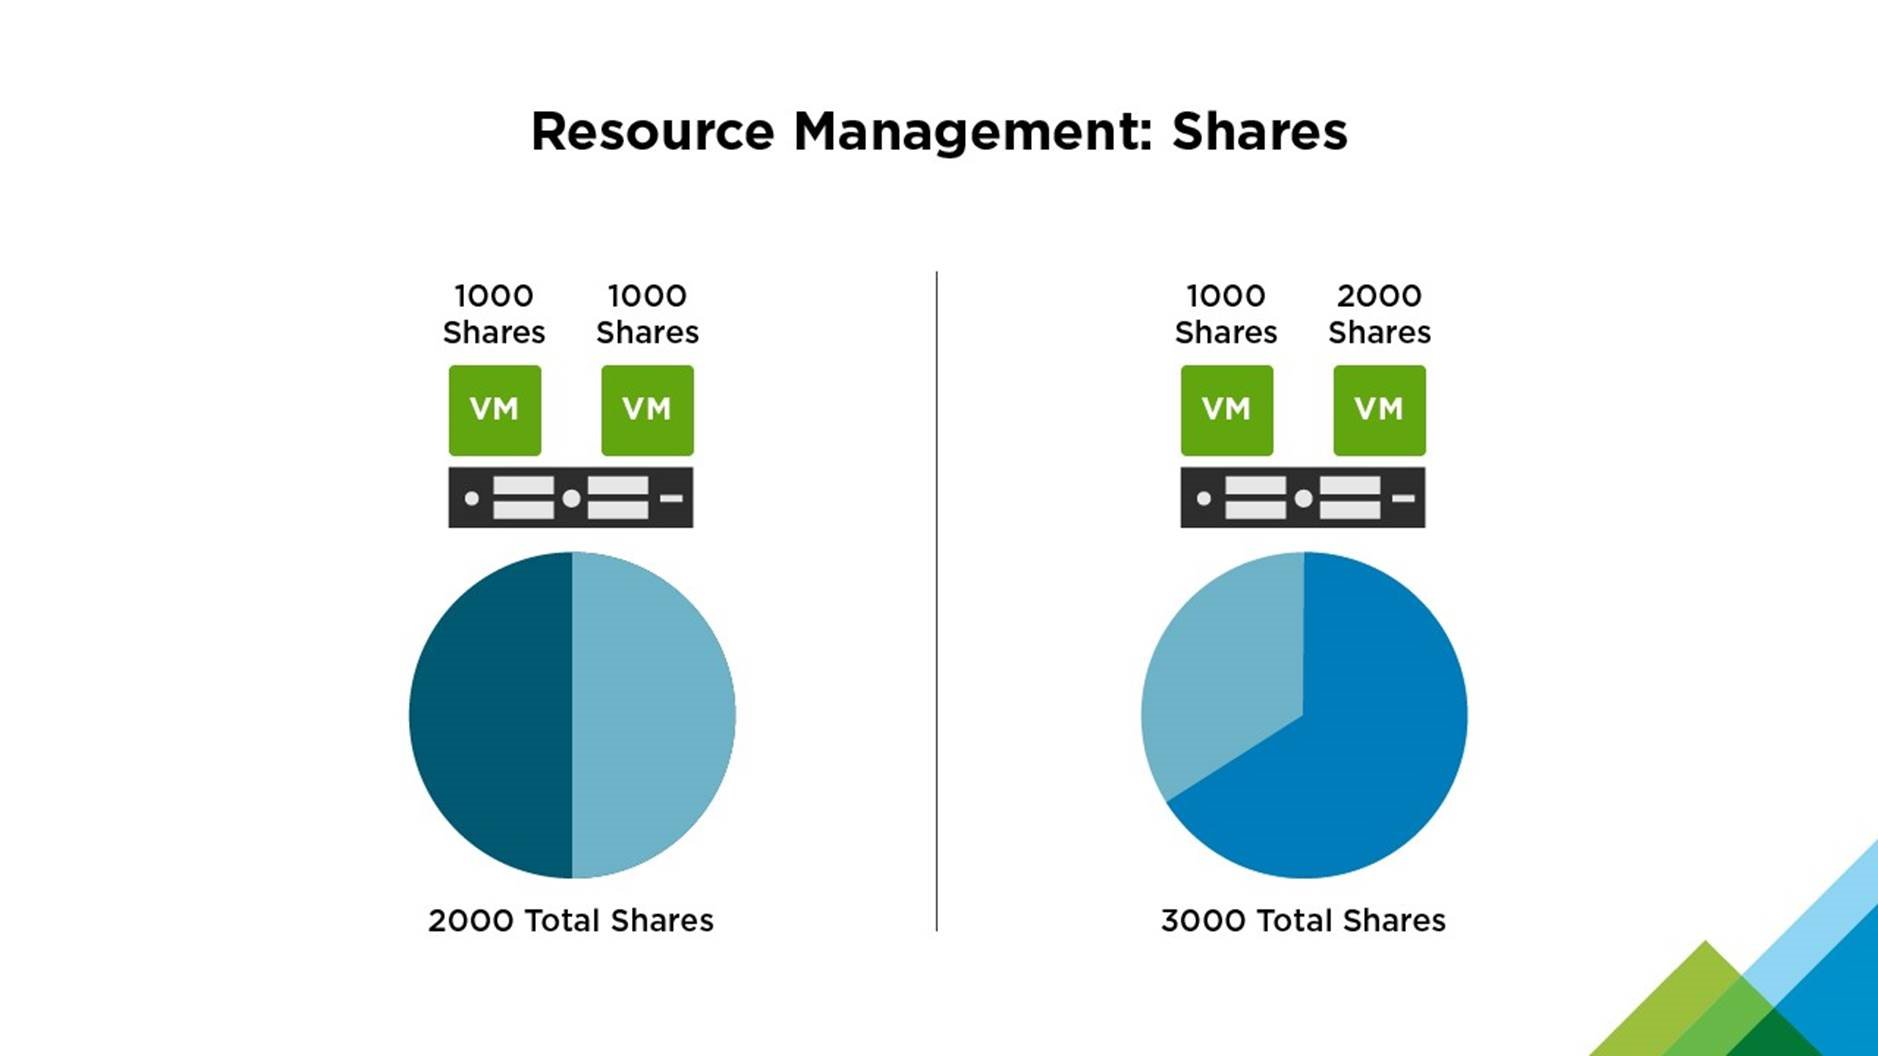
Shares: We begin with this illustration of how shares are defined. The left side of the illustration has two test VMs with equal shares. The right side has one test VM with 1000 shares and one production VM, entitled for added importance with 2000 shares.
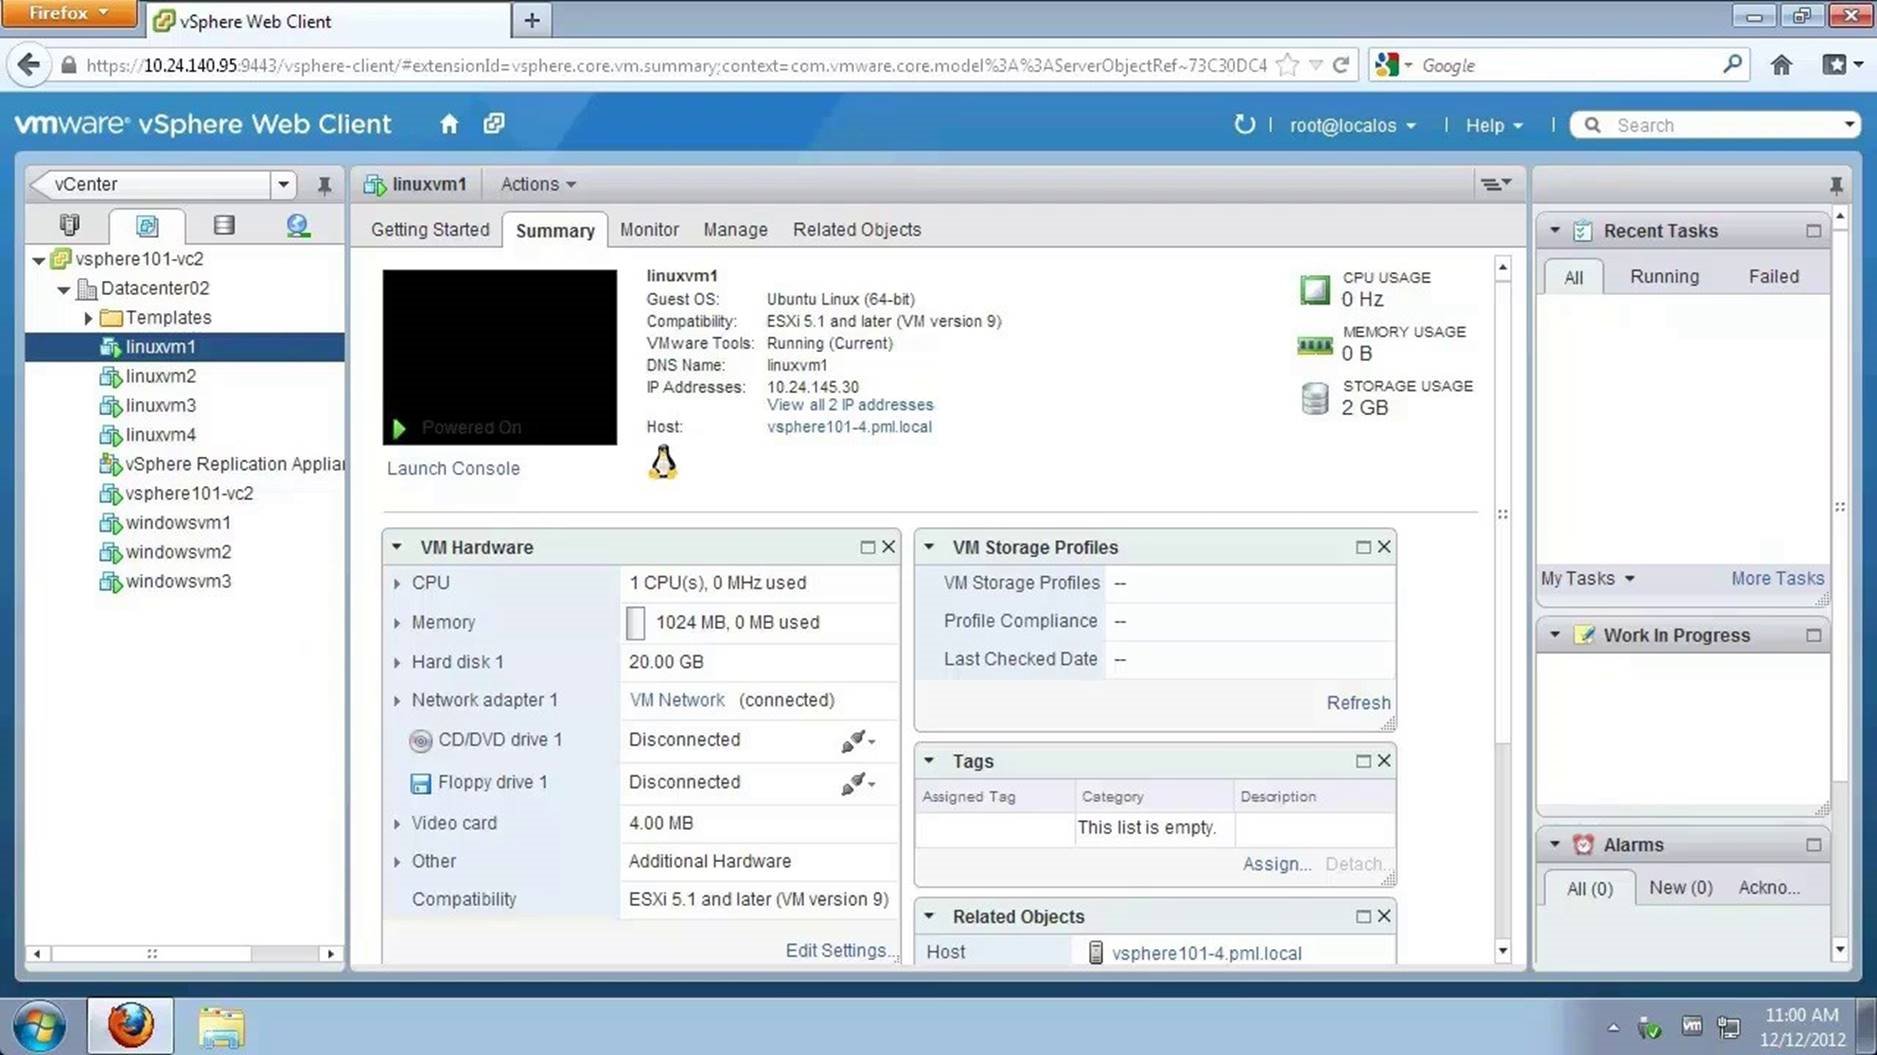
To view the current share settings, select the [Virtual Machine] and click on [Manage].
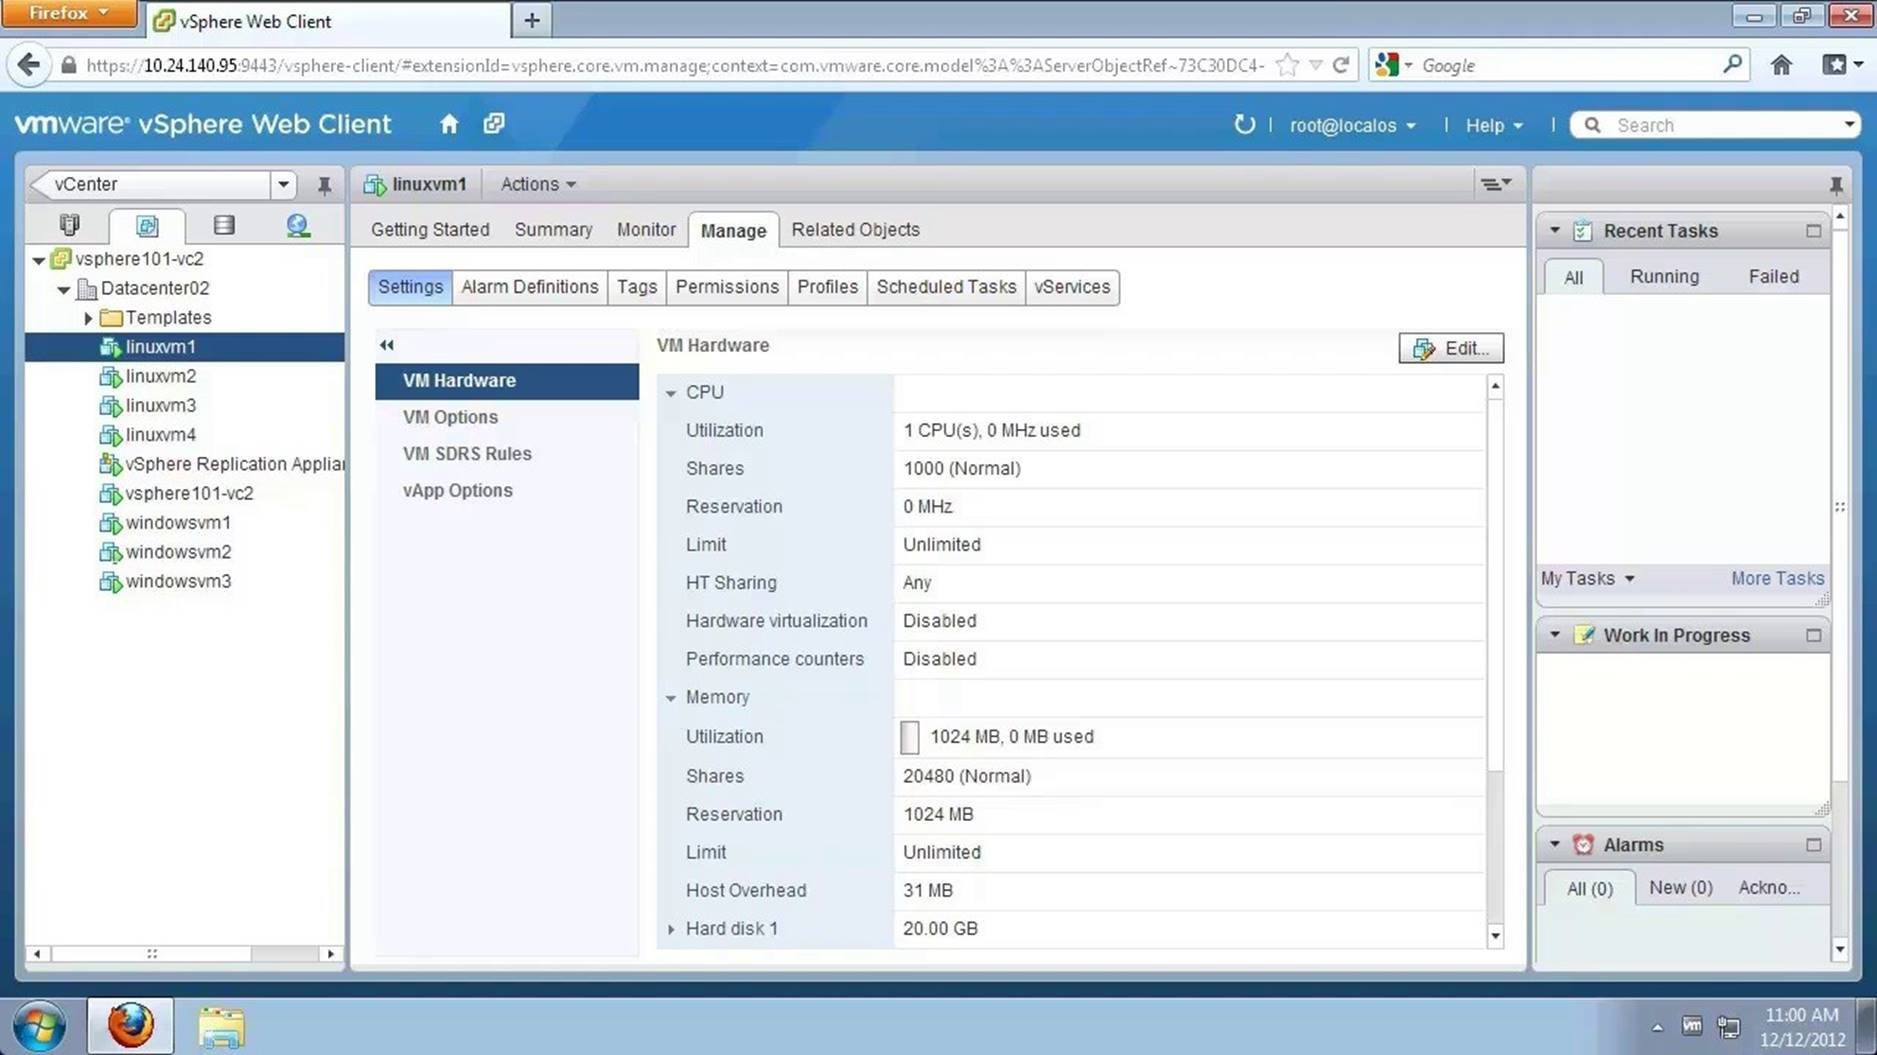
Click on [Edit] to allocate additional shares to the VM.
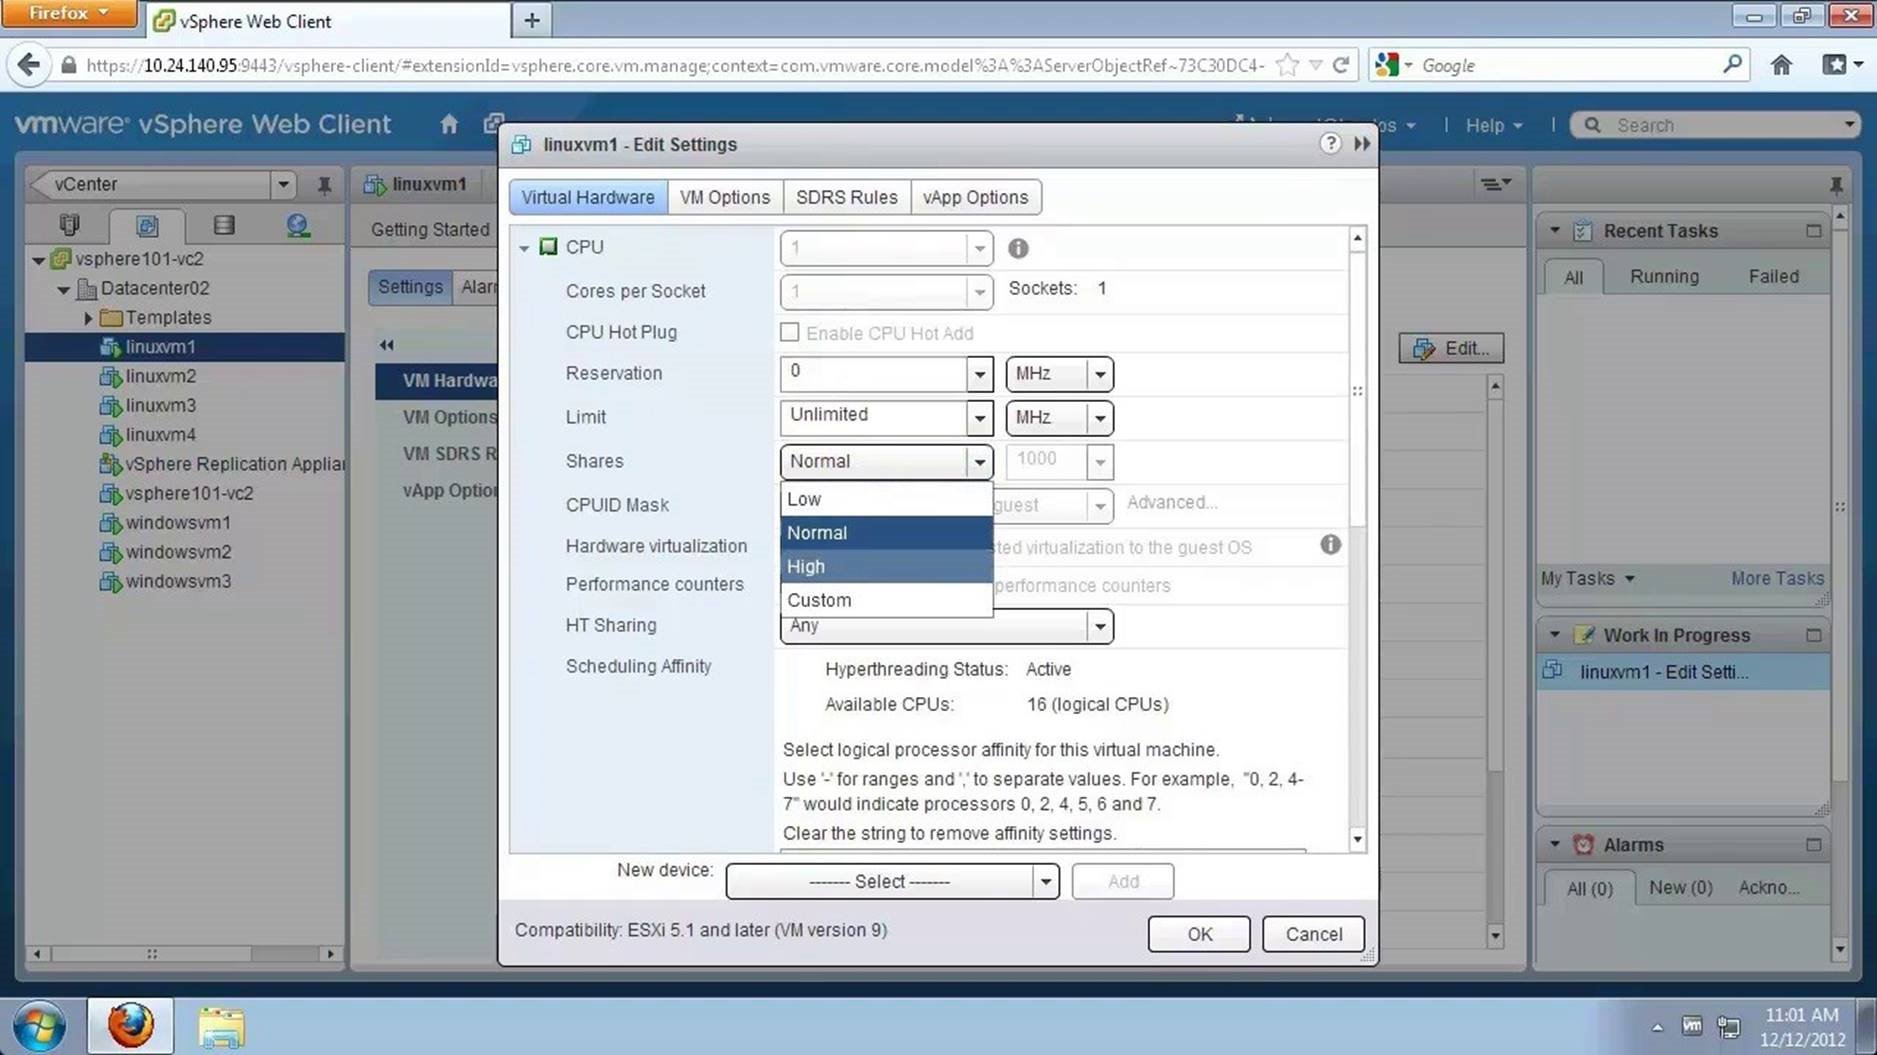
Expand [CPU]. Change the share setting from 'Normal' to 'High' using the drop-down. Share allocation is now automatically adjusted from 1000 to 2000. Click on [OK] to save the changes.
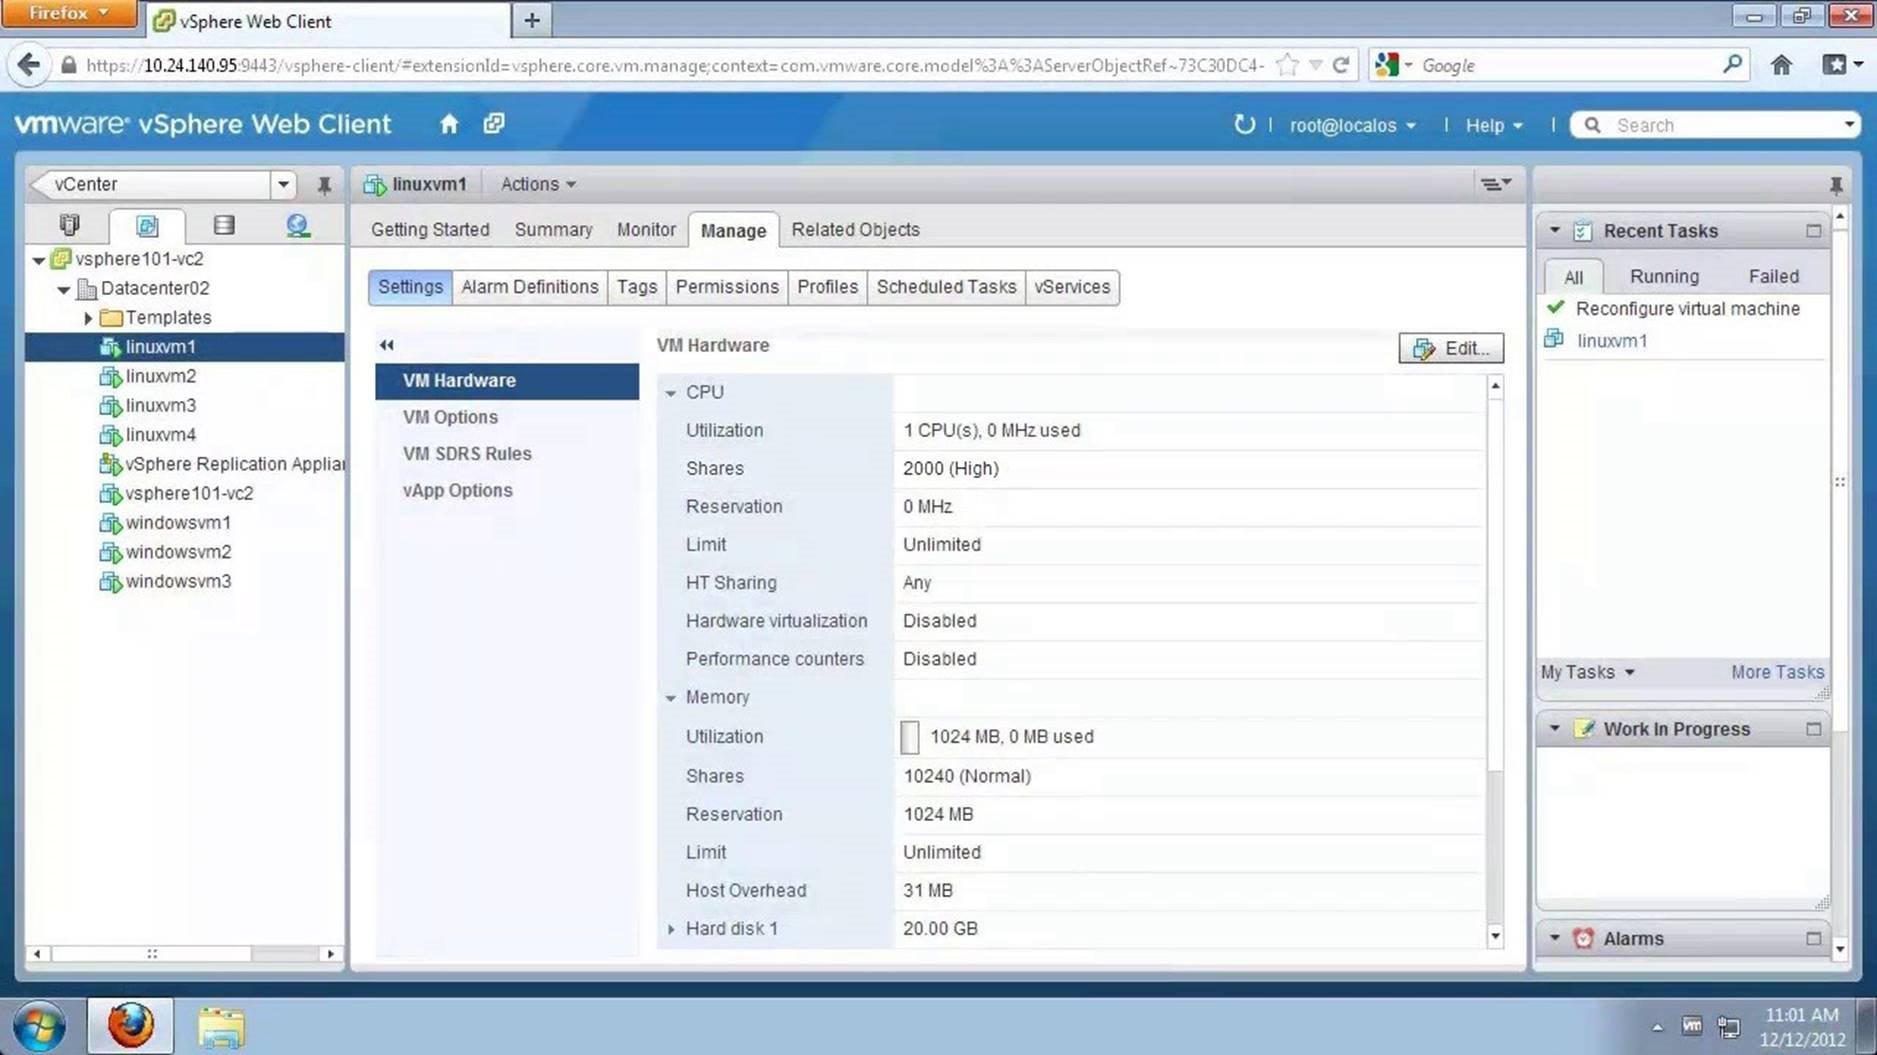
Share allocation has now changed to 2000. This ensures that the VM will always have access to 2000 shares of memory. Continue to learn about reservations.

Reservations: Ensure that the VM always has access to 1024 MB or 1 GB of memory using Reservations. To do this, select the [VM], go to [Manage] and click on [Edit].
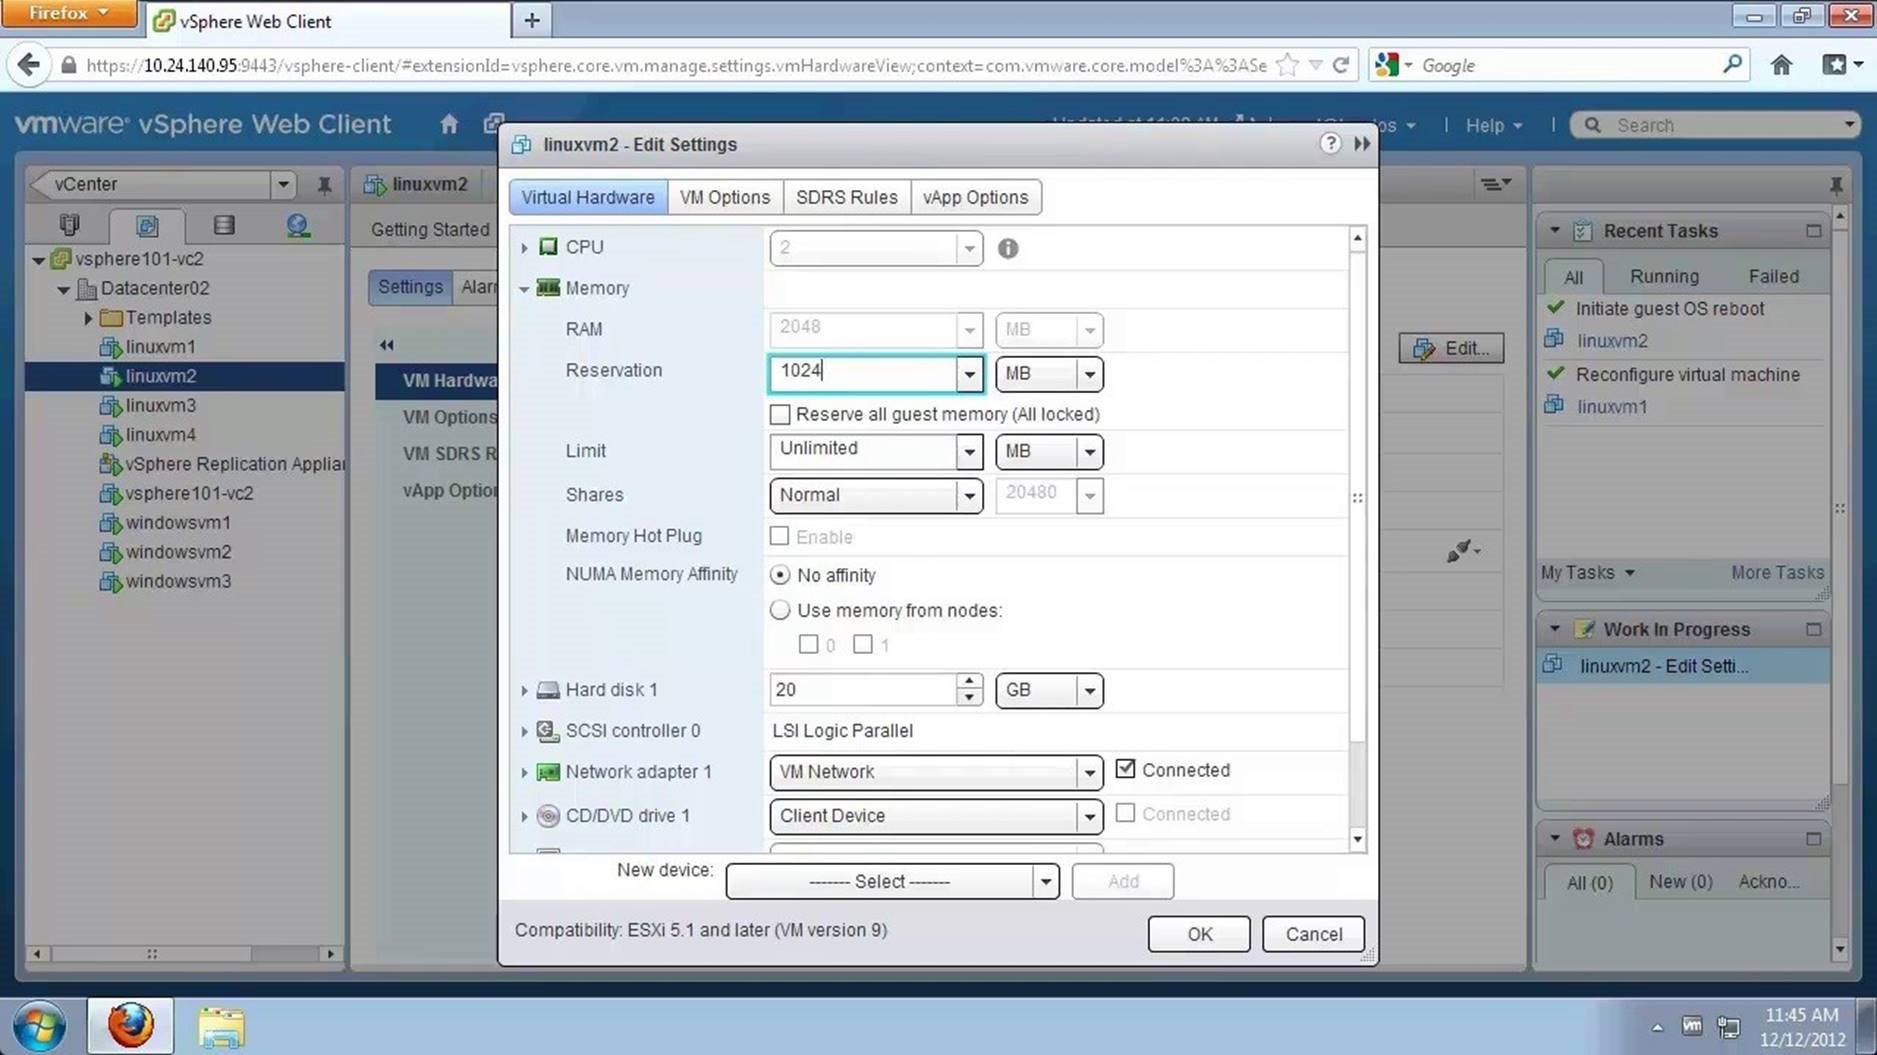
Expand memory by clicking on the [Arrow]. Enter a reservation of 1024 MB and click on [OK] to save the settings.
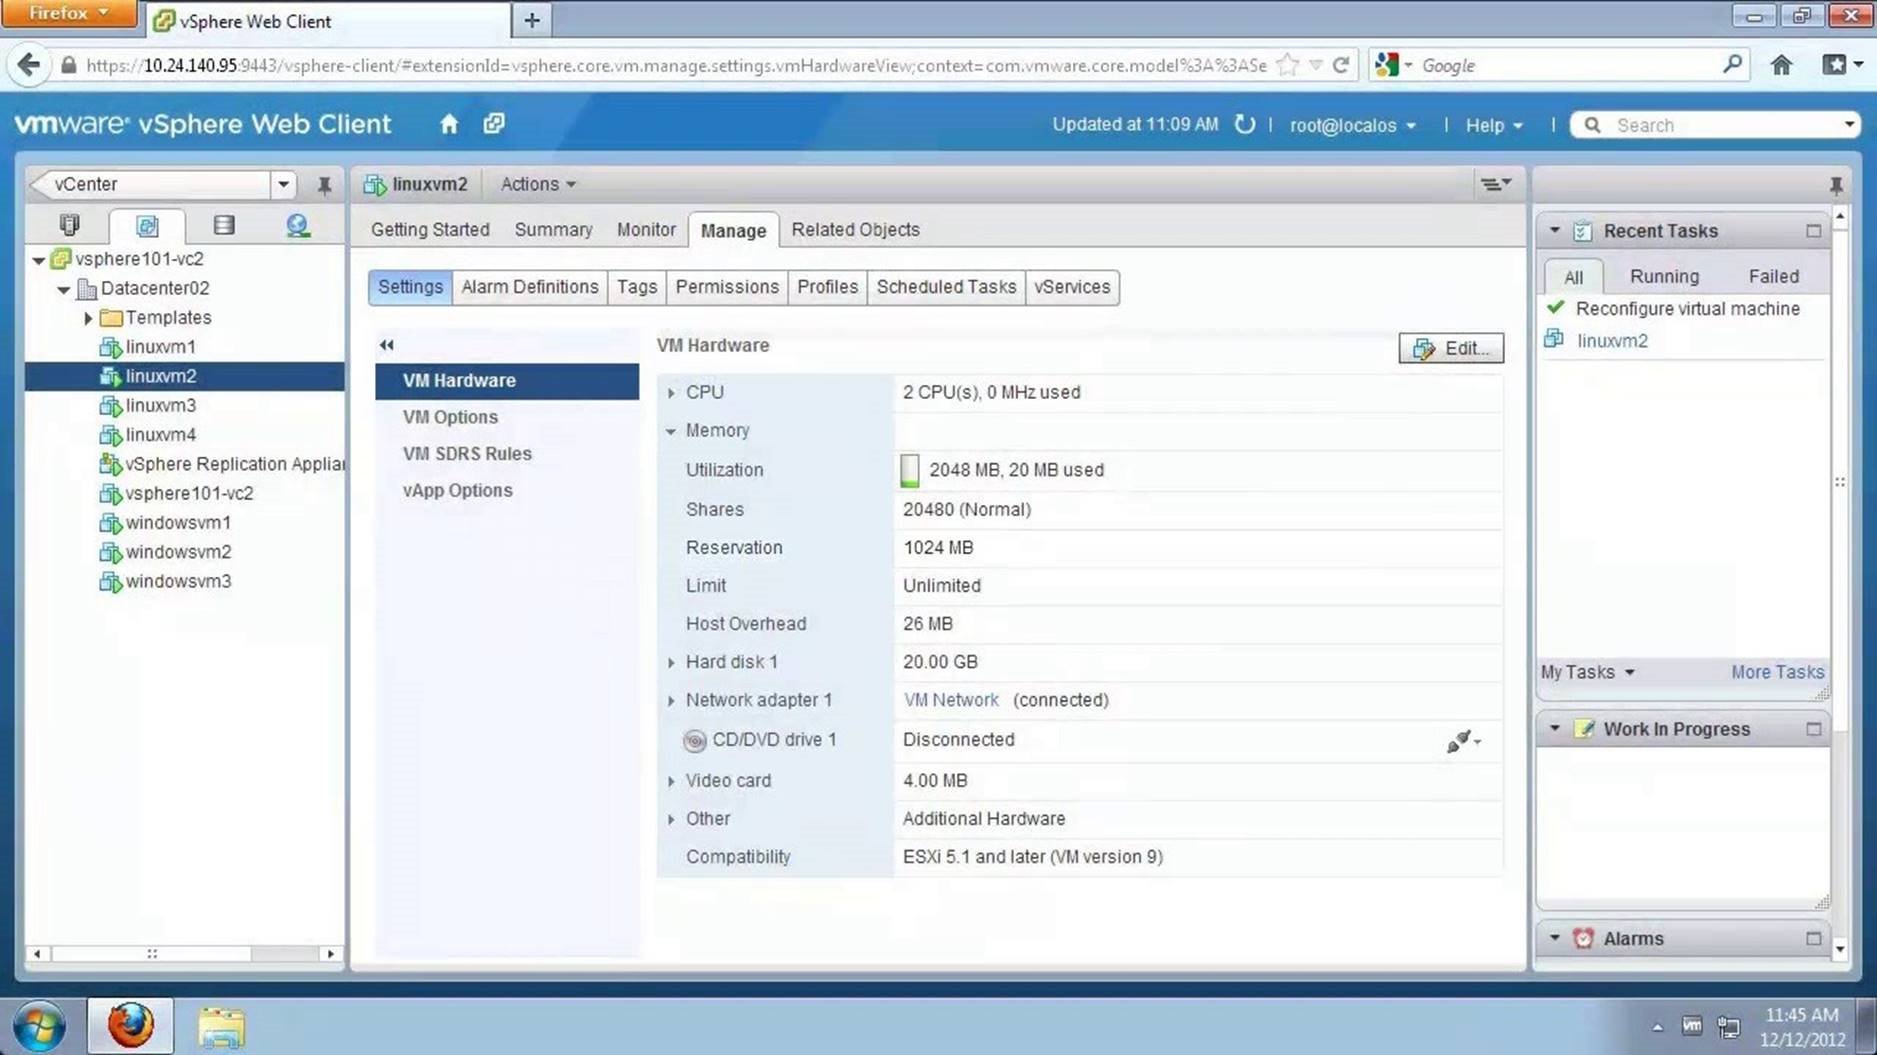
Notice, the VM now has a reserved memory access of 1024 MB. This ensures that the VM will have a reserved memory of 1 GB while competing with another VM. Continue to learn about limits.
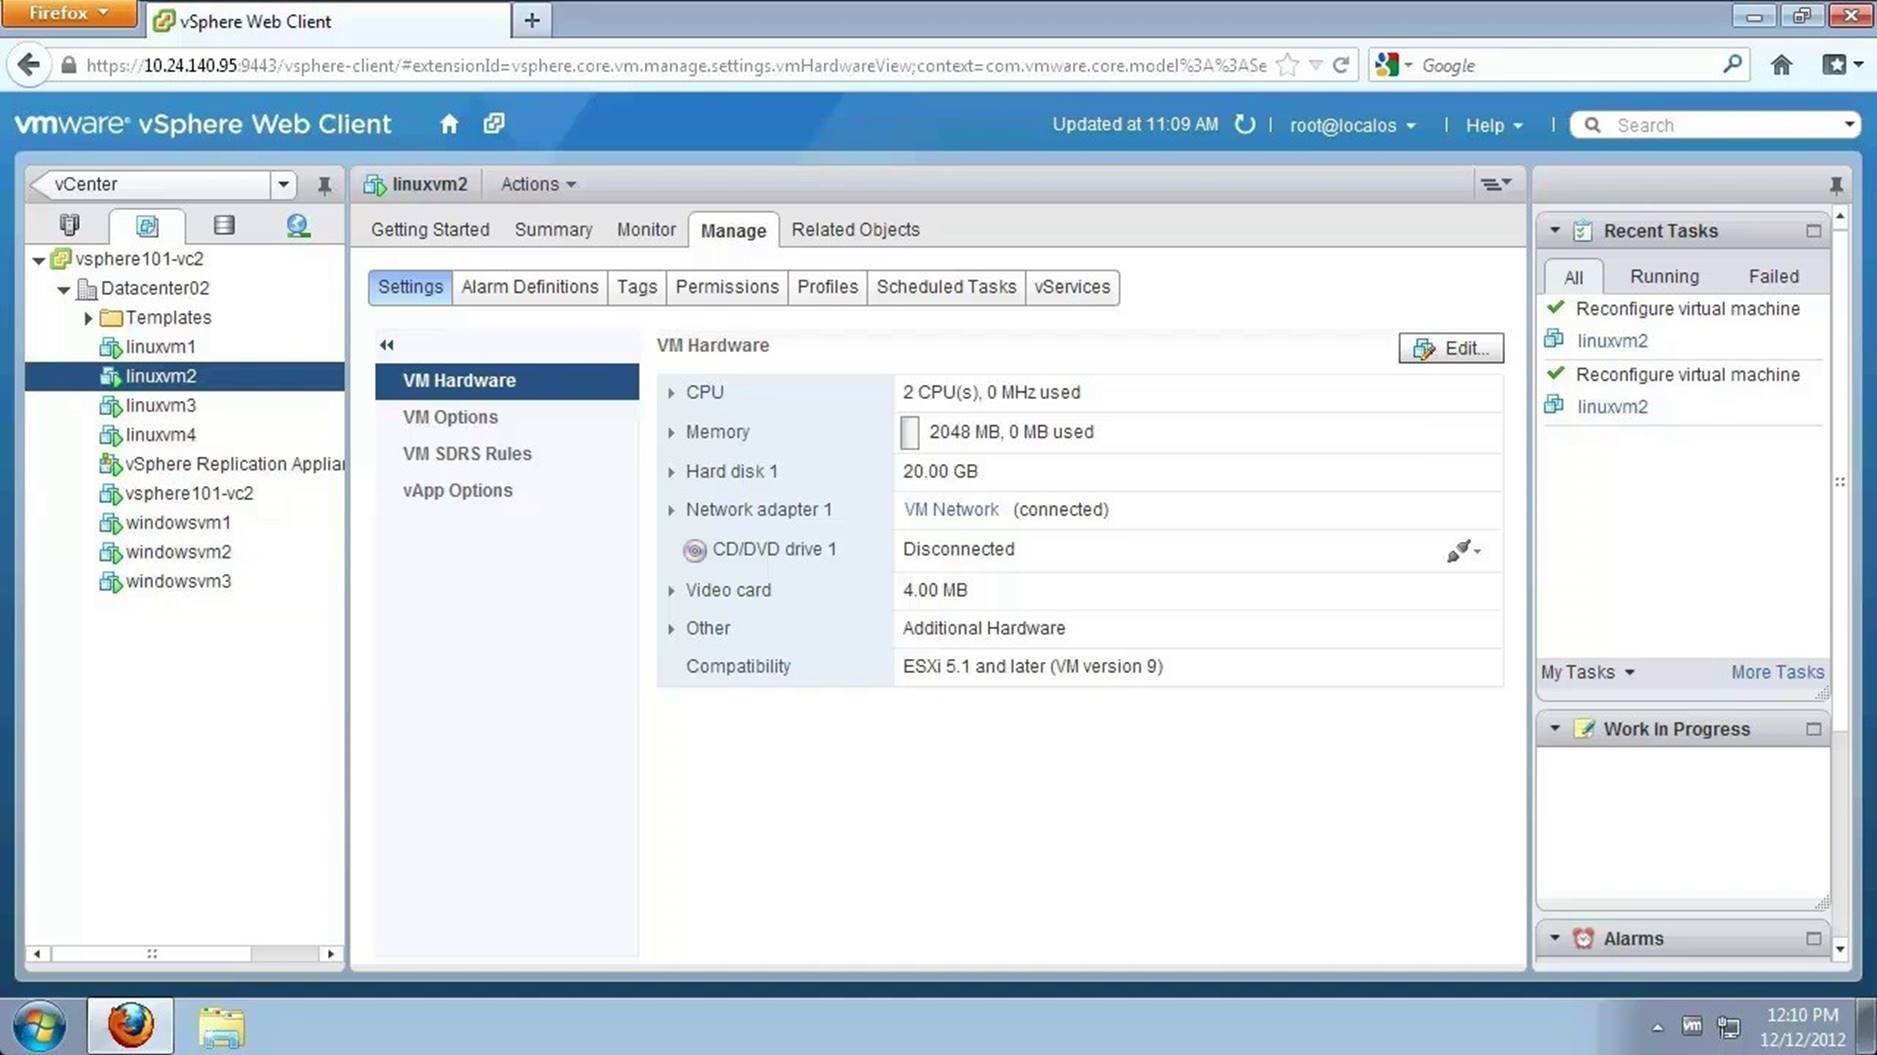
Limits: To set the maximum amount of resource a VM can use, select the [VM], go to [Manage] and click on [Edit].
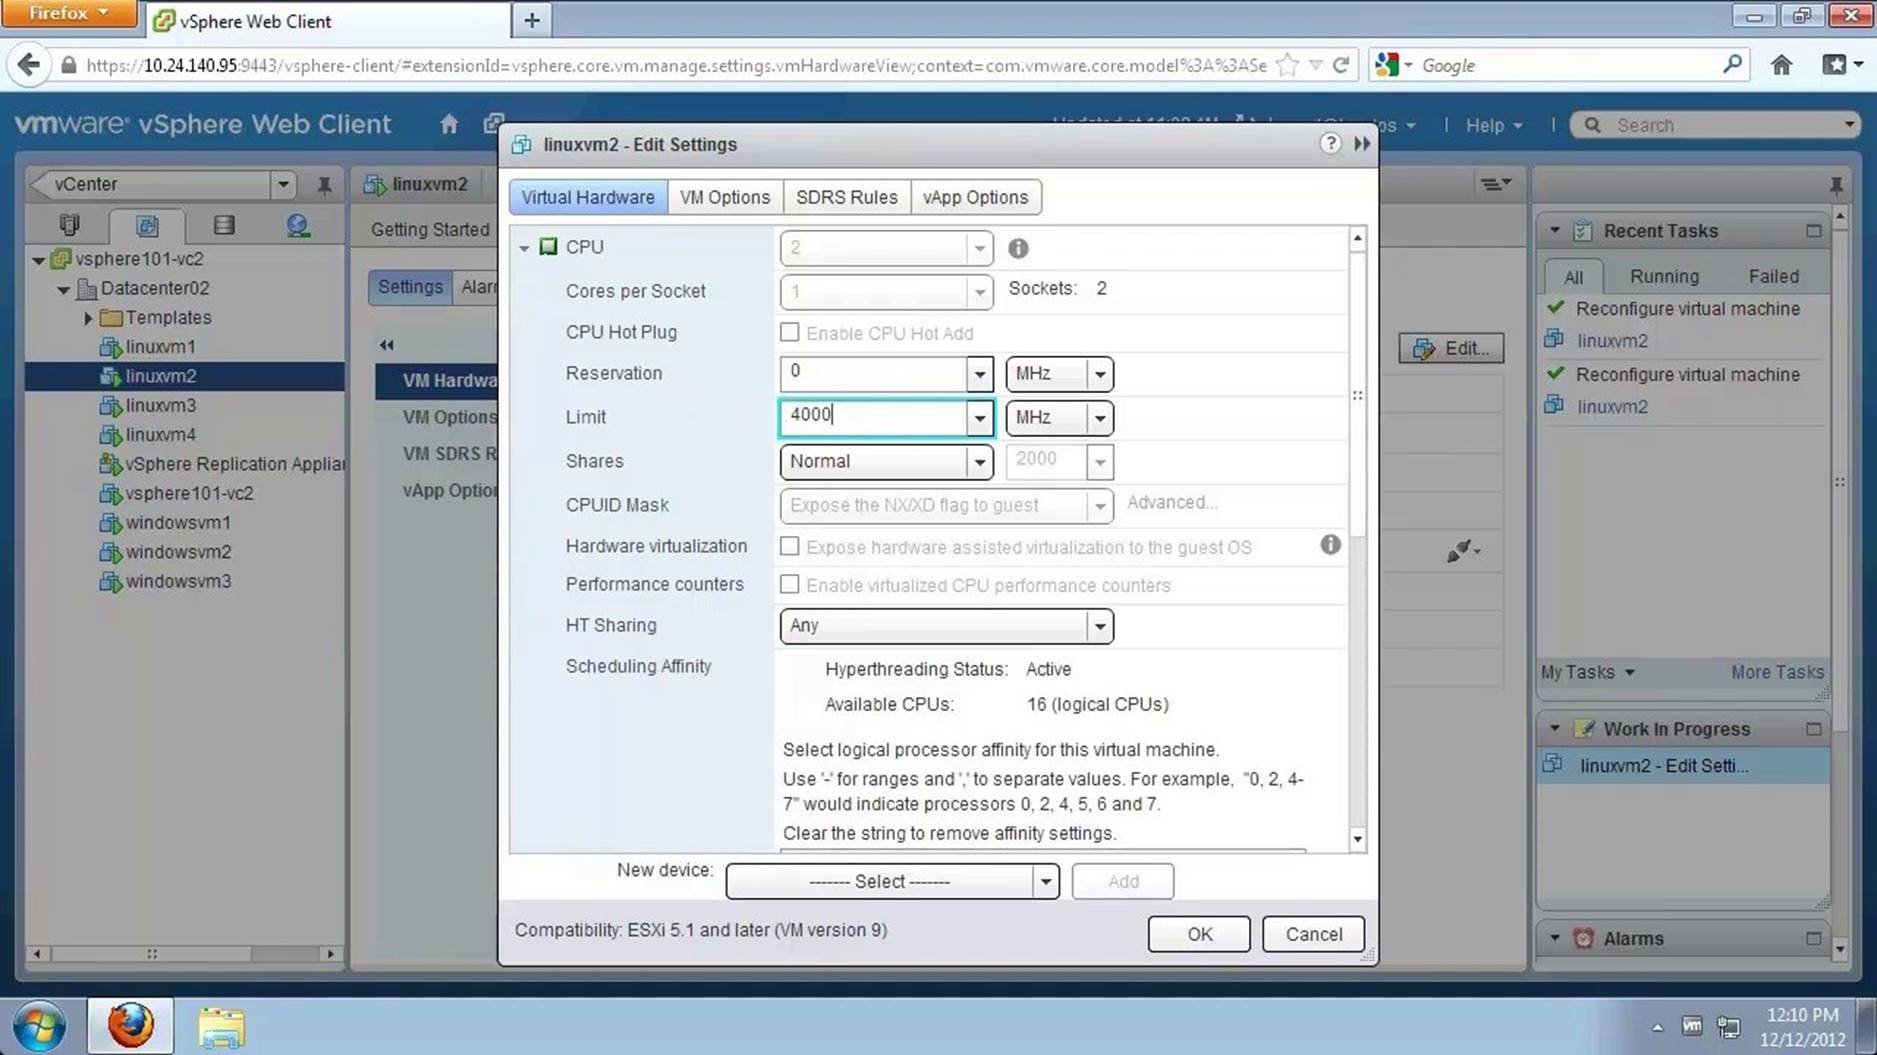
Expand CPU and specify 4000 MHZ as the limit for this VM. Click on [OK] to save the settings. This will ensure that the VM can only use up to 4000 MHZ of resources even when there are additional resources available.
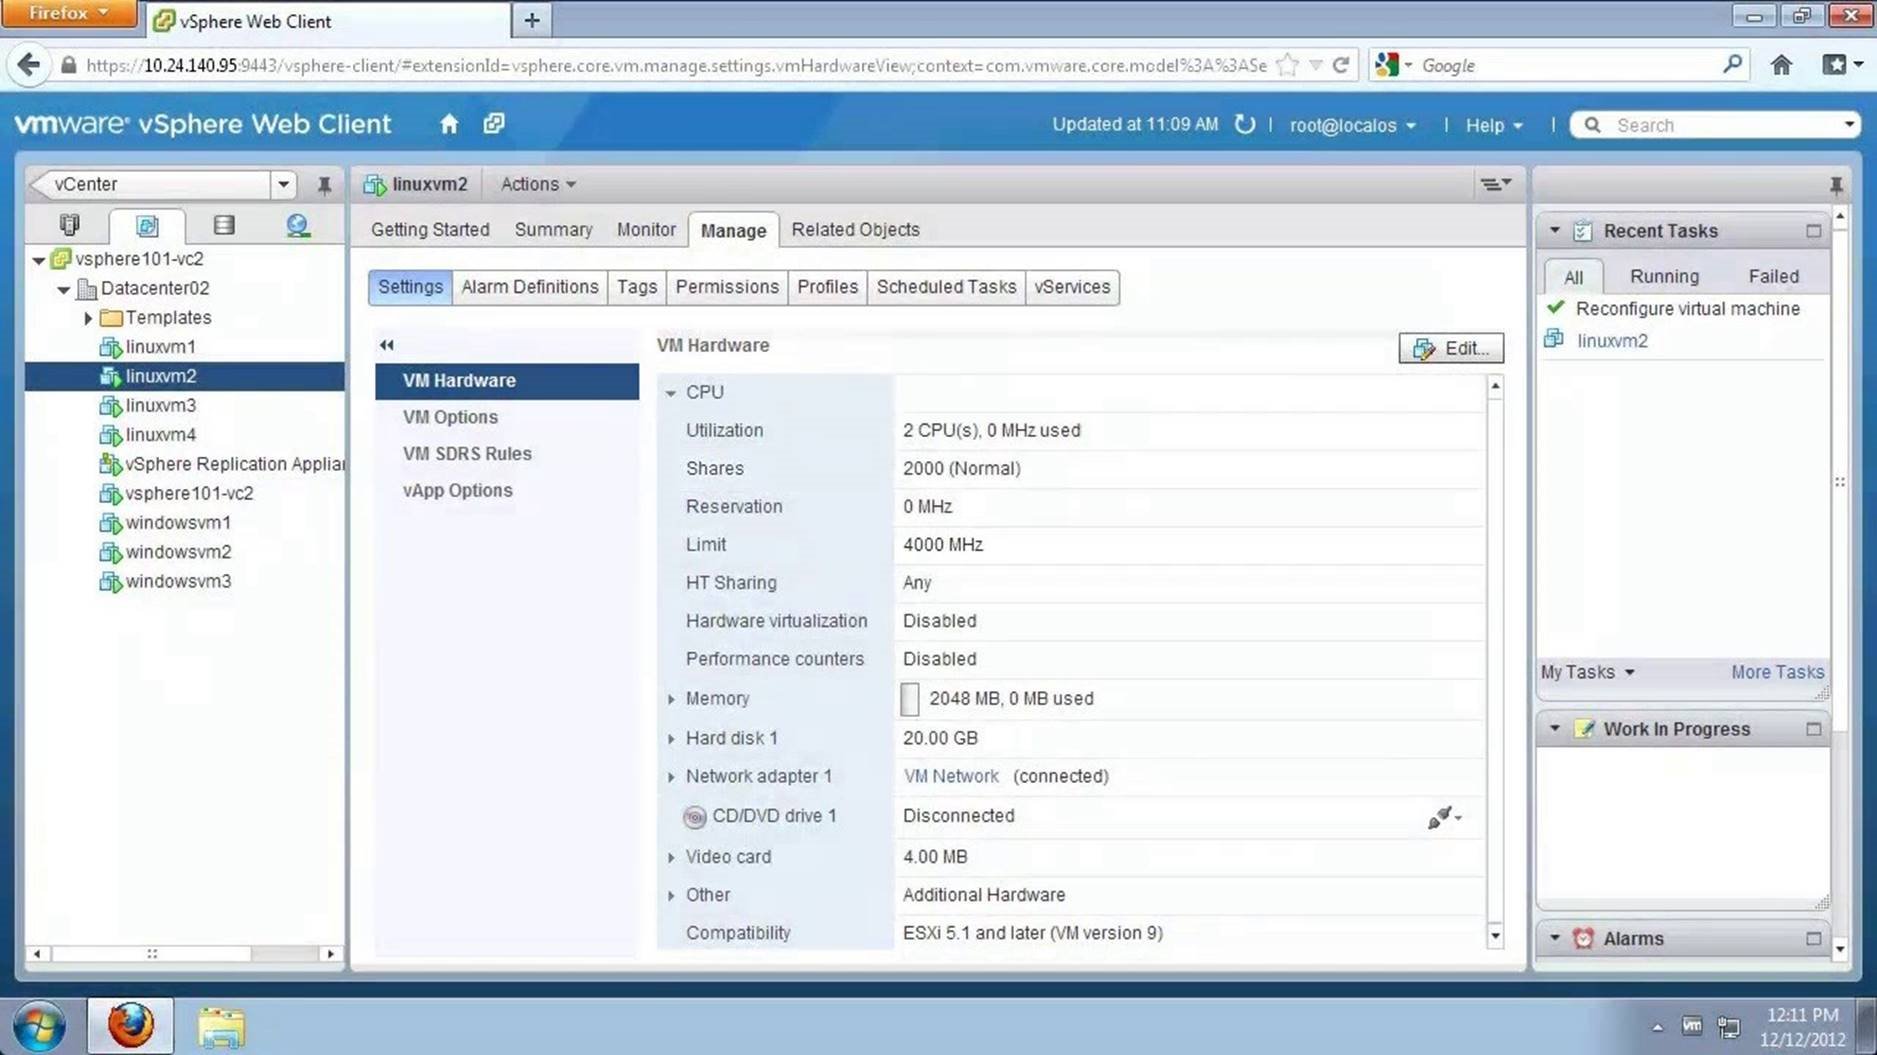
Notice, the CPU usage upper limit for this VM has changed to 4000 MHZ. This concludes the walkthrough of Virtual Machine Resource Management. Select the next walkthrough of your choice using the navigation panel.
Create vCenter Inventory
This walkthrough is designed to provide a step-by-step overview of how to create a vCenter Inventory. Use arrow keys to navigate through the screens.
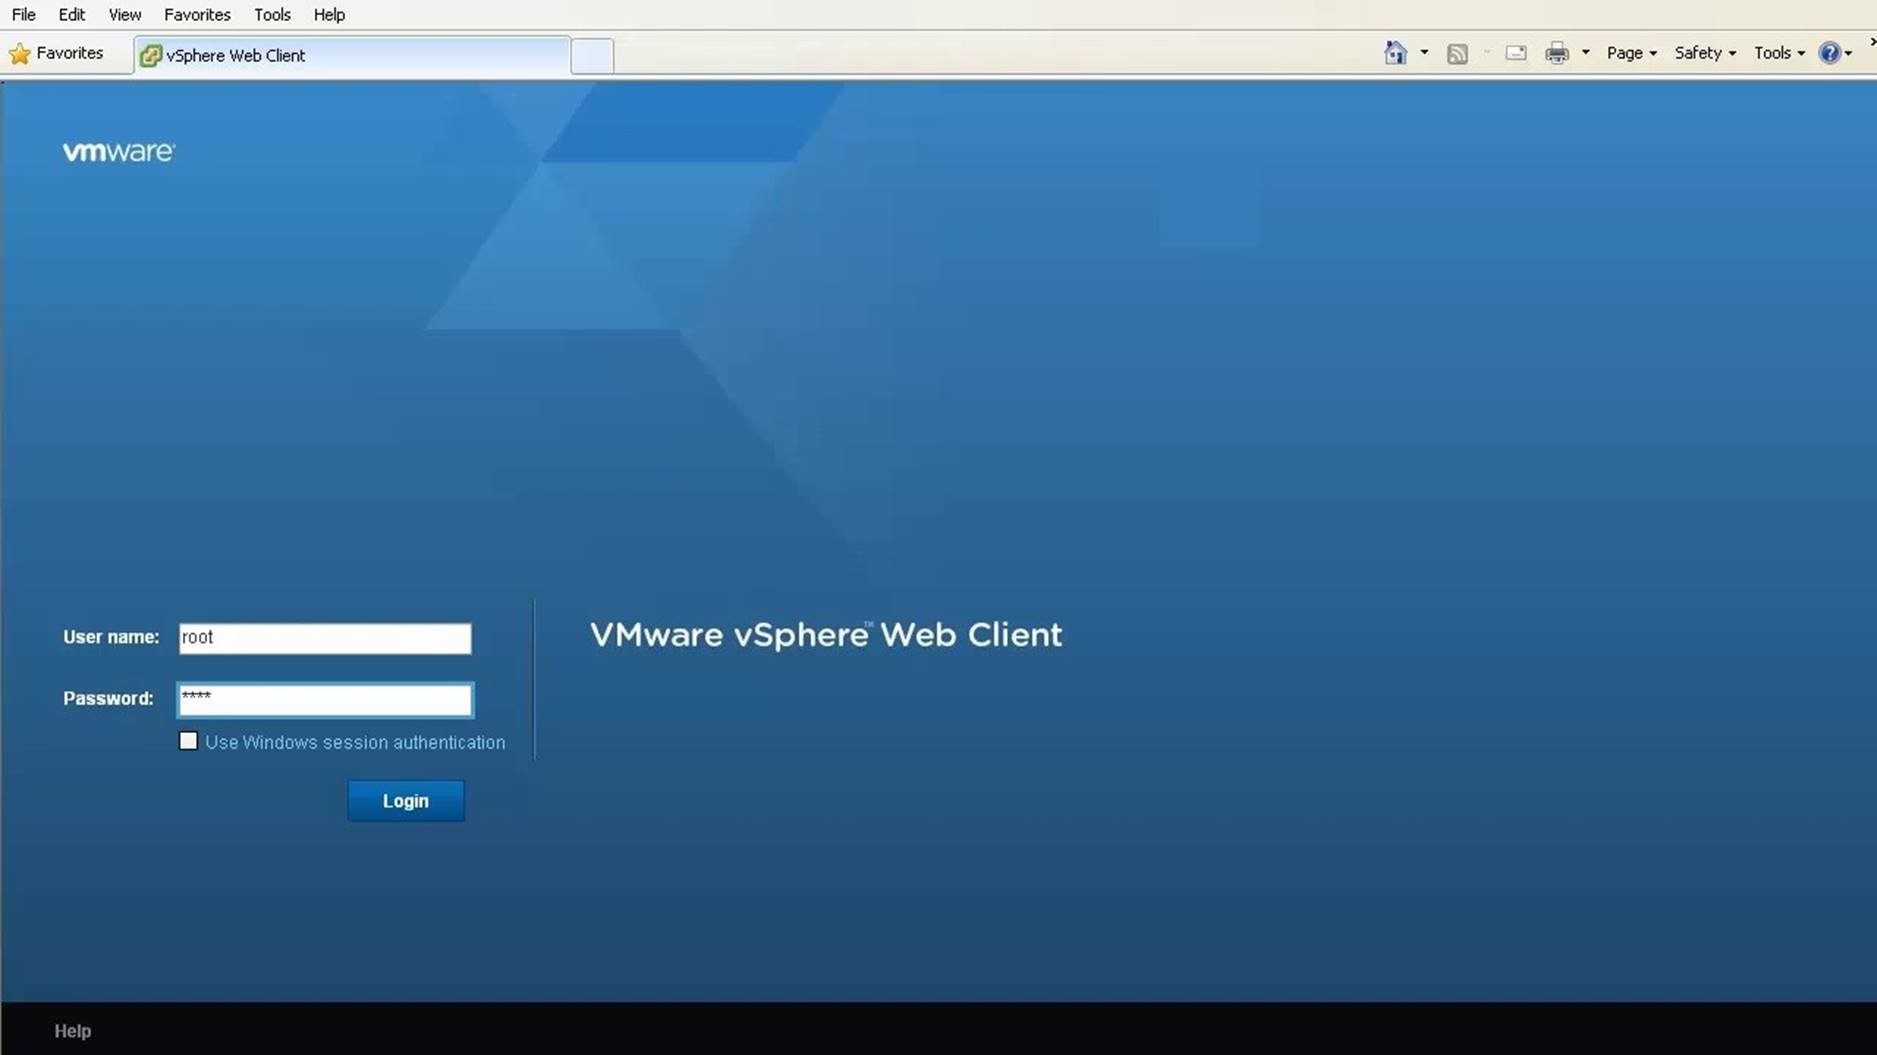
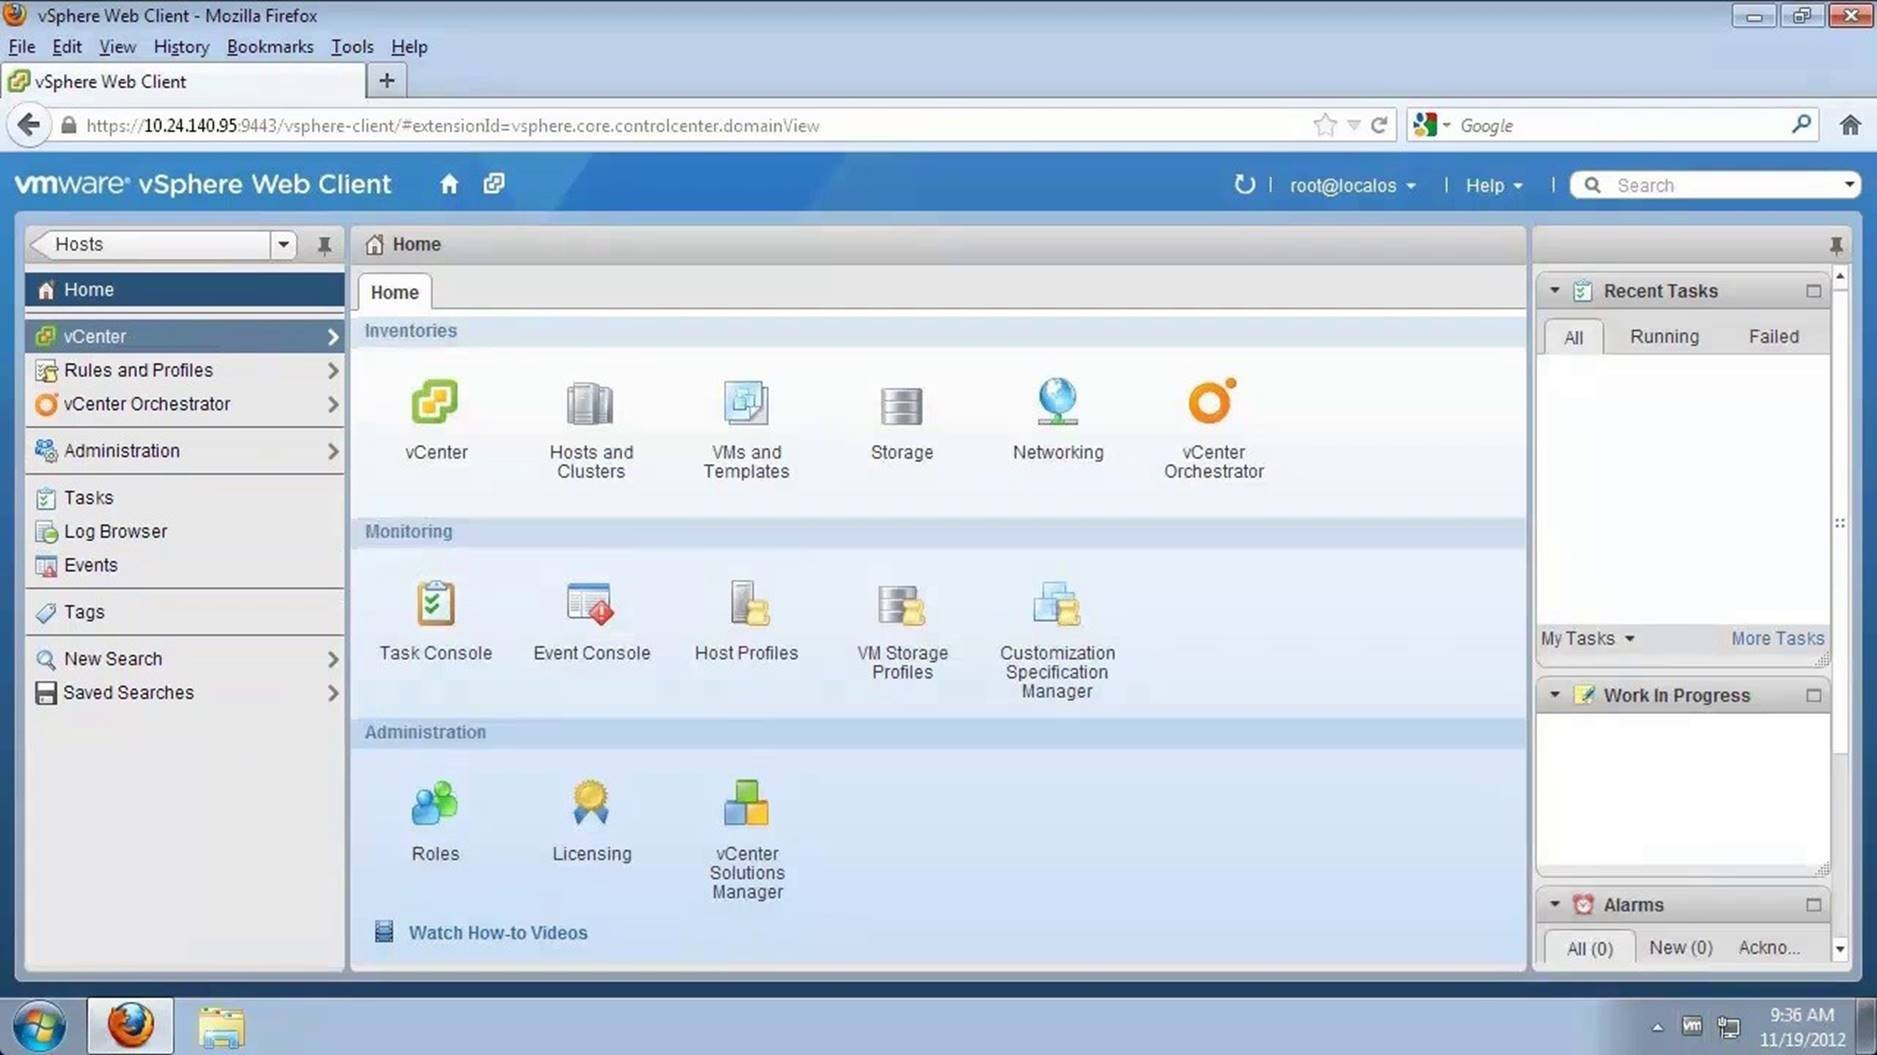
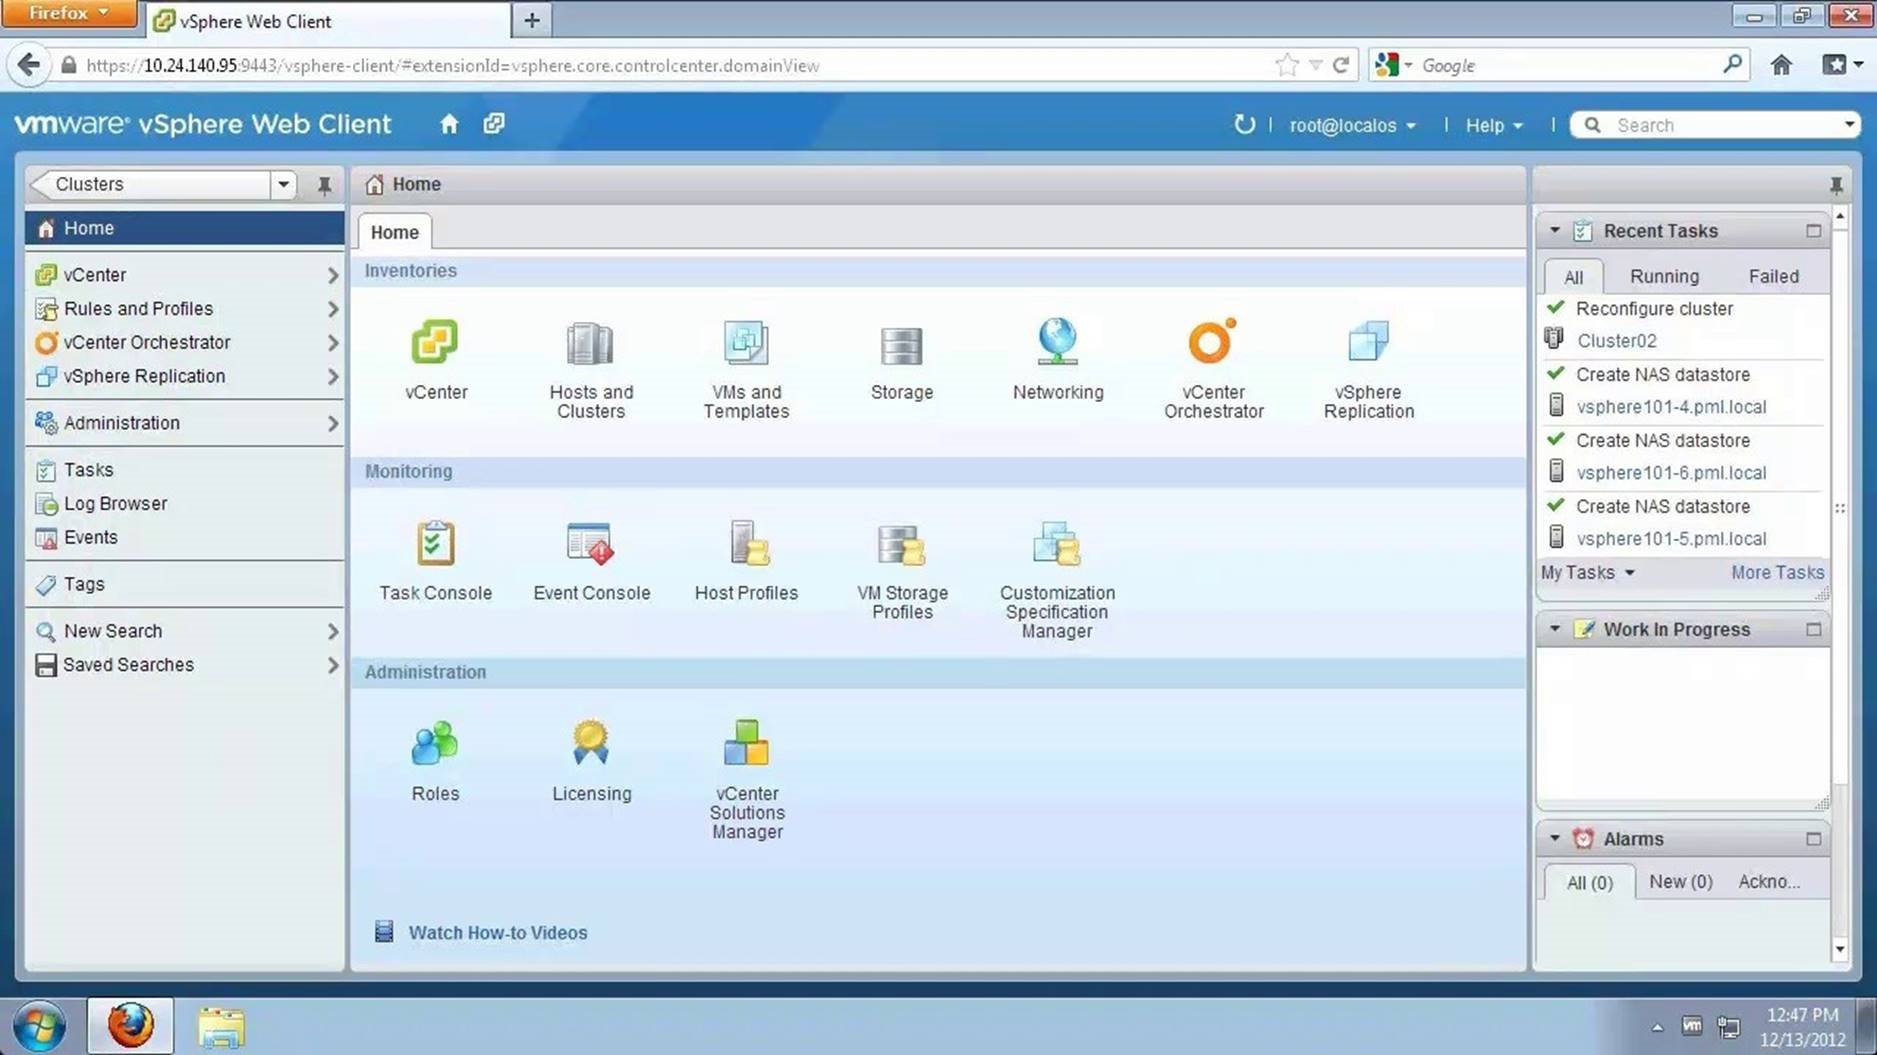
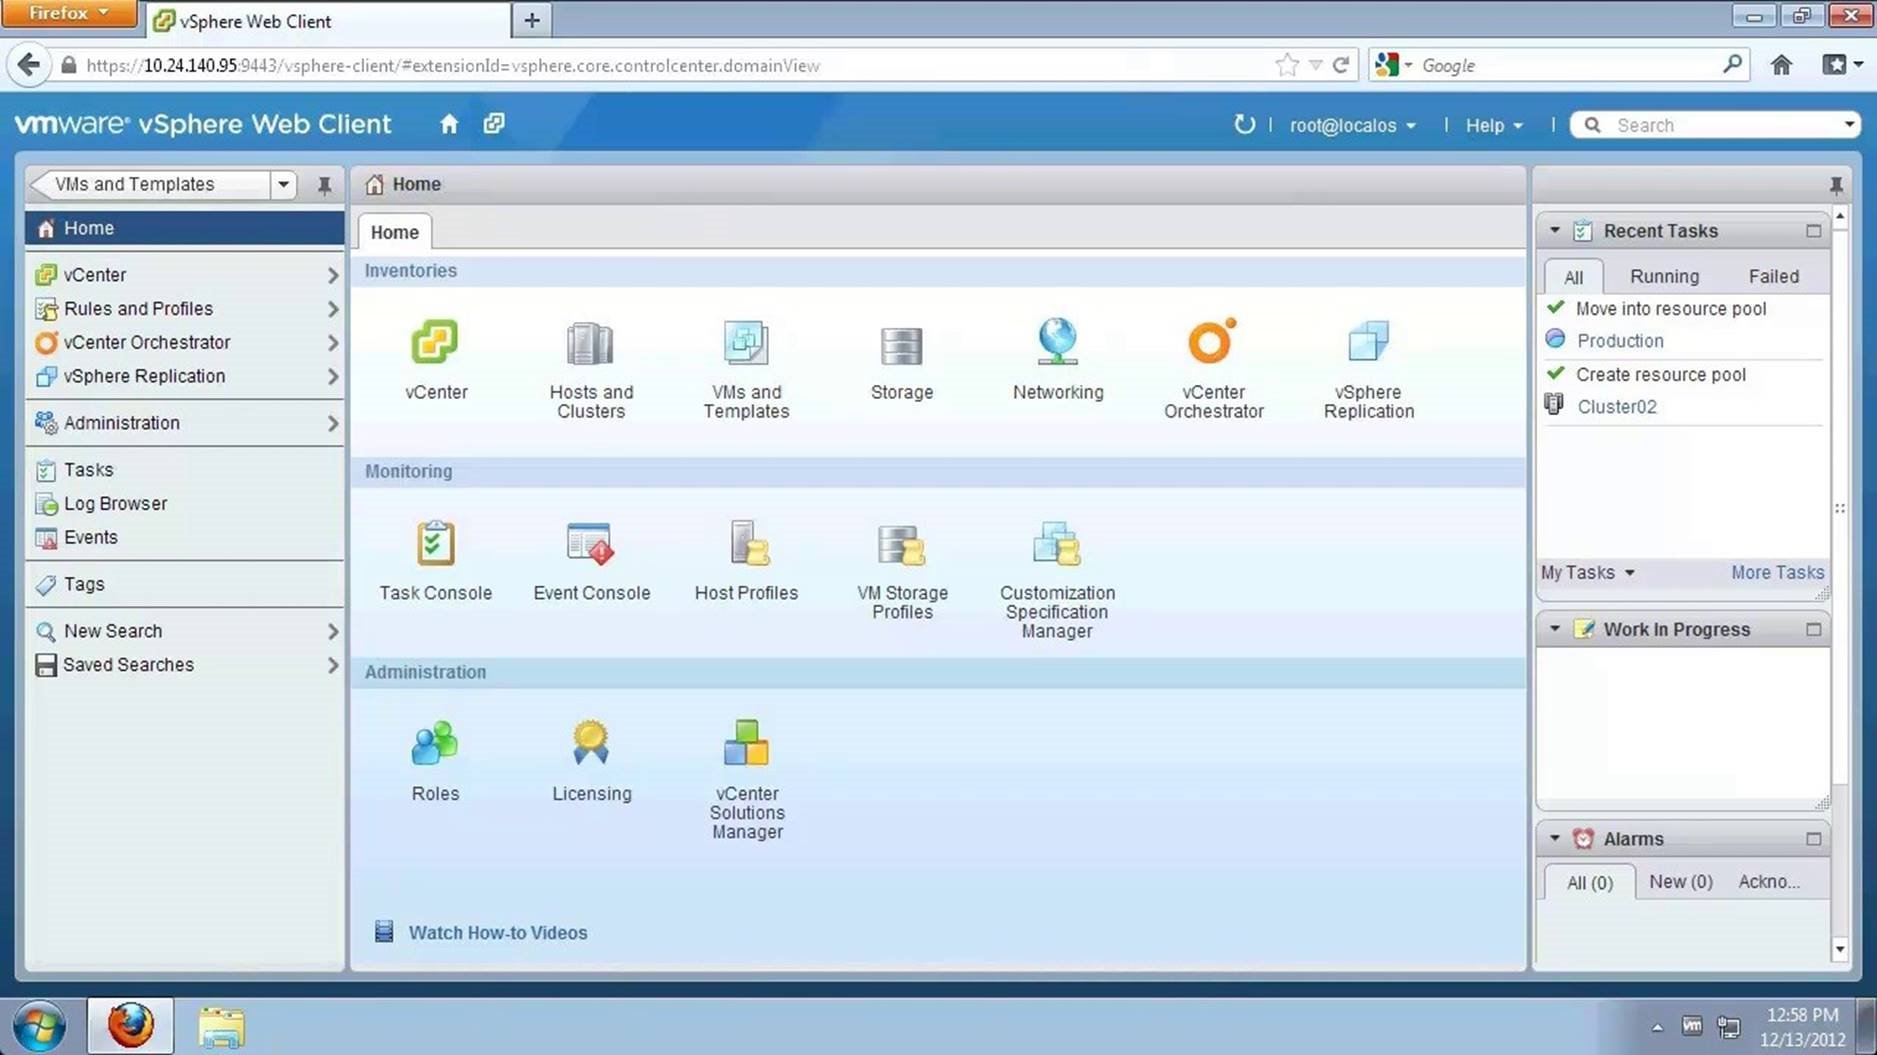
Login to the vSphere Web Client.
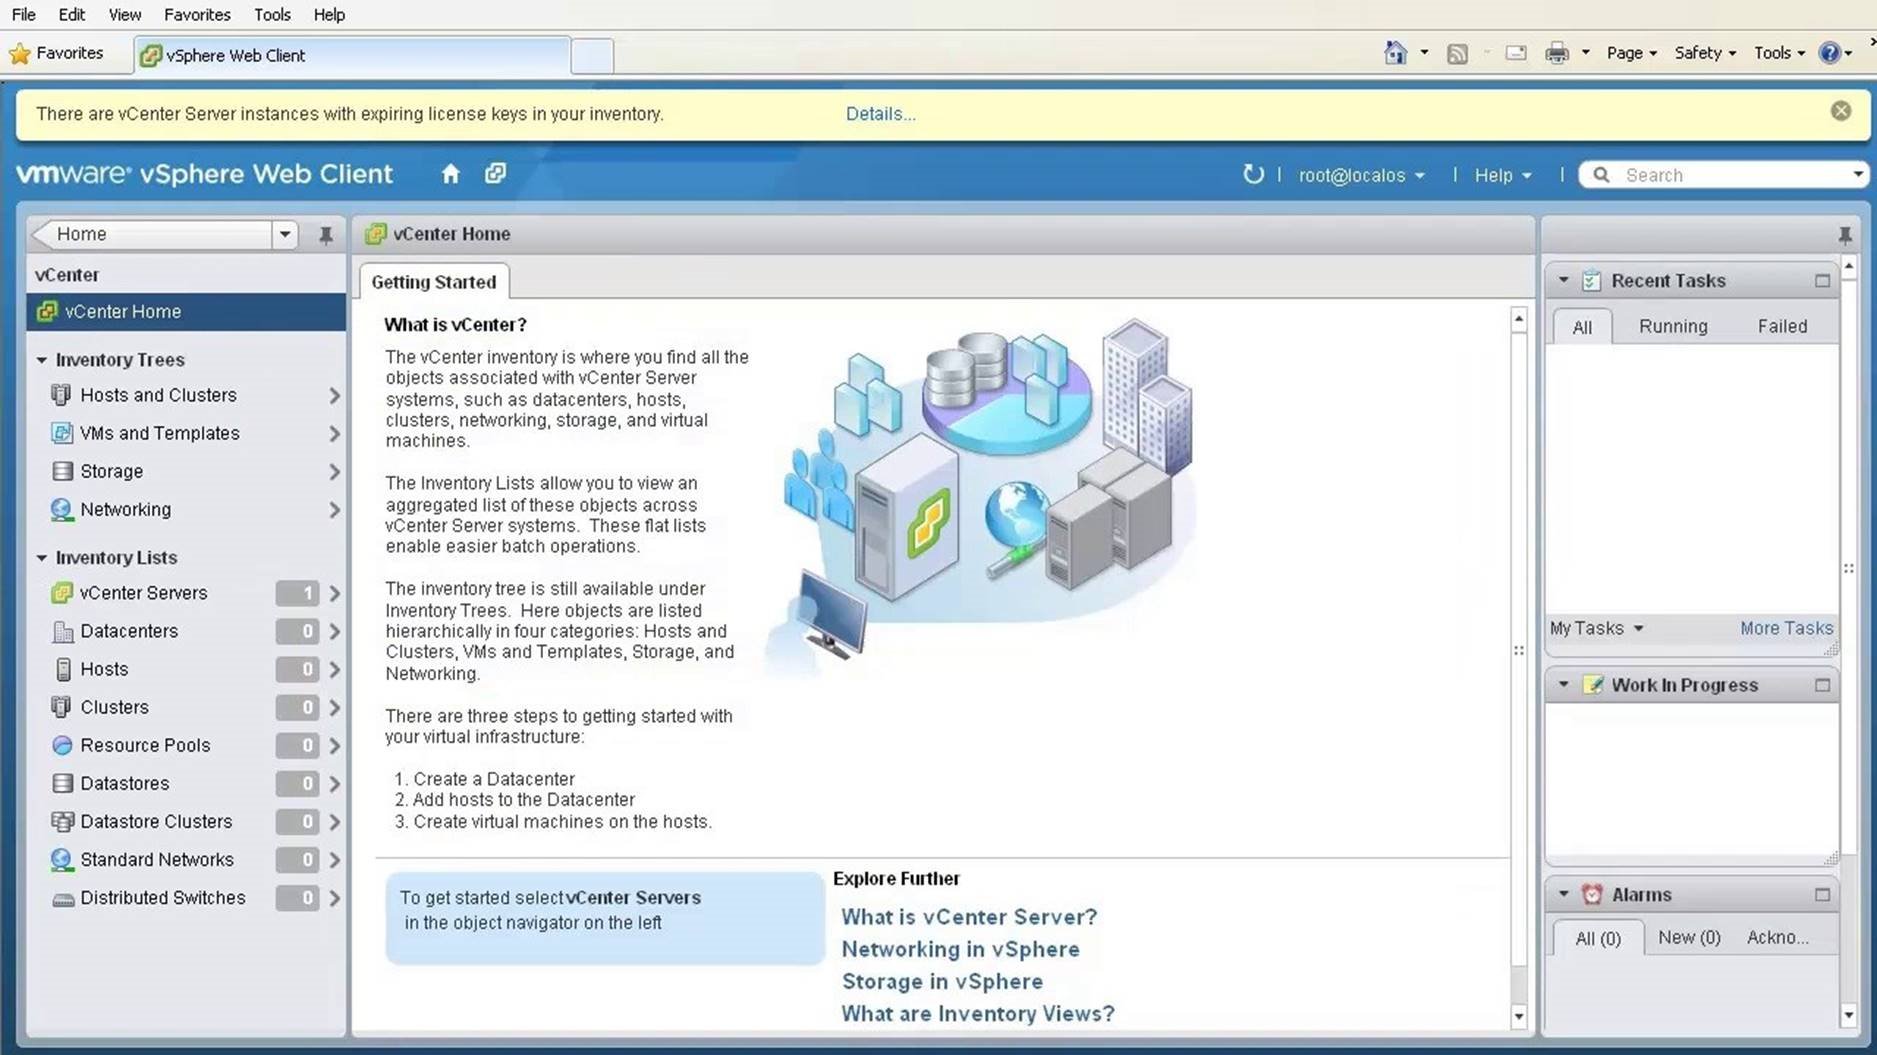
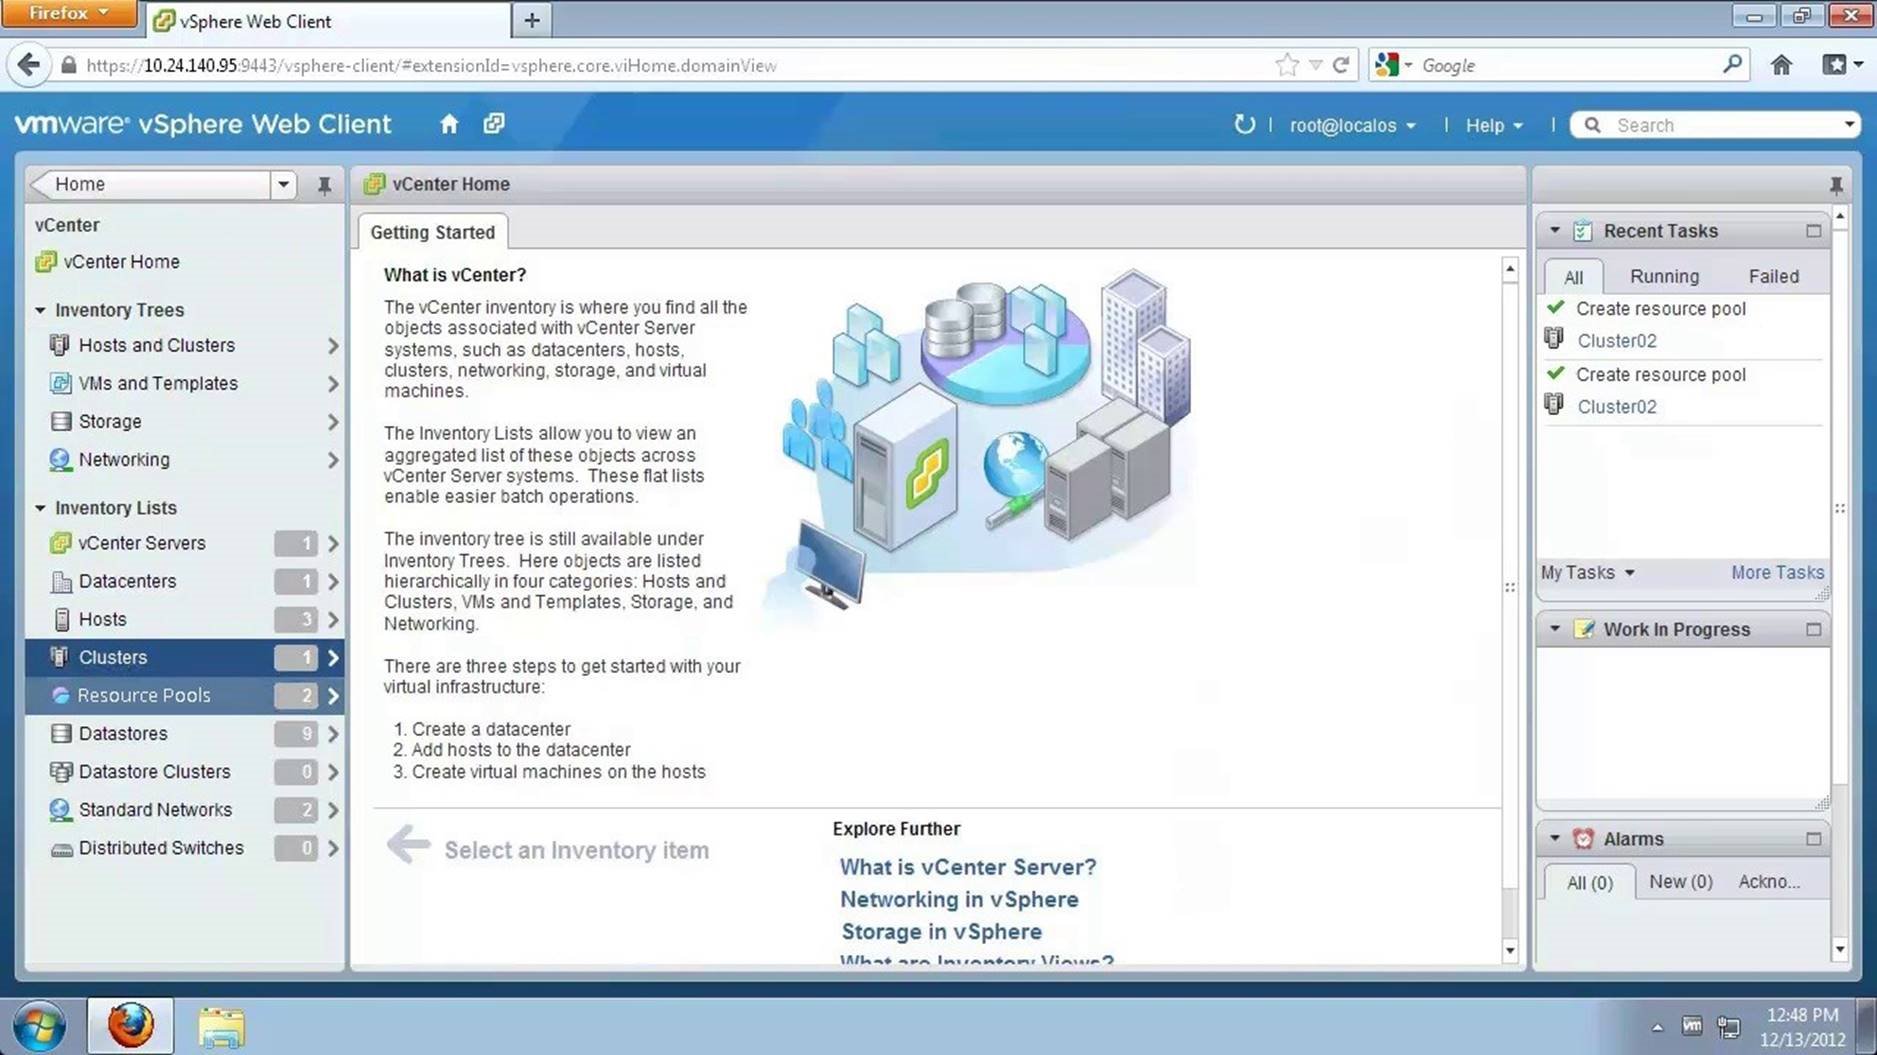
The home screen shows an empty inventory with no datacenters, clusters, or hosts. Proceed to create a datacenter.
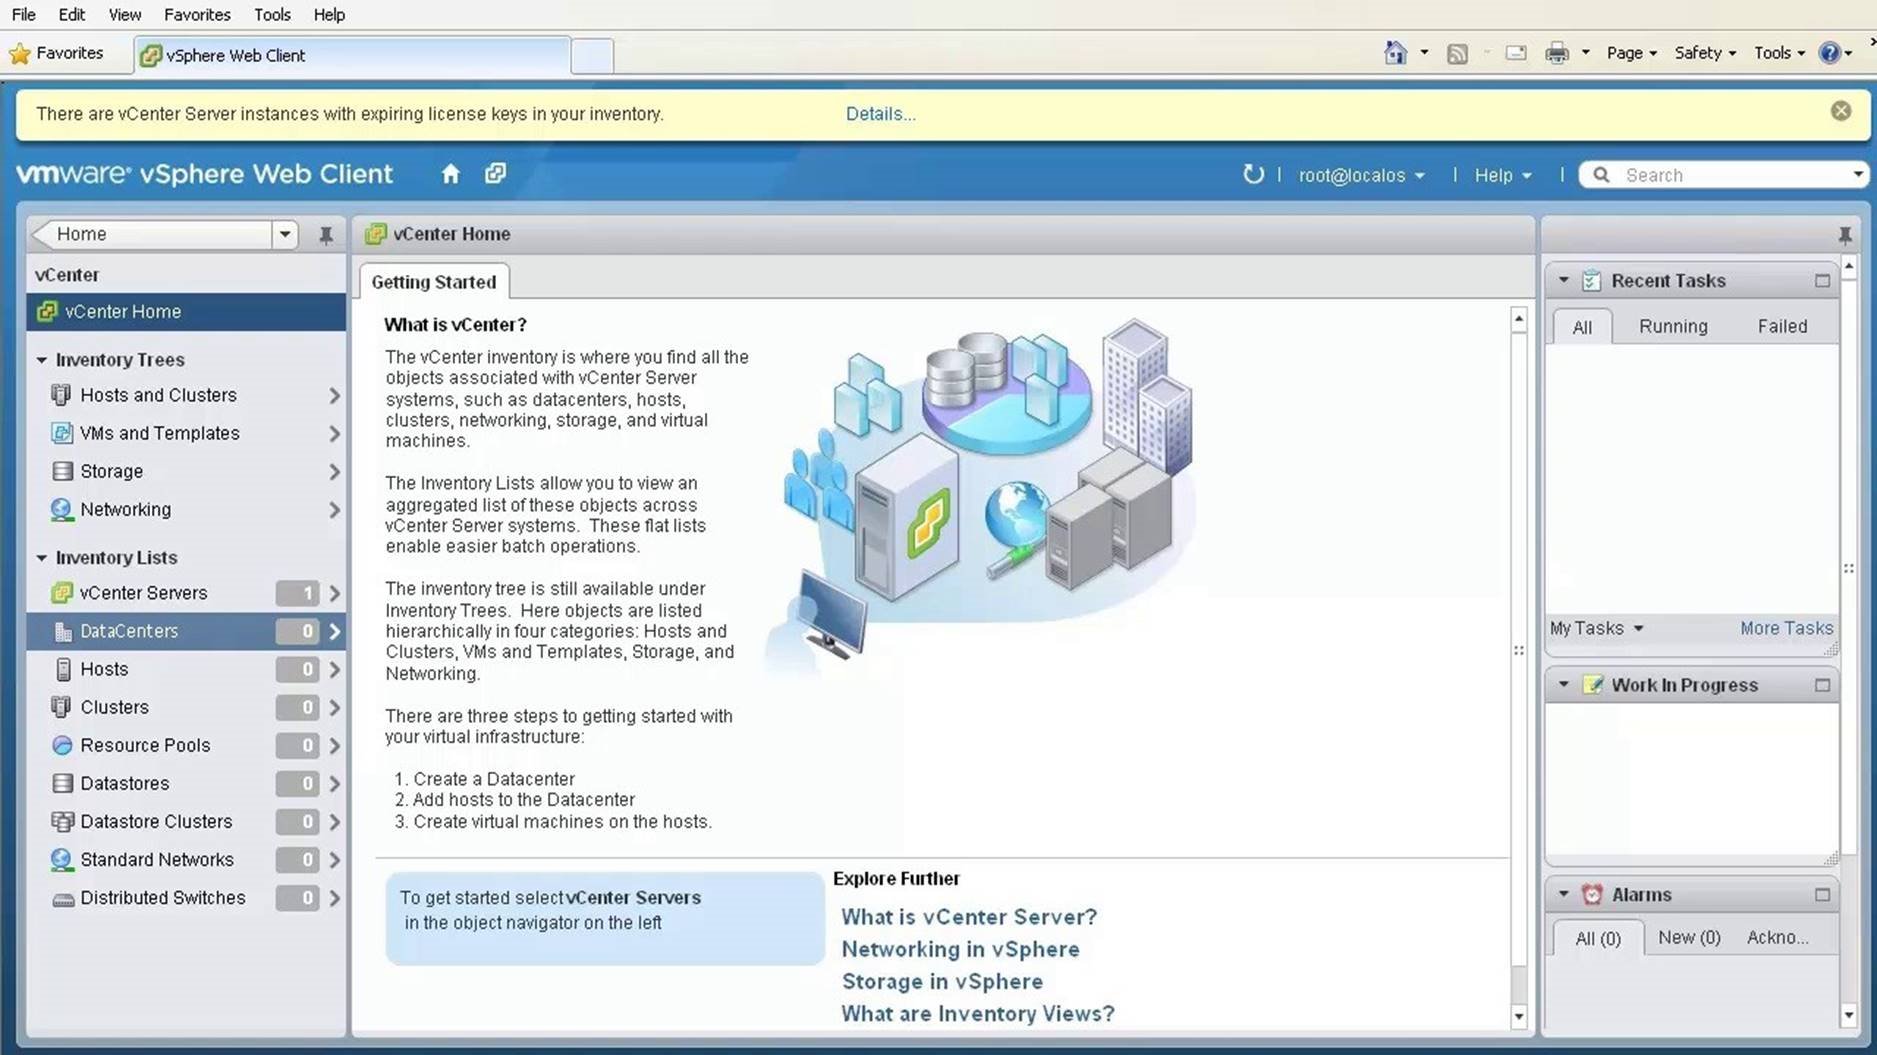
Select [Datacenters] from the inventory list.
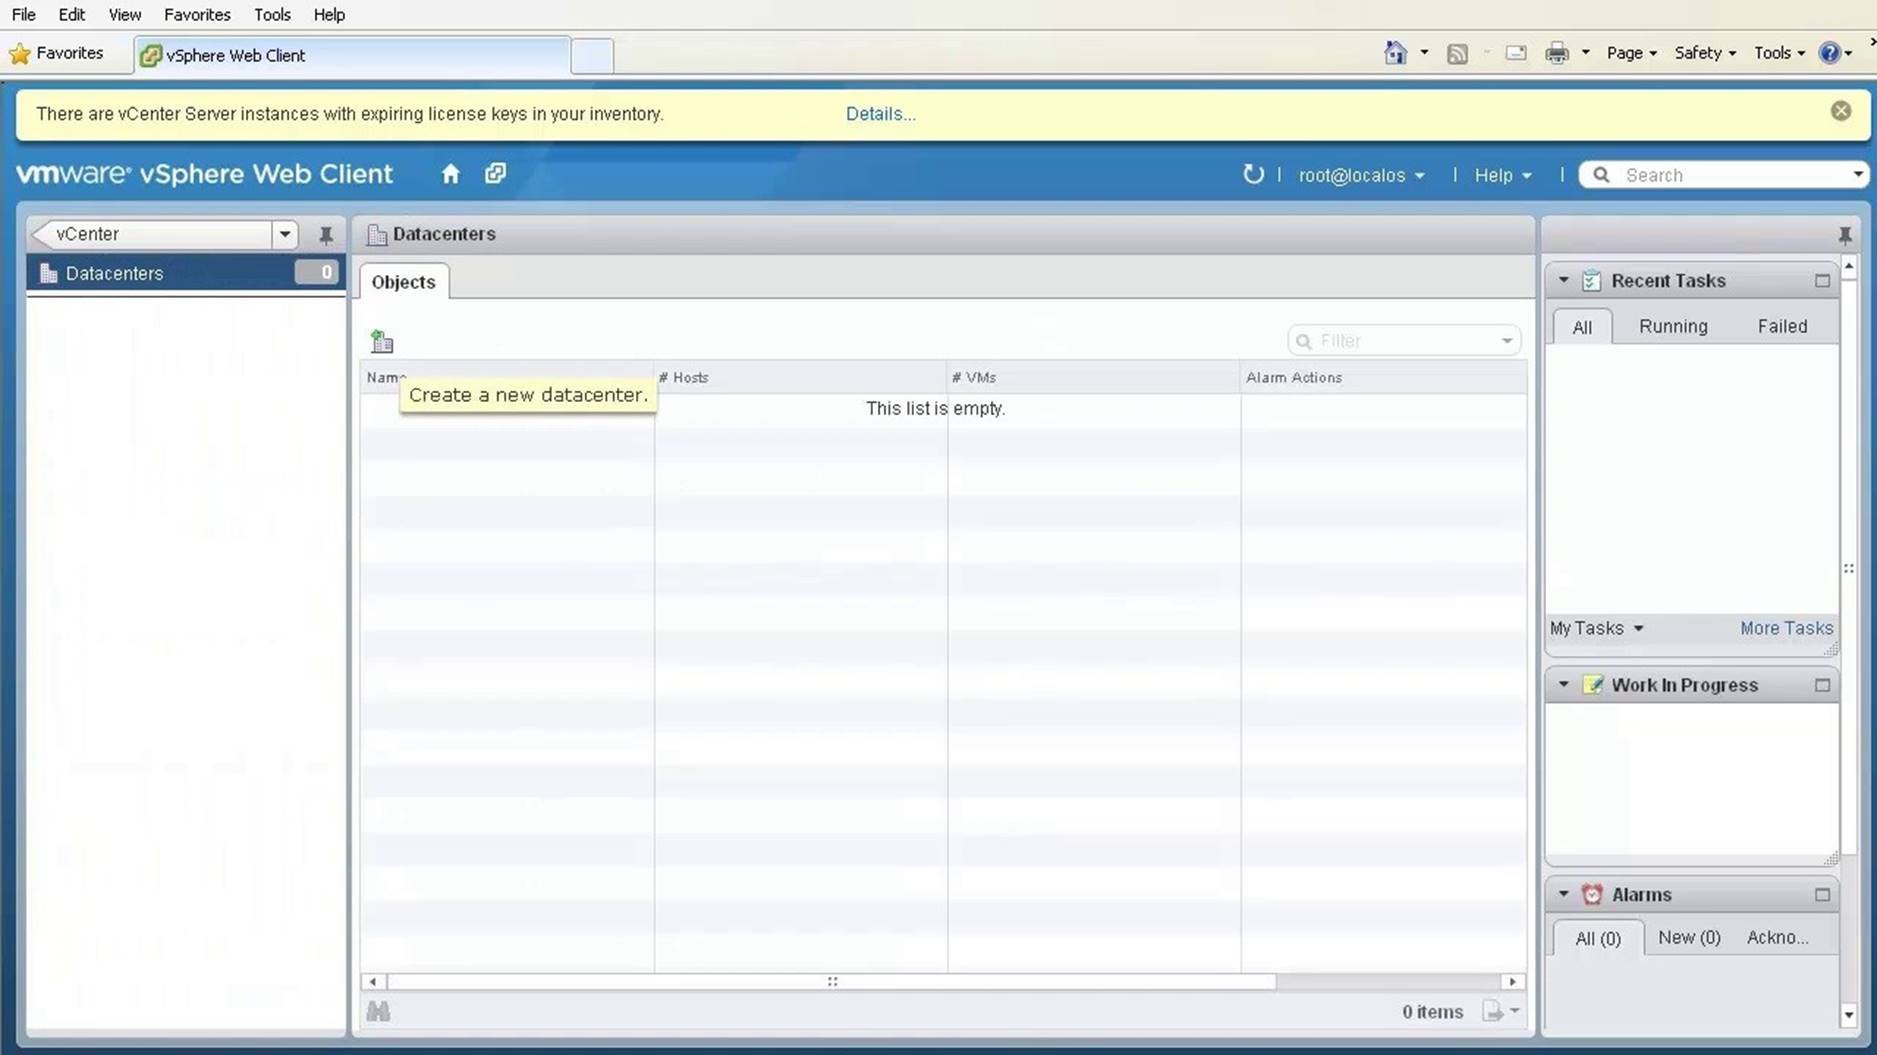
Click on the [Create a New Datacenter] icon to open the wizard.
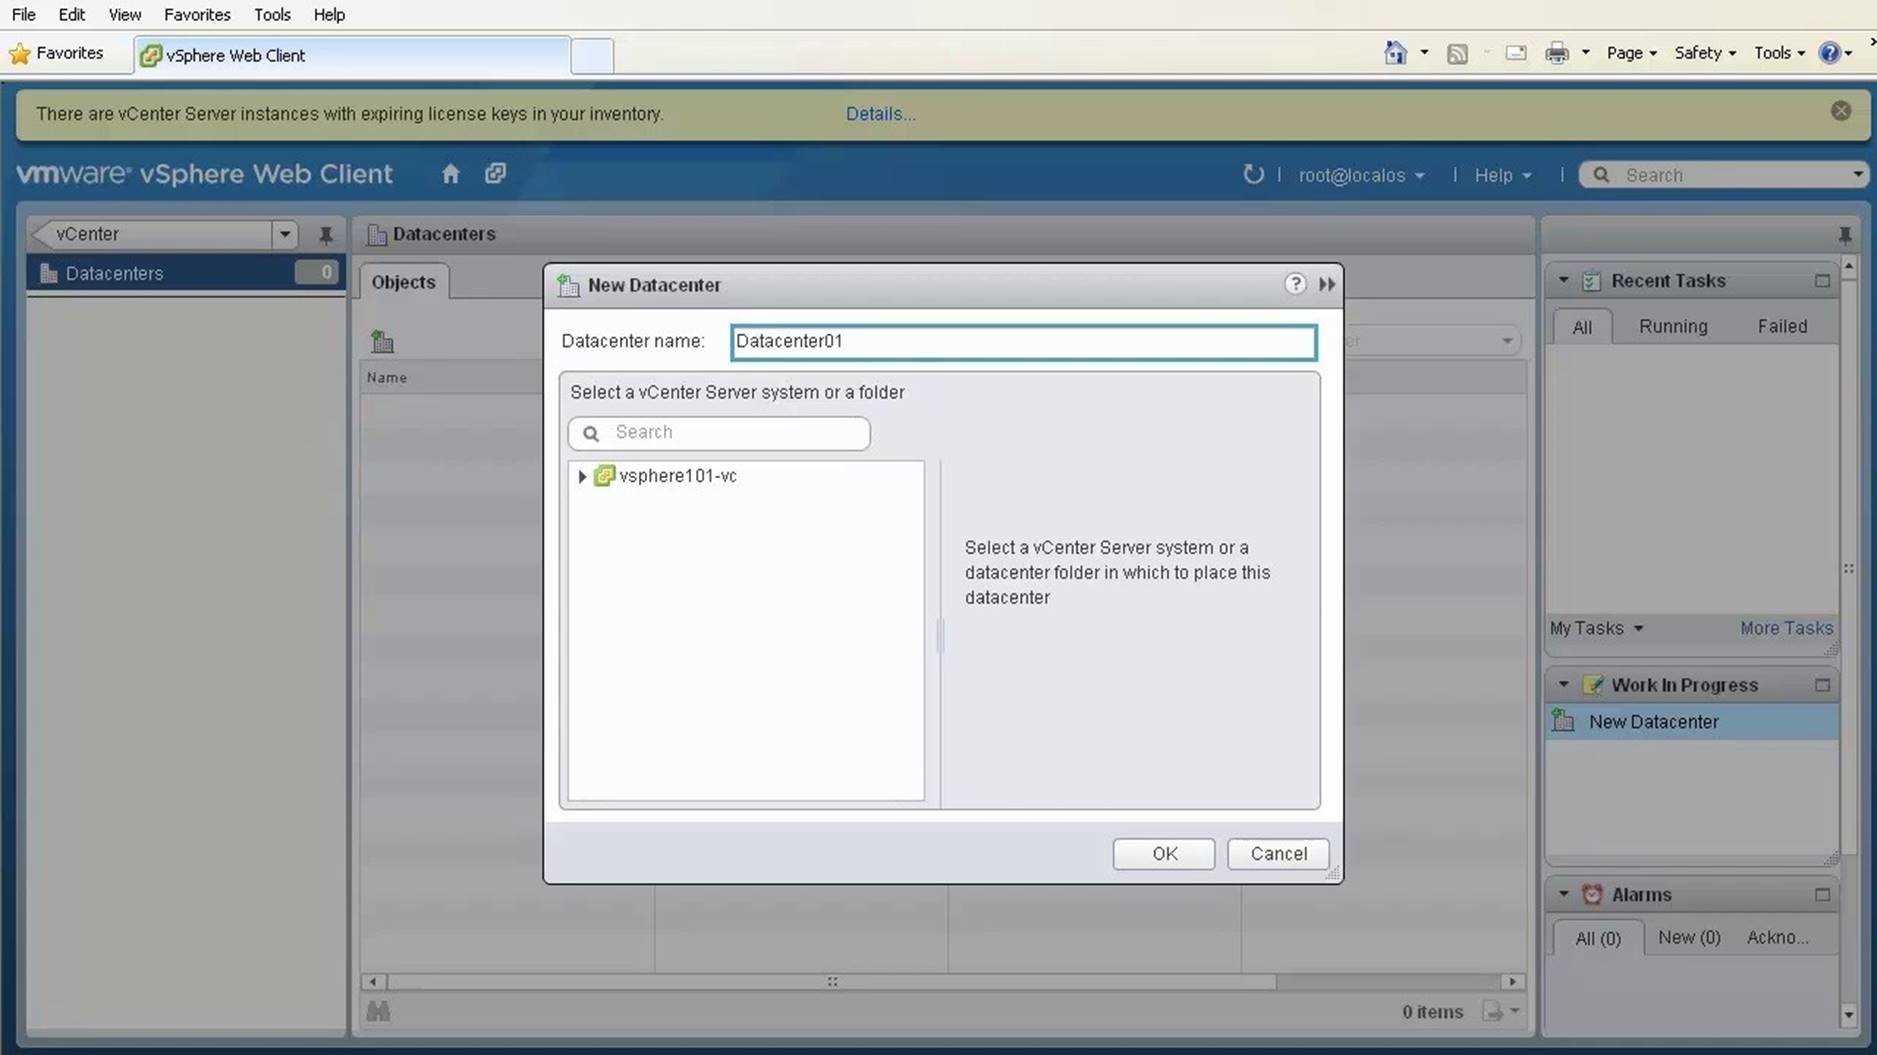
Name your datacenter and select the vCenter Server location for it. Click on [OK] to finish. Continue to create a Cluster.
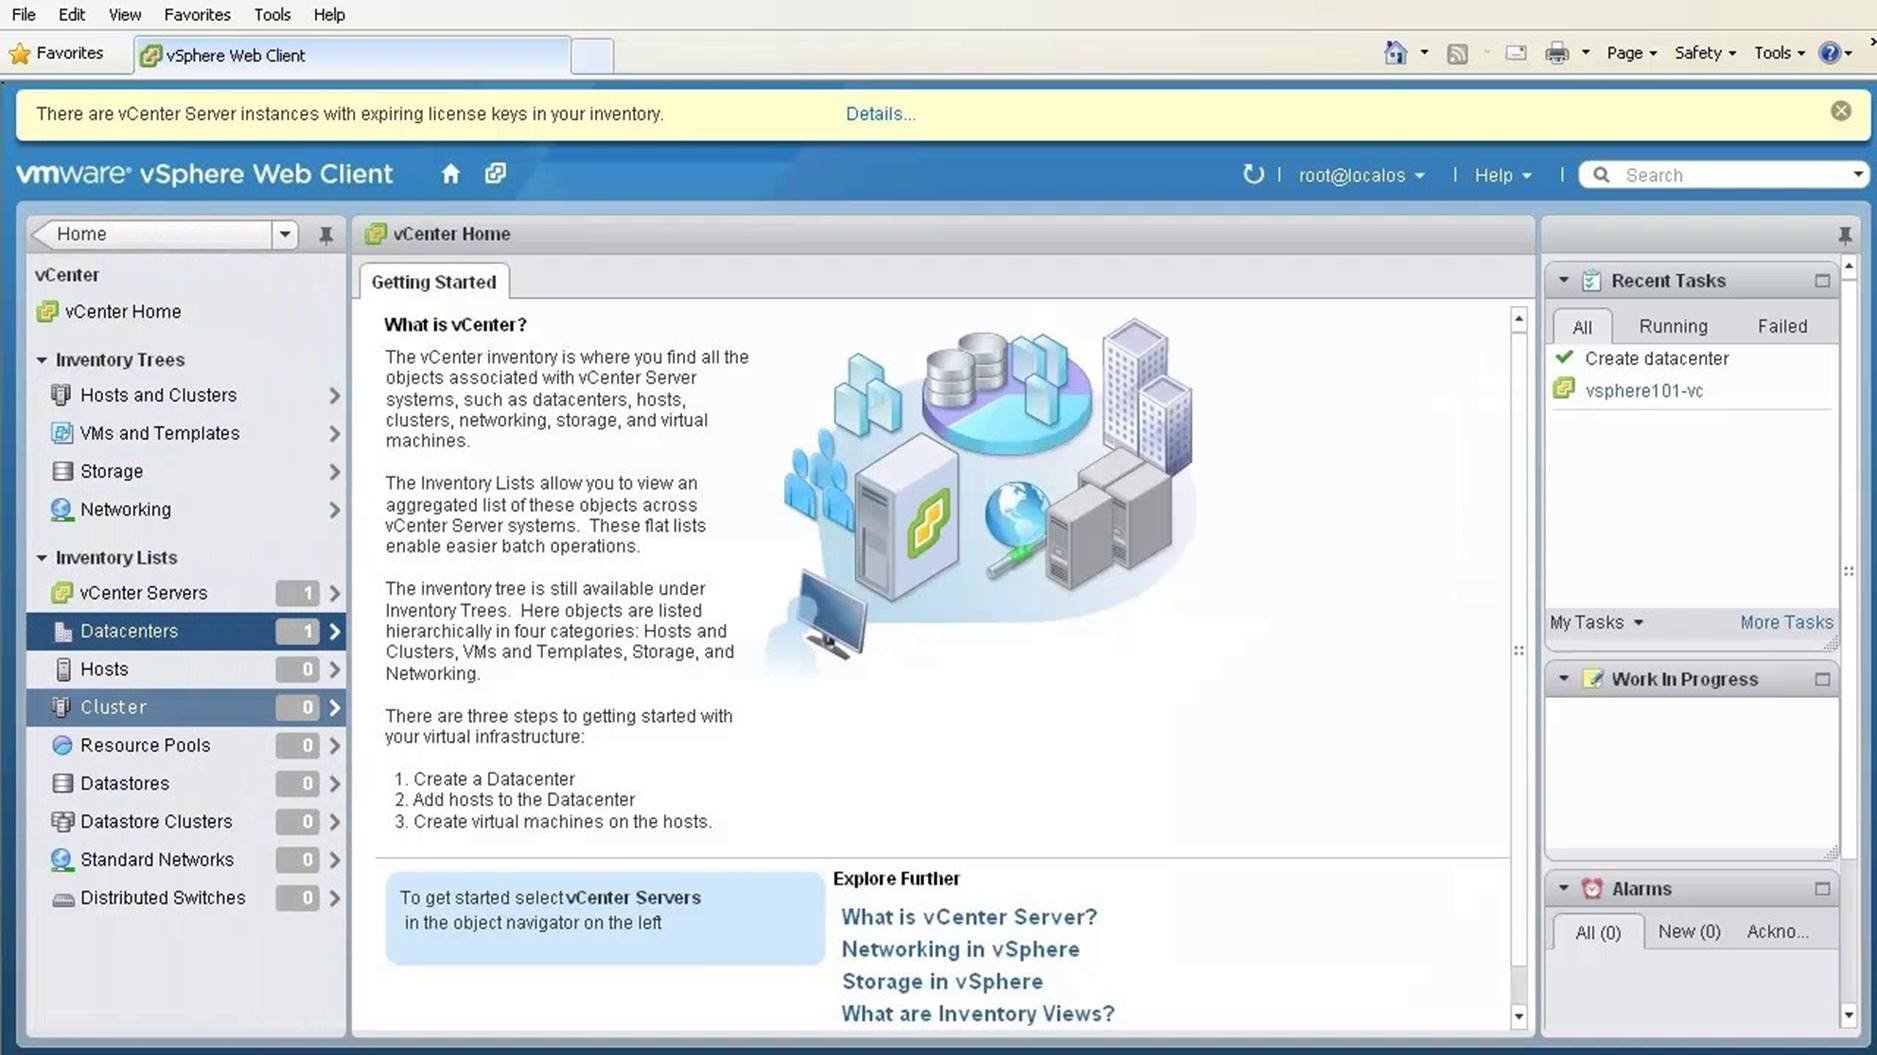
Using 'Clusters' you can group similar hosts together. Create a cluster inside the datacenter. Select [Clusters] from the list.
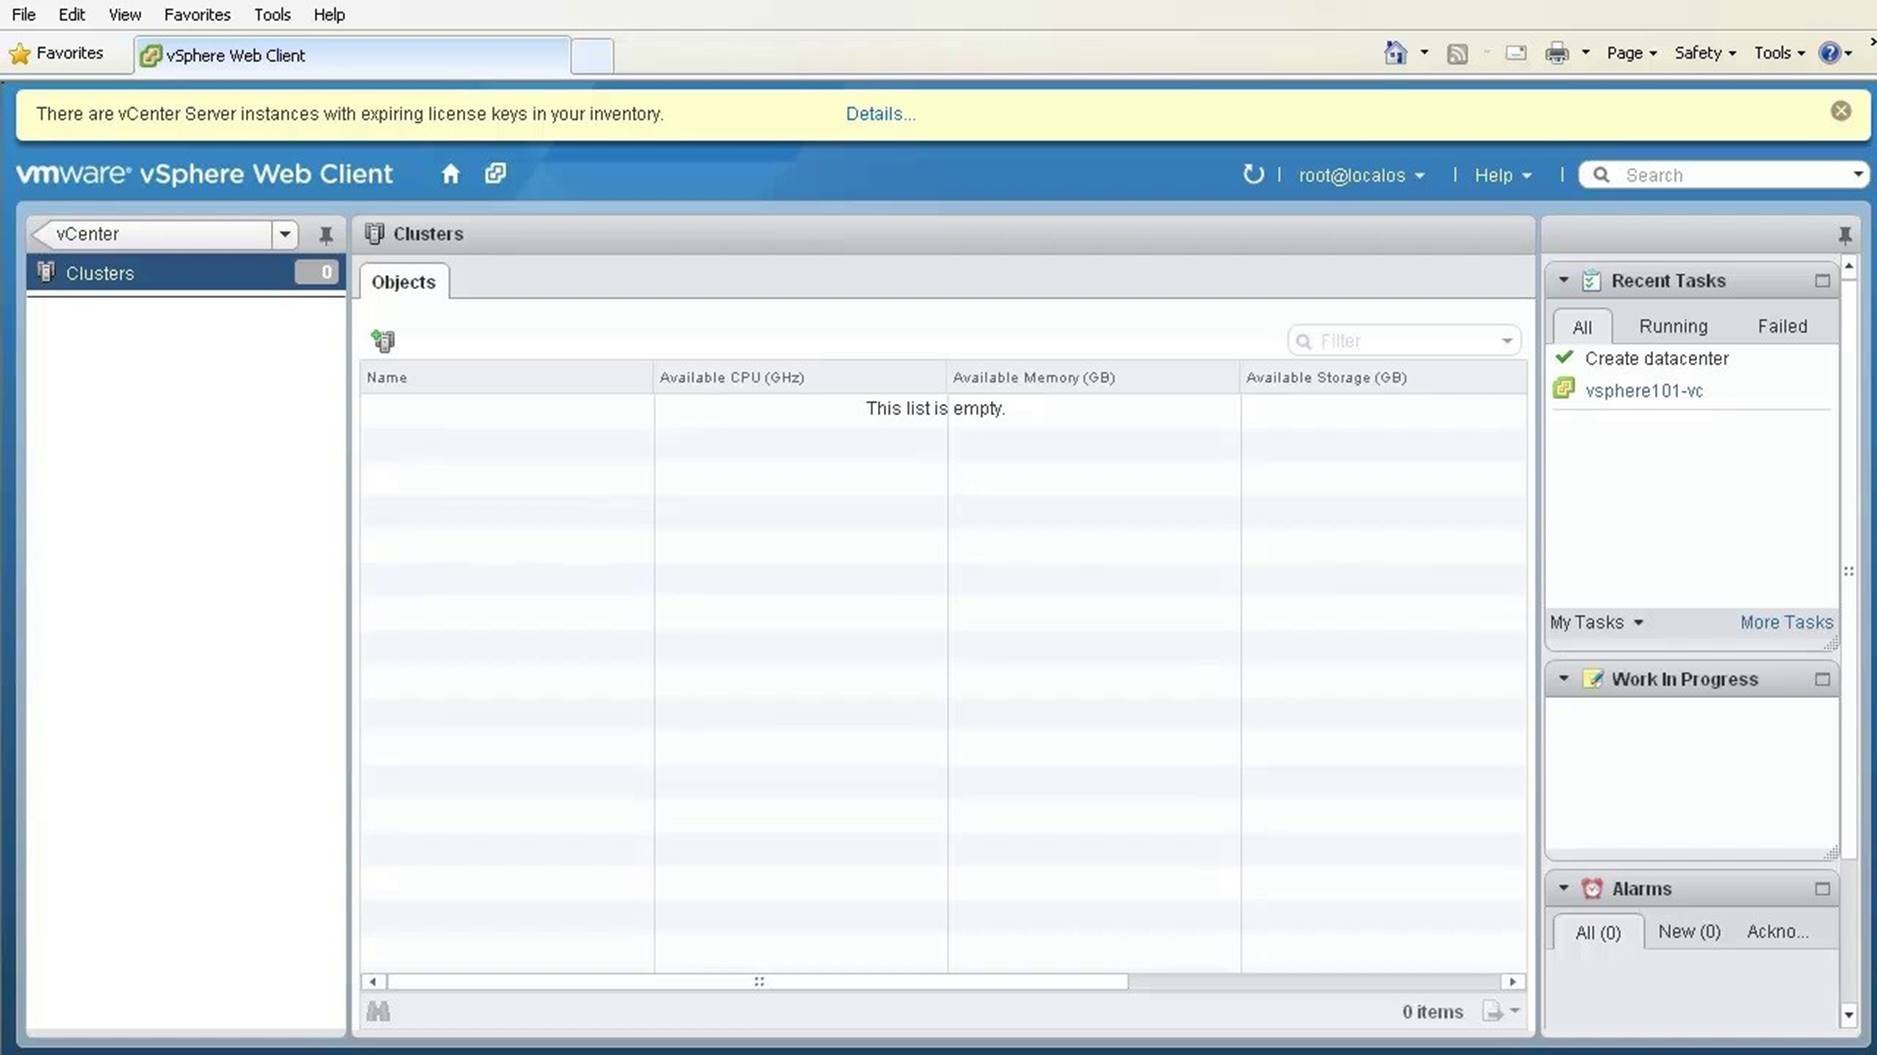
Click on the [Create a New Cluster] icon to open the wizard.

Name the cluster. Click on [Browse] to select the location of the cluster.
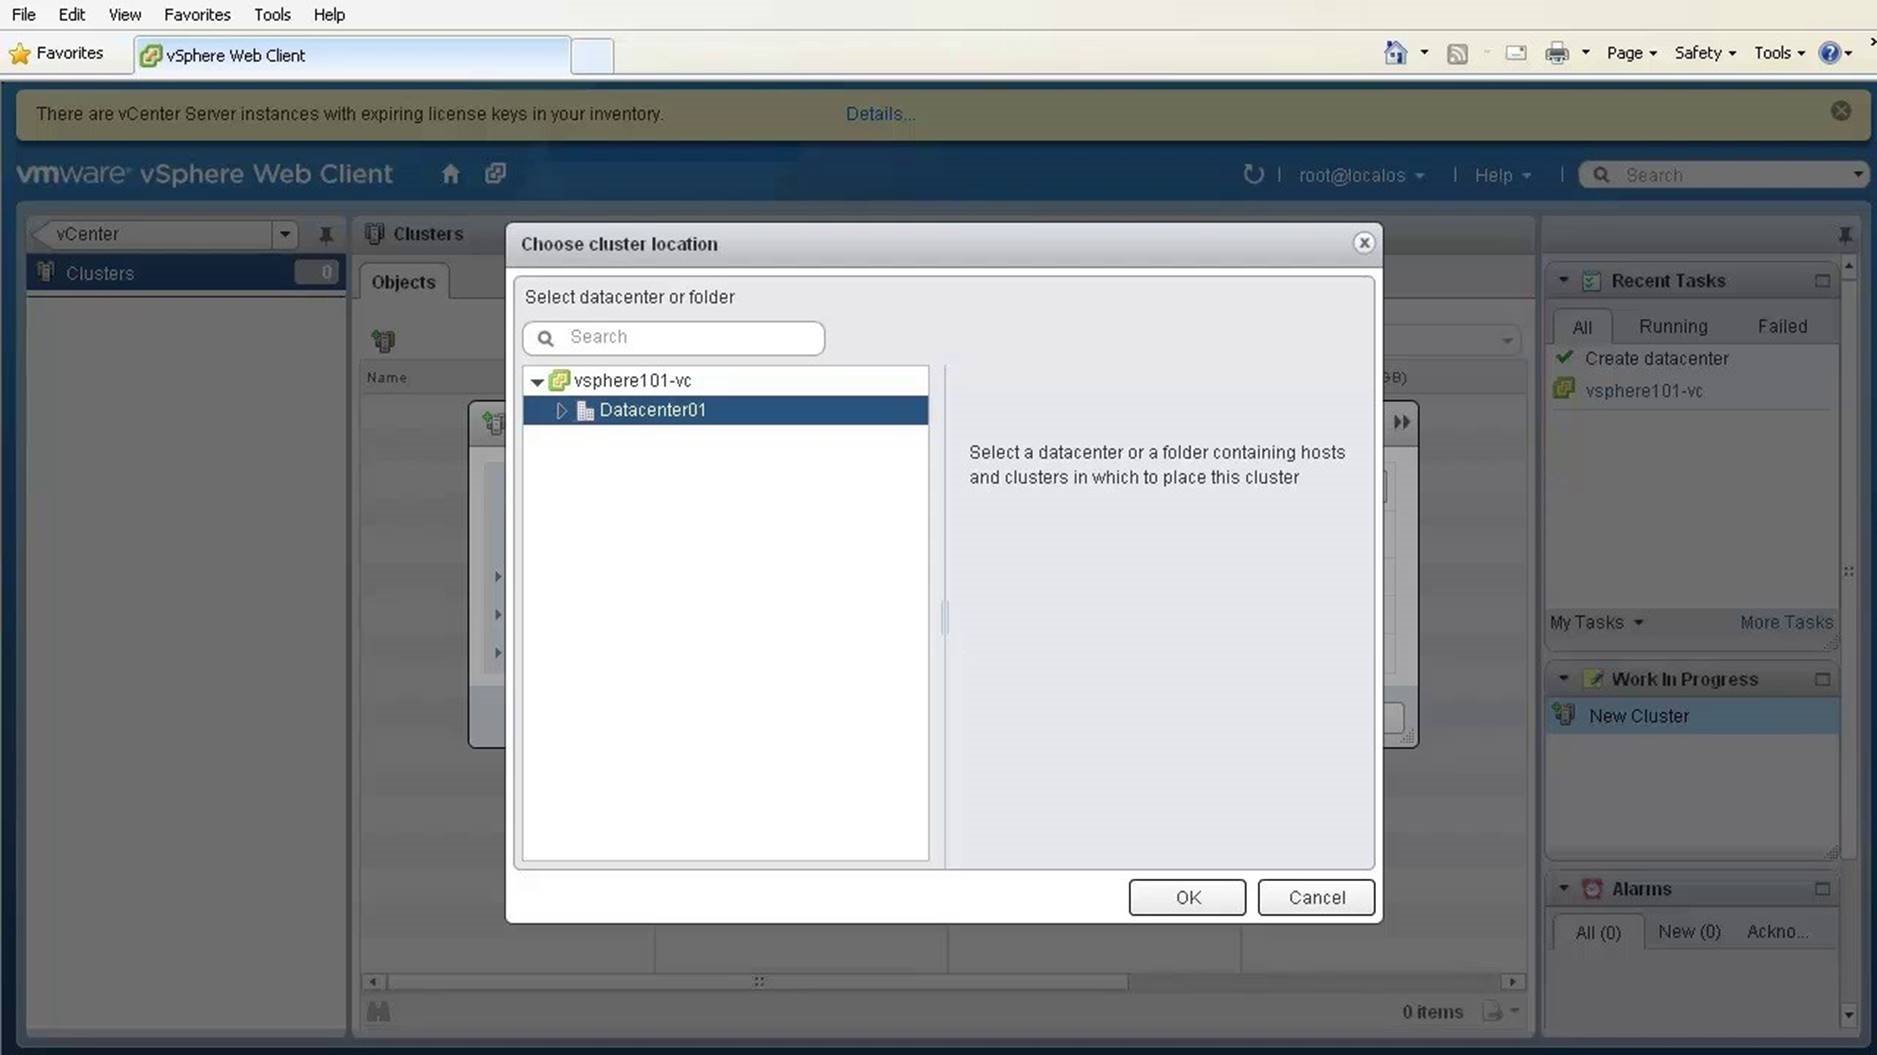
Select the datacenter that was just created as the location and click on [OK].
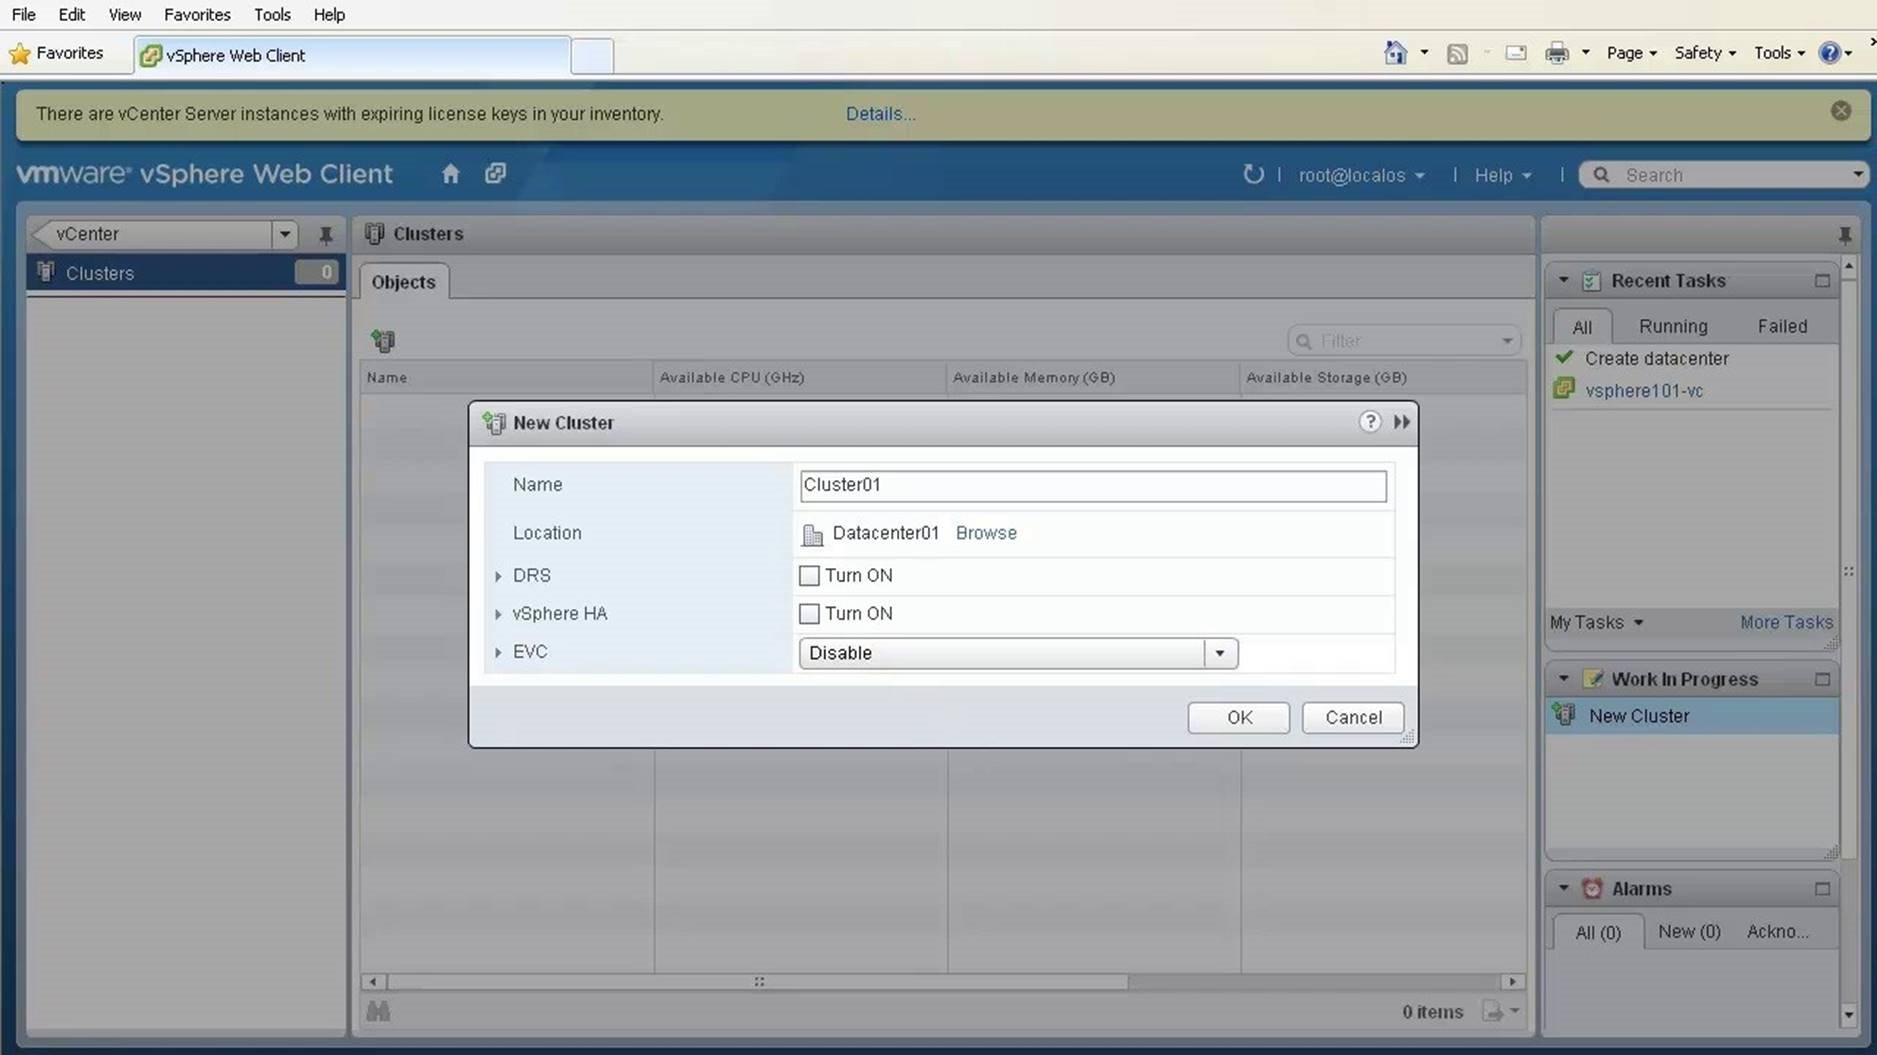
Decide if you want to turn on [DRS] and [vSphere HA]. Click on [OK] to finish.

Now, add a host to the cluster. Click on [Hosts].
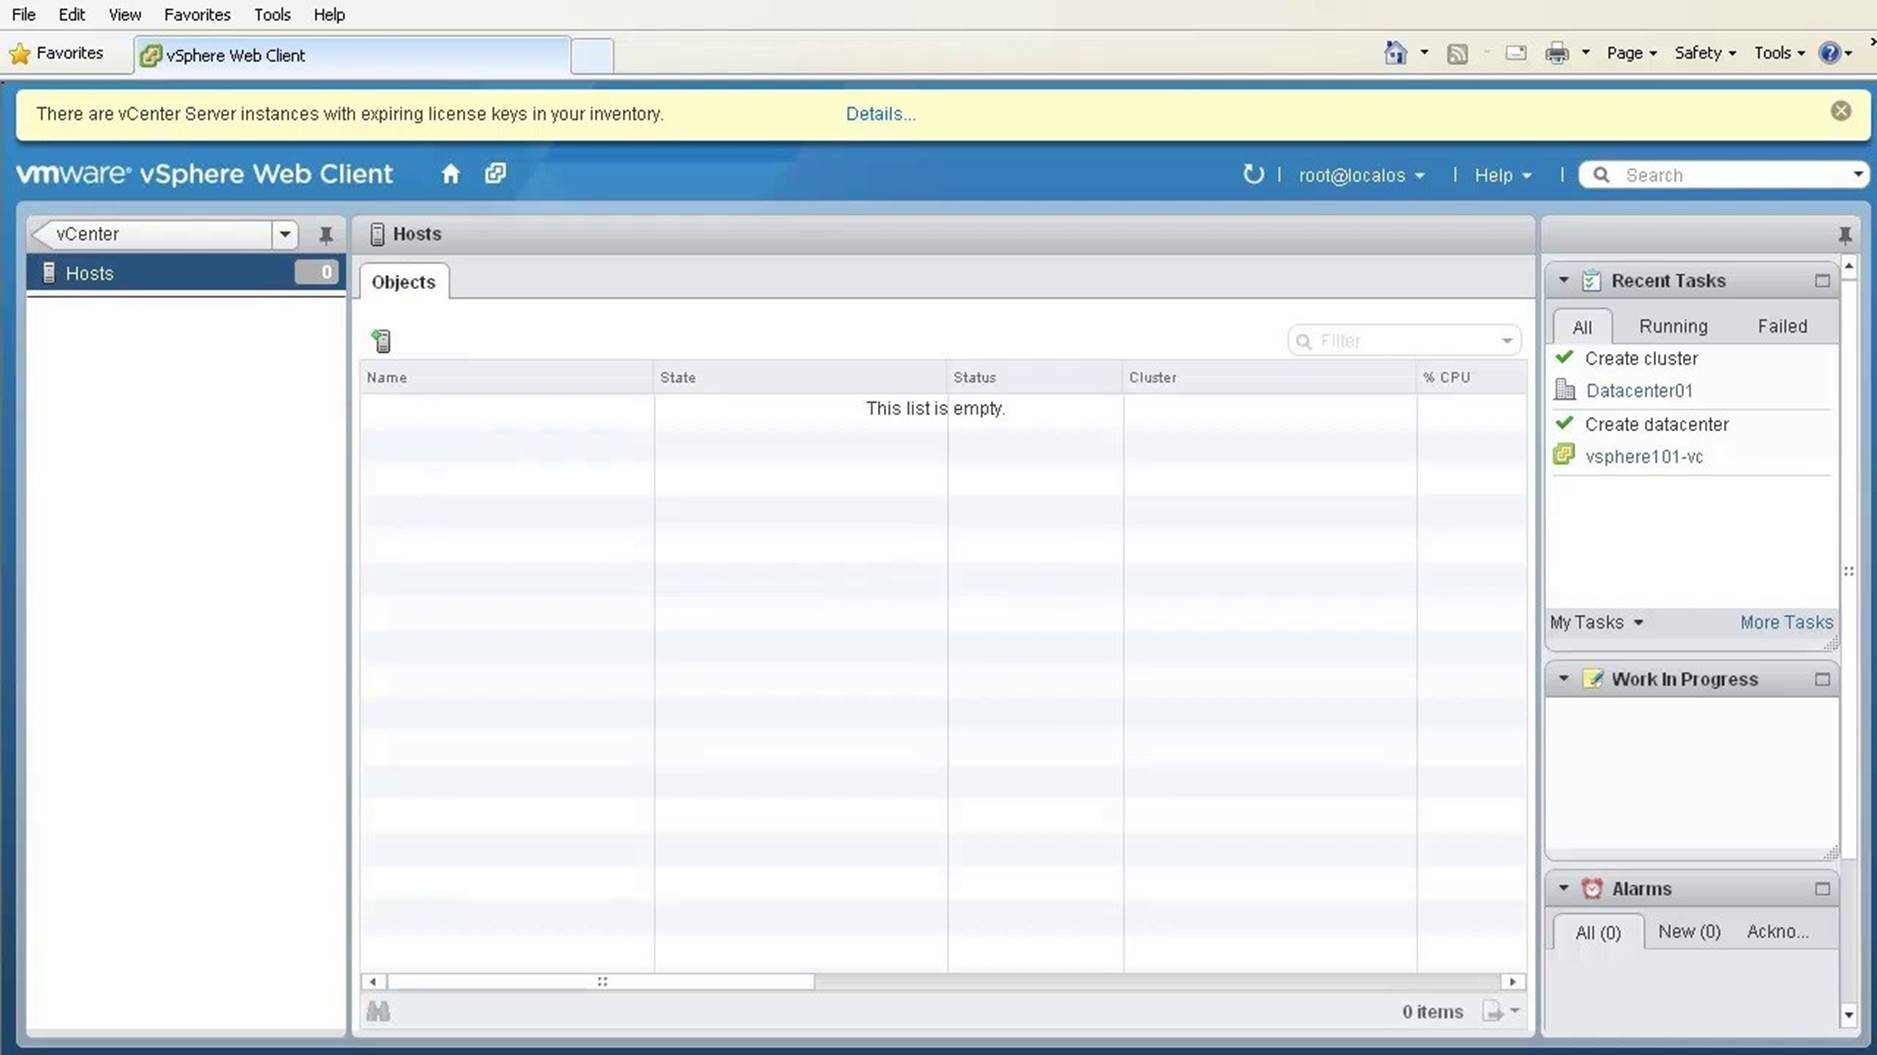
Click on the [Add a New Host] icon to open the wizard.
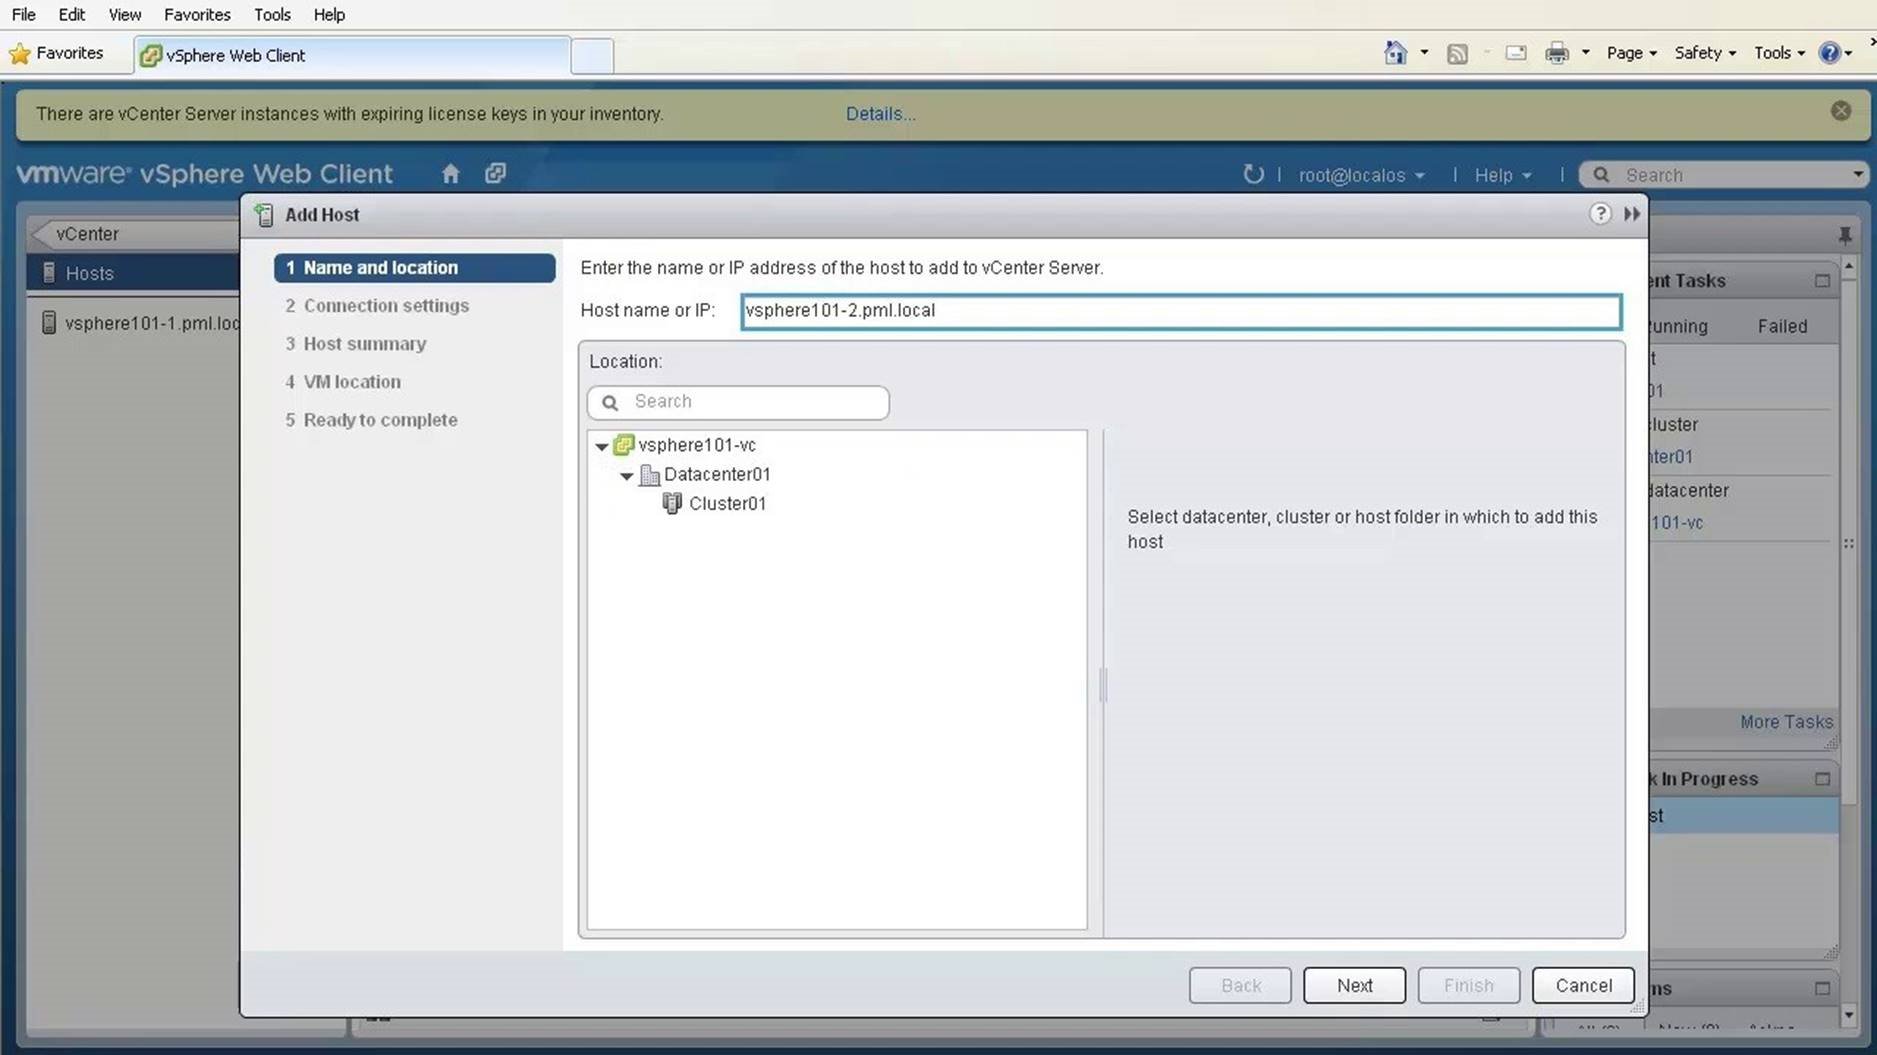
Specify the name or IP of the host. Ensure the host has been added in the DNS, and is resolvable with a forward and reverse lookup record.
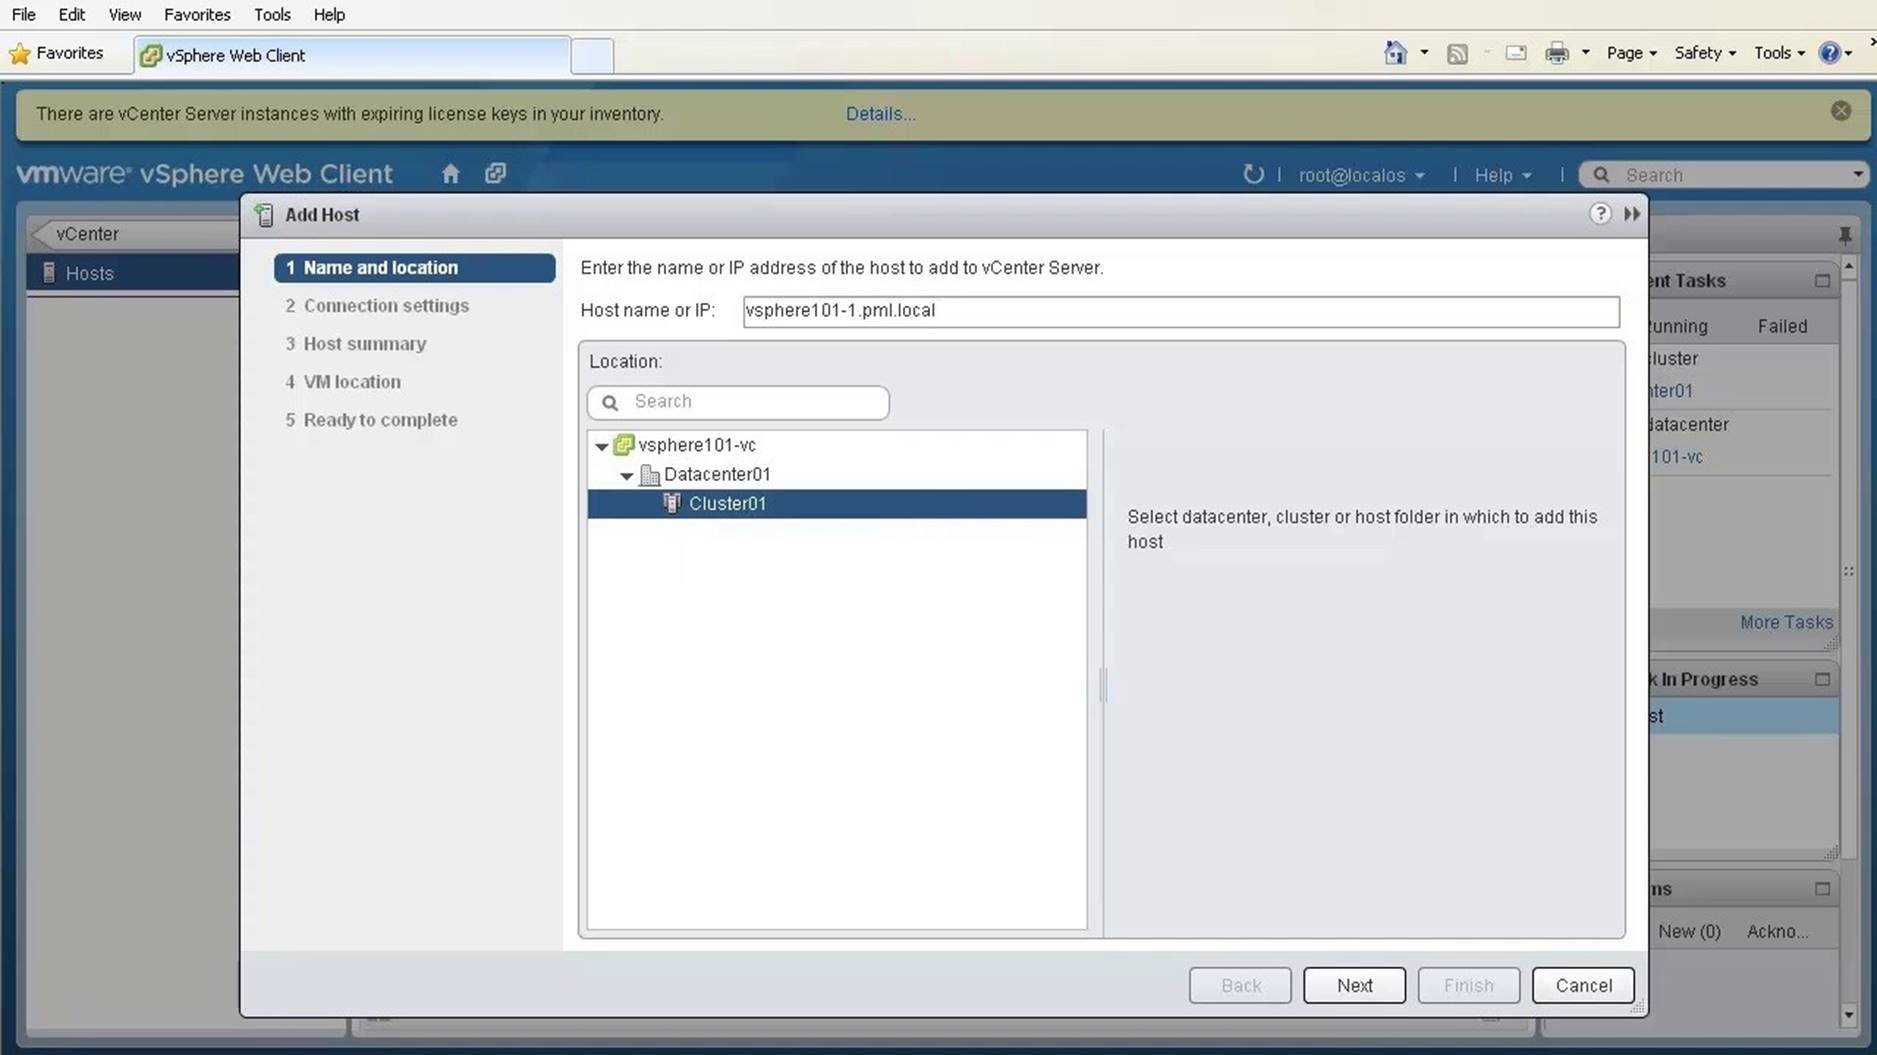
Select the cluster inside the datacenter as the location. Click on [Next].
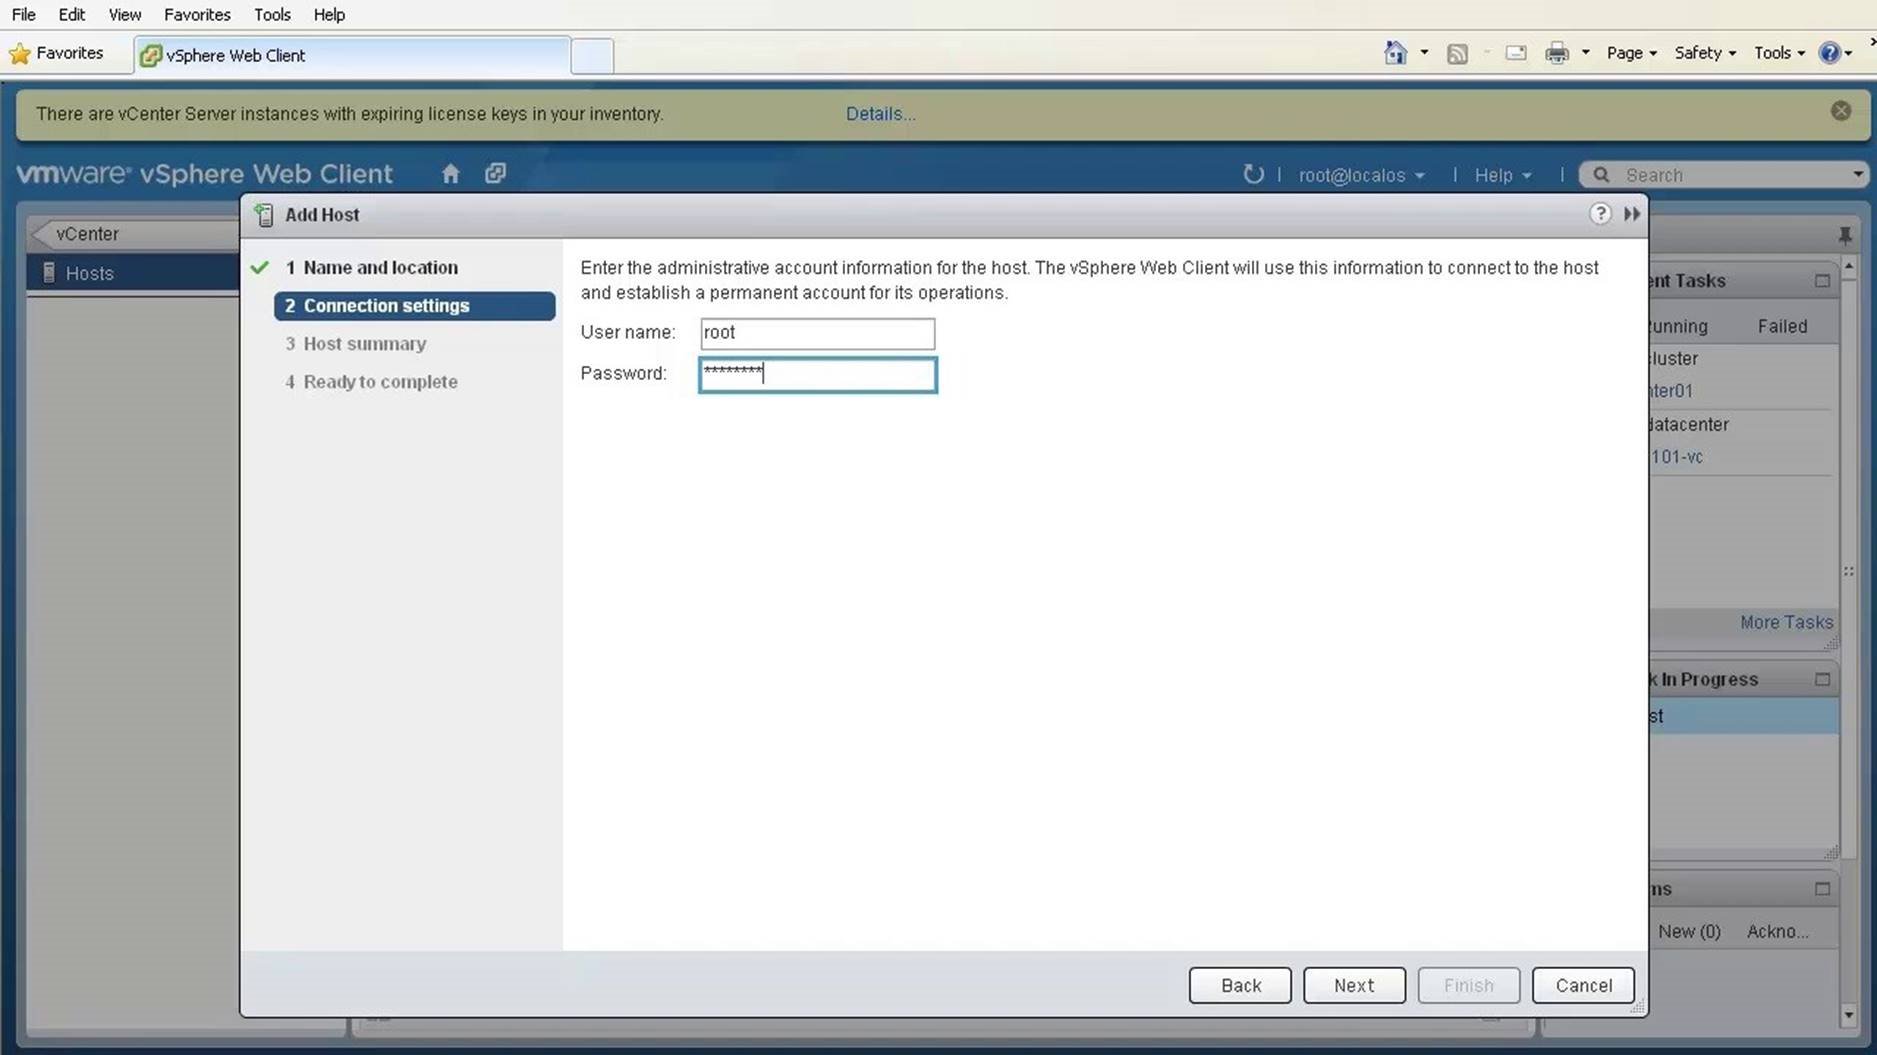
Provide the username and password of the ESXi host set during the ESXi installation. Click on [Next].

Verify the SHA1 thumbprint and click on [Yes].
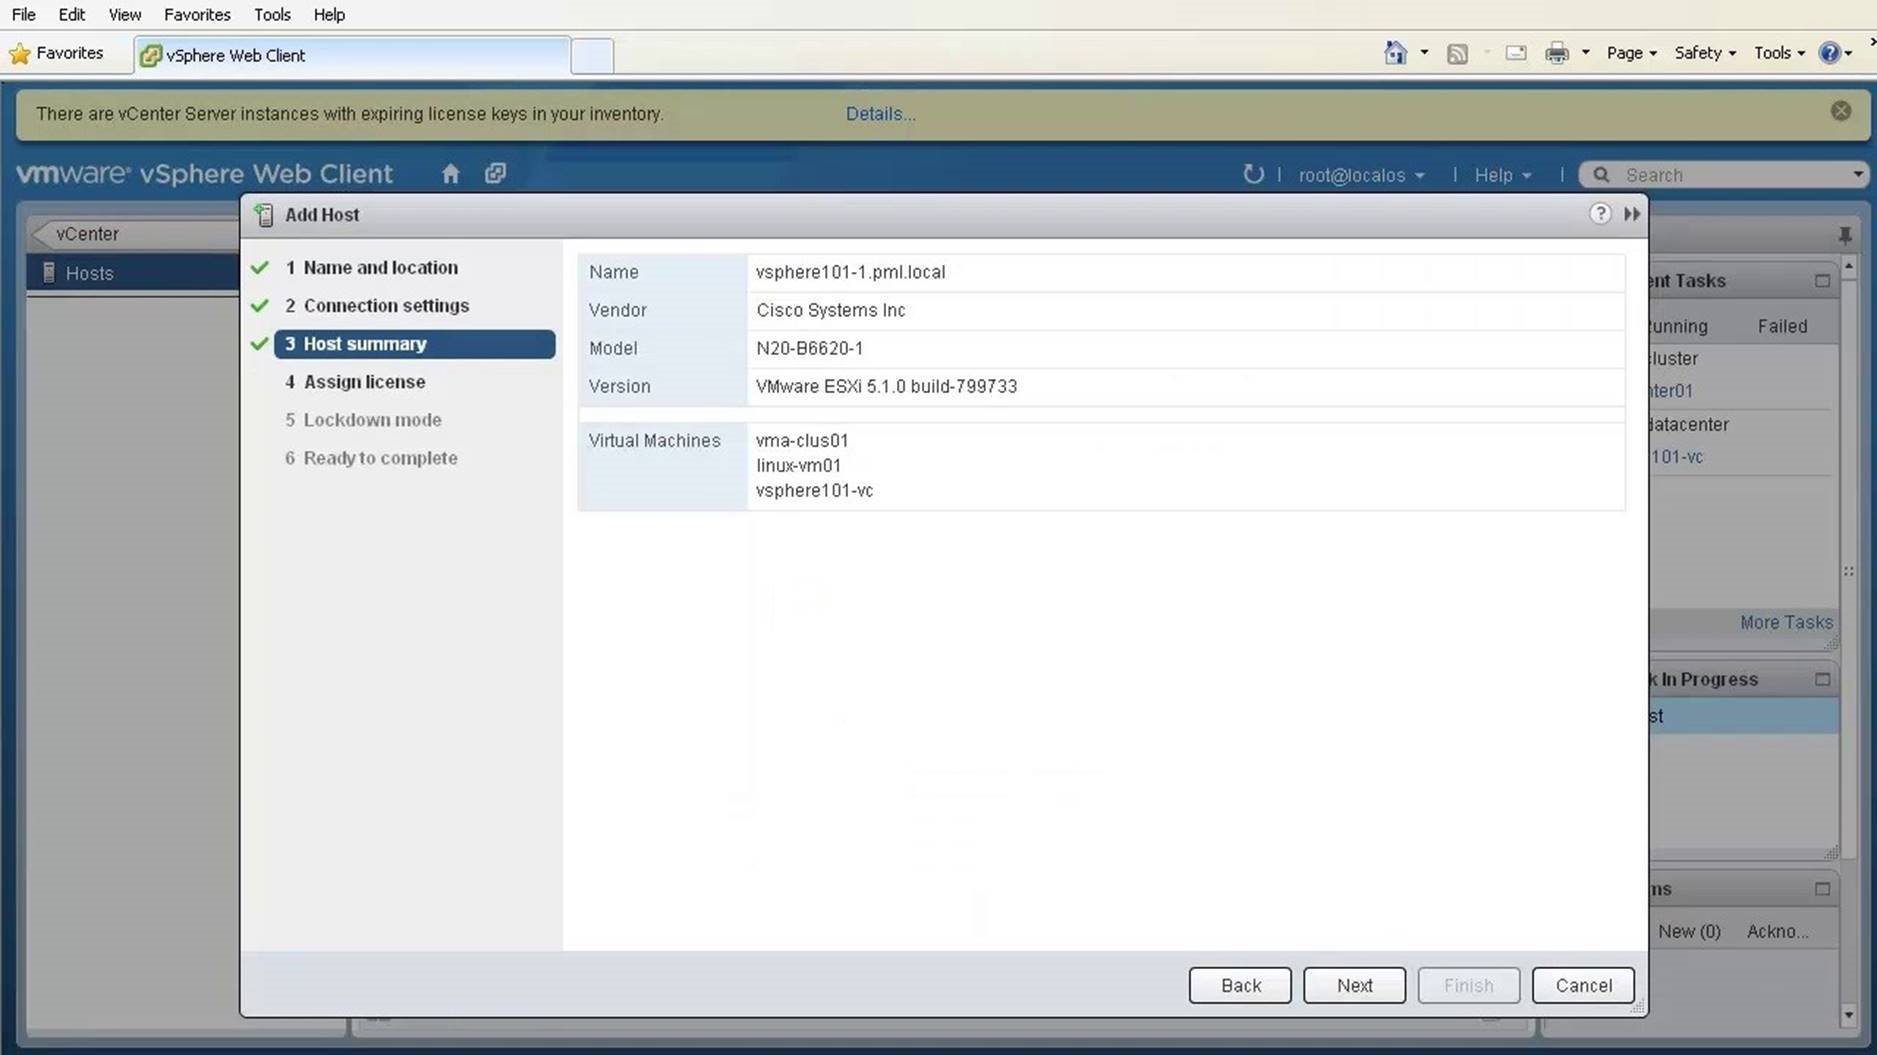
Verify the host name and vendor information, and click on [Next].
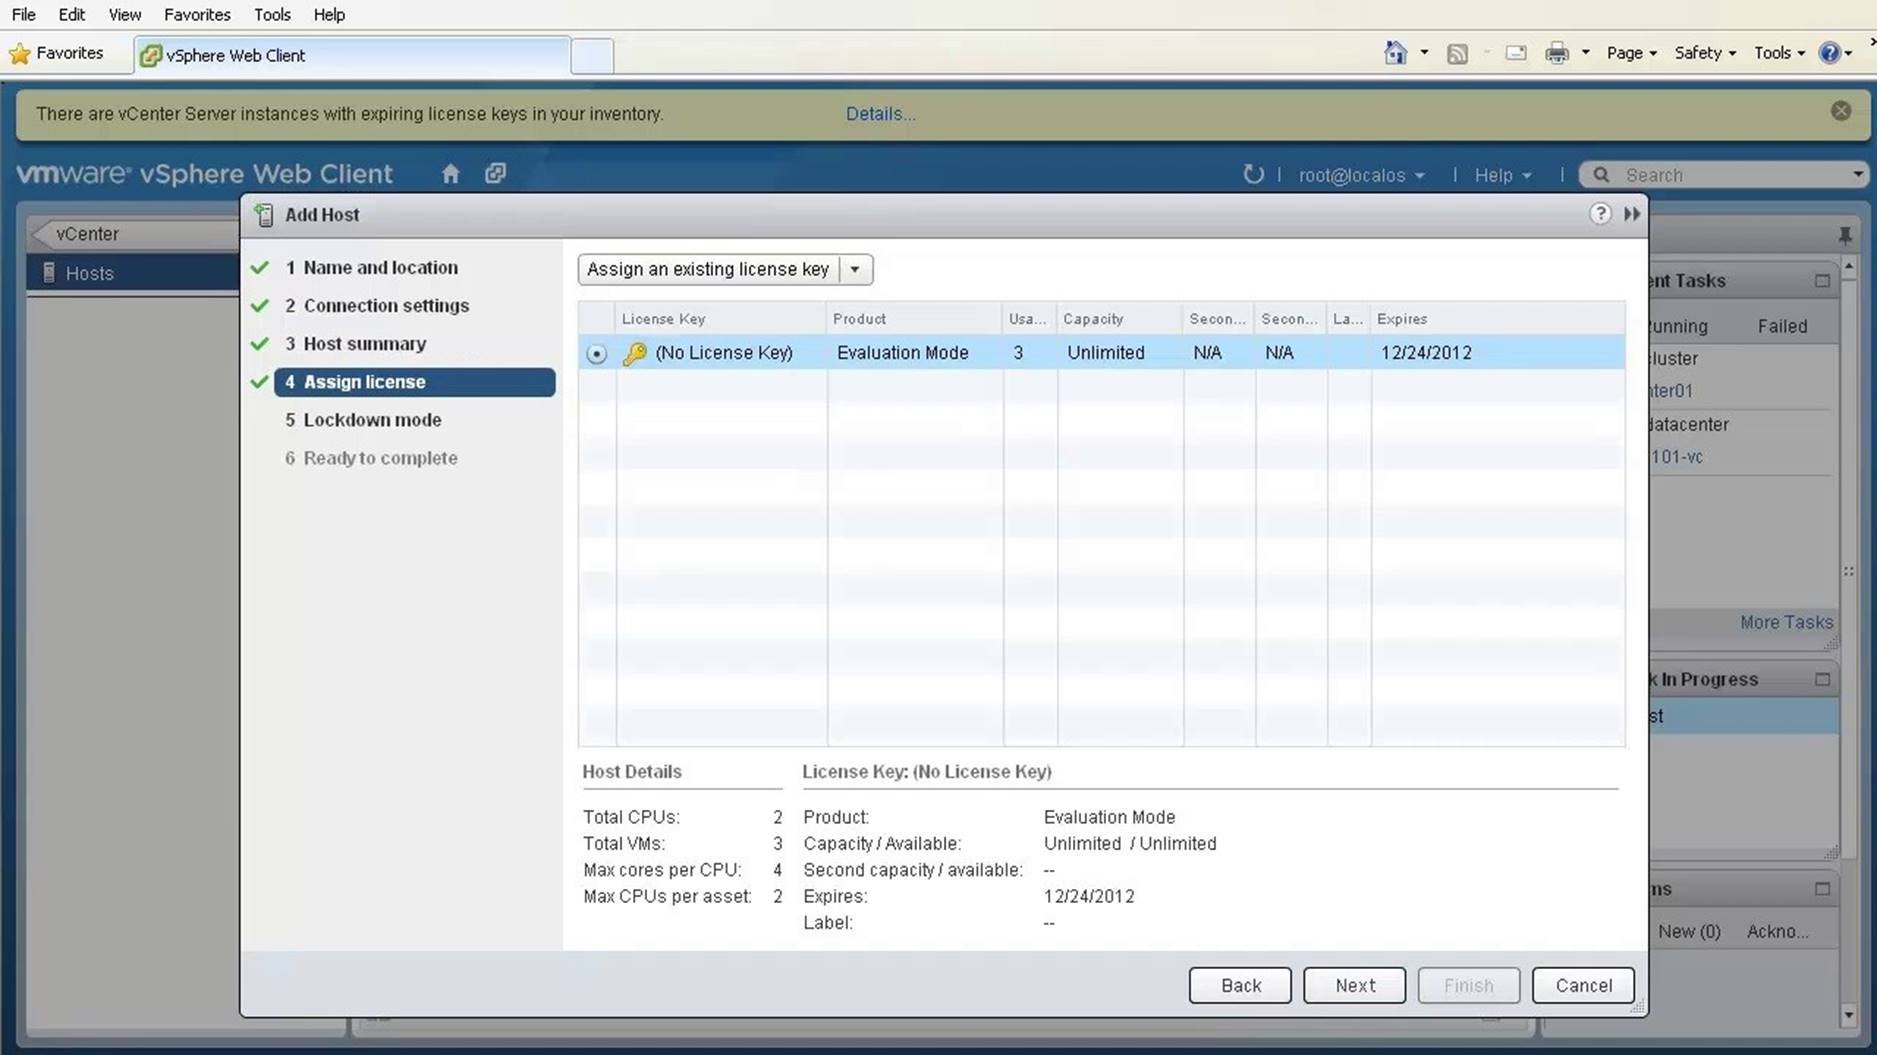
Accept all other default selections. Click on [Next].

Click on [Finish] to complete the configuration.
Monitor the progress in the Recent Tasks column on the right. This concludes the walkthrough of creating a vCenter inventory. Select the next walkthrough of your choice using the navigation panel.
Resource Pools

This walkthrough is designed to provide a step-by-step overview of how to configure resource pools. Use arrow keys to navigate through the screens.
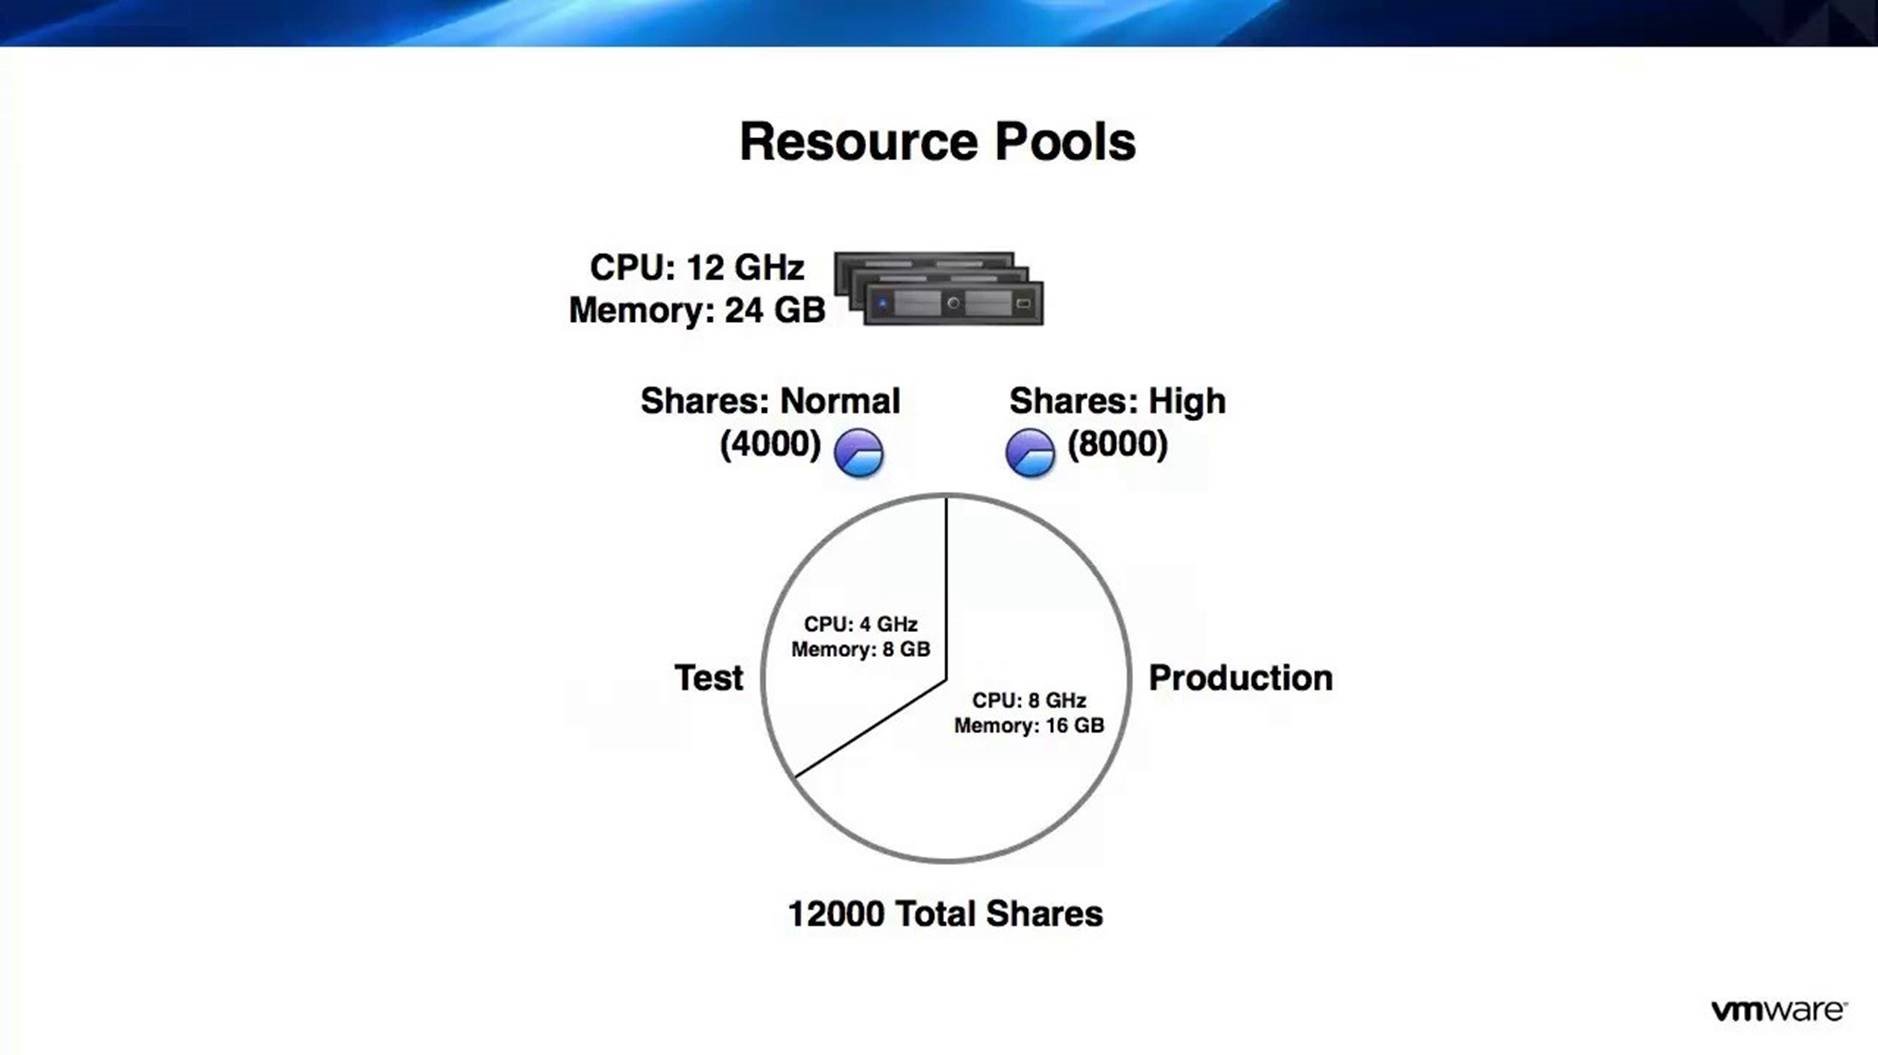
This illustration shows how a resource pool enables flexible management of resources. The model cluster here has 3 hosts with 12 GHz CPU and 24 GB of memory, shared by the test and production environments. When there is contention for resources the production environment will have higher priority based on the shares allocated by the resource pool.
Ensure vSphere DRS is enabled to create resource pools. To configure a resource pool, go to [vCenter].

Select [Clusters].
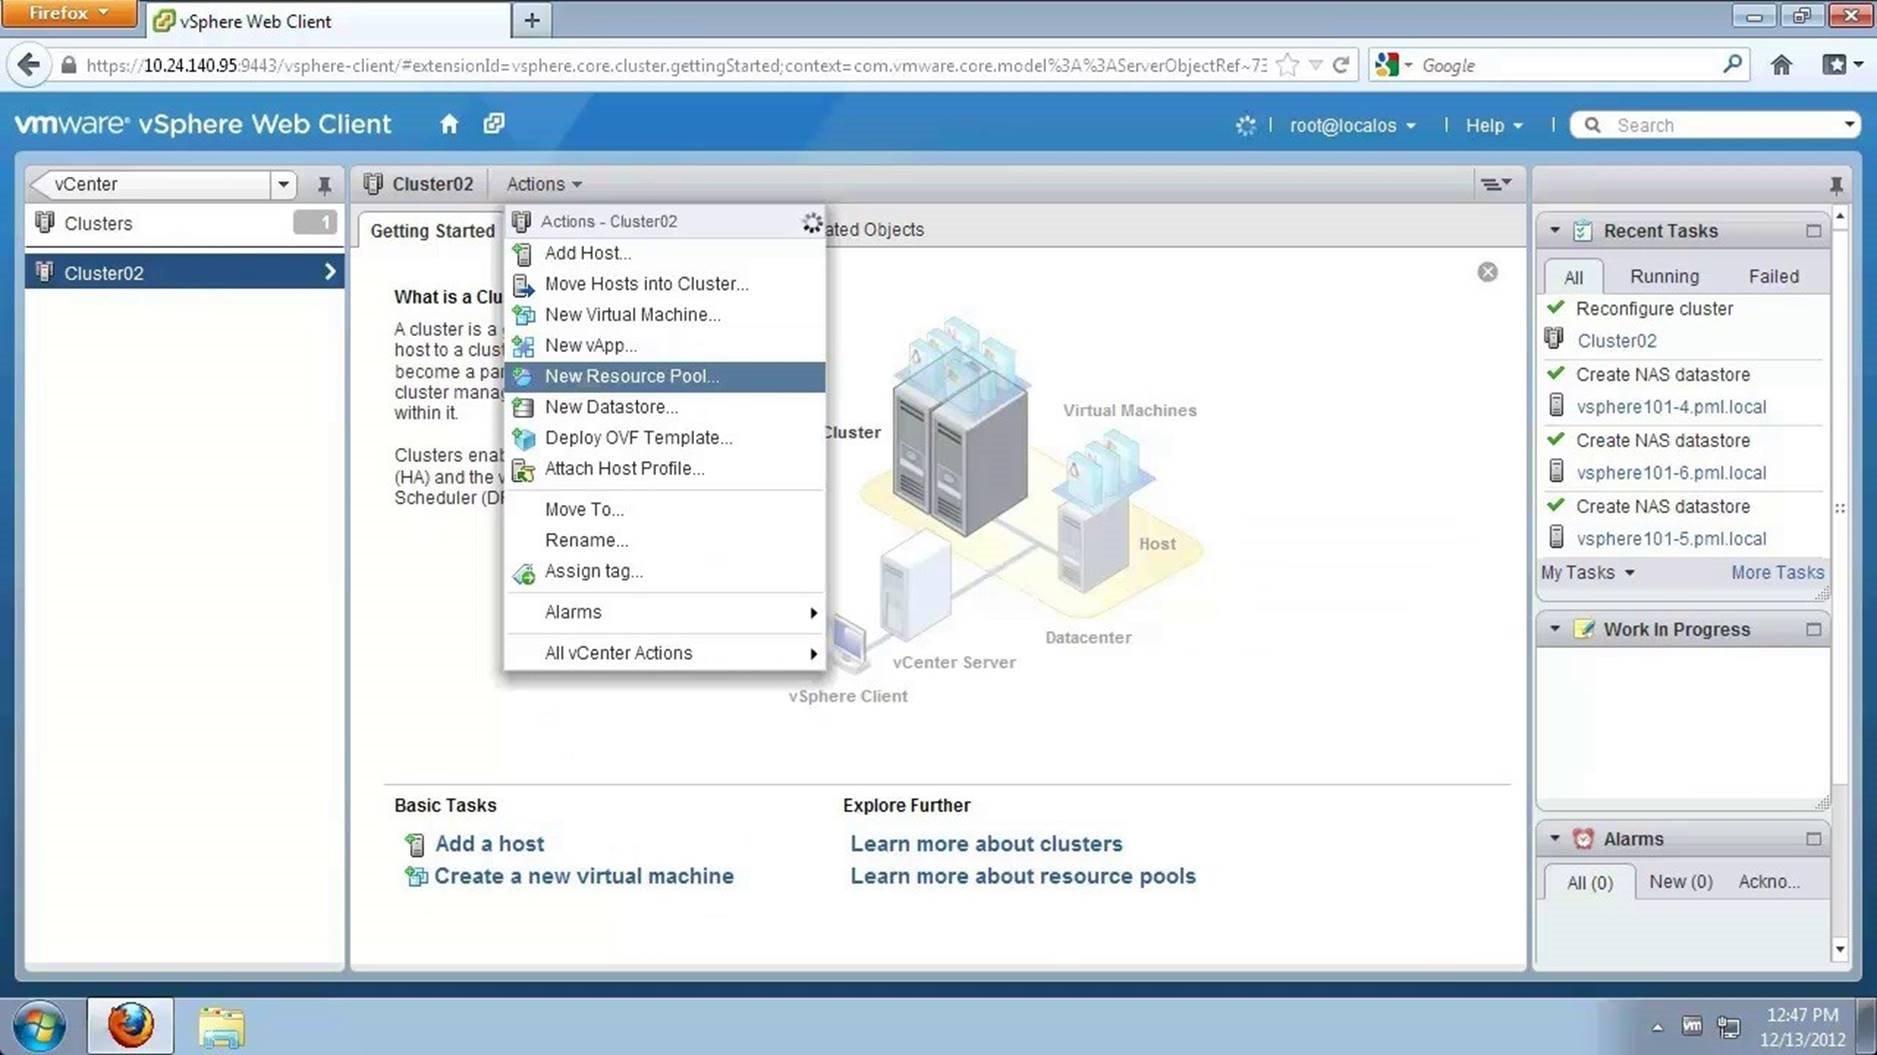
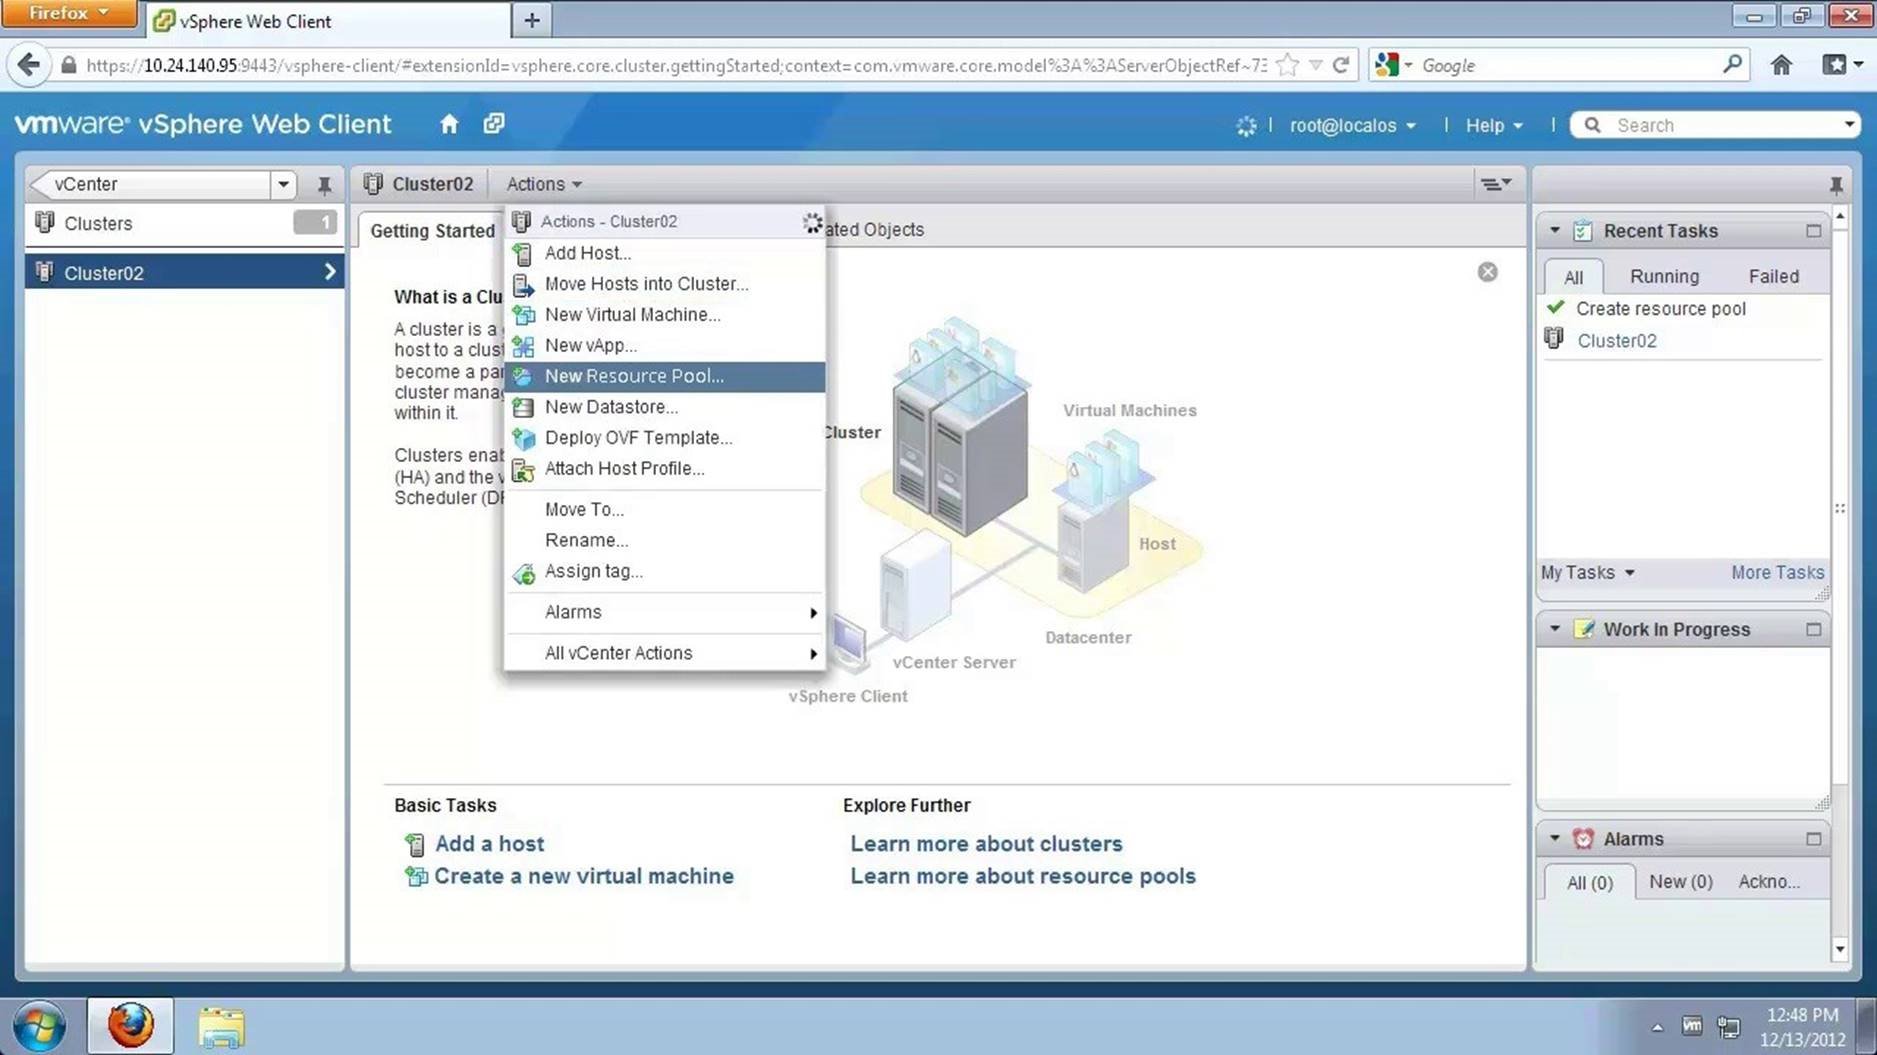
Click on [Cluster02], go to [Actions] and select [New Resource Pool].
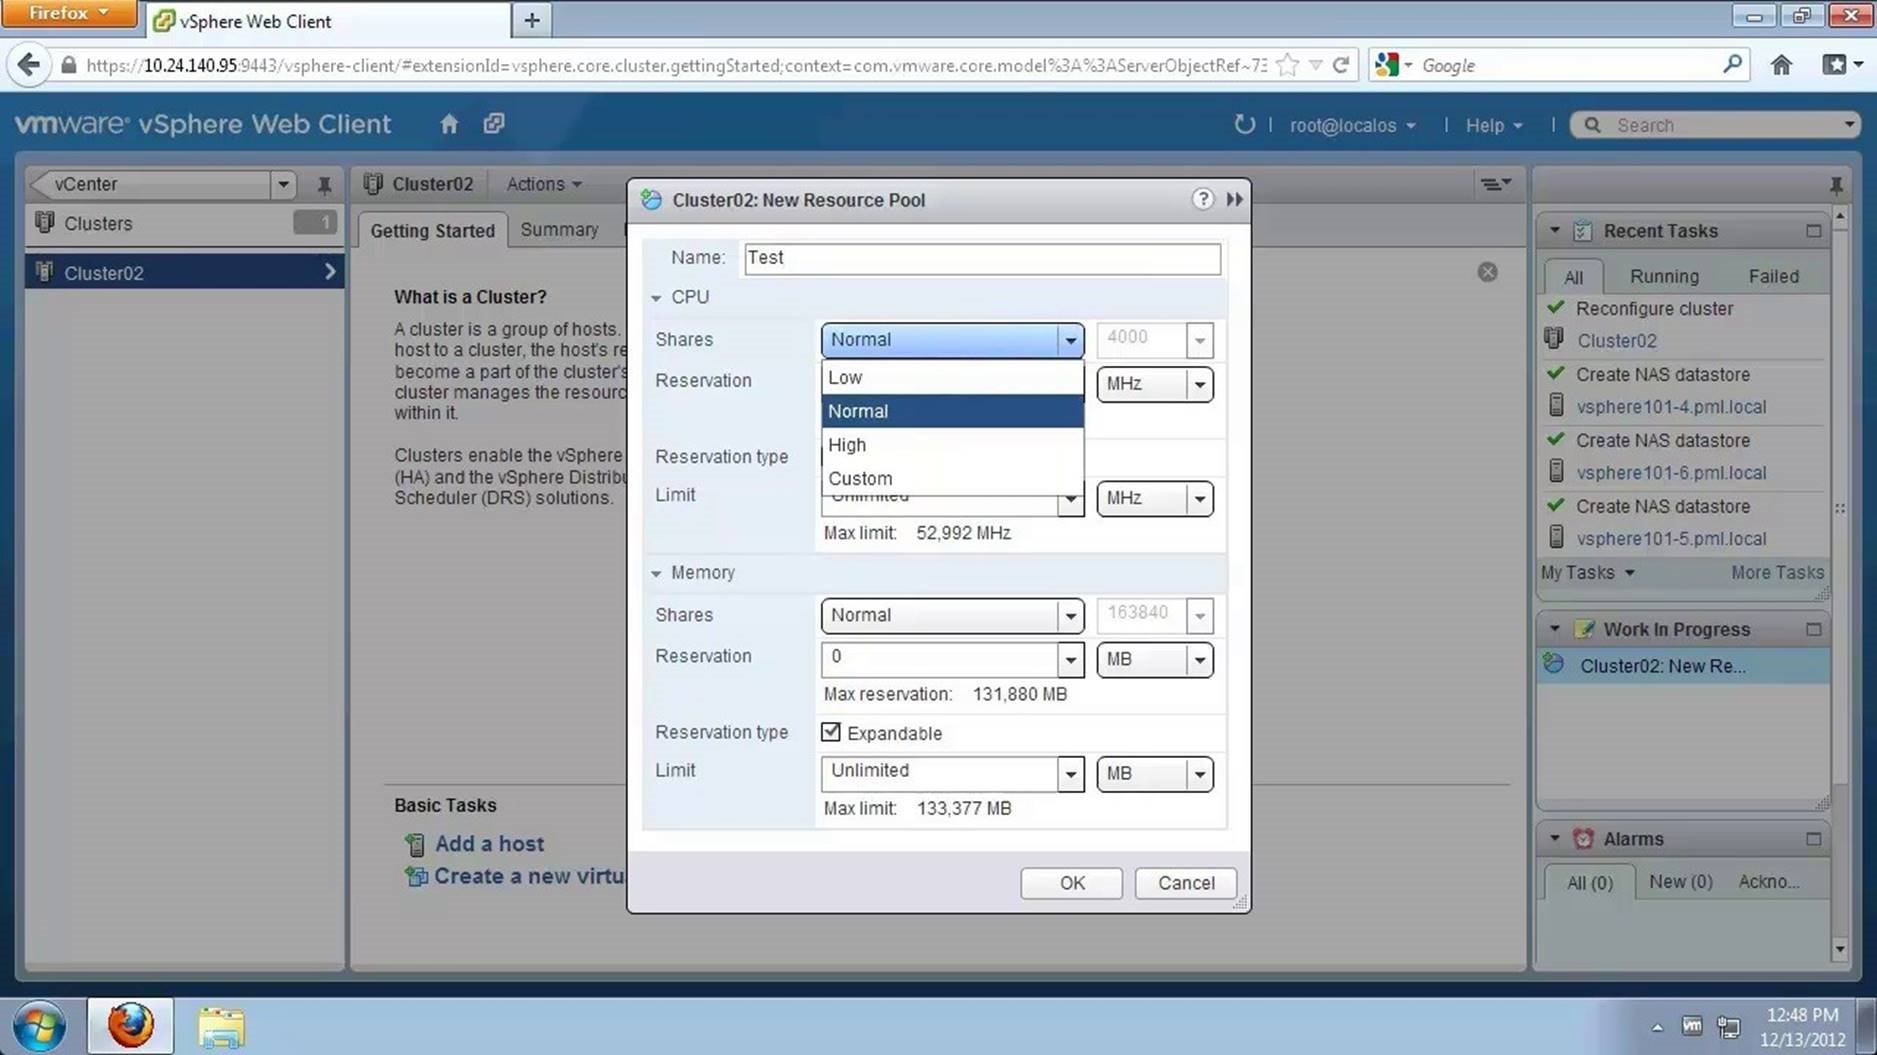
Provide a name for the resource pool, for instance [Test Resource Pool]. Note, options are available to allocate low, normal, or high shares. Set it to [Normal] and click on [OK].
Create a resource pool for the production environment. Click on [Actions] and select [New Resource Pool].
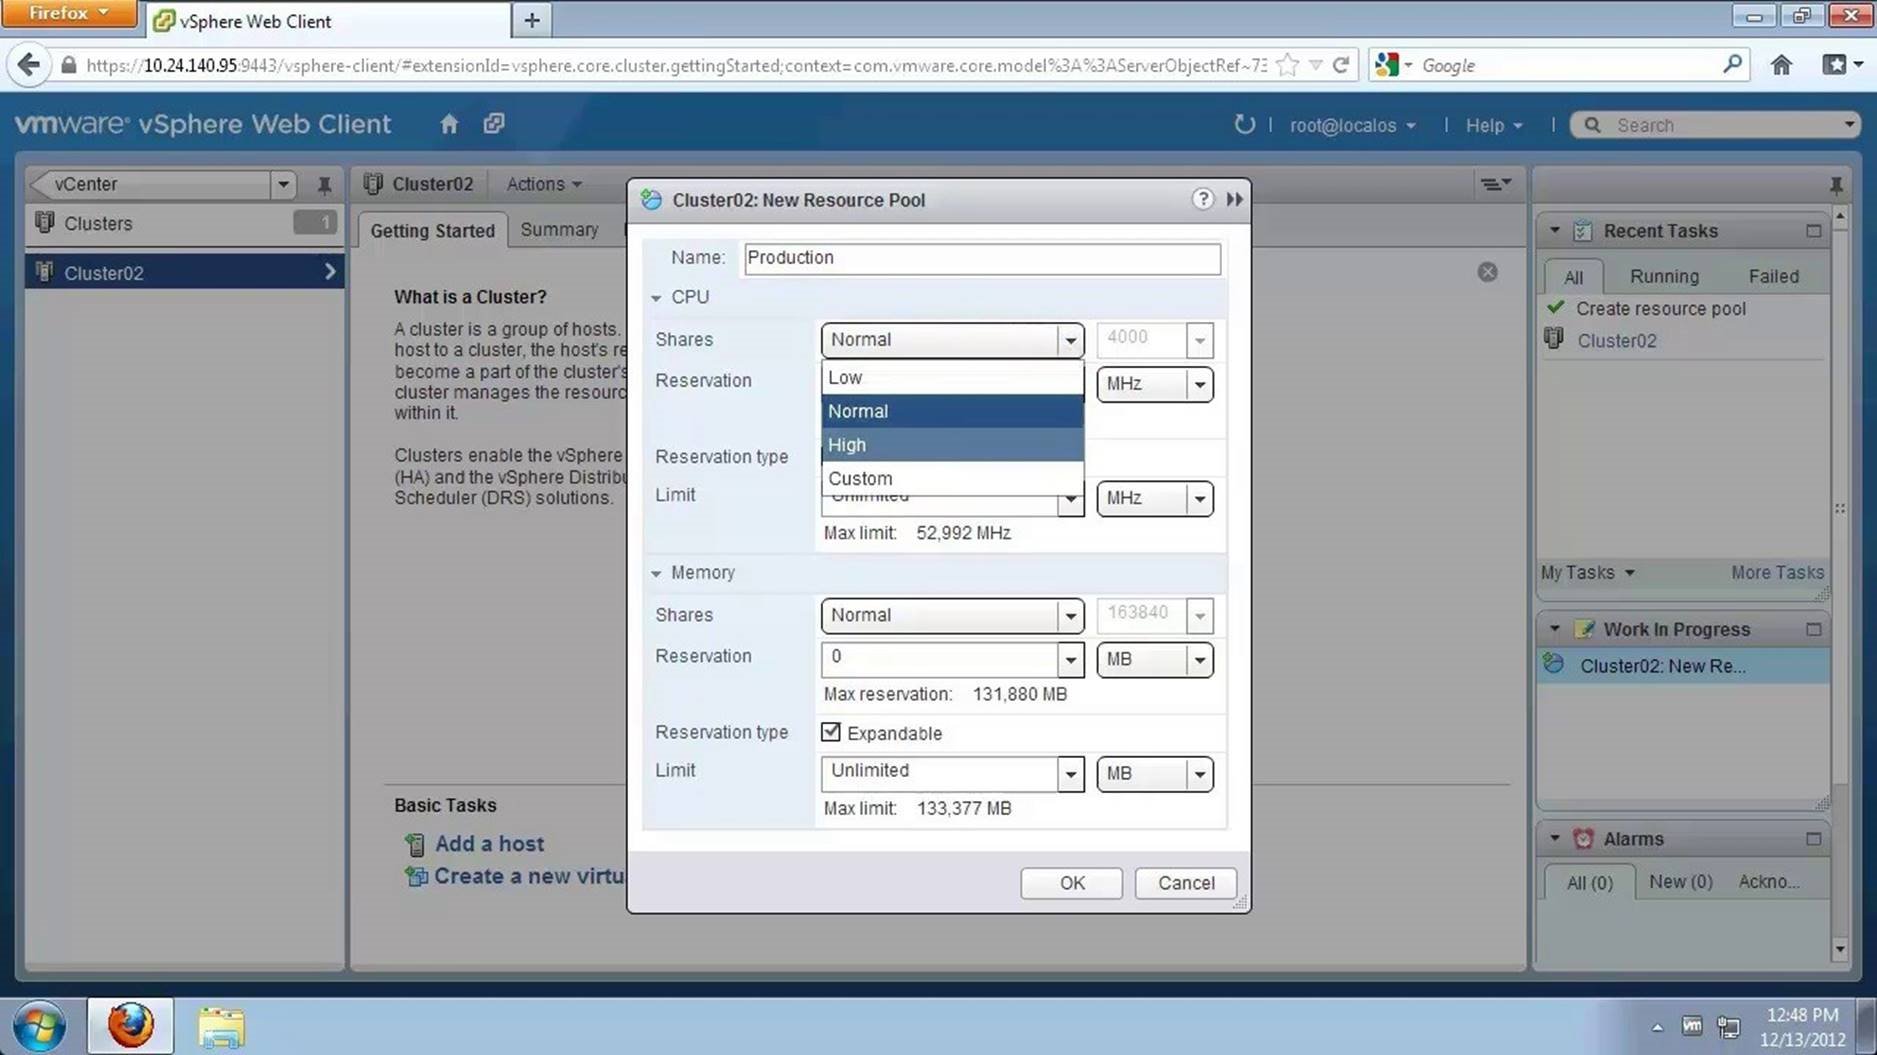
Provide a name for the resource pool, [Production] in this example. Set the share value to be [High] and click on [OK].
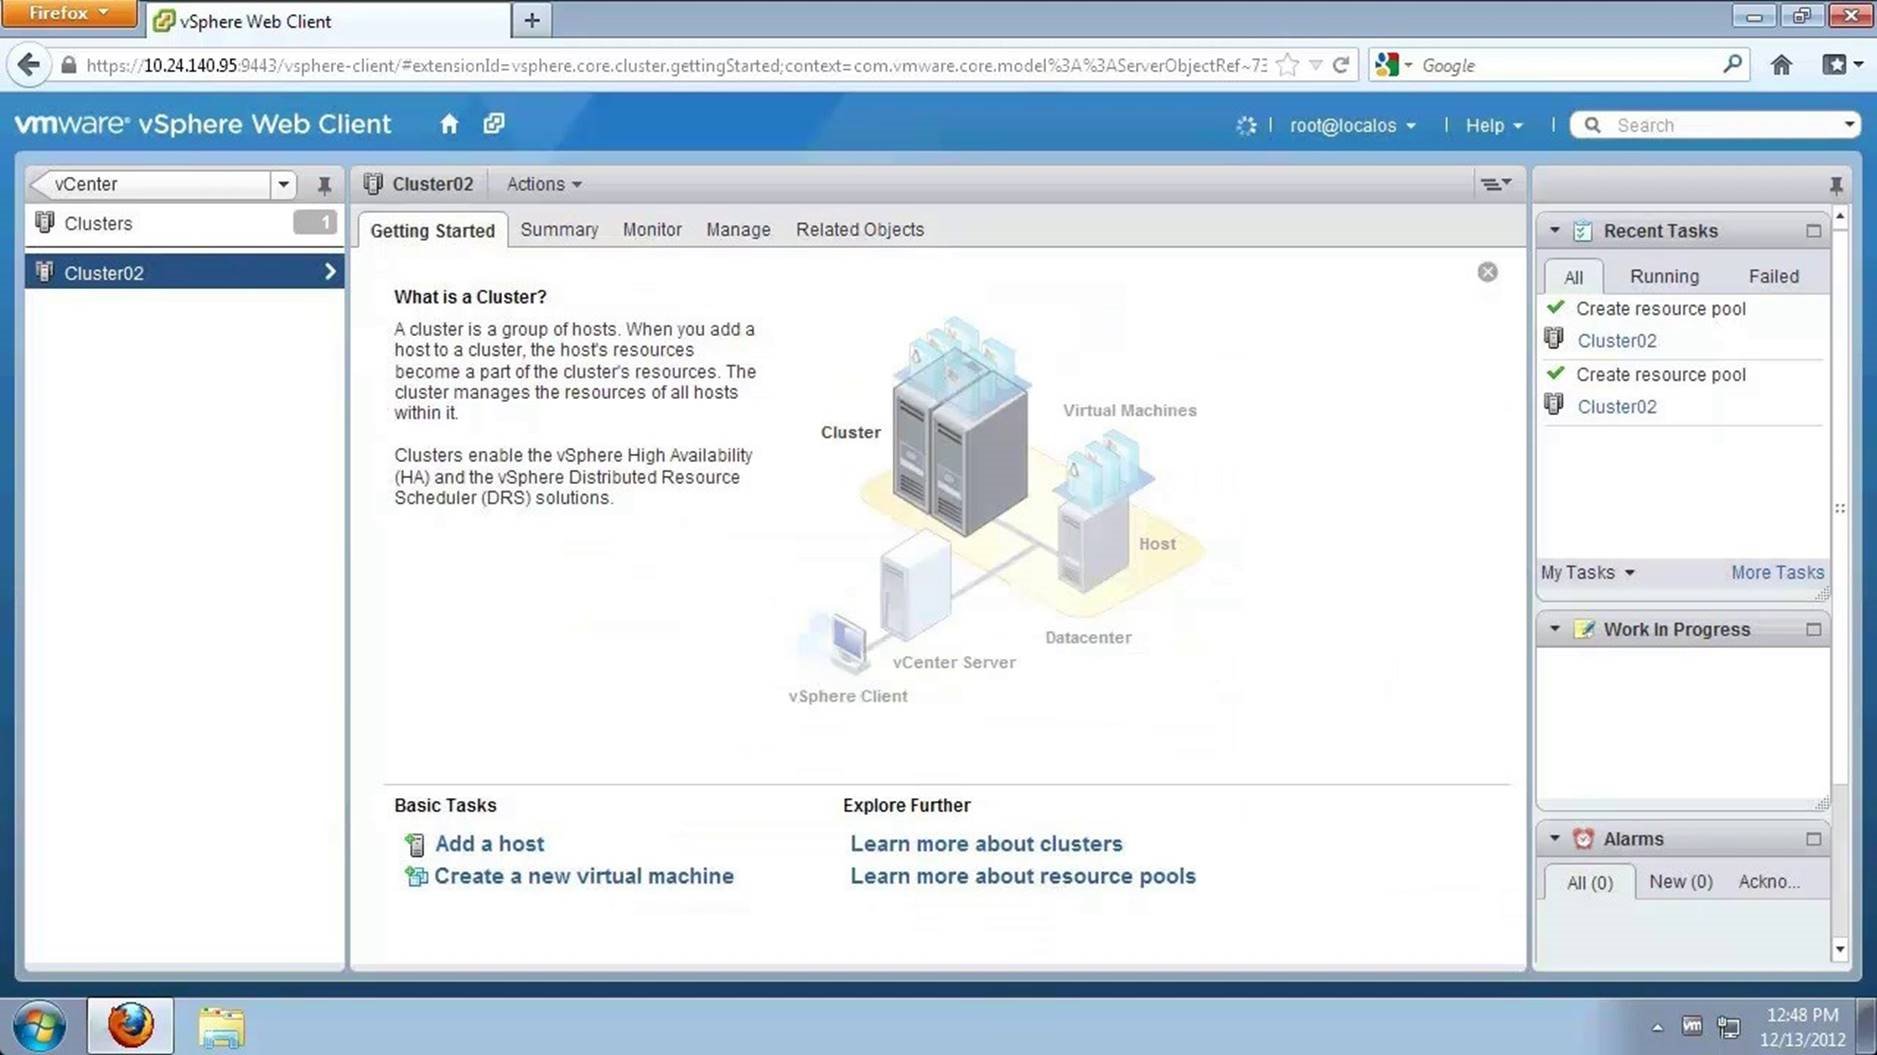
To view existing resource pools, go back to [vCenter].
Select [Resource Pools].
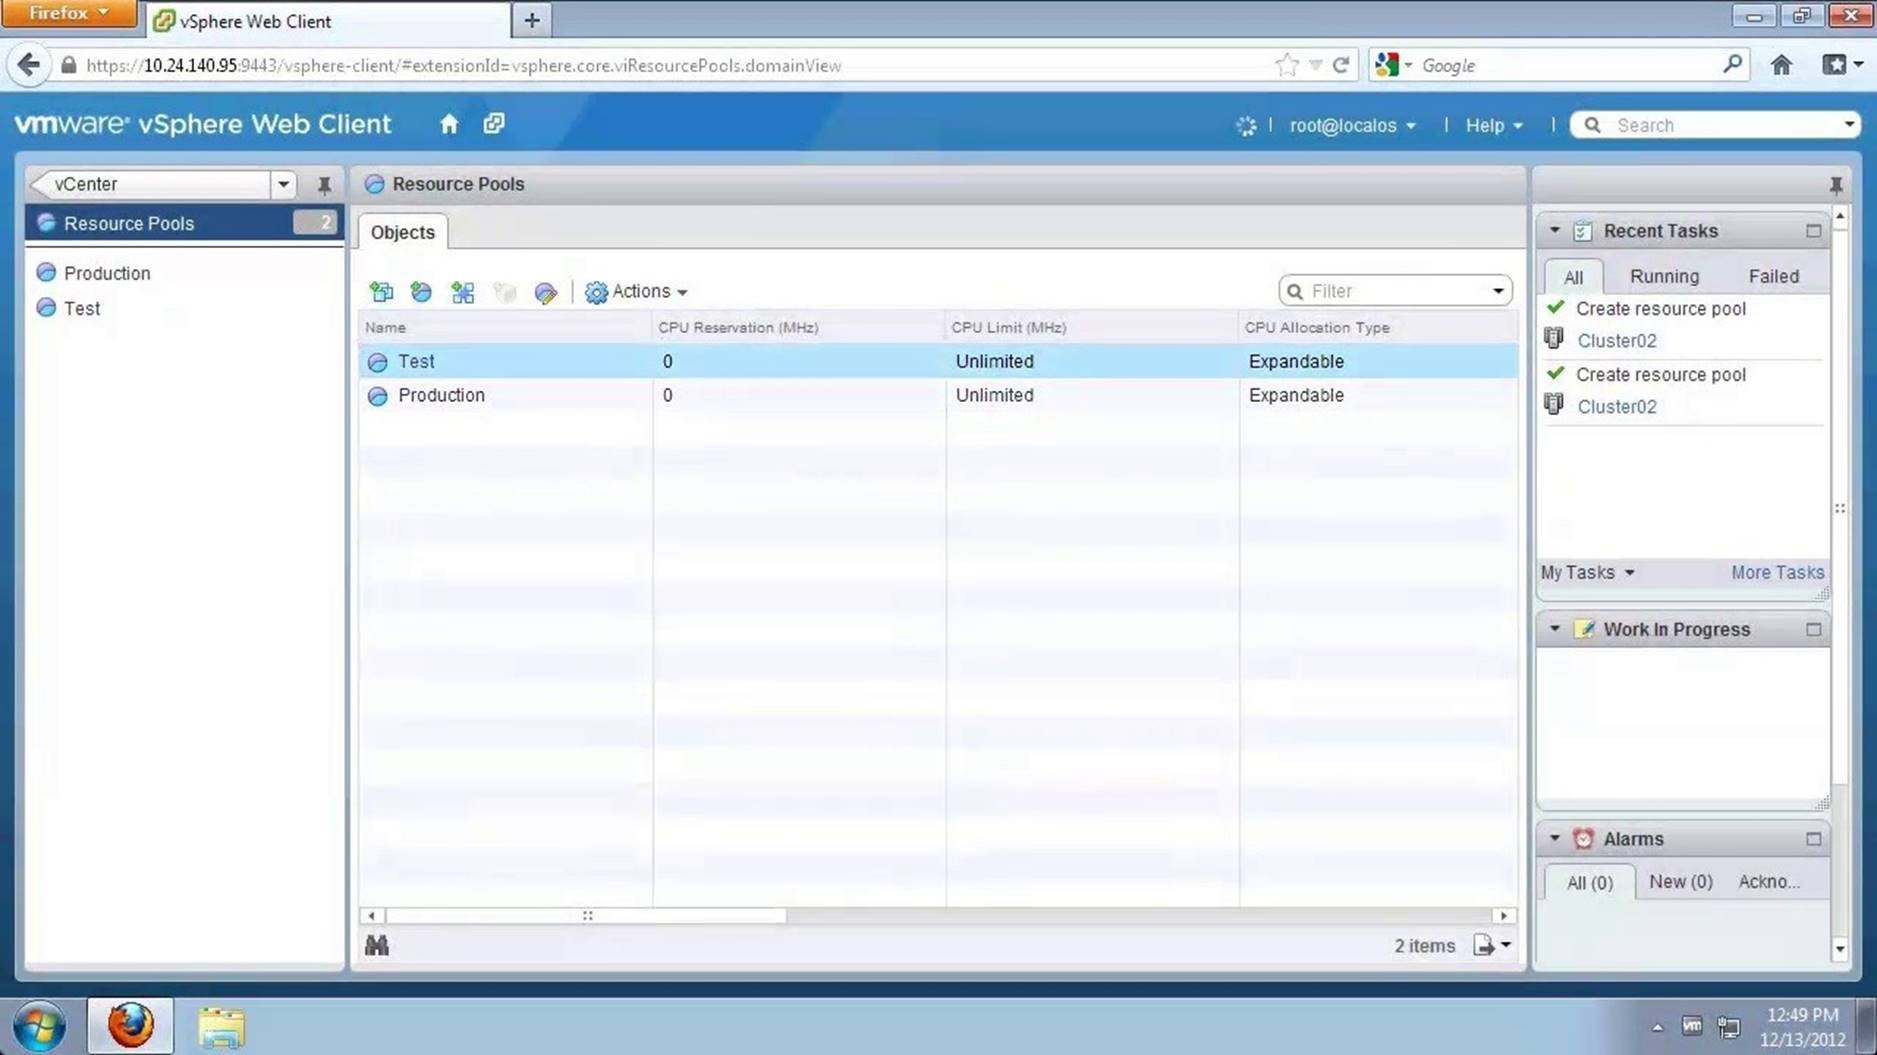
The resource pools are seen here. Continue to add a virtual machine to a resource pool.

We will now add a virtual machine to a resource pool. In this example, we select [linuxvm2] and go to [Actions] and then select [Move To].
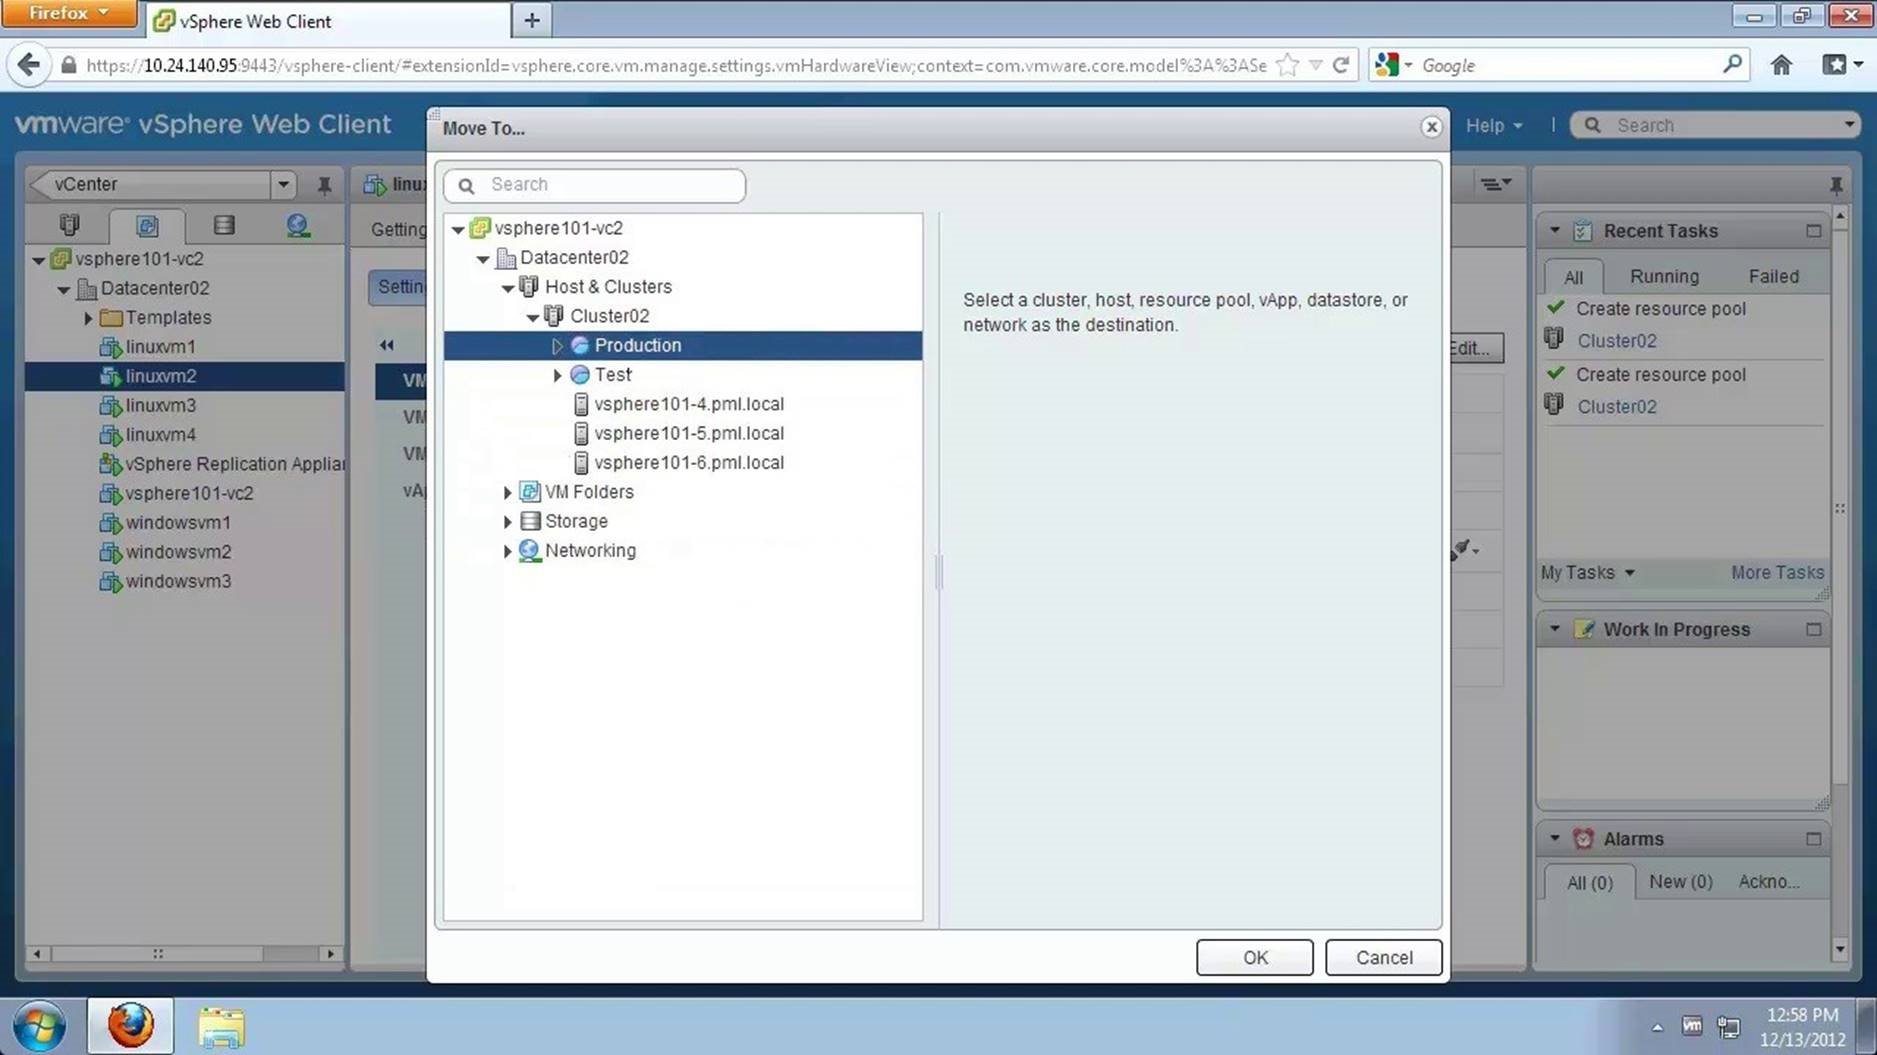
Expand the environment by clicking on the preceding arrows and select the resource pool. We select [Production]. Click on [OK].
To verify if the virtual machine has been moved to the resource pool, go back to the home page.
Go to [vCenter].
Select [Resource Pools].
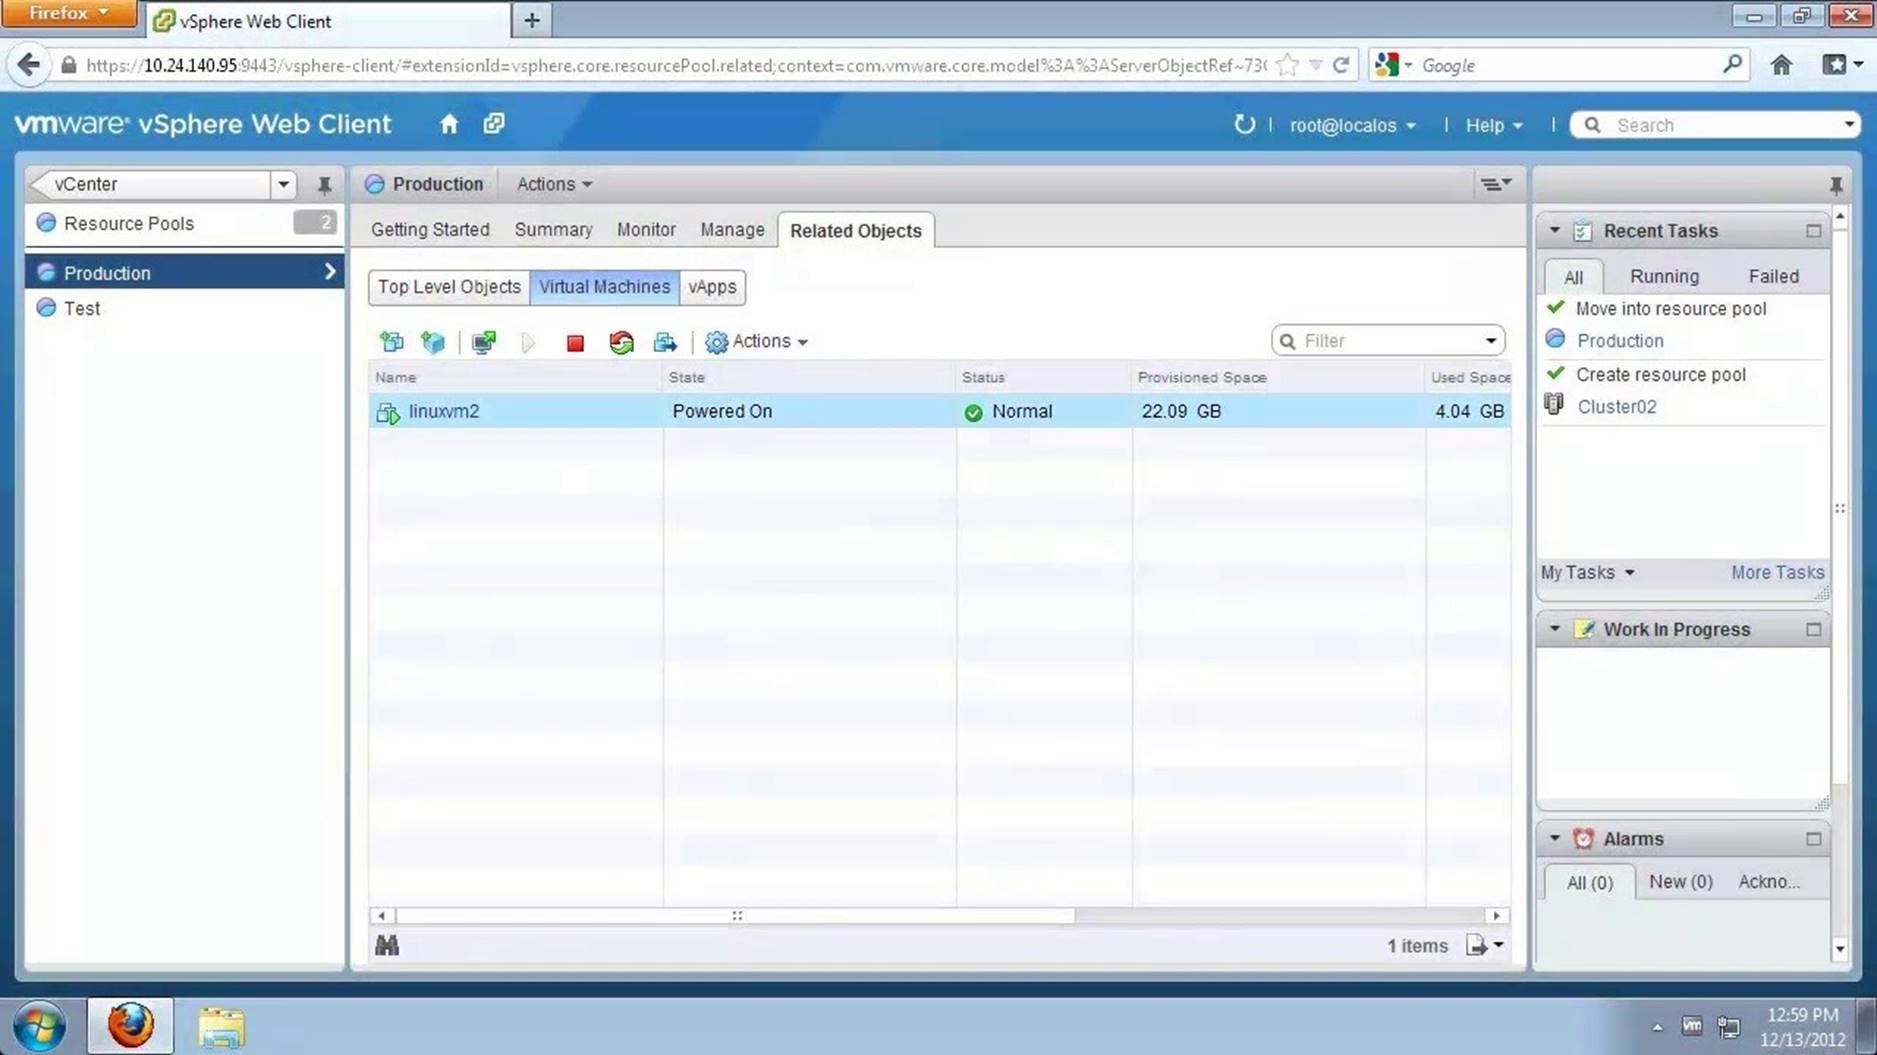
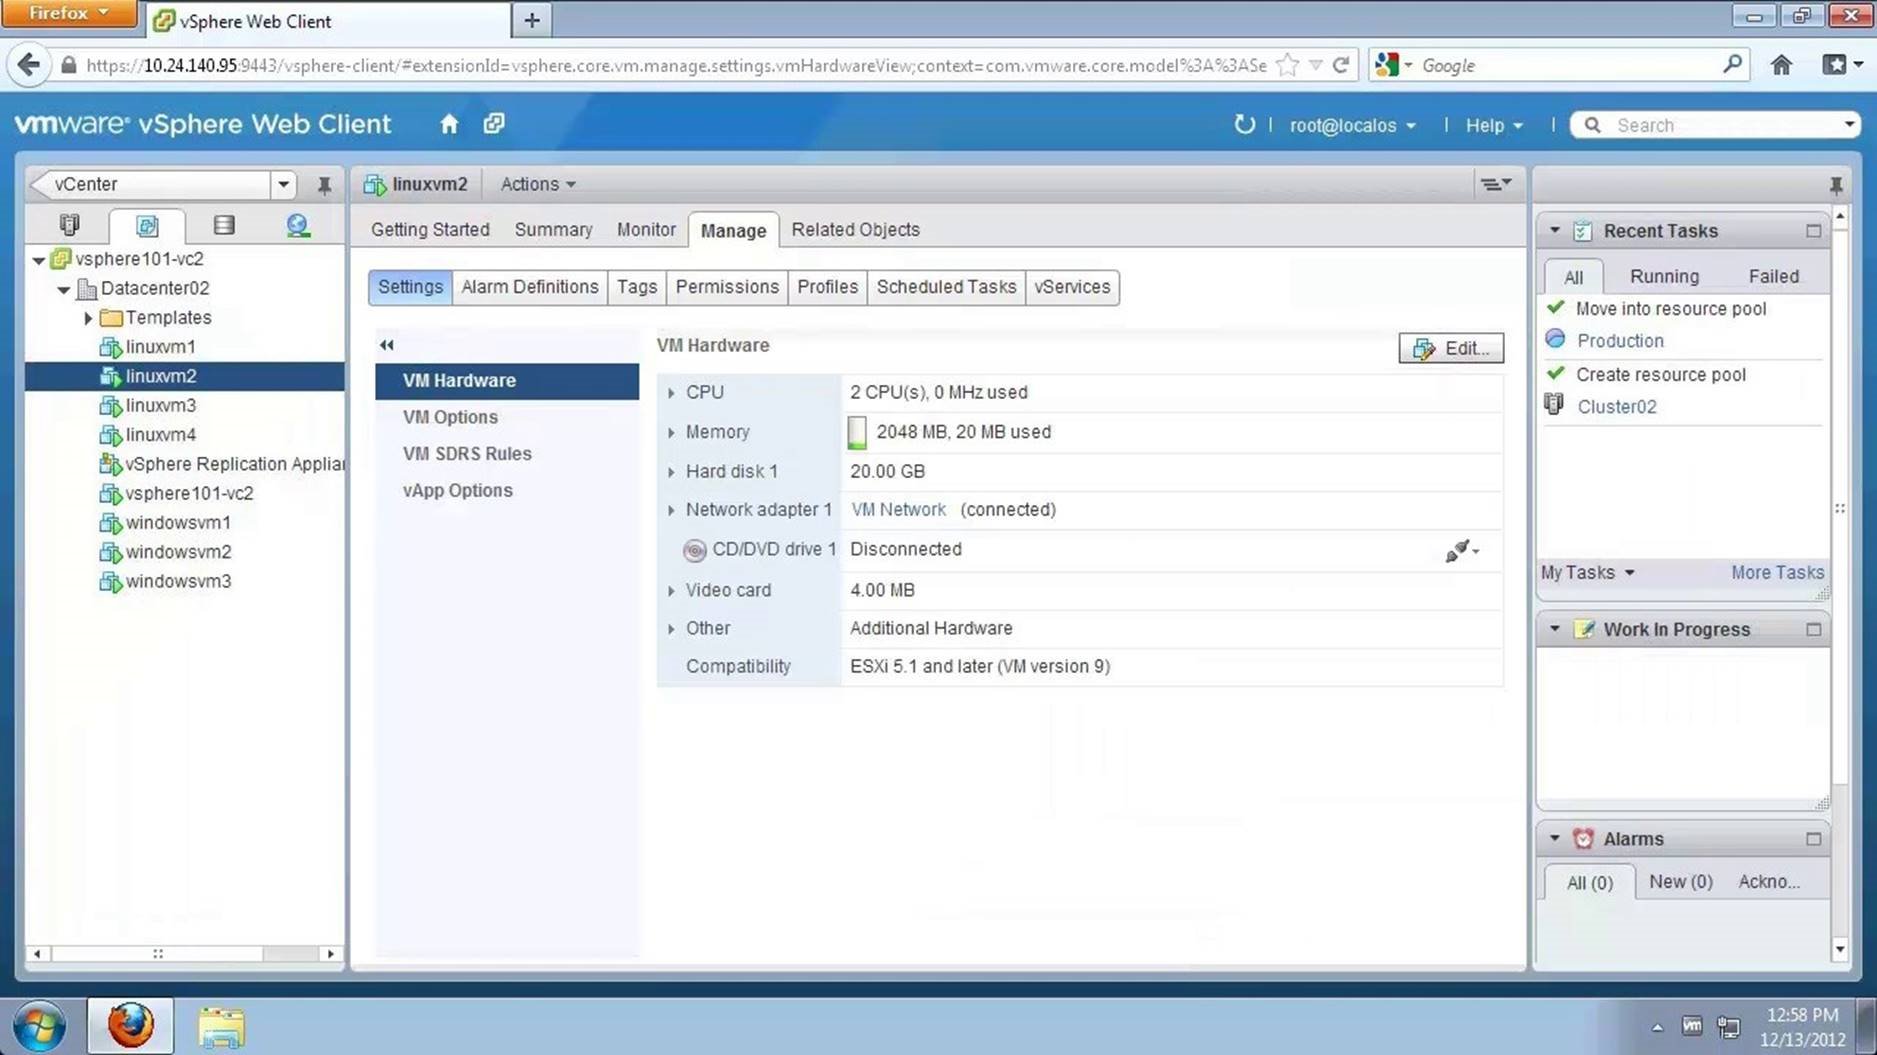
Select the Production resource pool and go to Related Objects. Selecting Virtual Machines you can see the VM in the resource pool. This concludes our walkthrough of configuring resource pools. Select the next walkthrough of your choice using the navigation panel.
vSphere HA & DRS
This walkthrough is designed to provide a step-by-step overview on using vSphere Clusters with VMware vSphere Distributed Resource Scheduler and vSphere High Availability. Use the arrow keys to navigate through the screens.
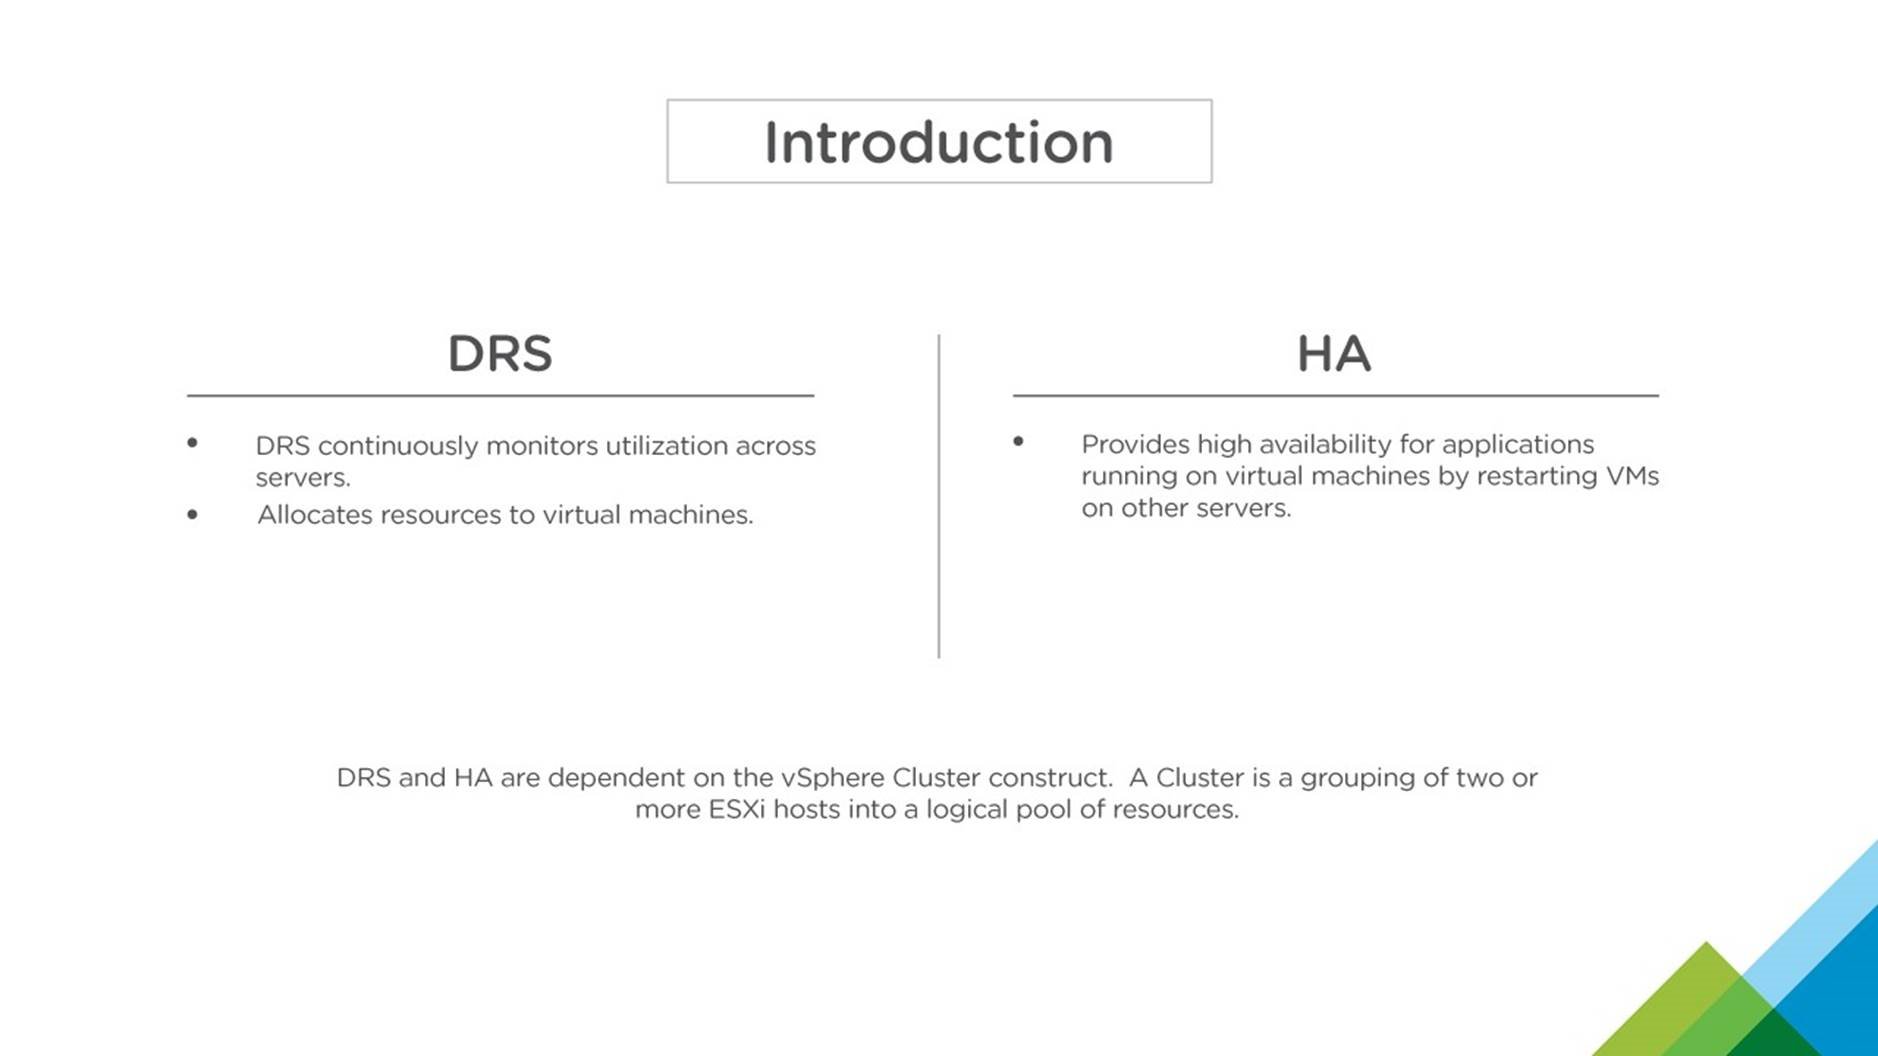
DRS constantly monitors utilization across vCenter servers and allocates resources for virtual machines. HA gives high availability to applications running on the virtual machines. HA restarts virtual machines on other servers when there is a server failure, making sure that applications keep running. Both DRS and HA depend on vSphere clusters. A cluster consists of two or more ESXi hosts. All ESXi hosts in a cluster have access to the same storage and networks, and usually provisioned with the same CPU and memory settings.
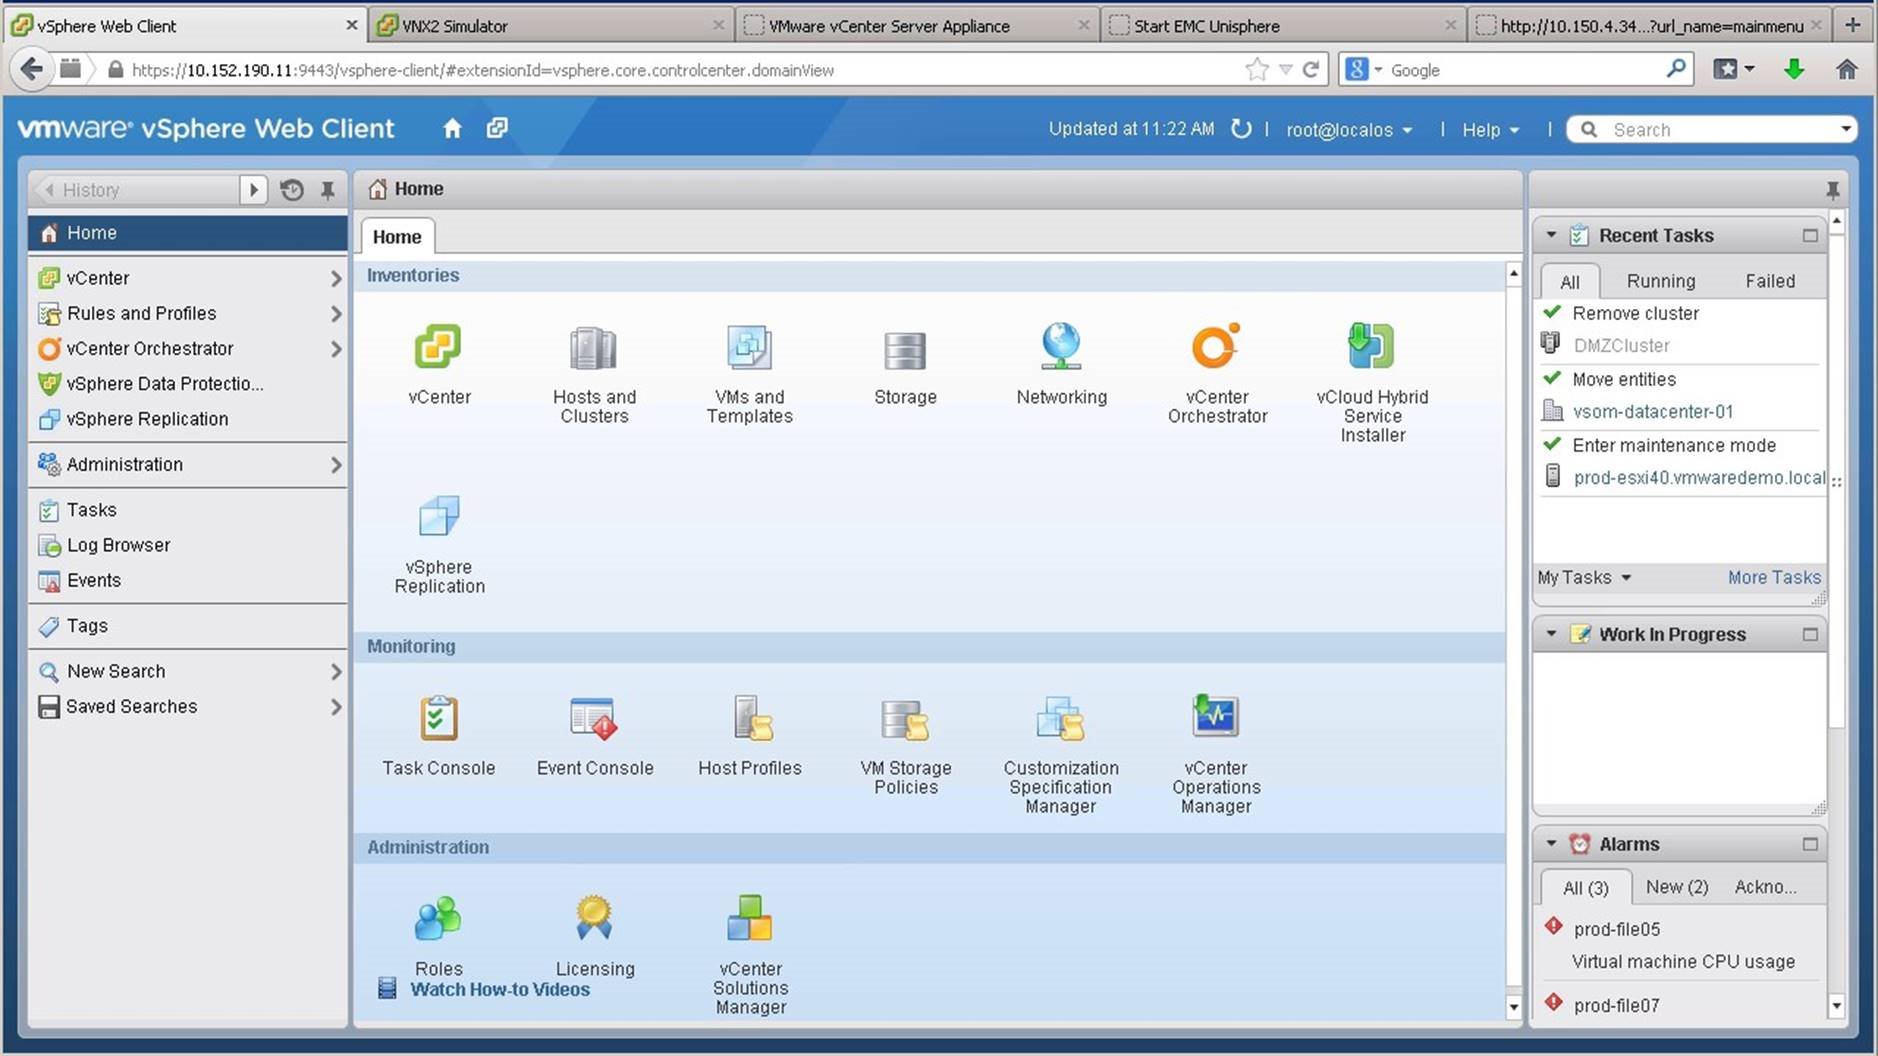
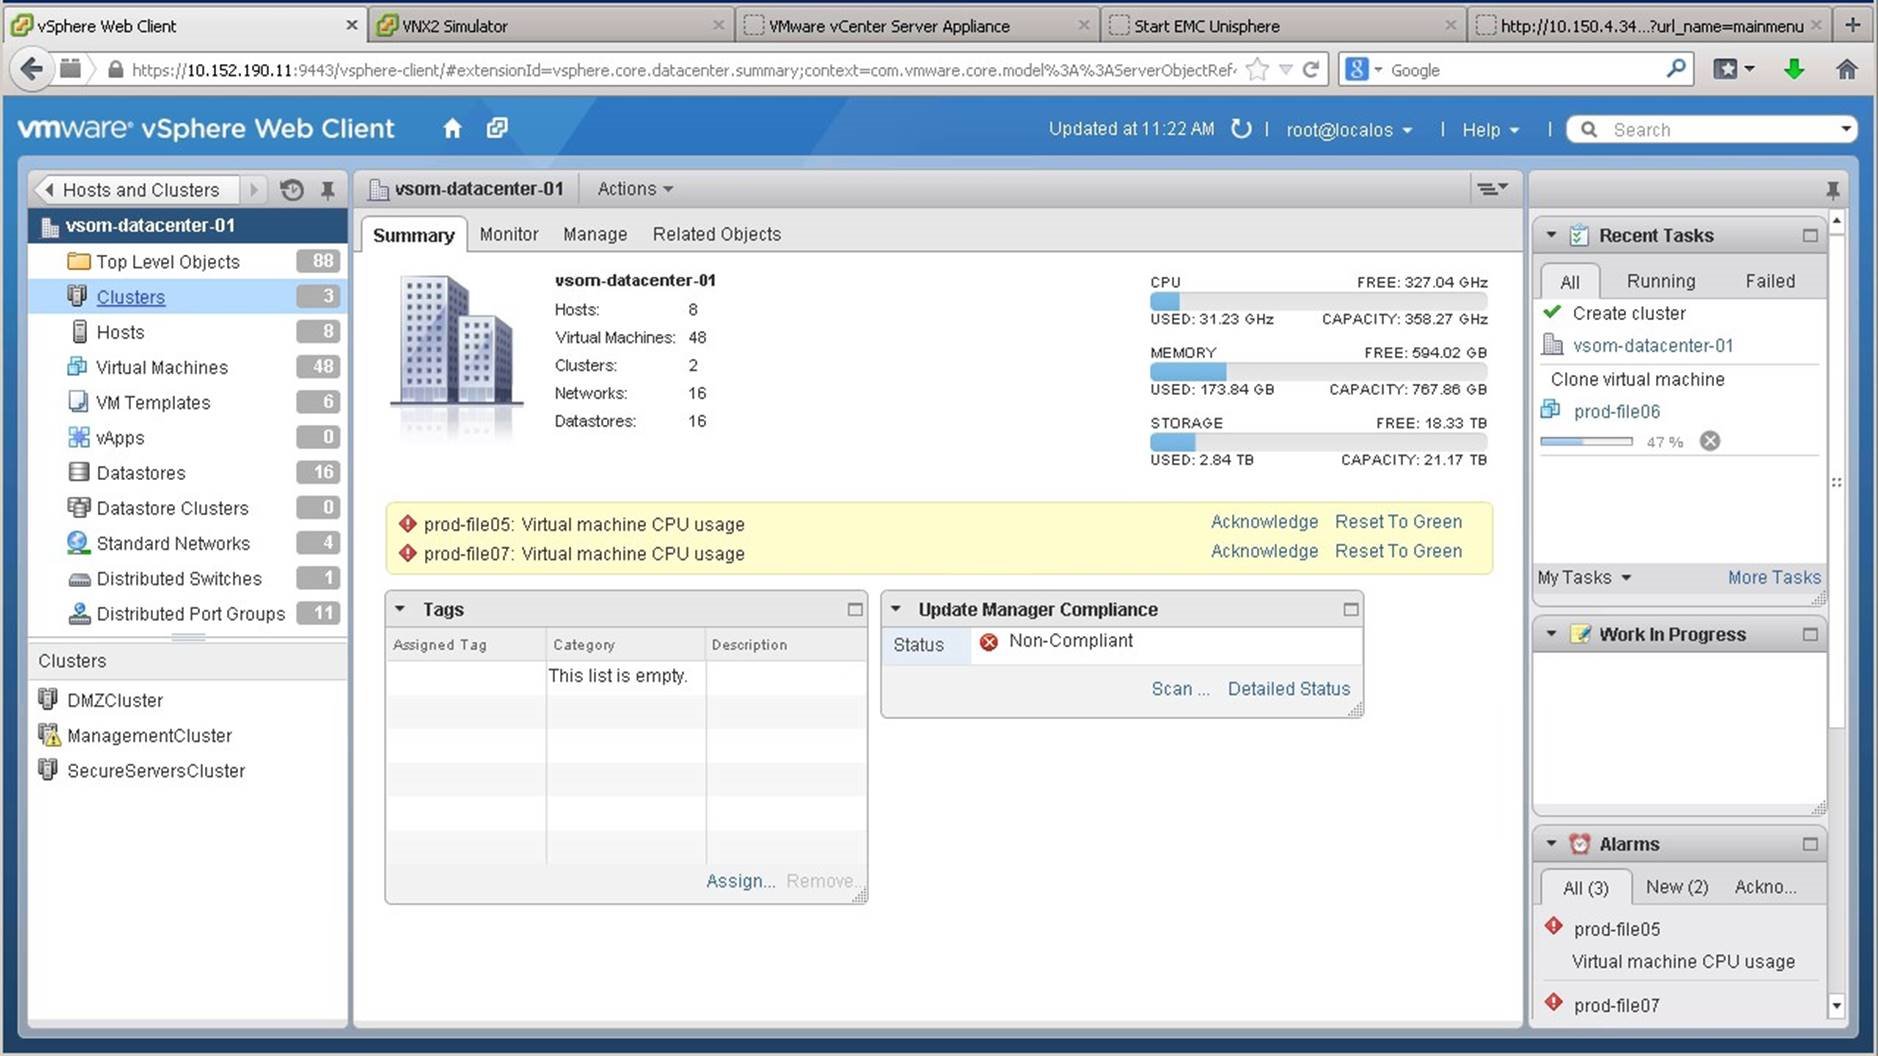
We will begin by creating a cluster. To do this, we navigate to the [Hosts and Clusters] view.

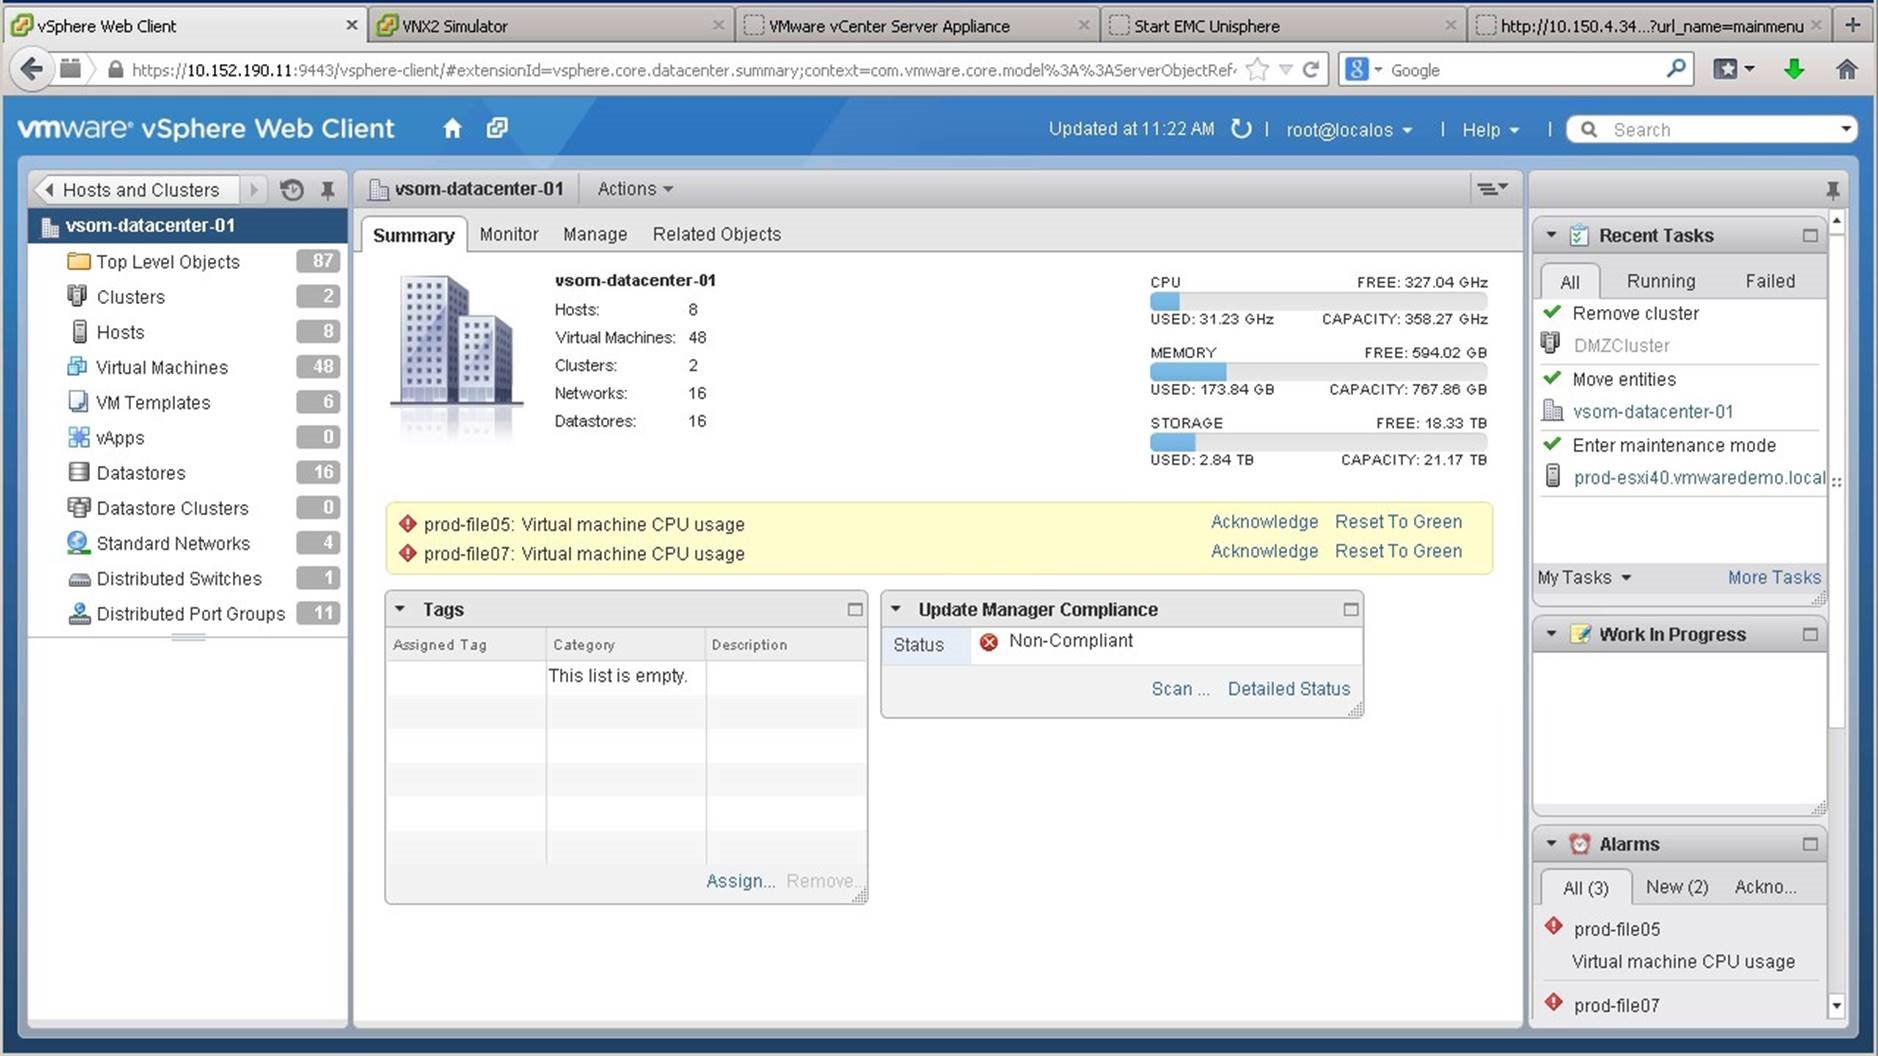
Select the [Datacenter] on which you want to create the cluster.
Click on [Actions].

Click on [New Cluster].
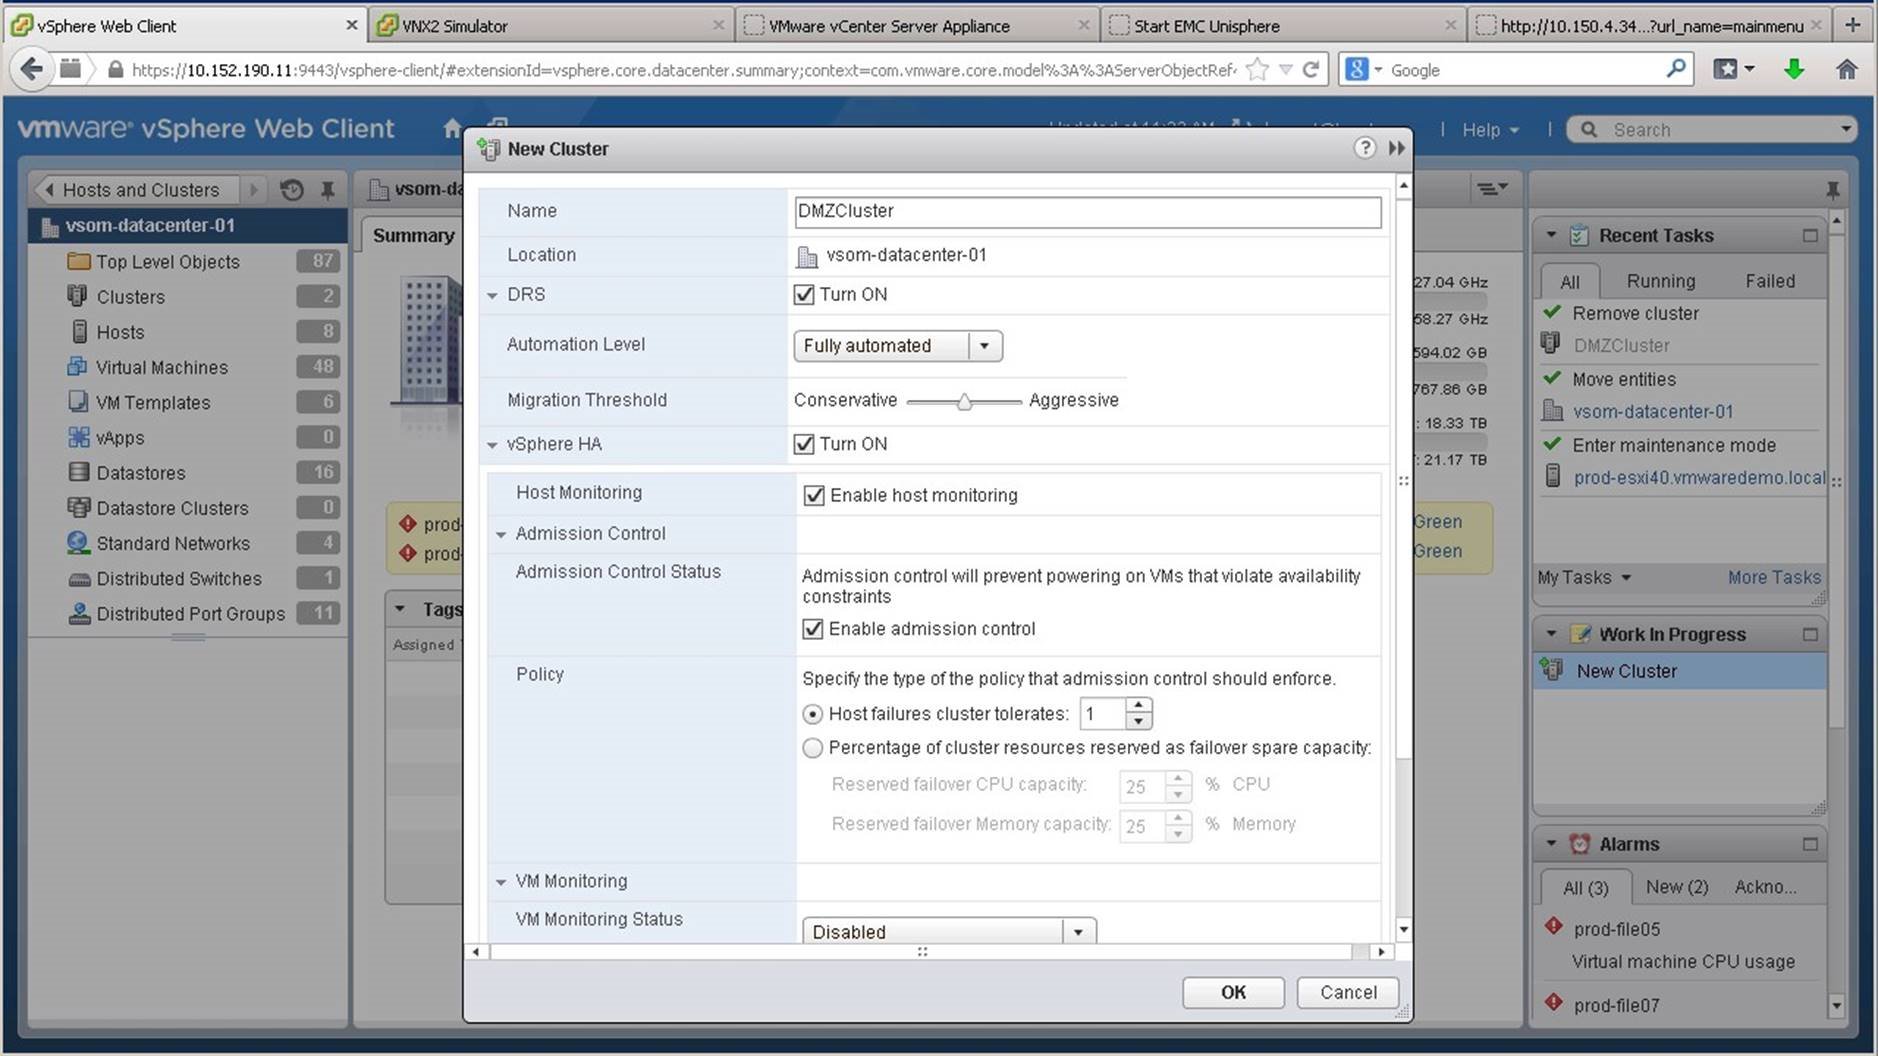
Assign a name to the cluster and enable DRS and HA with the default settings. Click on [OK].
The new cluster has been created. Next we will add ESXi hosts to the cluster. We go into the [Clusters] view.
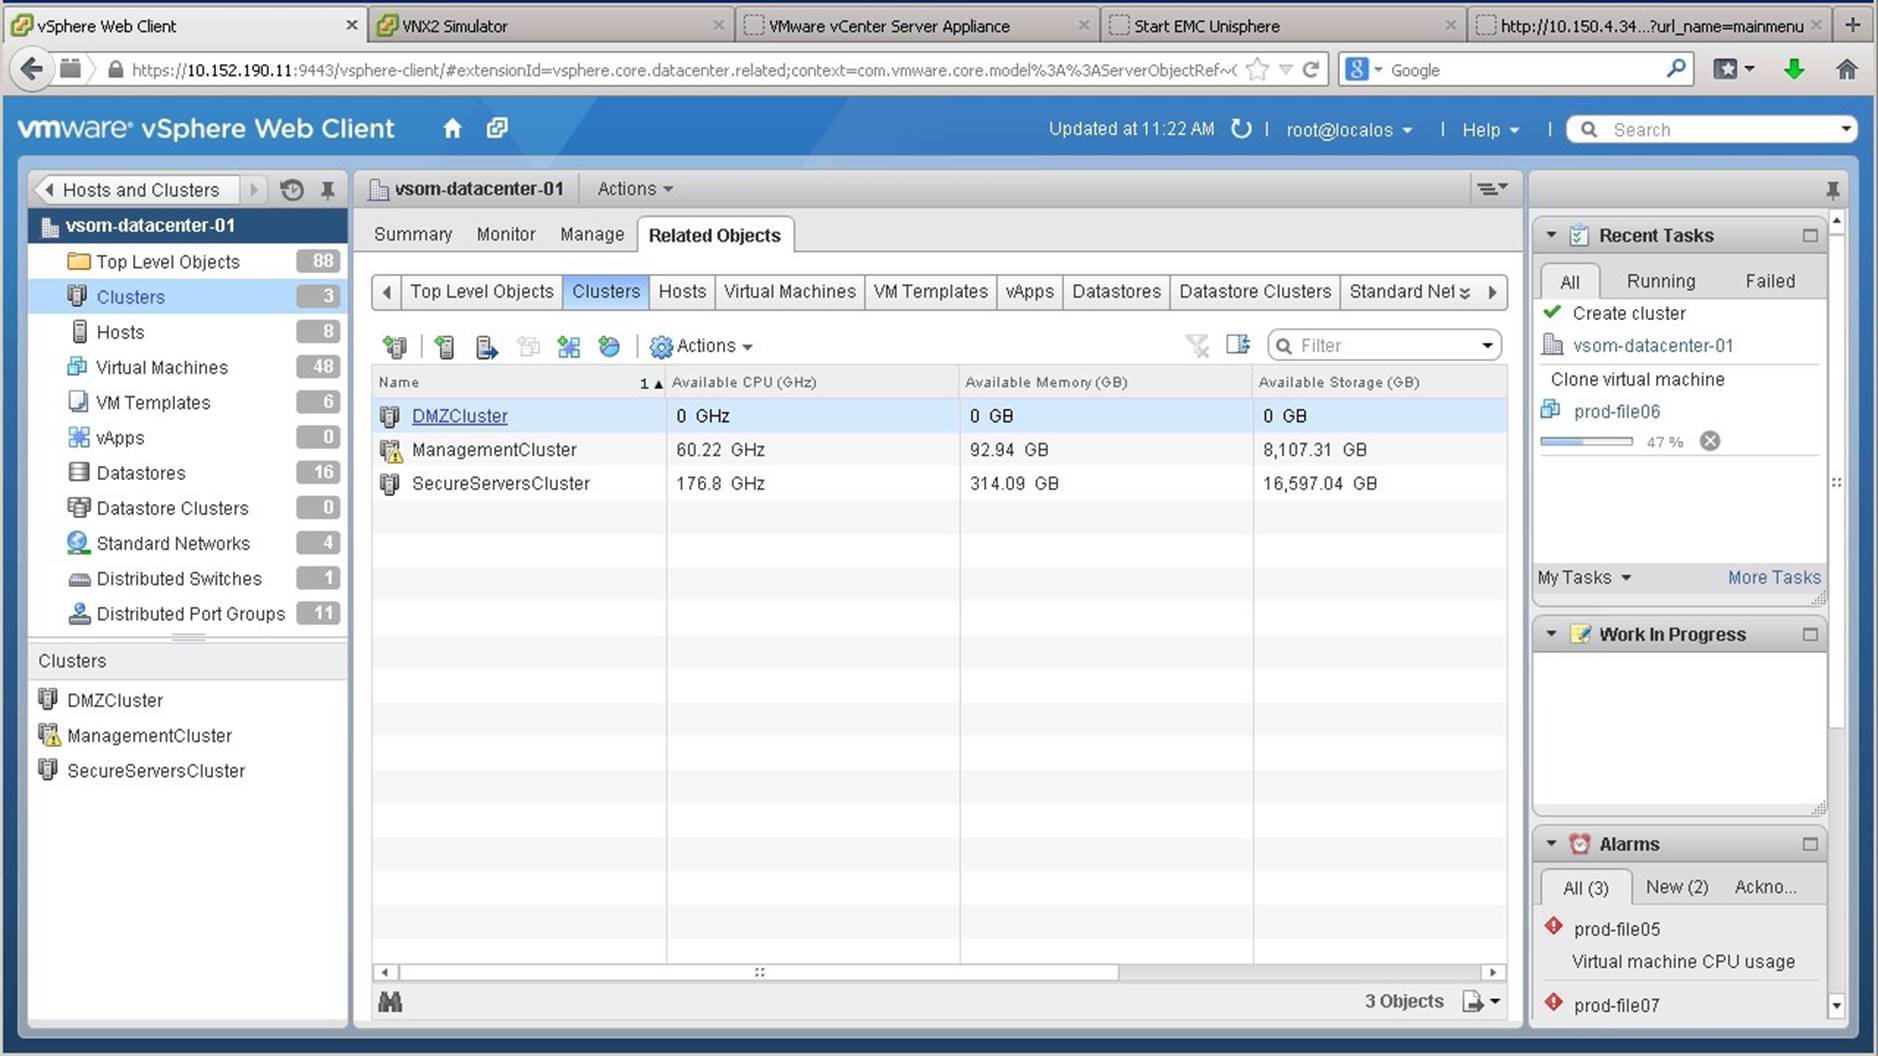
Select the newly created cluster from the list.

Go to the [Actions] tab.
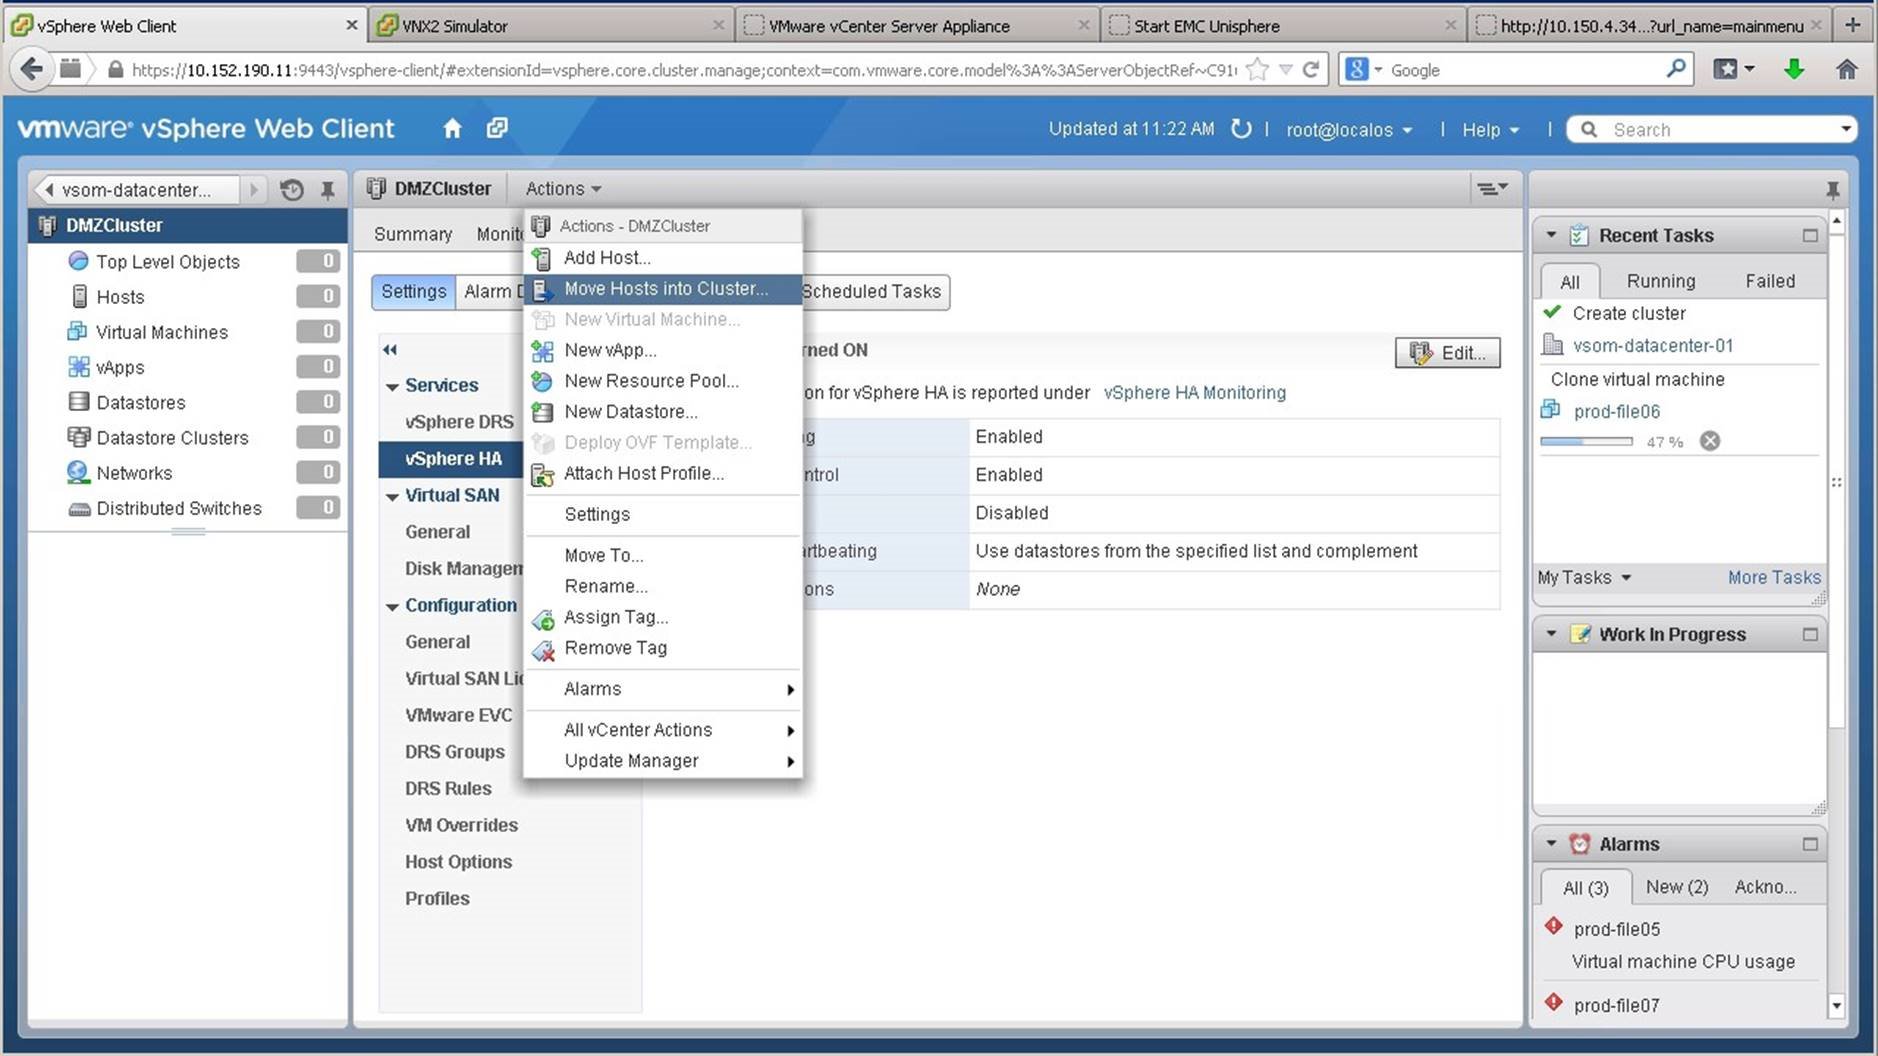
Click on [Move Hosts into Cluster].
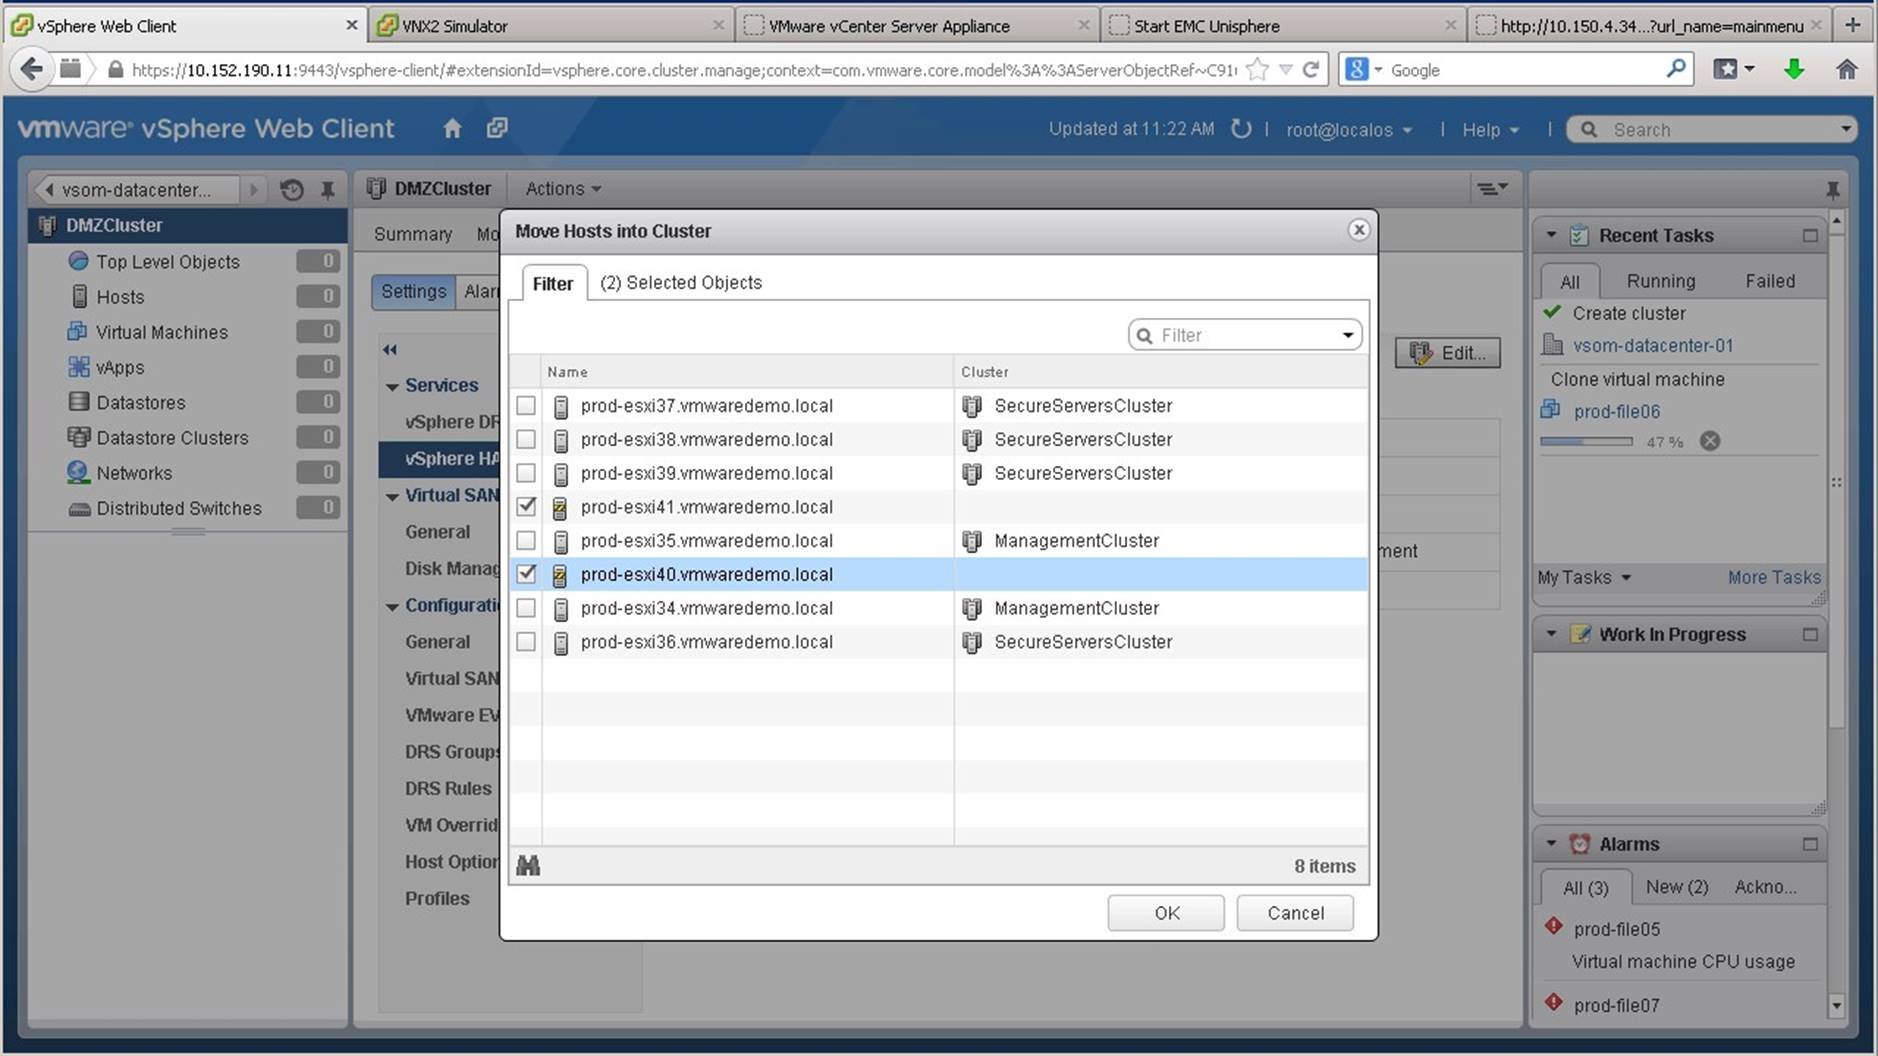
We see two hosts that are not a part of the cluster. We select the hosts and click on [OK].

We retain the default settings that will add all the virtual machines to the cluster's resource pool.
The cluster now has two ESXi hosts. We will now edit the DRS settings.We go to [vSphere DRS].
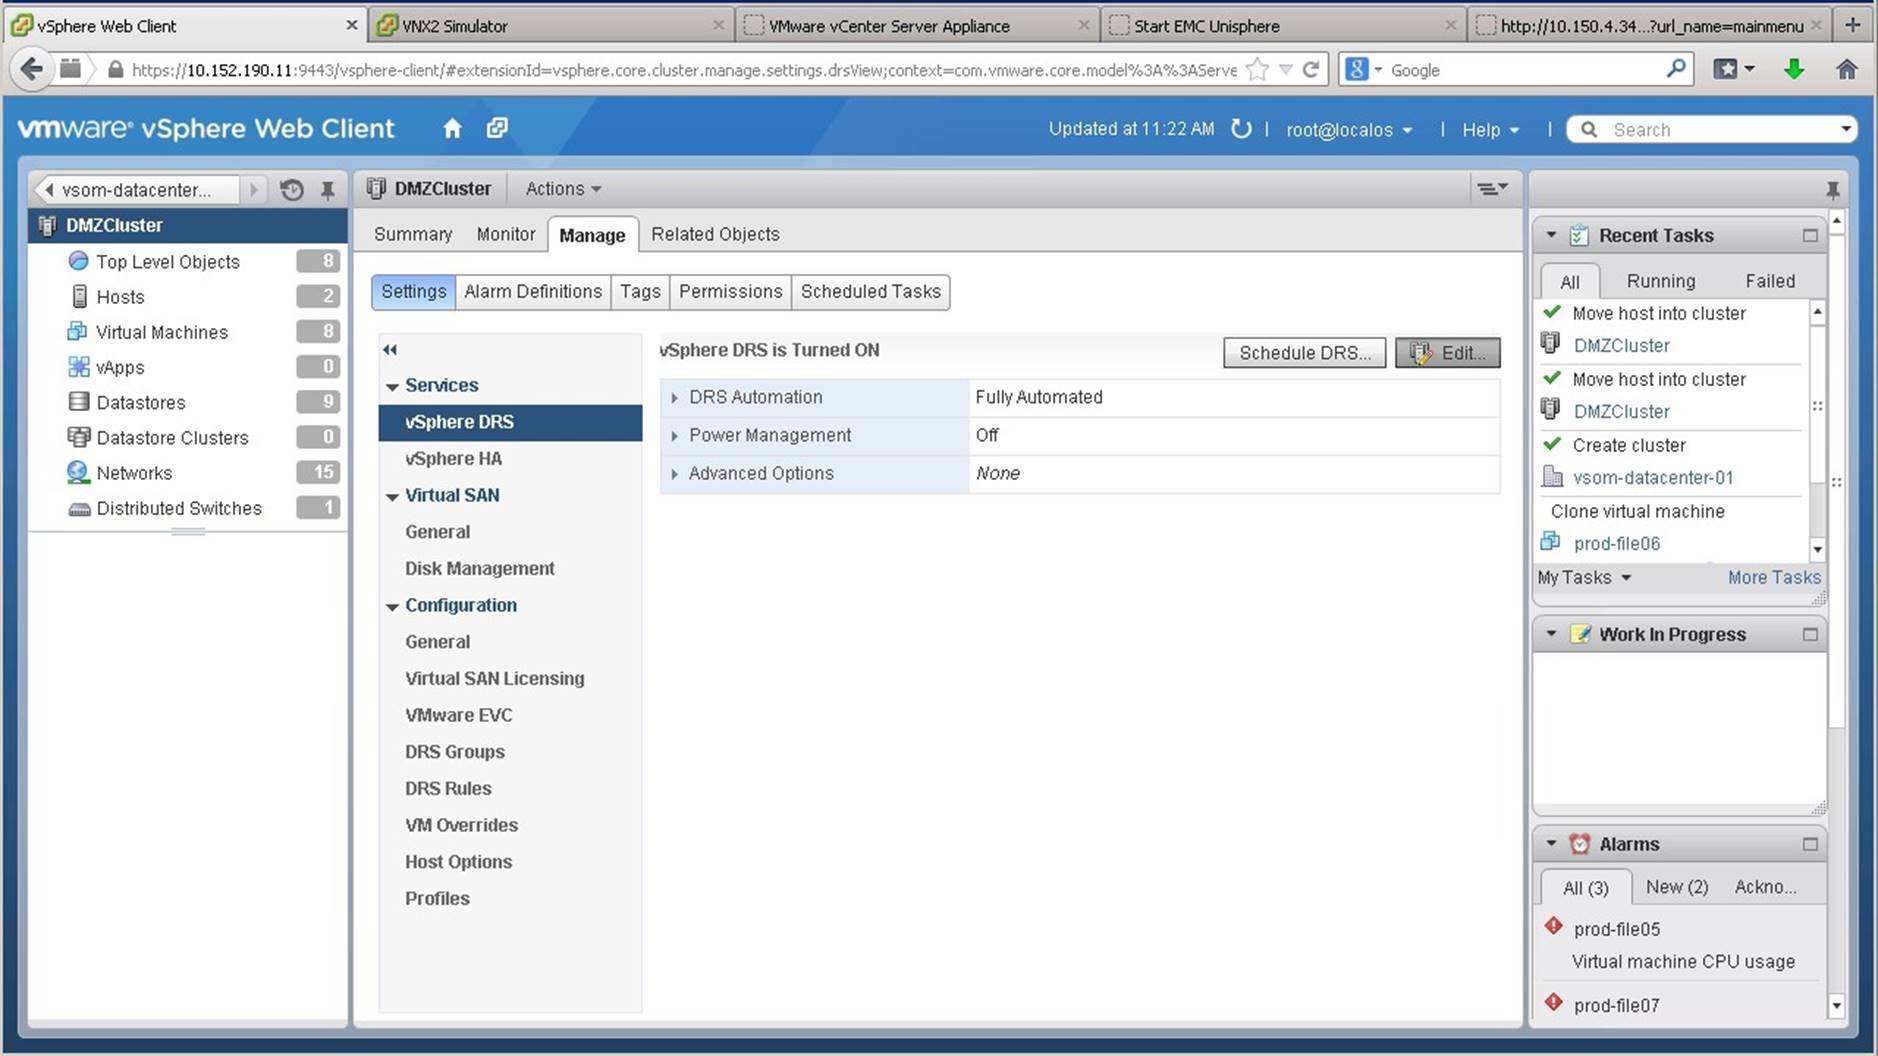
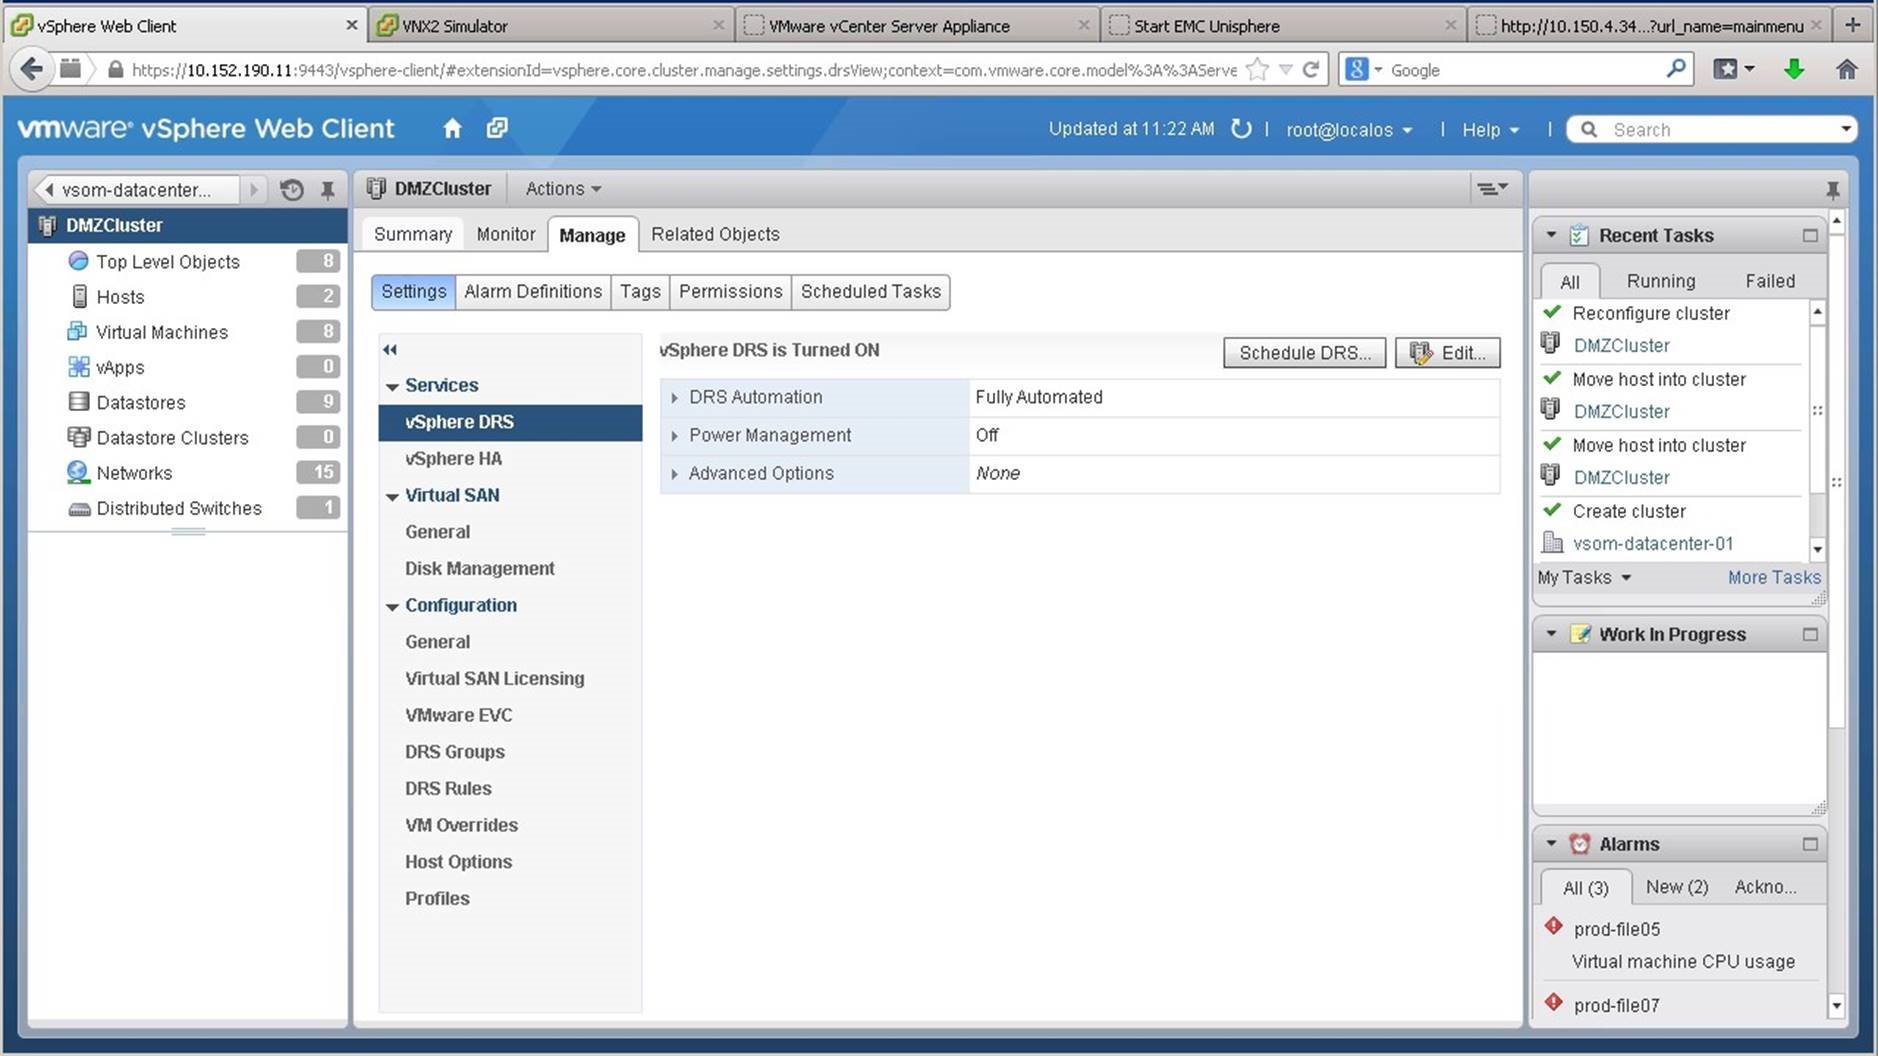
Go to the [Manage] tab, select [Settings] and click on [Edit].
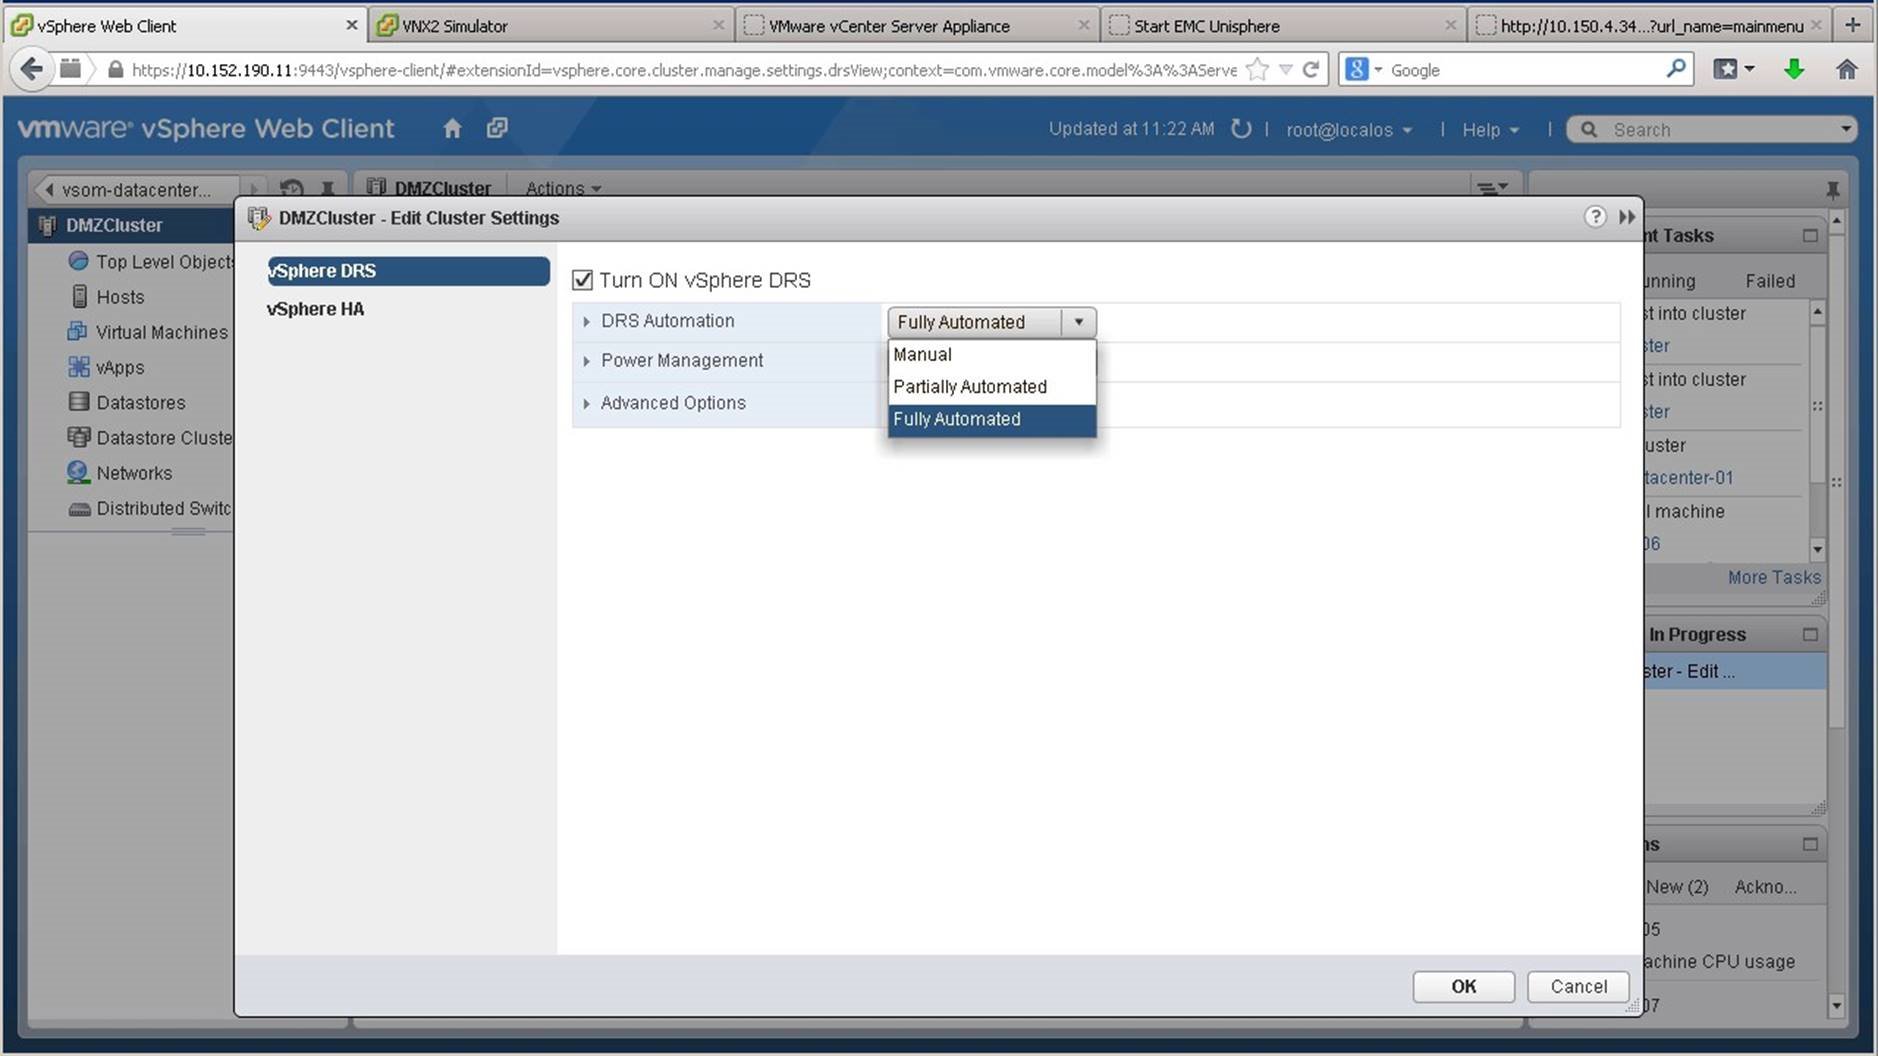
Notice that DRS is already turned because we set it to be turned on when we created the cluster. We select DRS to be fully automated and click on [OK].
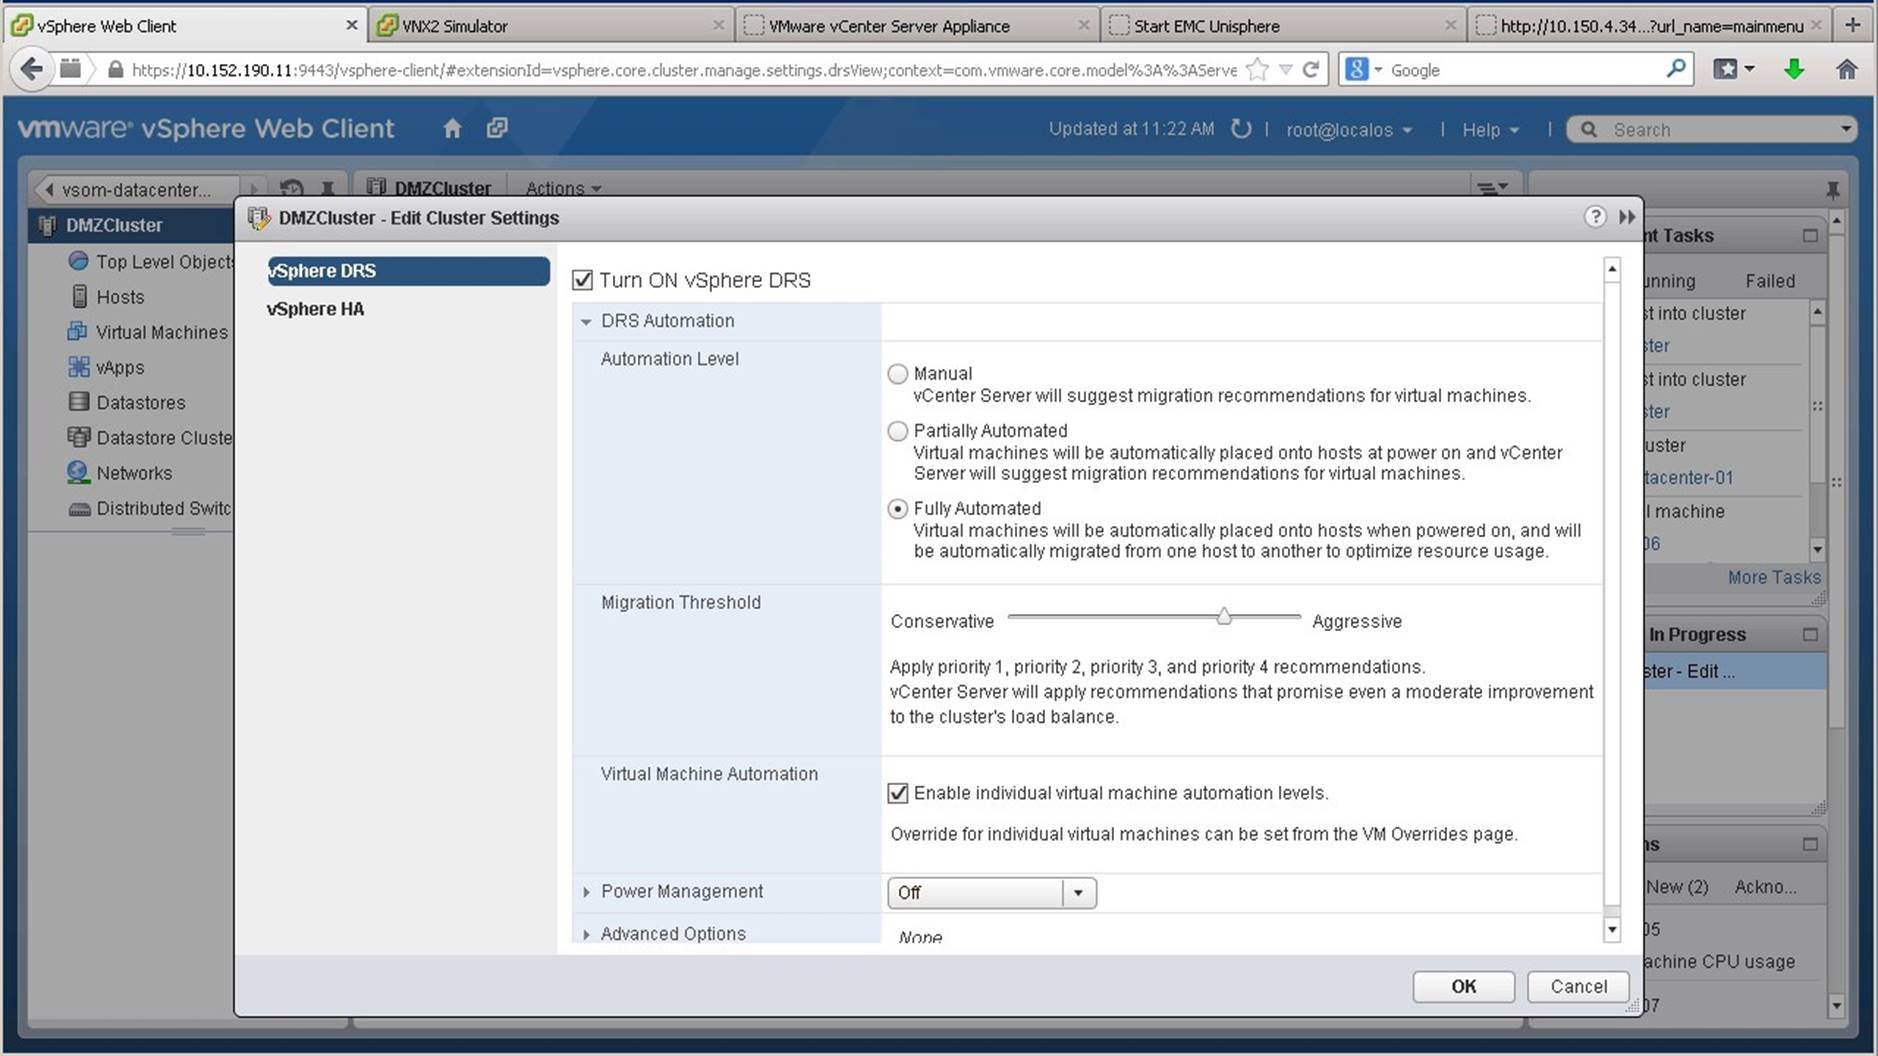
We expand [DRS Automation] and set the migration threshold to be more aggressive by setting a priority 4 migration and click on [OK].
Once DRS is enabled, we can check its health by going into the [Summary] tab.
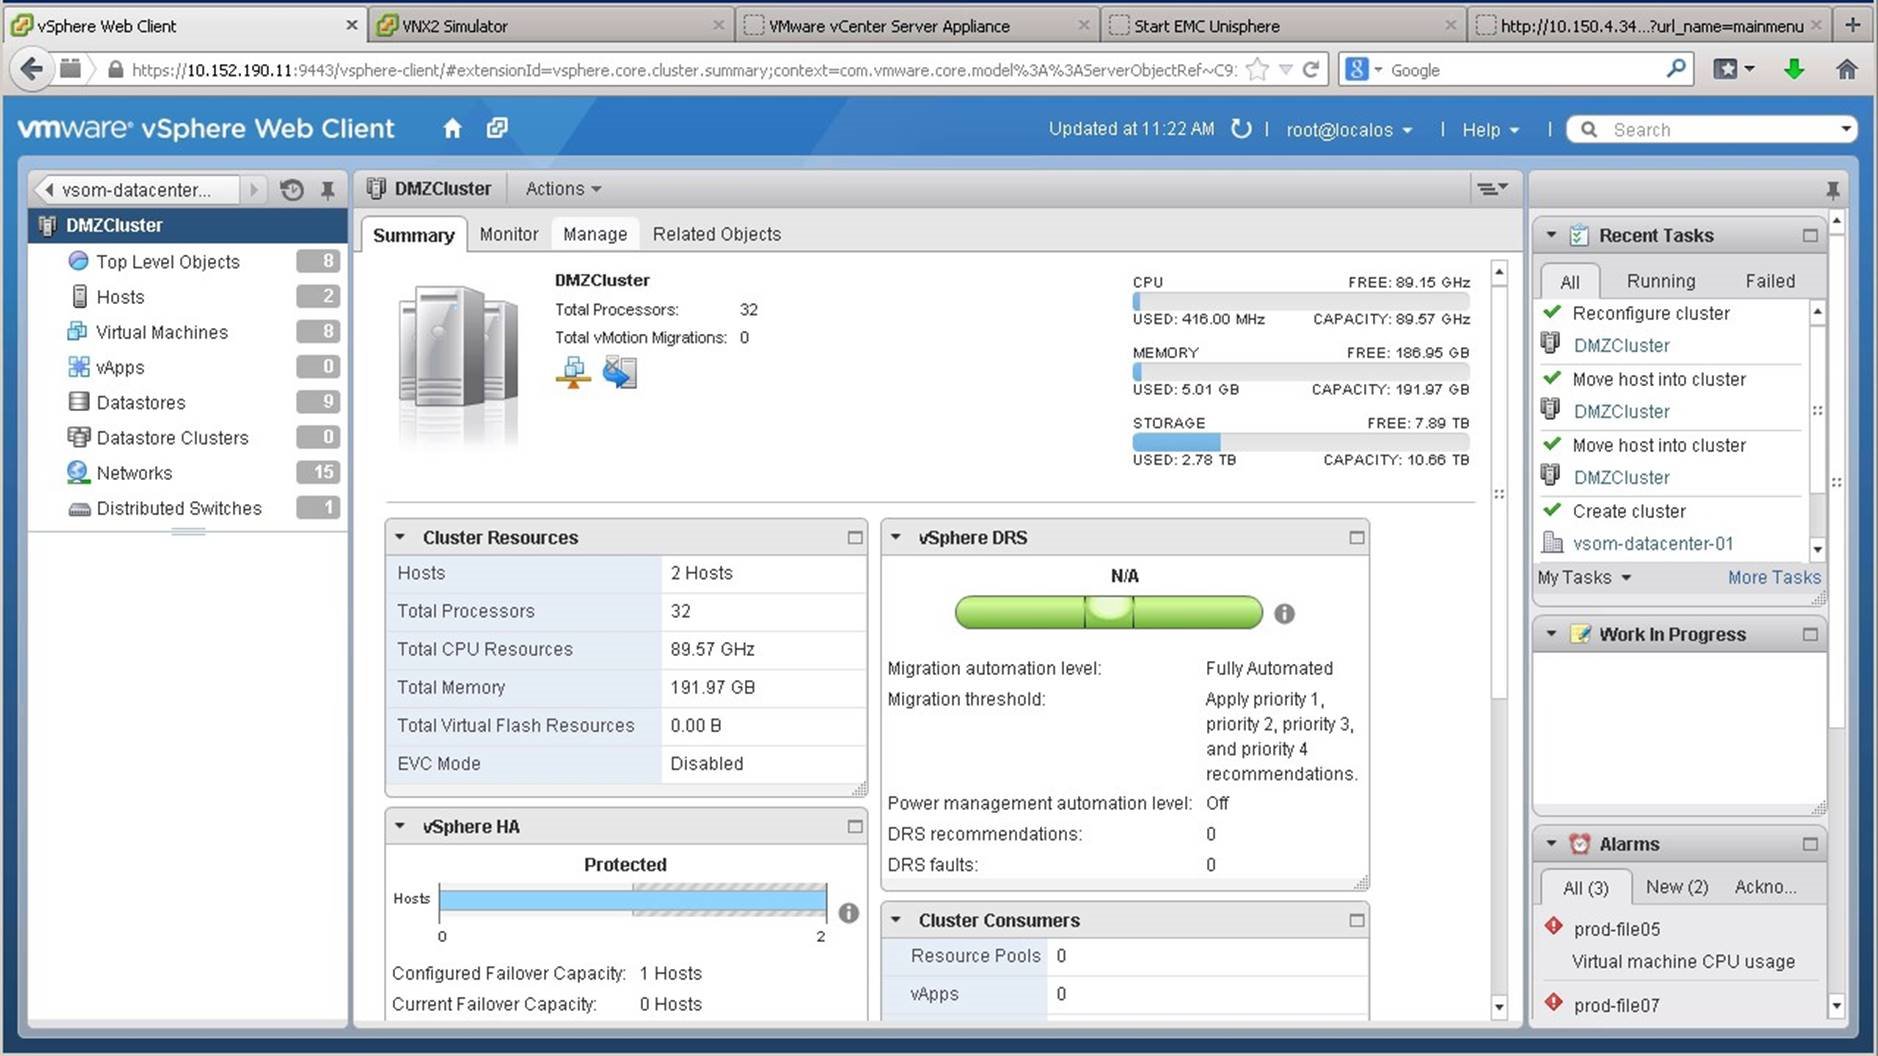
We see that the cluster is currently balanced. Next, we will customize the vSphere HA settings for our cluster. To do this, we go into the [Manage] tab.

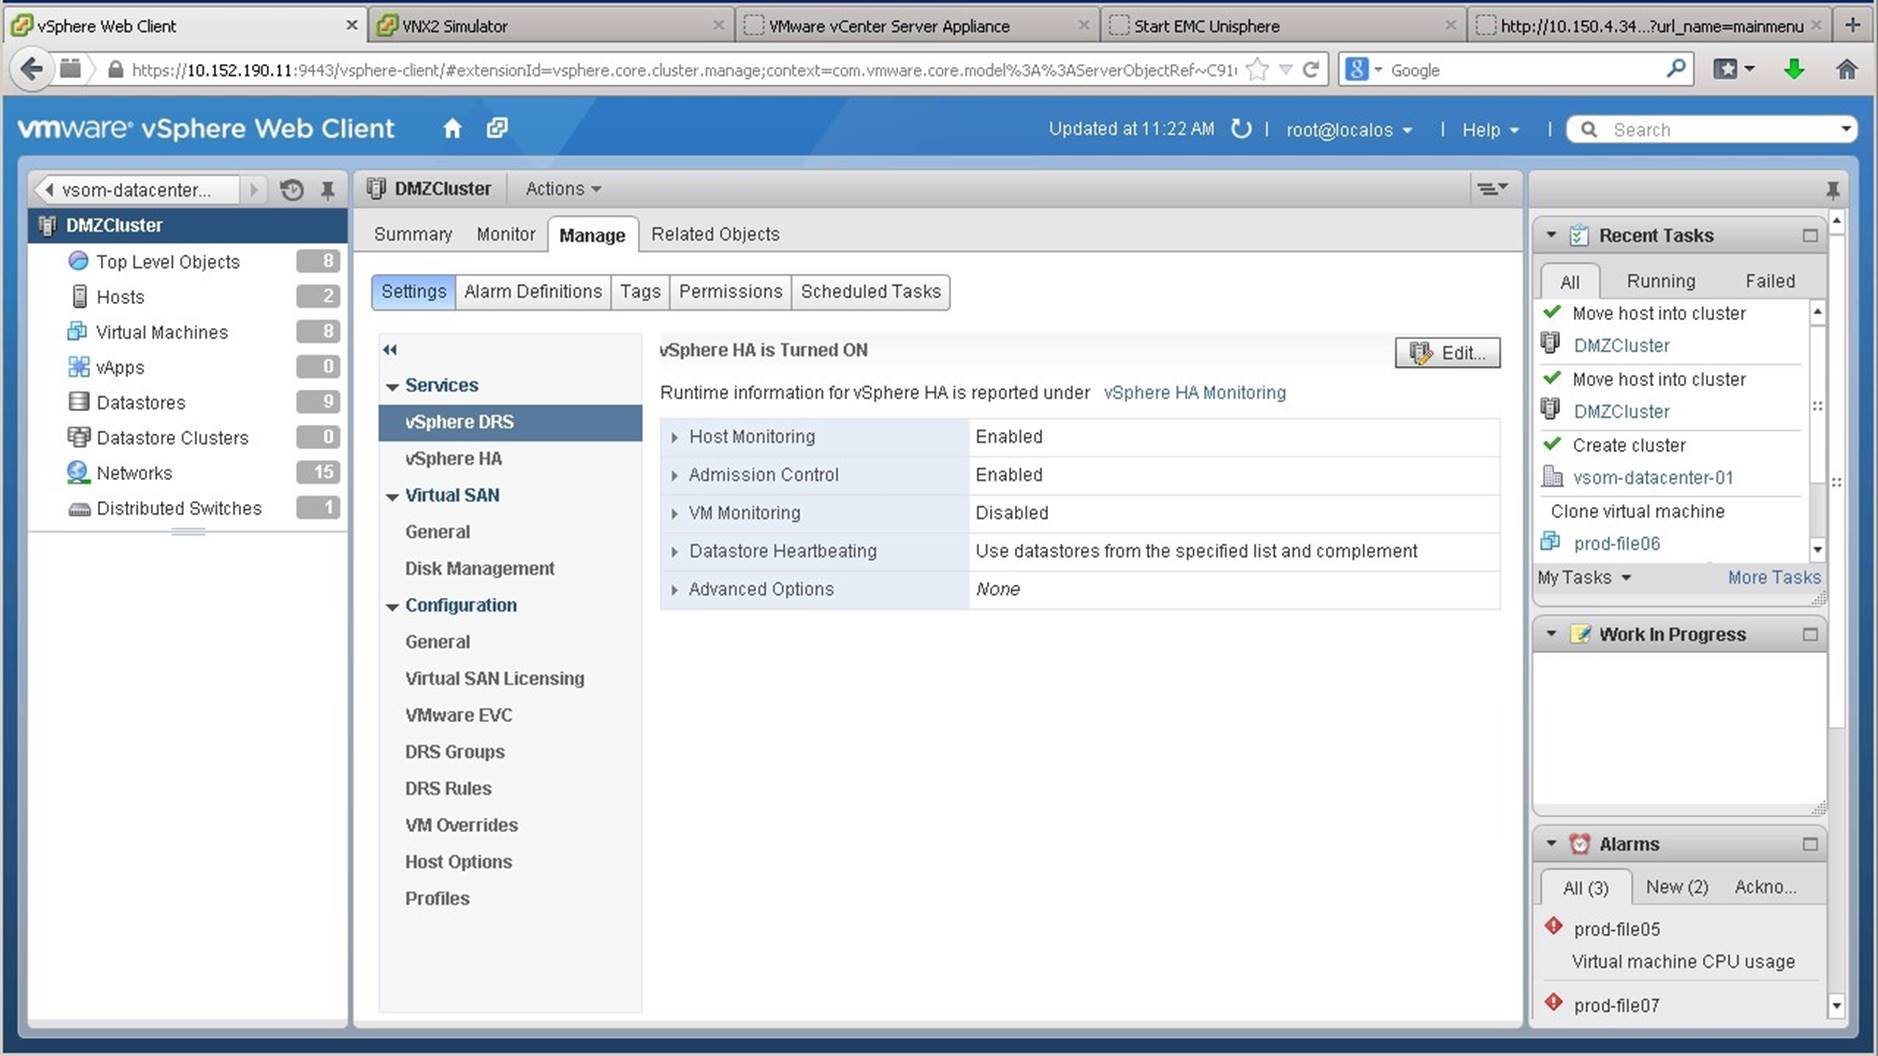
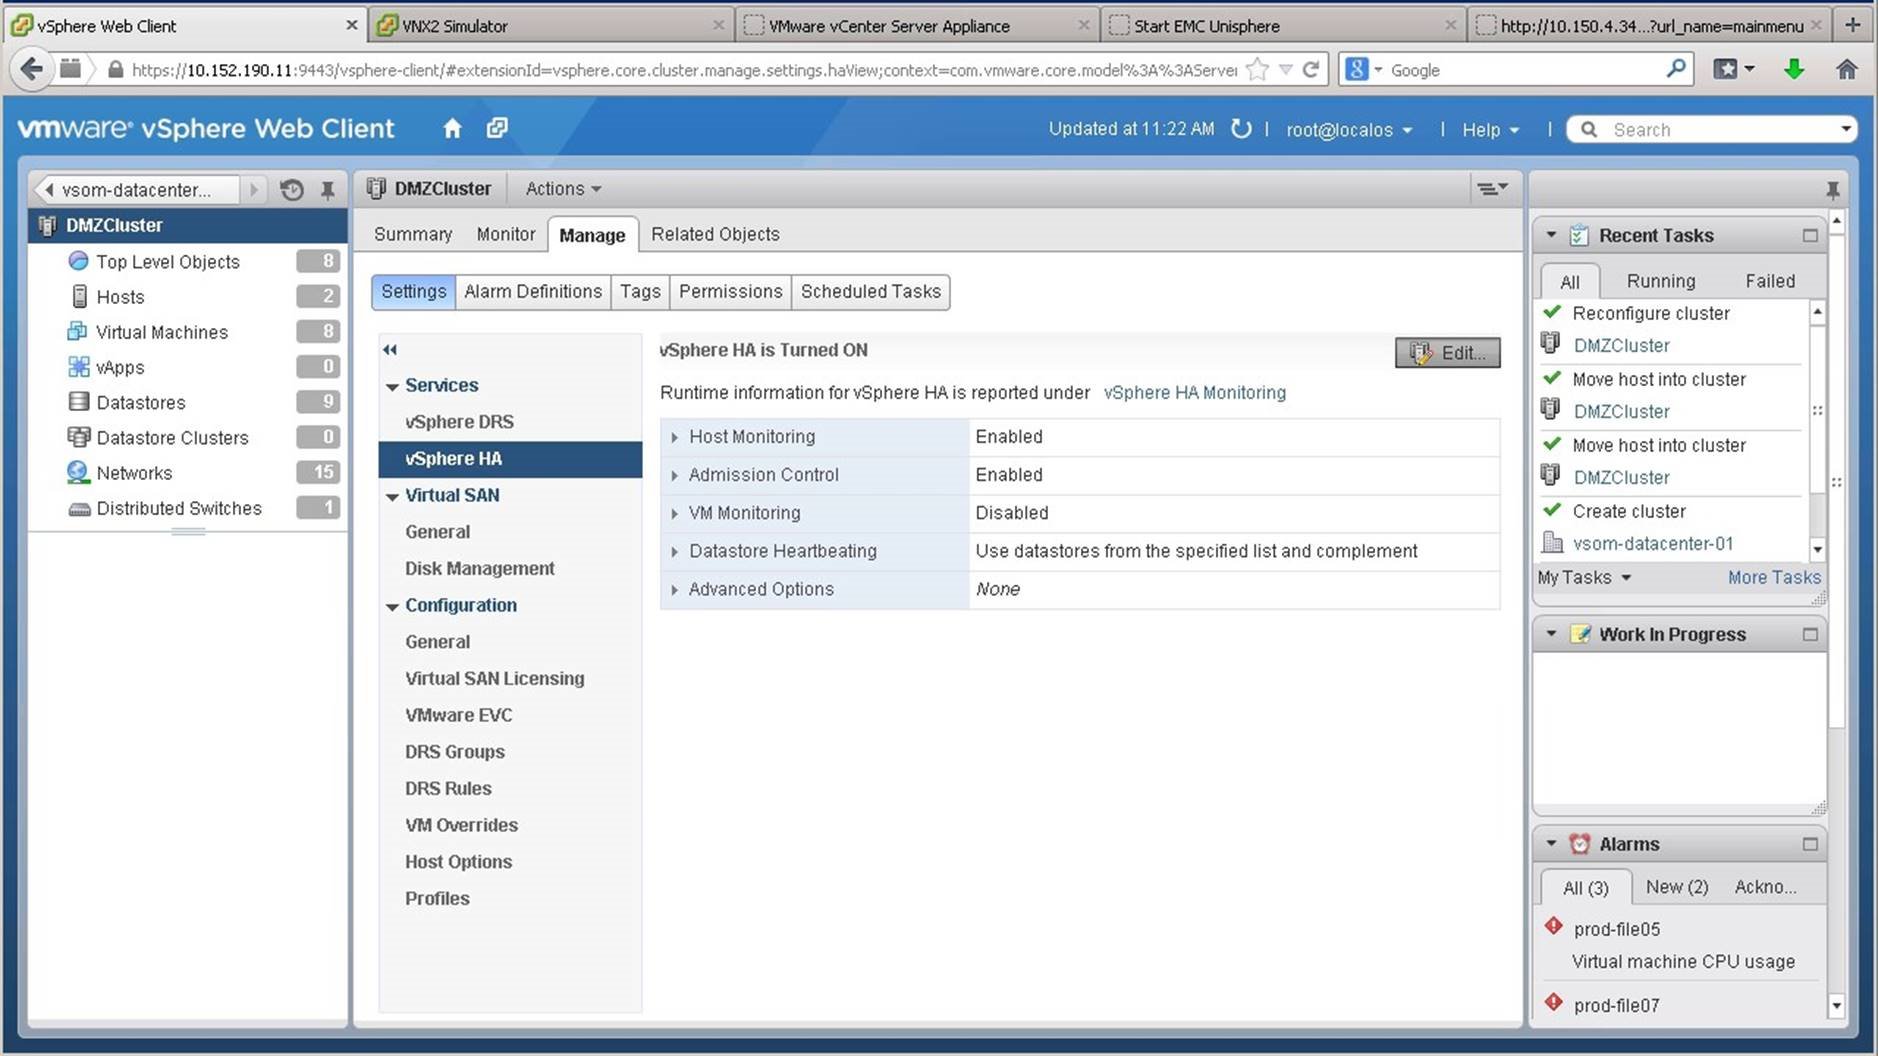
Go to the [Manage] tab, click on [Settings] and select [vSphere HA].
Click on [Edit].
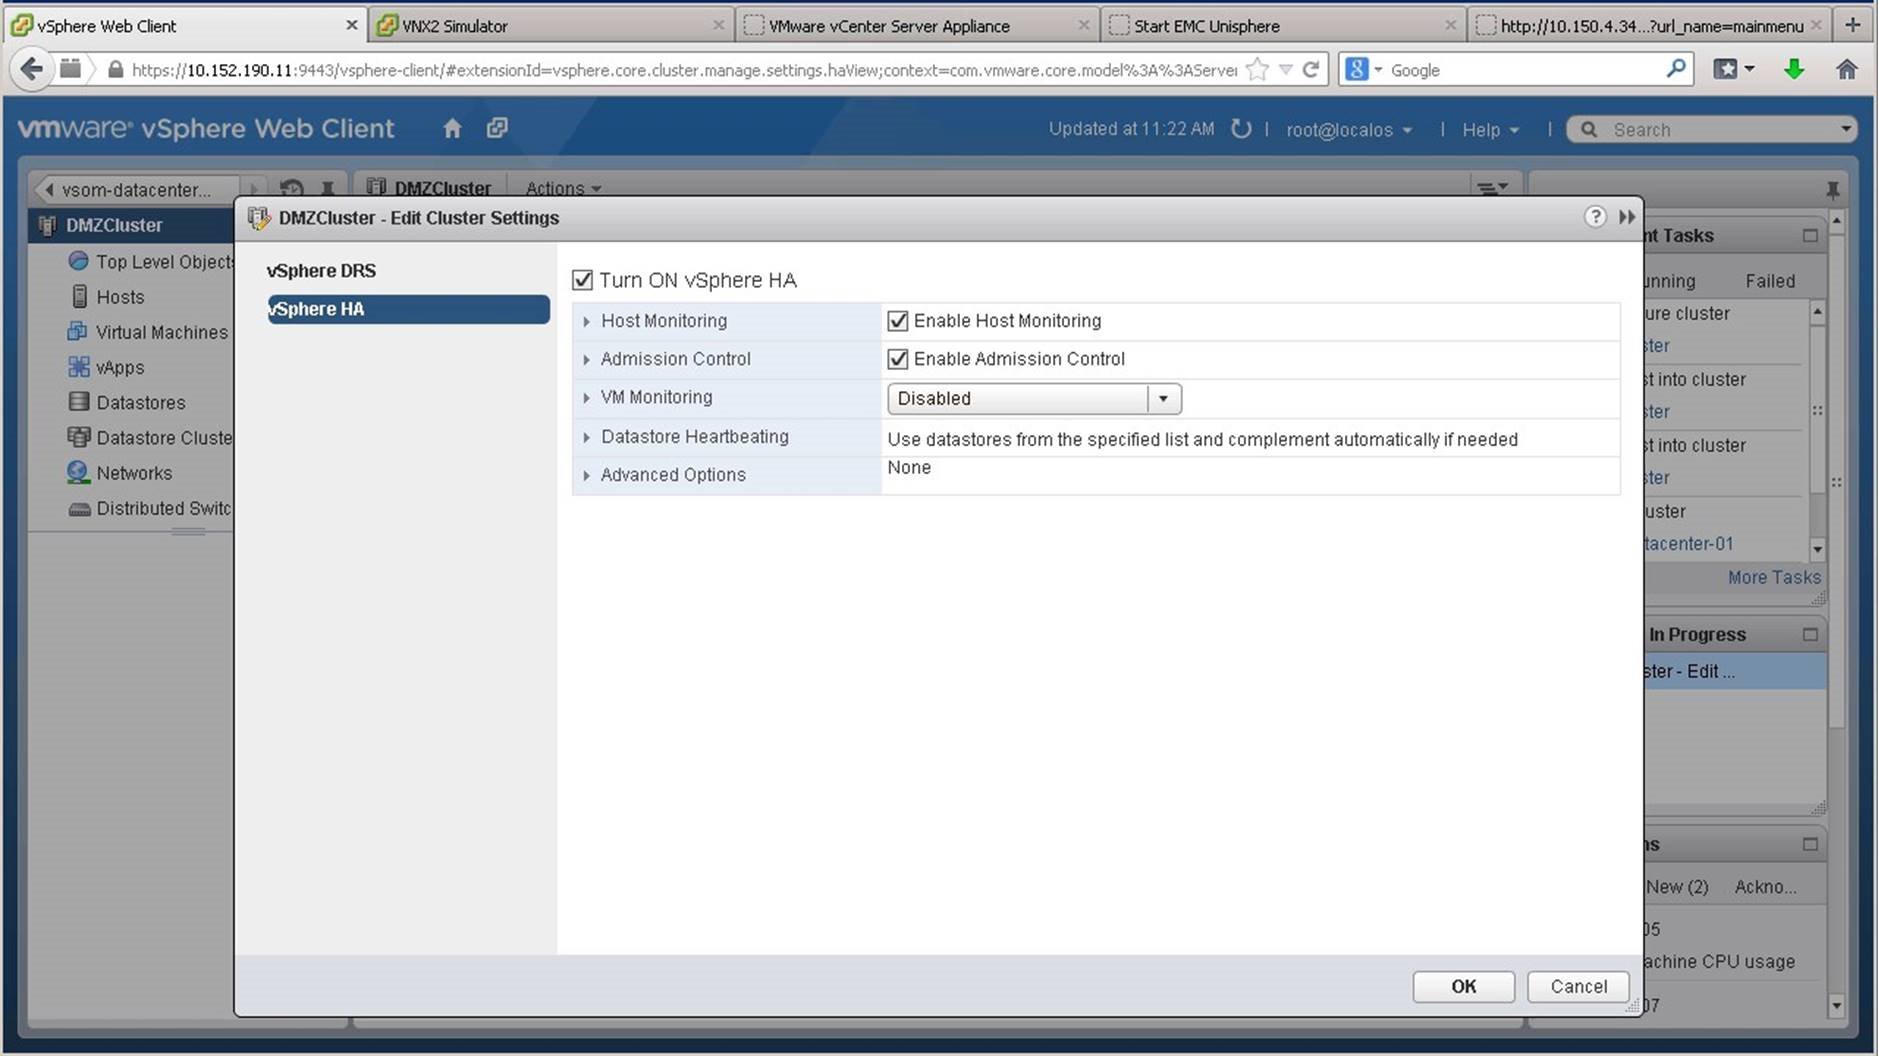
We see that vSphere HA is also enabled as we chose to while creating the cluster. However, we can modify the settiings. We begin by expanding [Host Monitoring]. With host monitoring, HA will monitor the ESXi host for failures. In the event of a failure, the virtual machines running on the failed host will be migrated to an active host within the cluster.
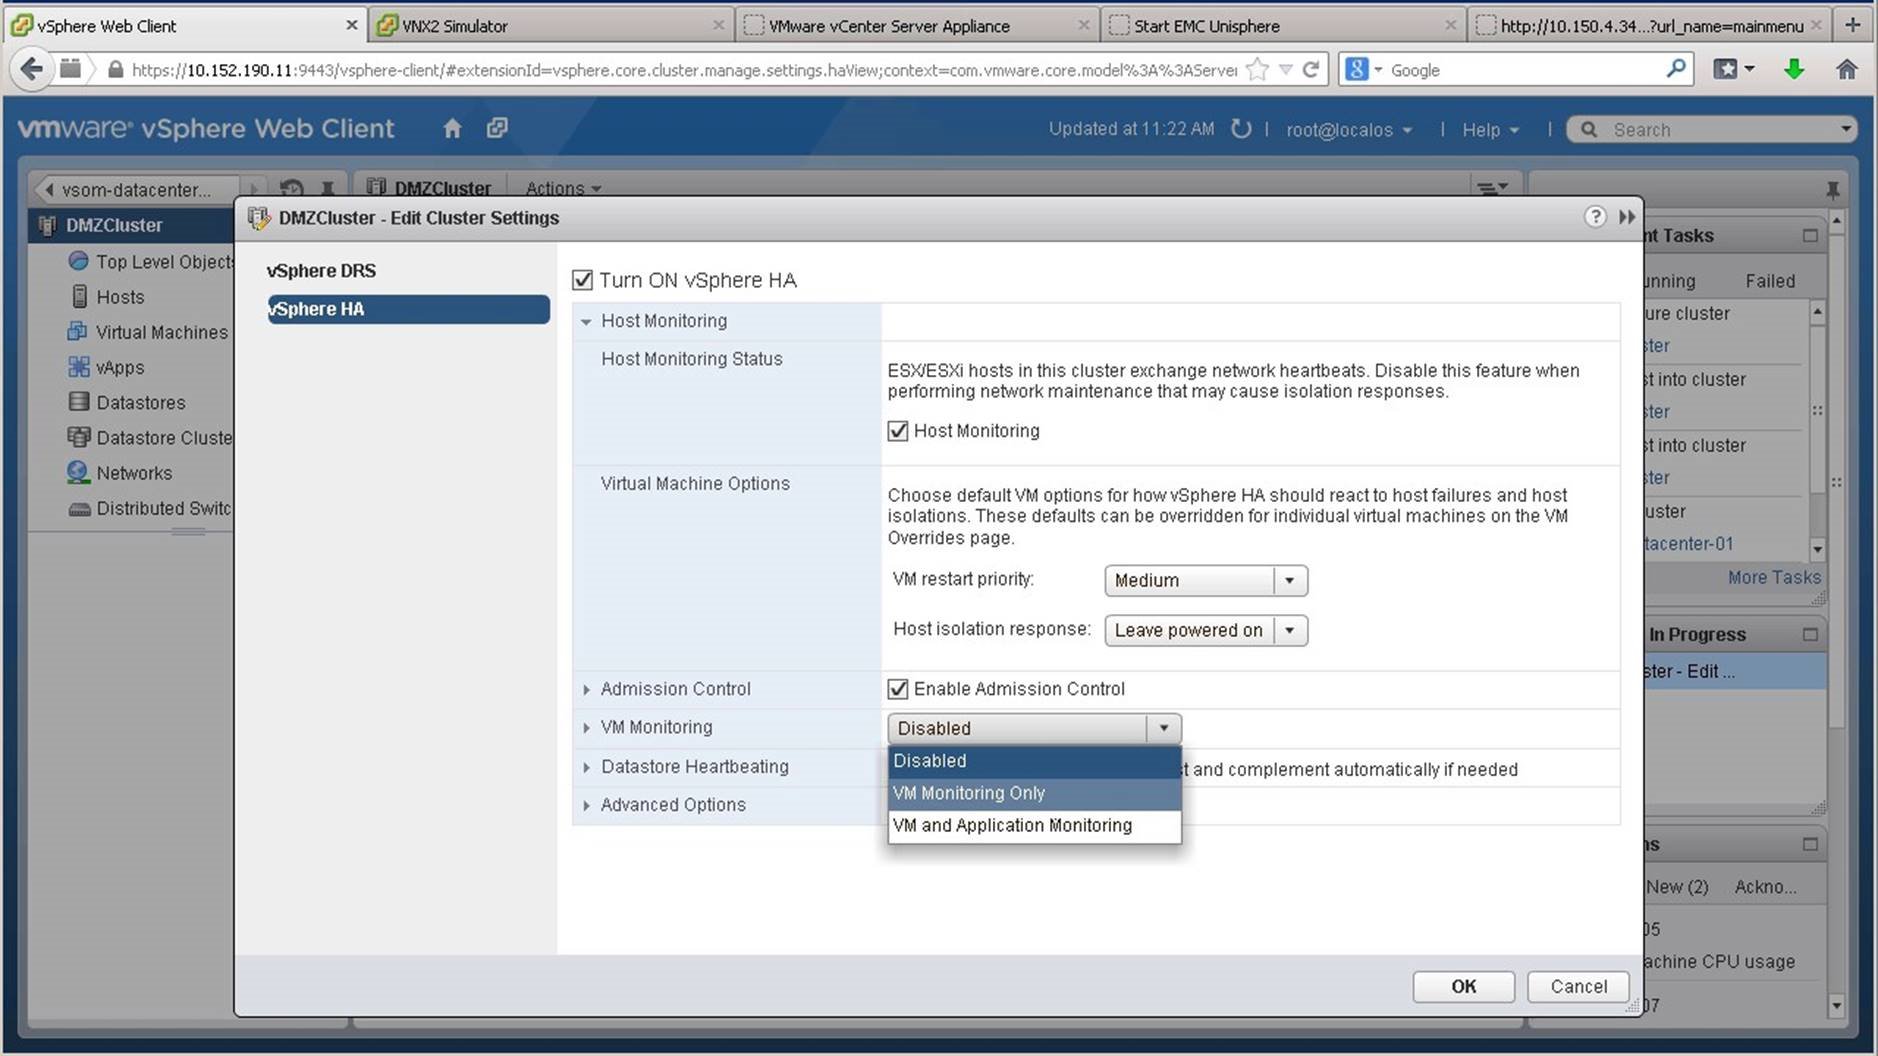
We see that VM monitoring is deactivated by default. In this example, we enable VM monitoring.
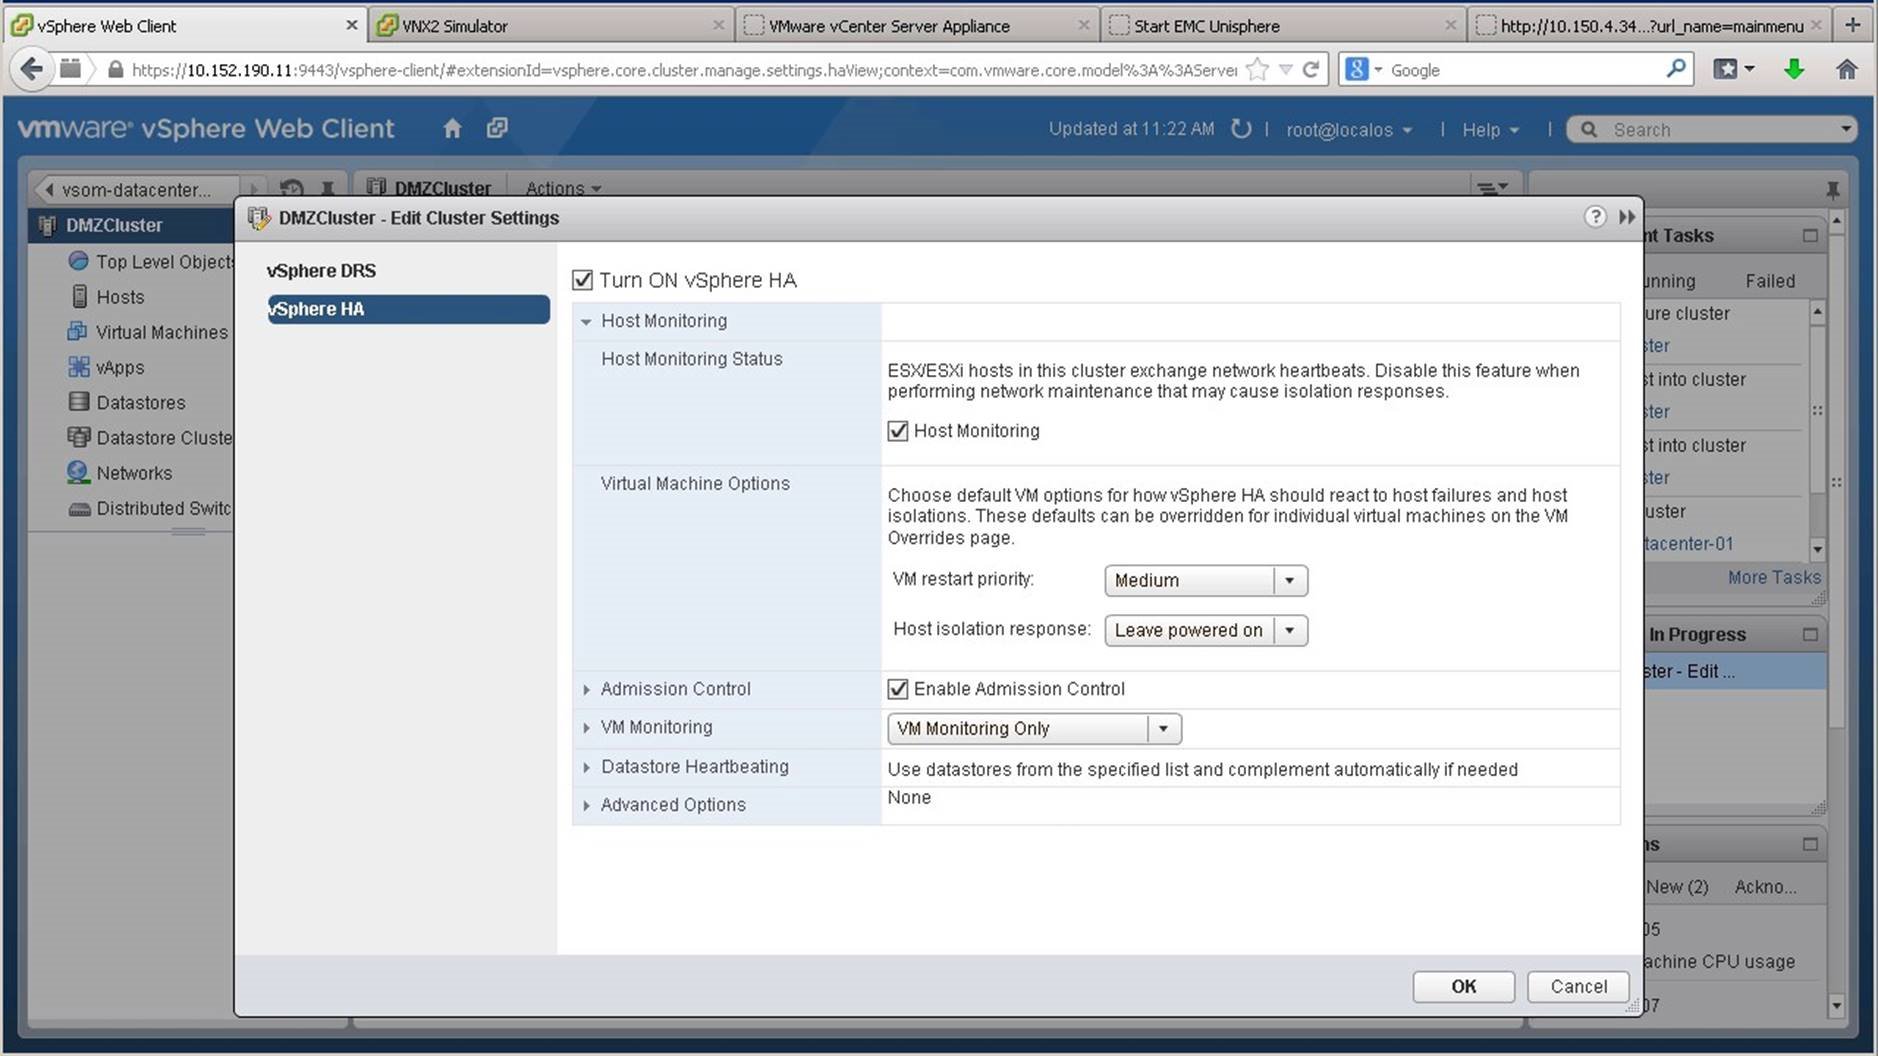
Once editing is complete, we click on [OK].

With vSphere HA enabled, let us look at some of its capabilities. We will see how virtual machines are recovered from a host that is failed.

Here we have the host prod.esxi41.vmwaredemo.local that contains two virtual machines. We will simulate a host failure by powering it off. We switch to the host console.
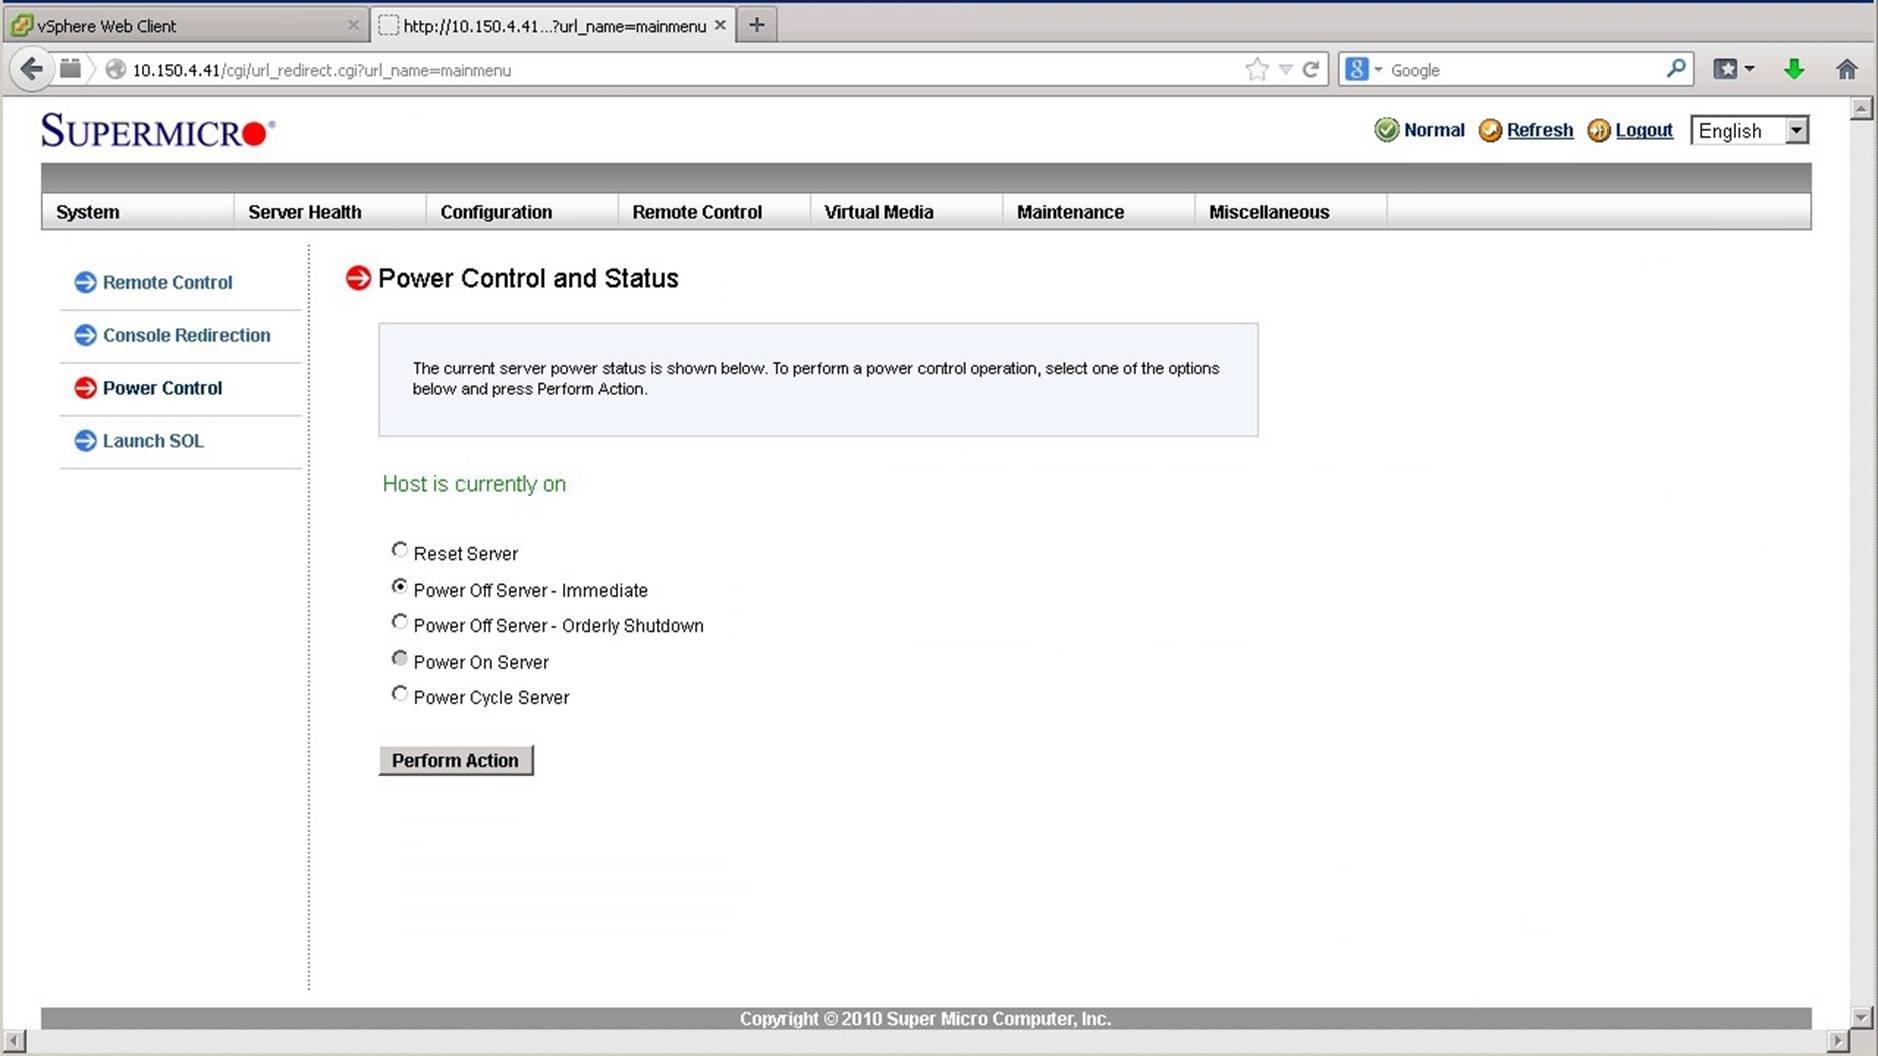
Here we can perform various actions. We choose to power off the server immediately and click on [Perform Action]. We will switch back to the vSphere Web Client to observe the effects.
To observe the effects, we go to the [Monitor] tab.
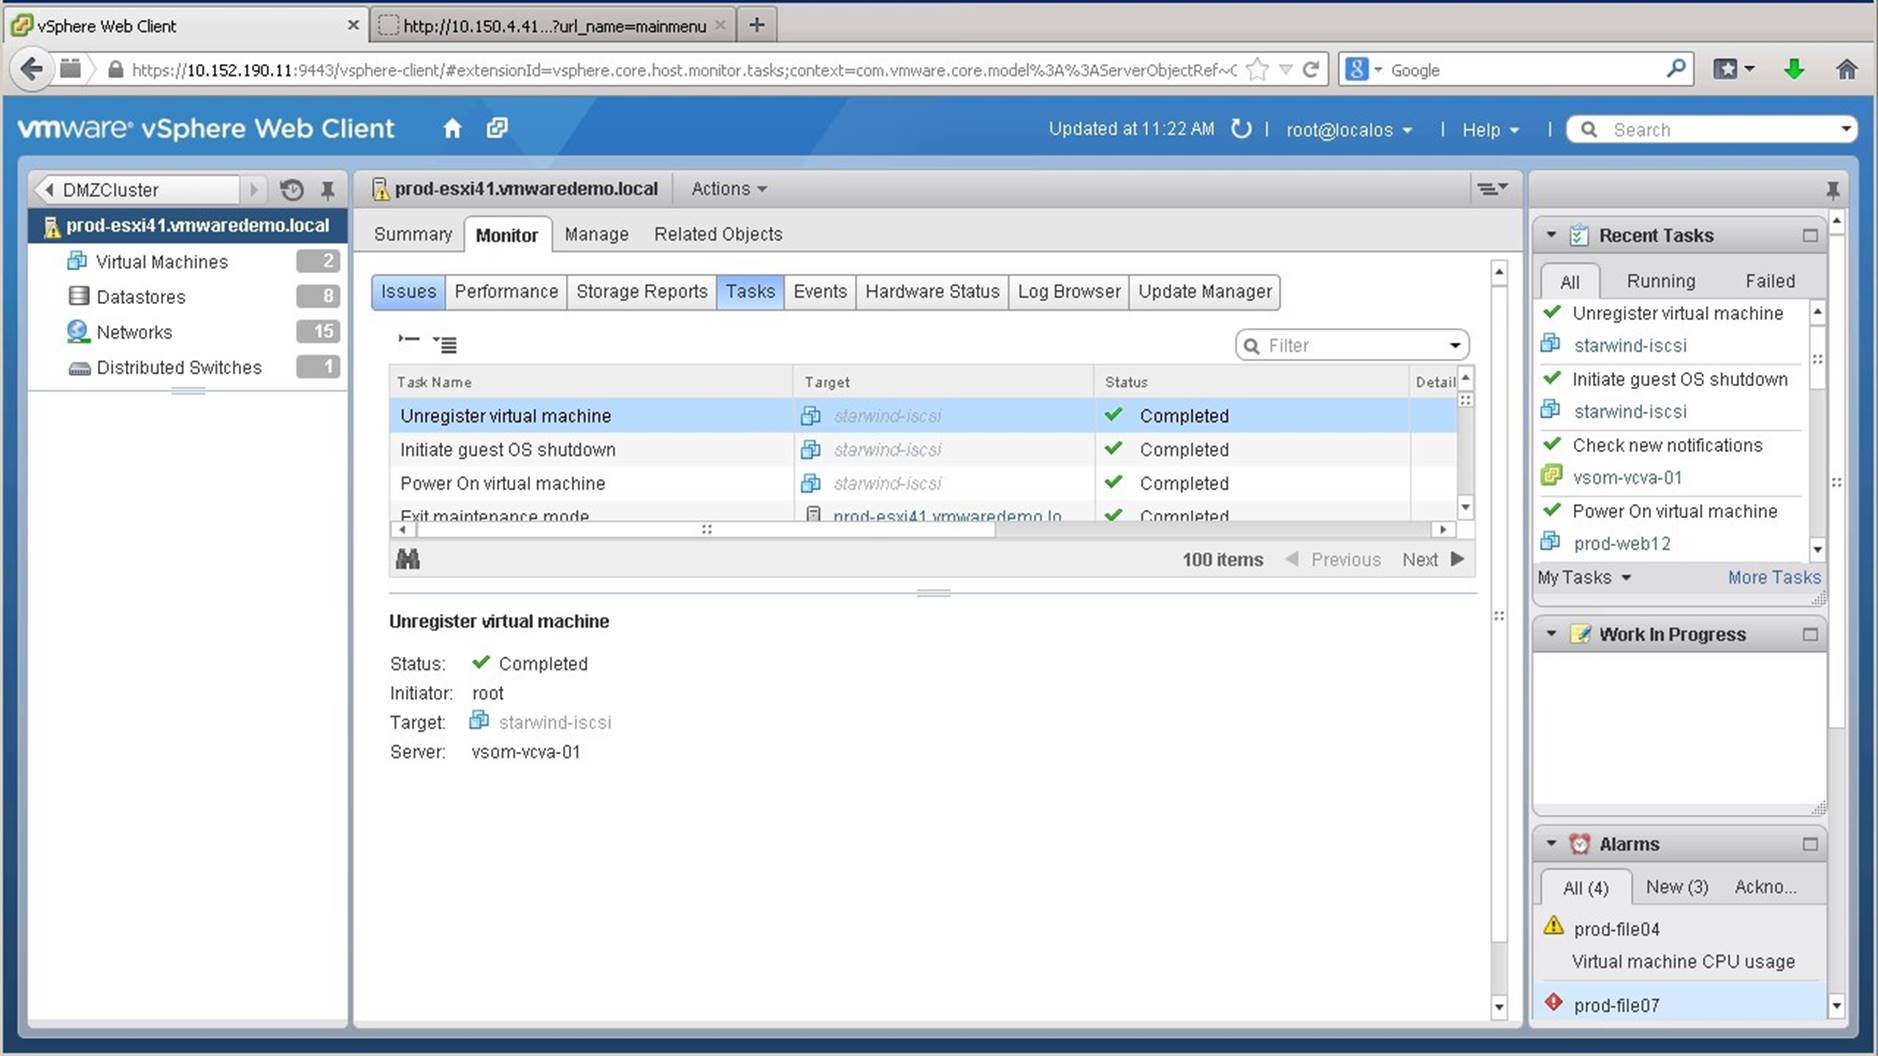
There are several subsections that will provide information on the current status of the host. We go into the [Issues] tab.
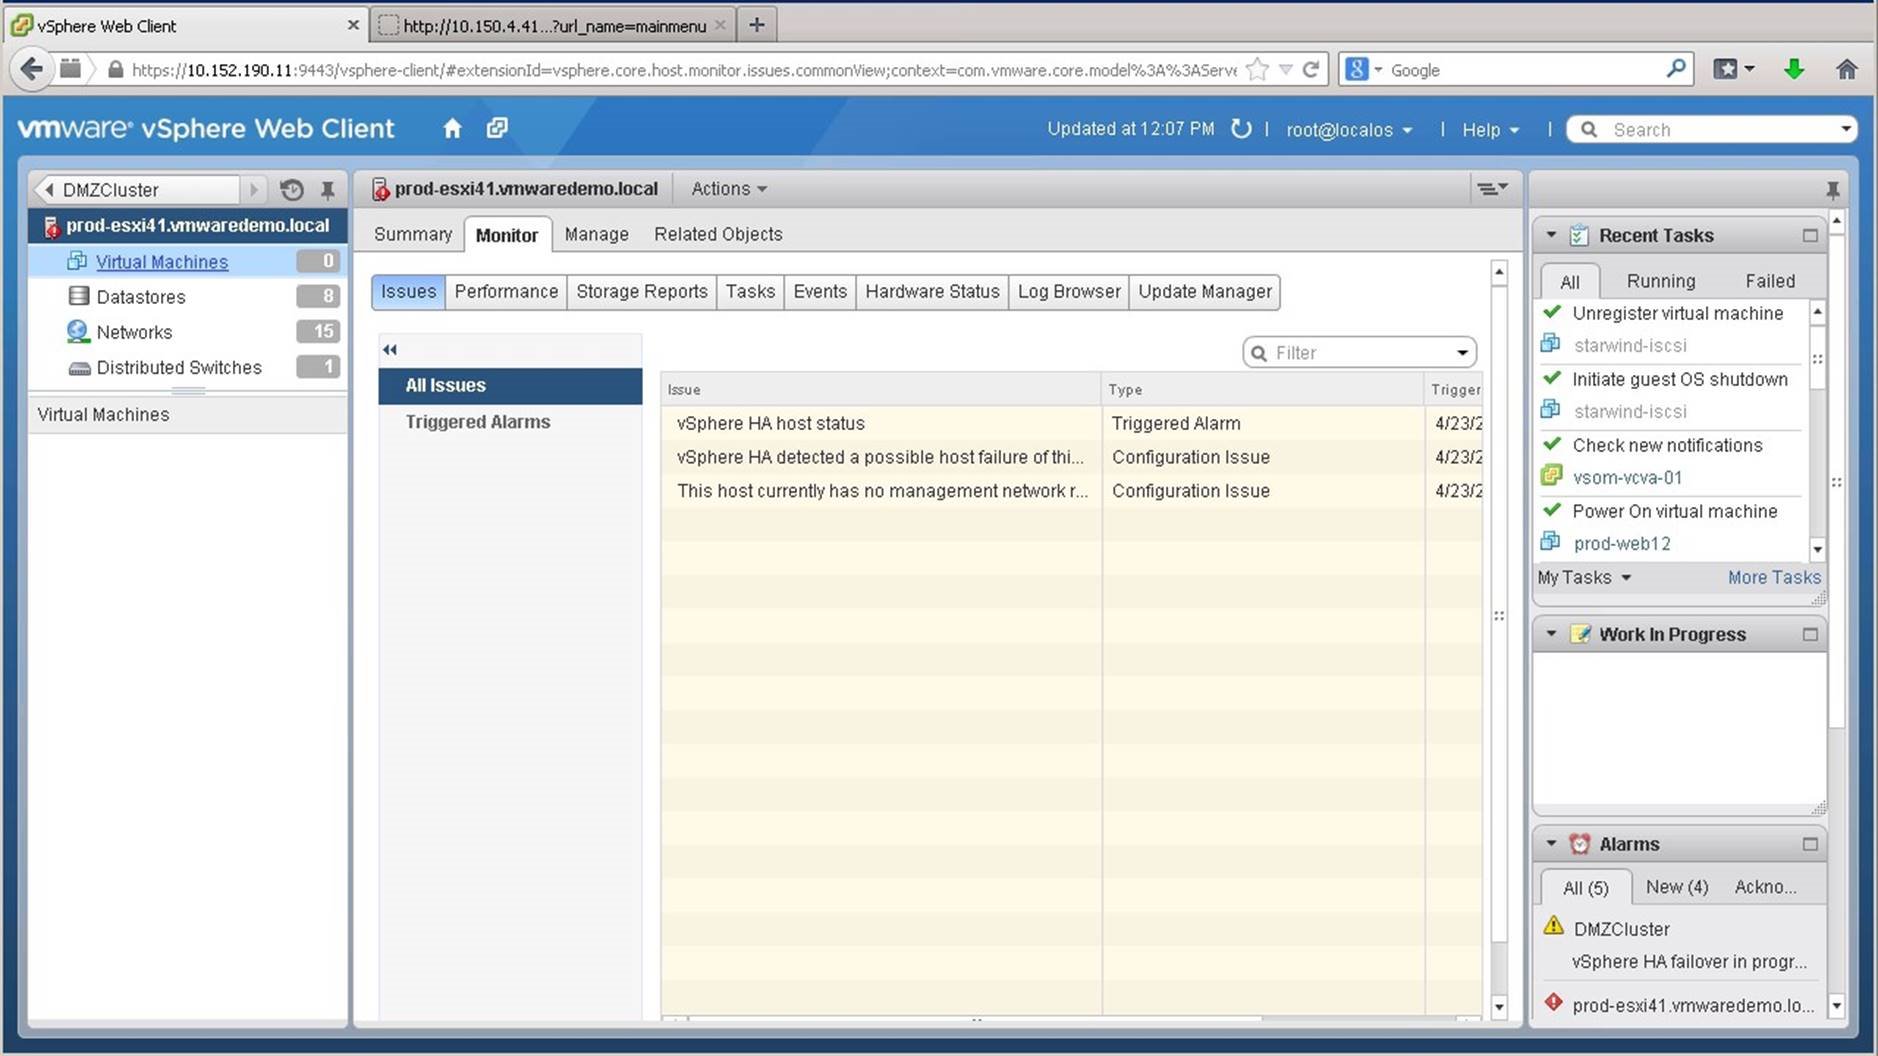
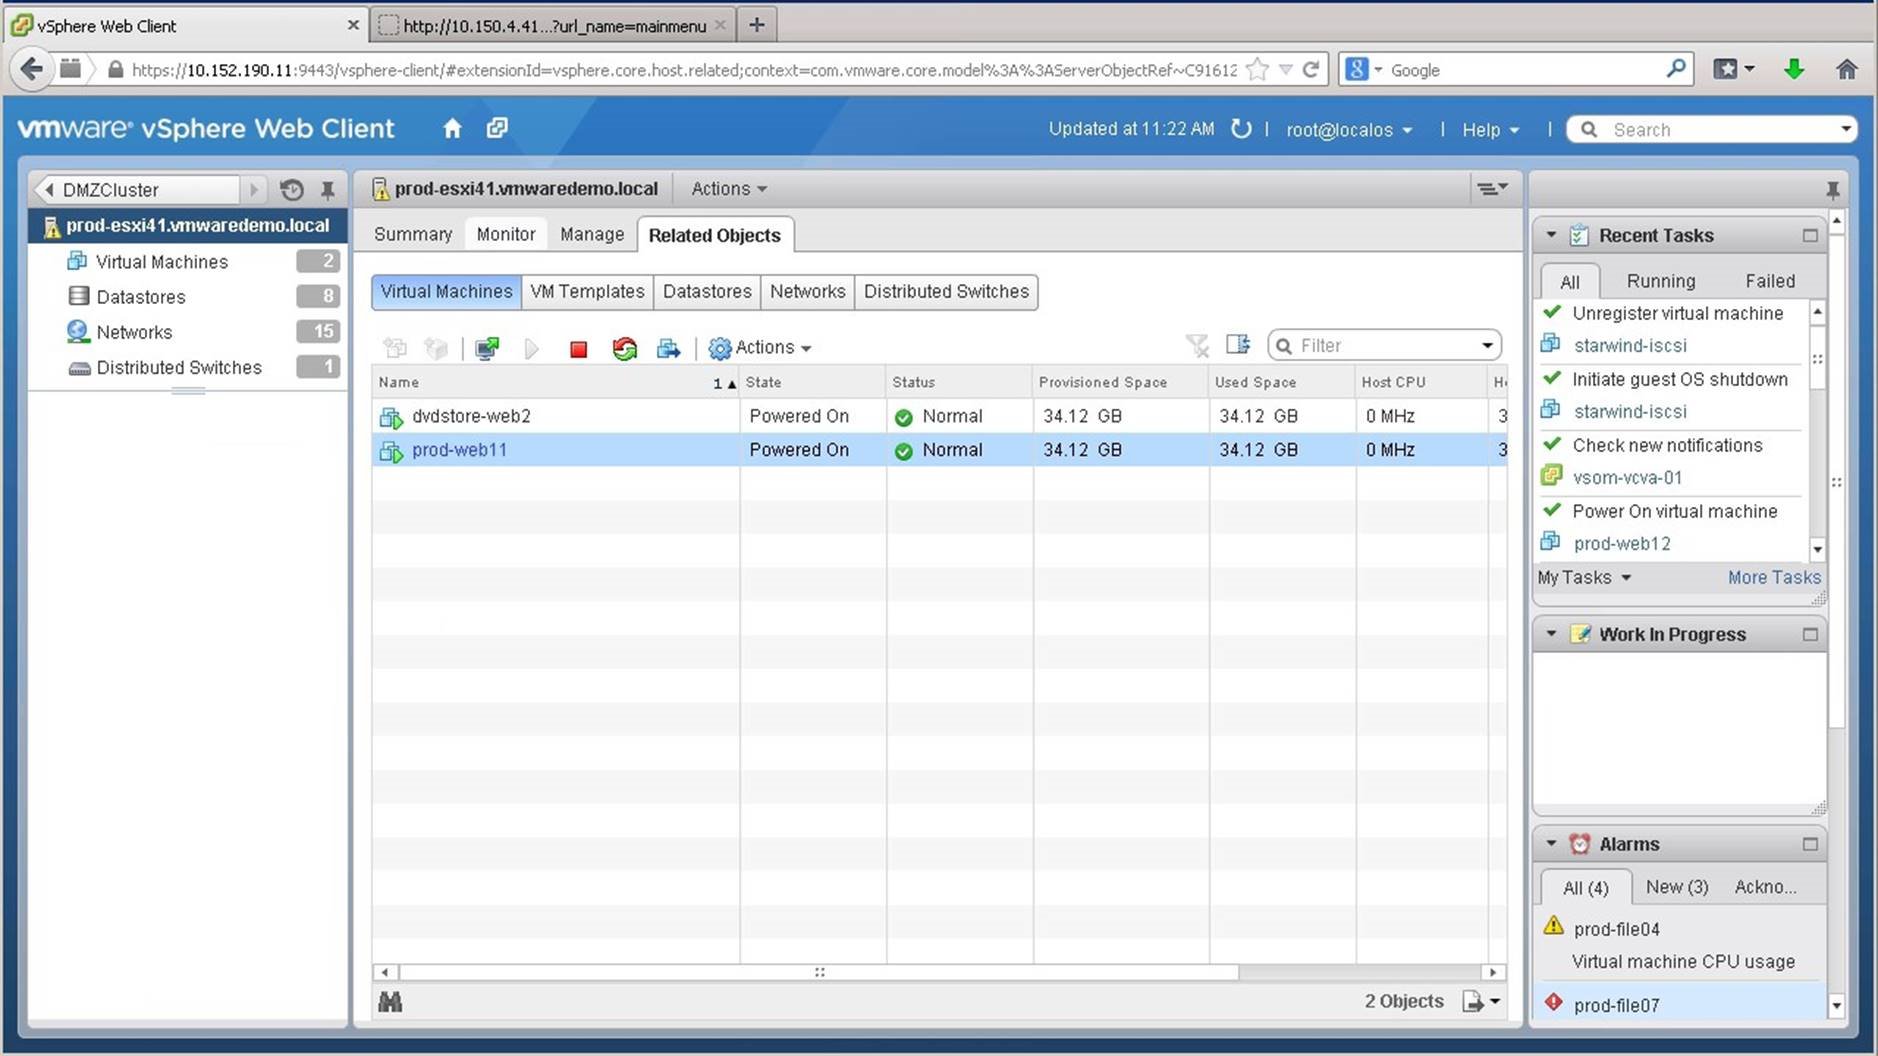
We see that alarms have been raised. Notice that vSphere HA host status has been triggered. We will now look at the virtual machines running on the host by clicking on [Virtual Machines].
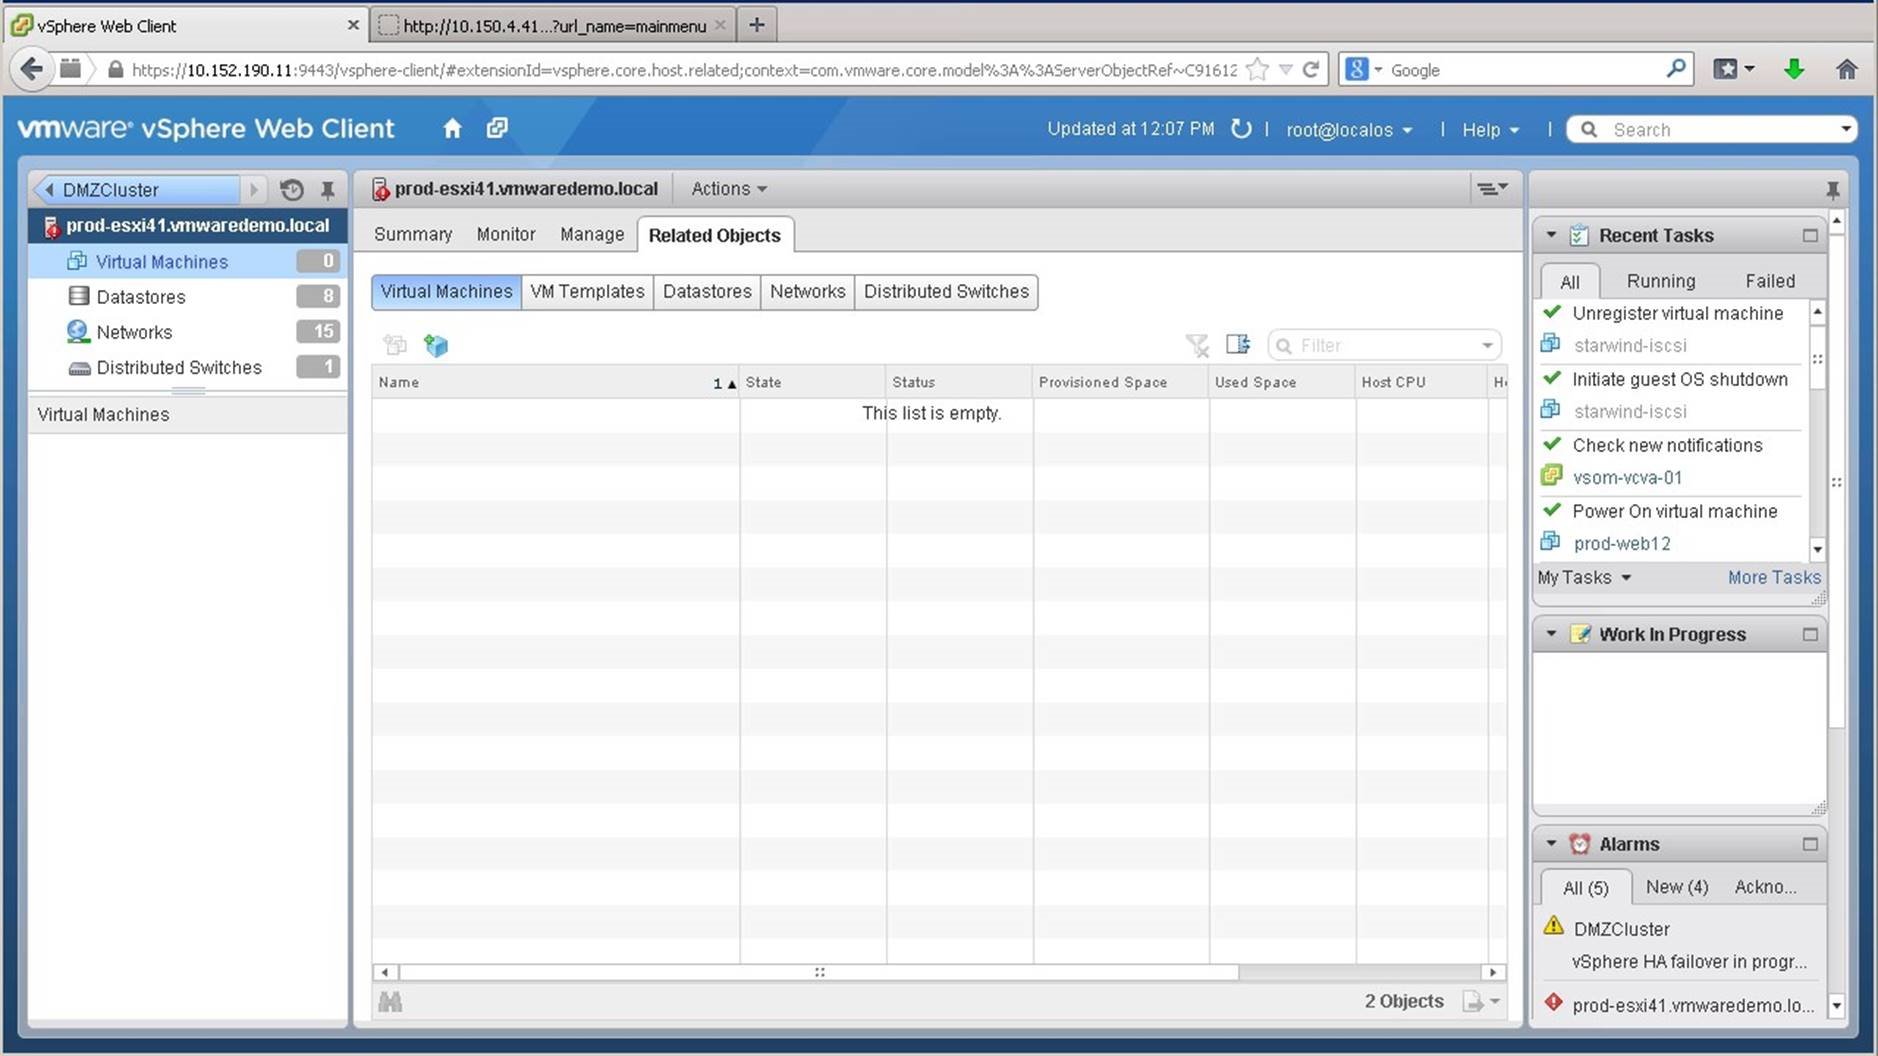
We see that currently there are no virtual machines running on this host. vSphere HA has detected the host failure and has restarted the virtual machines on another host in the cluster.
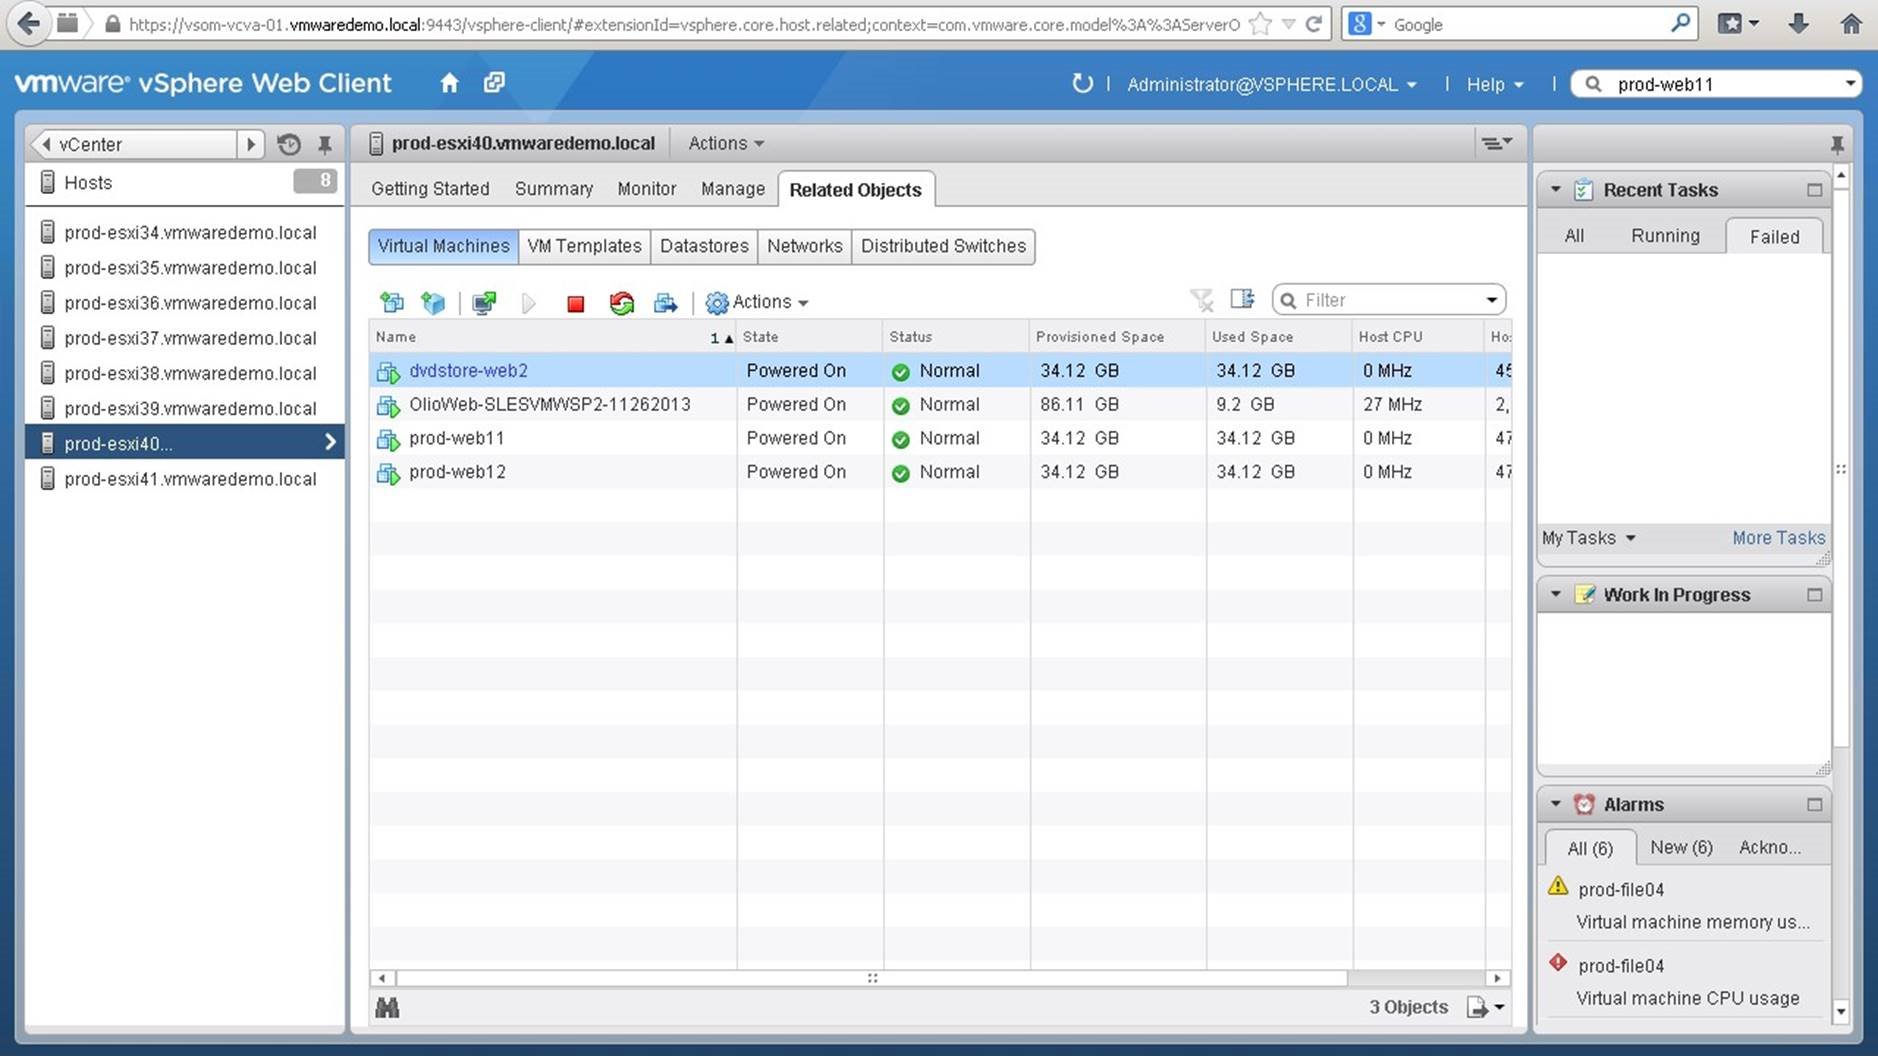
We see that the surviving ESXi host in the cluster is now running the VMs from the failed host, along with the VMs that were already running on the surviving host. This concludes the walkthrough on VMware vSphere High Availability (HA) and Distributed Resource Scheduler (DRS). Select the next walkthrough of your choice using the navigation panel.
vSphere vMotion
Introduction to the vMotion process
This video will explain the basic concept of a workload live migration using vSphere vMotion.
We'll discuss in detail what processes are involved from a vCenter Server and ESXi host perspective. What happens when you initiate a vMotion? Watch the video to find out!
vMotion Memory Copy - Under the Hood
In a previous video, we explained the vMotion process. This video will give detailed information on how vMotion keeps track of memory pages, and how memory is copied from the source to the destination ESXi host
vMotion Stream Architecture
This video will share details on the vMotion stream architecture. It will show what can be done to tune vMotion bandwidth utilization for high bandwidth networks (25GbE and up).
Troubleshooting vMotion
In this video, we will explain how to troubleshoot vMotion. What logs files are used by the various processes. What to look for in those log files? Learn by watching this video.